| | | |
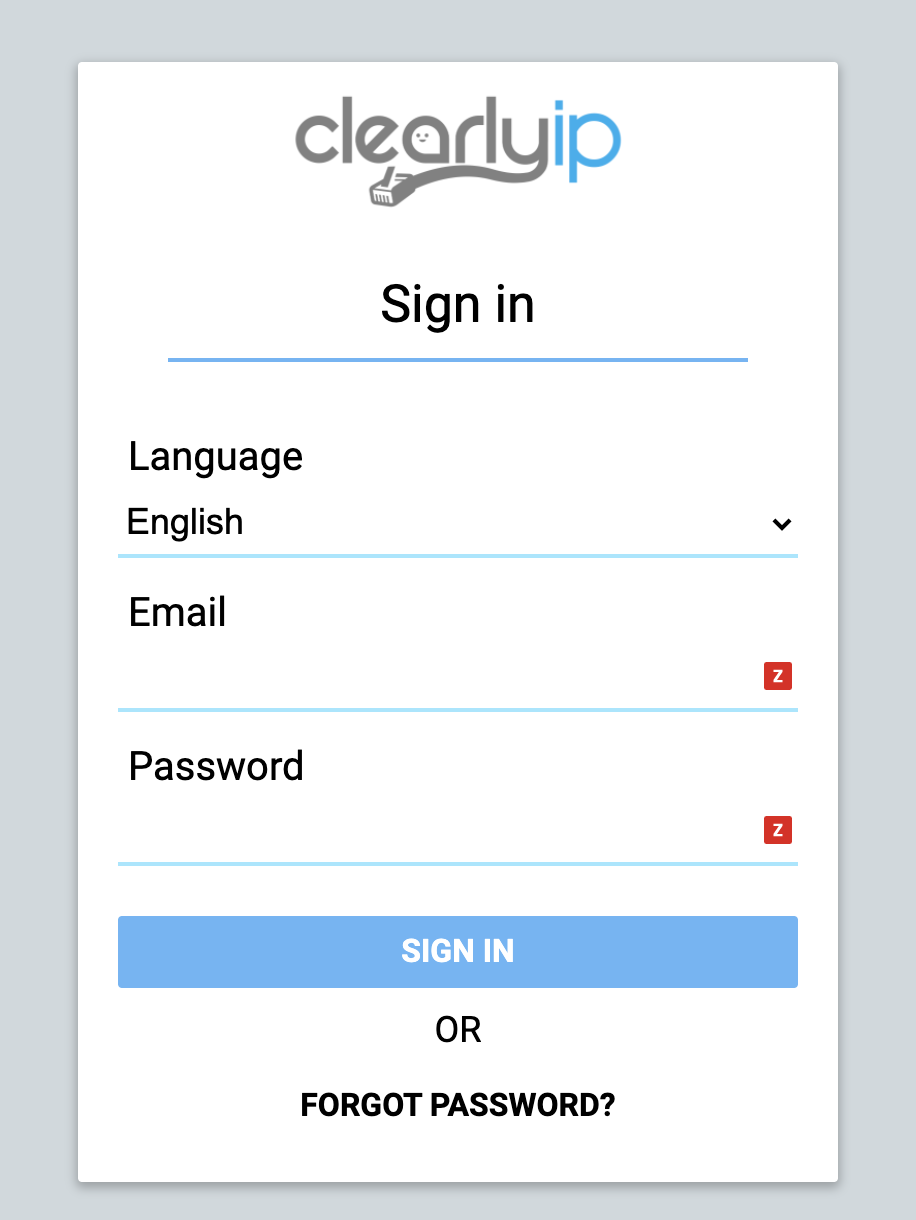
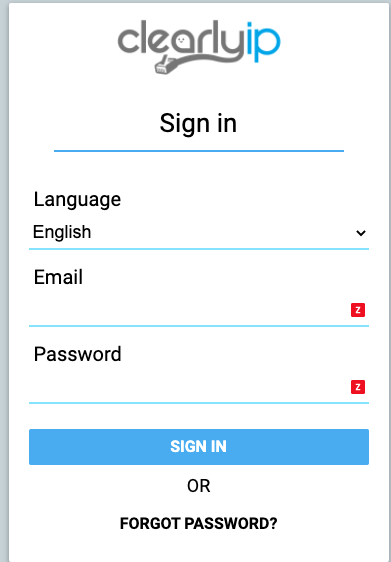
 Uploading .... Uploading .... Reseller level login for Clearly Cloud is where Resellers can see all of their Clients and Users under the Client and manage a few settings and log in as any Client or User that belongs under that Reseller. Standard Hierarchy of Clearly Cloud is: Logging In (Home Page) - Navigate to your perspective URL on where your Client is hosted, for example, https://w.clearlyip.cloud. Log in with your Reseller Username and Password provided by Clearly IP to you as part of onboarding you as a new Clearly Cloud Partner.
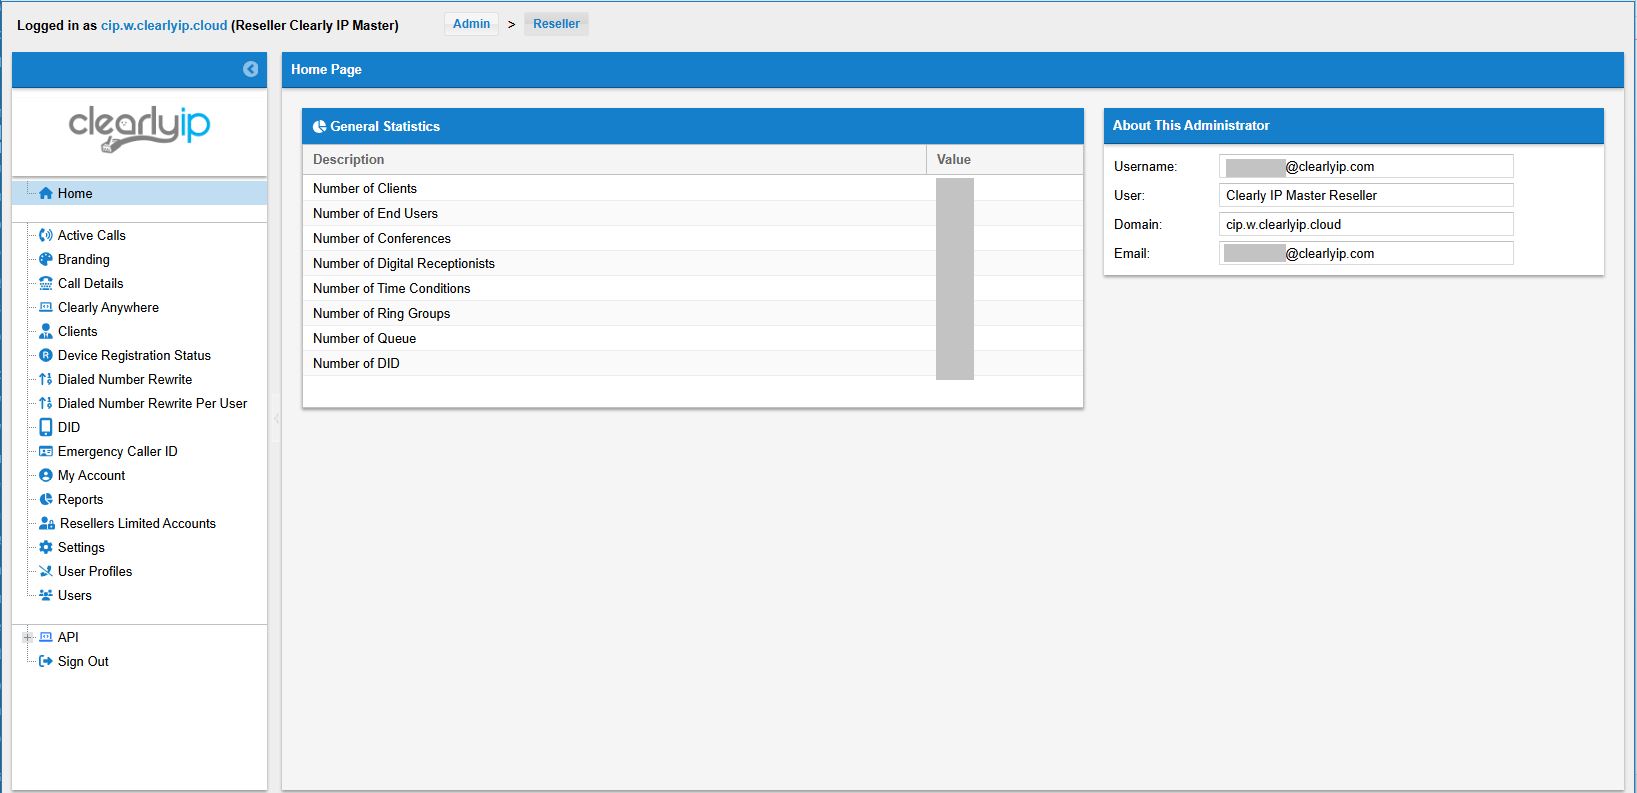
 - Once Logged in, you will see all of the information for the Reseller that you have logged in as.
Active Calls - Click on the Active Calls menu Option
 - This page will show you all active calls on the system for all clients under your Reseller Account. This page does auto-refresh every 5-seconds to get you the most current Active Calls at any time.
 Branding - The Branding section allows the Reseller to set up some different branding elements of the CloudPBX GUI so that when their Clients login using the Reseller Realm, they will see these Branding changes.
- Click on the Branding menu Option.
 - From here, you will see two Tabs at the top
- Branding
- Client Pinned Links

-
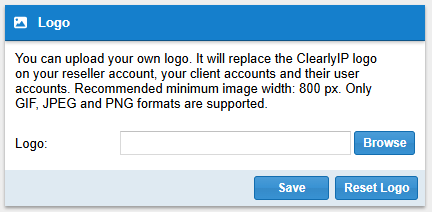
Branding (tab) - Logo - This allows you to upload your own logo to replace the ClearlyIP logo in the top left of the CloudPBX GUI.
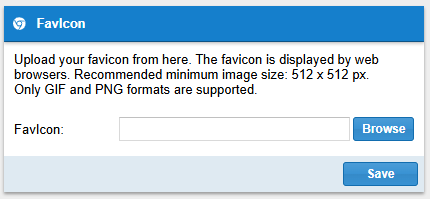
 - This allows you to upload your Browser favicon that is shown in the browser tab.
 -
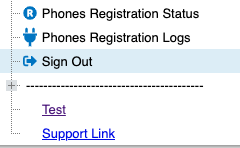
Client Pinned Links (tab) - Here you can define custom URLs shown to your Clients when they login to the WebGUI as a Client.
- These links will be shown in the left Nav bar as shown here below the standard menu options.
 - From here, you can see a list of existing Custom Links created, and you can Add, Edit or Delete links.
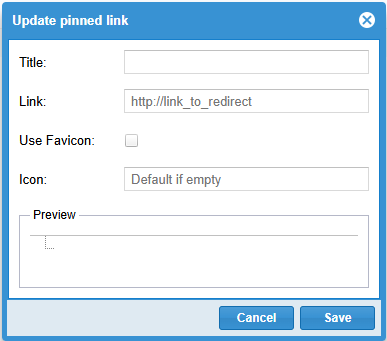
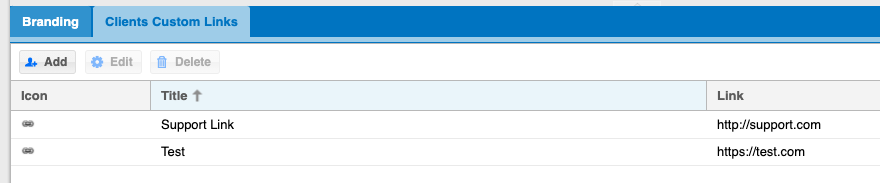 - For each Custom Link, you can set the following fields.
- Title - This is the name shown in the Menu bar to your clients for this link.
- Link - This is the full URL of where you want to direct the Client to when they click on the Title in the Menu bar
- Icon - This is the Icon we will display in the Menu bar for this Link
Call Details - This page contains logs of every call made and received from each extension, including reports for all Clients you have access to as the Reseller. You can filter calls by using the search fields and export the log to a spreadsheet. CDR export to CSV is limited to 100 000 records.
- Click on the Call Details menu Option.
 - From here, we can see information on each call, such as:
- Date and Time, Duration, User involved in the call, and Caller ID of who they were on a call with.If the Call were set up to be recorded, you would see the following Play Icon to play the Call Recording.
 - If the call were NOT set up to be recorded, you would see the following Grey out Icon showing you the call was not recorded.
 - You can also highlight any Call Record and click on the Download Recording or Delete Recording button above.

Clearly Anywhere - In this section you can globally manage the Clearly Anywhere accounts associated to your clients and devices.
- There are two menus:
- Push Notifications for Clearly Anywhere Devices.
- Clearly Anywhere Users.
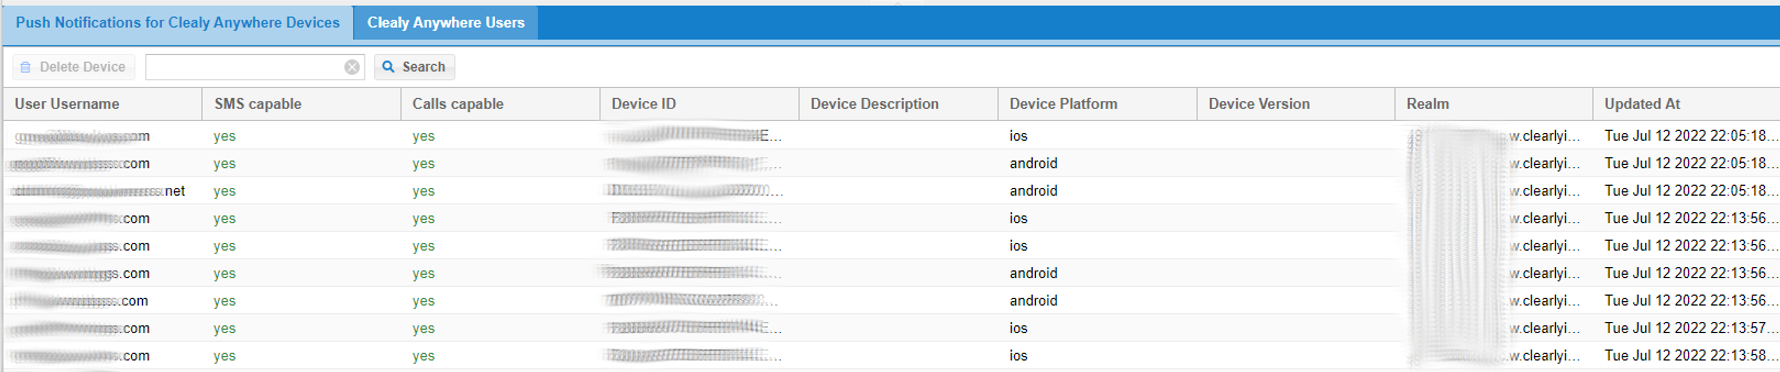
Push Notifications for Clearly Anywhere Devices - In this menu you can check the status of the push notifications for the Devices using the Clearly Anywhere app, by displaying the status of the push notifications for all the Clearly Anywhere Devices of your clients with the following information:
- User Username: The Cloud username associated with the device.
- SMS Capable: This lets you know if the device has SMS capabilities or not.
- Calls Capable: This lets you know if the device has Calling capabilities or not.
- Device ID: A unique device identification.
- Device Description: A description of the device.
- Device Platform: The operating system of the device. We currently support Android and iOS
- Device Version: This shows the version of the operating system of the device.
- Realm: The realm from which the user and device belong.
- Updated At: The date and time the push notification information was updated or created.
- You can delete any entry by selecting it with the mouse and then clicking on the Delete Device button after confirmation.
- In this section you can check the status of the Clearly Anywhere users from all your clients with the following information:
- Username: The Cloud username associated with the device.
- Email: The user's email address.
- First Name: The user's First Name.
- Last Name: The user's Last Name.
- Auth Token: The authorization token needed to allow the device register to the realm where it belongs.
- Realm: The realm from which the user and device belong.

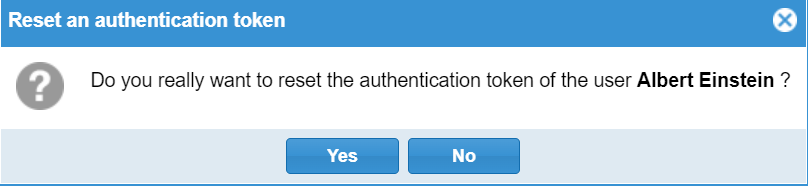
- Reset Auth Token is for Resetting the Authorization Token for any user
- Clicking on this button you can reset the authentication token of the selected user after a confirmation.
Clients - Click on the Clients menu option.
 - From here, you can see a list of all the Clients setup under your Reseller account.
 - To connect and log in as a Client, you can highlight the client from your list of Clients and press the Connect As Client button. You will be logged in automatically as the Client, and you can make all the same changes to the Client that the Client can make themselves as outlined in our Client documentation here.
 - You can edit a Client by highlighting the Client and pressing the Edit Client button.
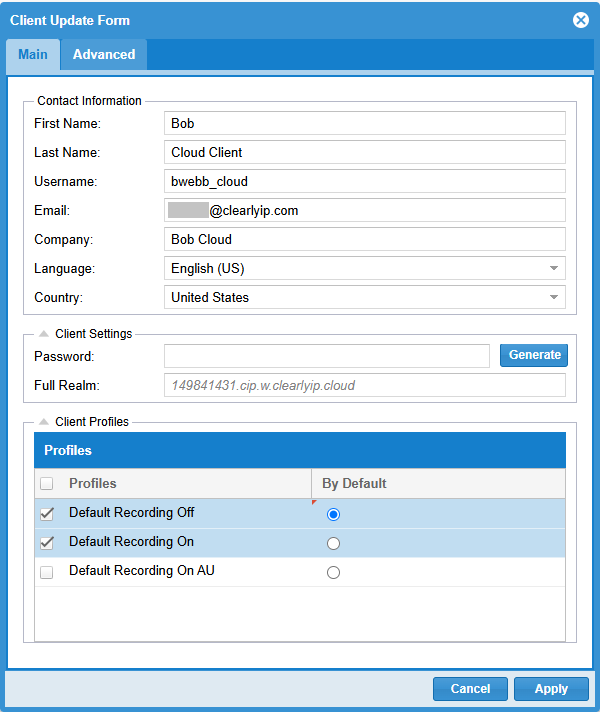
 - Below are the settings related to a Client that you can edit
-
Main (tab) -
Contact Information - First Name - First Name of the primary user for this Client.
- Last Name - Last Name of the primary user for this Client.
- Uasername - Username this client would use when logging in to their Clearly Cloud web interfaces
- Email - This is also your Login username for this Client account
- Company - Company this client belongs to
- Language - What default language this user wants to see the Web GUI of CloudPBX in.
- Country - Country this client is located in
-
Client Settings - Password - This is the password for this Client account to log in.
- Full Realm - The Full Realm or Domain name for this Client. You would use this Full Realm to register a device for this Client.
-
Client Profiles - Here is where you define what Profiles have been assigned to this Client. See the User Profile section below for more information on Profiles.
- You can assign one or more Profiles to a Client and set one of the Profiles as the default profile. That is now the default profile given to each client User when creating new Users, as outlined in the User Documentation here.
-
Advanced (tab) - Time Zone - What is the client’sTime Zone. This Time Zone sets things like Time Conditions and Call Flows will be based on for this Client.
- Memo - A text box to provide information about this client. Think of this as a note pad for information about this client.
- Status - A friendly way to track which Clients are in production versus not in production. This setting has no bearing on the system itself; it’s a reference field for you only.
- Stream and download call recordings - If this is enabled the Client login user will be able to stream and download all call recordings. If this is not checked only the end user logged in direct as the end user can download and stream their own call recordings.
Device Registration Status - Here we can see a list of all active registered phones and devices for all Clients under your Reseller Account.
- Click on the Device Registration Status menu Option


Dialed Number Rewrite - This feature allows to filter and replace a number when dialing it.
-
- Any rules you add, update or delete will be replicated and applied to all your clients.
- Click on the Dialed Number Rewrite menu Option.
 - This section will display the current dial patterns in your instance.
- These dial patterns are used when dialing outbound numbers.
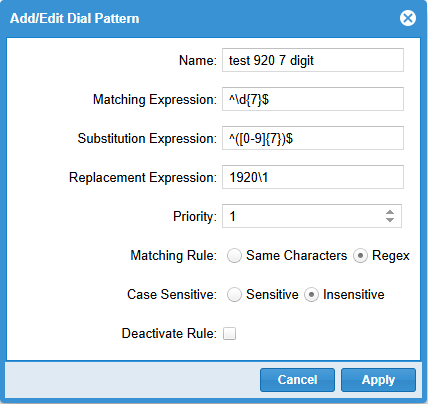
Click on Add Dial Pattern to add a dial pattern. A small window will open where you can enter the following information.
- Name: Name or Description of the Dial Pattern.
- Matching Expression: This is the regular expression or string the system will try to detect.
- Substitution Expression: This is the regular expression or string that will be used for replacing any coincidence found.
- Replacement Expression: This is the text or number that each regular expression match is replaced with during the ‘search and replace’ process.
- Priority: Priority of rule.
- Matching Rule: Matching operator for the rule (0-same characters, 1-regex).
- Case sensitive: If our rule is case sensitive or not.
- Deactivate Rule: Status of the dial pattern: Enabled or disabled.
- Here is an example for setting up a Dial Pattern to add an area code to 7-digit numbers for users that aren't accustomed to dialing with an area code.
- Matching Expression explanation:
- ^ : Start of the line.
- \d : We are going to search for digits.
- {7} : Amount of digits to search. 7 of them in our example.
- $ : End of the line.
- In other words, we are going to look for any number 7 digits long.
- Substitution Expression explanation:
- ^ : Start of the line.
- () : Grouped.
- [0-9] : Any digit between 0-9 (This is what will be replaced).
- {7} : Amount of digits to search. 7 of them in our example.
- $ : End of the line.
- Replacement Expression:
- 1920 : Add this to the digits captured.
- \1 = The digits captured, in this case, the full 7 digit number.
- In other words, we are adding 1920 to the 7 digits captured, before dialing.
- In most cases, your Matching Expression SHOULD be the same as your Substitution Expression. Matching Expression is what you are looking for.
- When adding a Dial Pattern it is very important to check the Priority since it may conflict with the default or previous Dial Pattern entries.
- When the number is dialed, the system will search for the lowest priority (0) and if there are patterns with the same priority the system will evaluate the first from the top to the bottom and will use the first coincidence. It is worth mentioning it will not search for the best match on the rest of the priorities.
Dialed Number Rewrite Per User - This feature allows to filter and replace a number when dialing it.
- Each rule you add here will be visible and selectable in your user profiles in addition to rules shared by your administrator.
- This allows to perform a number rewrite per user basis.
- Click on the Dialed Number Rewrite menu Option.
 - These dial patterns are used when dialing outbound numbers.
Click on Add Dial Pattern to add a dial pattern. A small window will open where you can enter the following information.
- Name: Name or Description of the Dial Pattern.
- Matching Expression: This is the regular expression or string the system will try to detect.
- Substitution Expression: This is the regular expression or string that will be used for replacing any coincidence found.
- Replacement Expression: This is the text or number that each regular expression match is replaced with during the ‘search and replace’ process.
- Priority: Priority of rule.
- Matching Rule: Matching operator for the rule (0-same characters, 1-regex).
- Case sensitive: If our rule is case sensitive or not.
- Deactivate Rule: Status of the dial pattern: Enabled or disabled.
- Here is an example for setting up a Dial Pattern to add an area code to 7-digit numbers for users that aren't accustomed to dialing with an area code.
DID - This section will display all the Phone Numbers purchased for any of the clients under your Reseller account. You can not add Numbers here direct. All Numbers here are provided by the Clearly Cloud Portal, where you can buy numbers and cancel numbers anytime.
- This module just provides a detailed list of all of the DIDs you have under your clients.
 - From here, you will see a list of all DIDs (Phone Numbers) that are set up for your Clients. You can not edit the information here; it’s just a reference list of all the DIDs. The management of routing the DIDs and settings related to the DIDs are handled at the Client Level as documented here, so you would need to log in as a Client as outlined here.
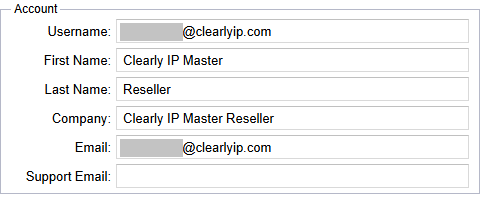
My Account (Changing your Login Details) - Click on the My Account menu option
 - Account - From here, you can change your First and Last Name, Email Address, which is also your Login username.
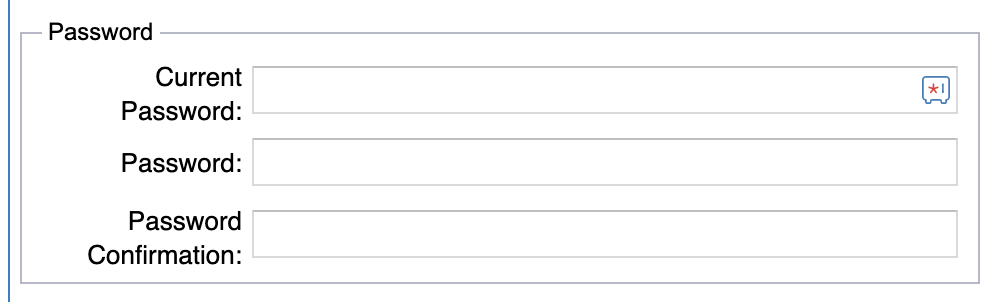
- Password - Here is where you can change your Client level password.
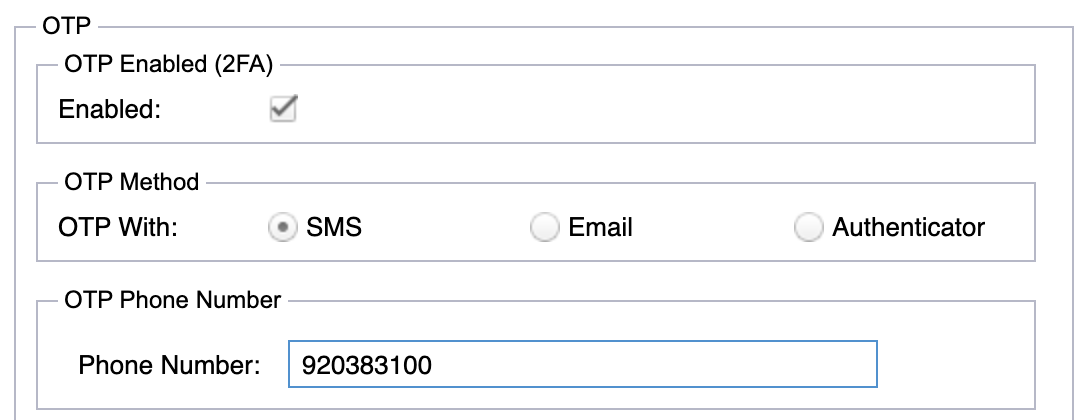
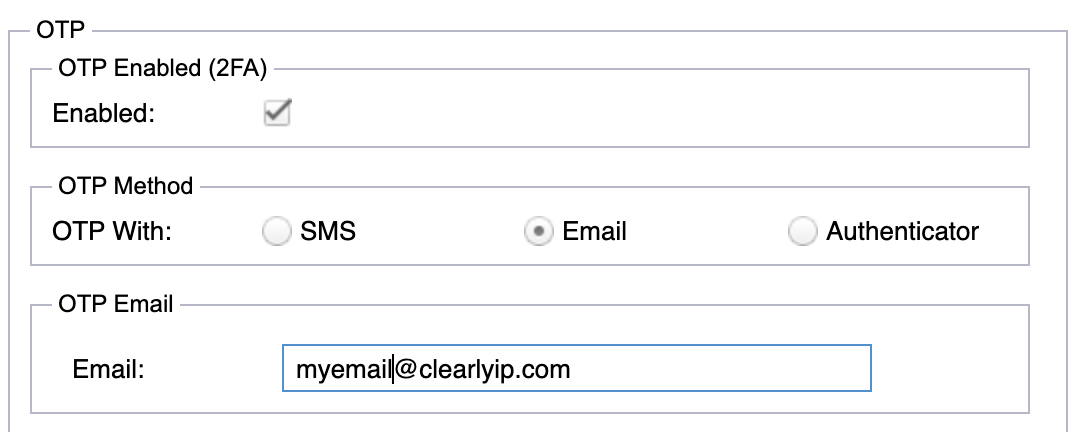
- OTP - Here is where you can enable (One Time Password) or also know as (2 Factor Login) for a user. The supported ways for OTP is
- SMS - Provide a SMS capable number that after your login with your username and password we will send a SMS with your One Time Password as the additional login factor.
- Email - Provide a Email Address that after your login with your username and password we will send a Email with your One Time Password as the additional login factor.
- Authenticator App - Download and install on your Mobile or Compute the Authenticator app which is a 3rd party 2 Factor Login app and scan the QR code generated here from your app.
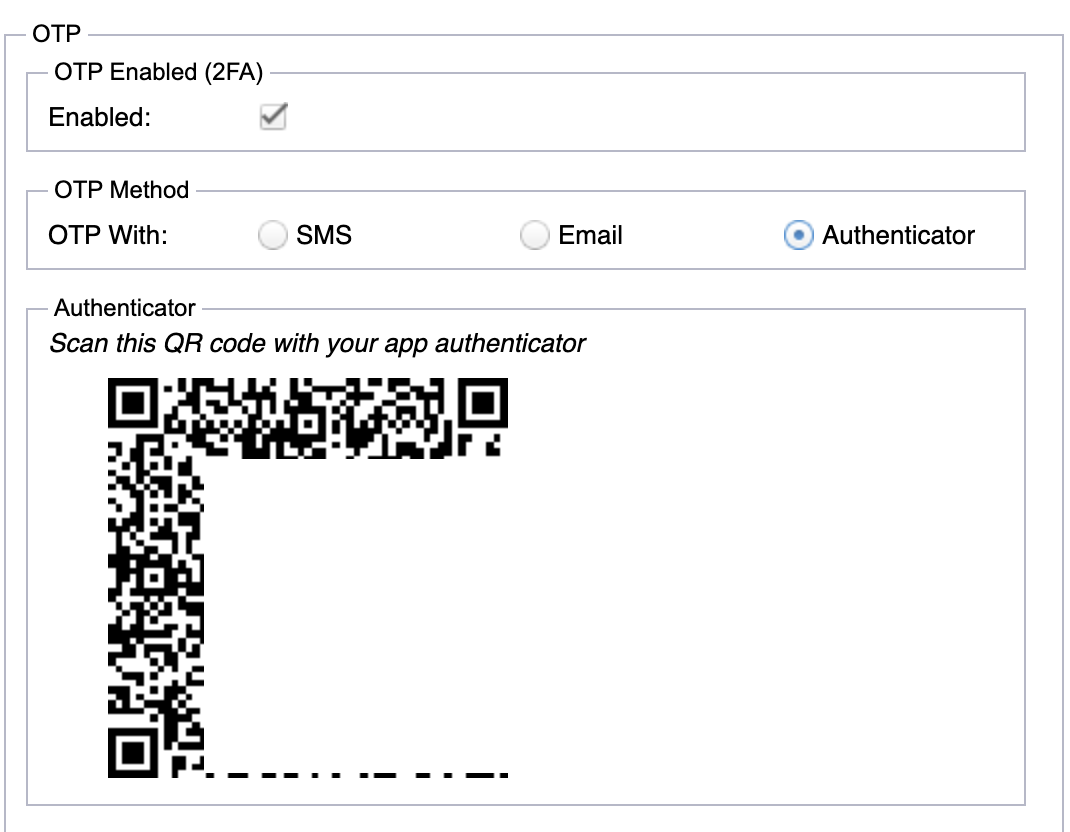
- Backup Codes - Clicking this button will reveal backup codes that you can store somewhere safe to be used in the event that you are not able to use your 2 Factory option above such as loosing your Cell Phone if you are setup with SMS as your 2 Factor.

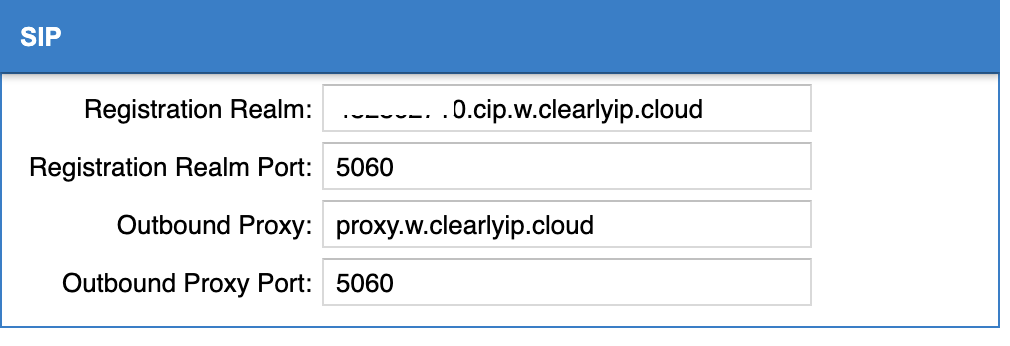
- SIP - Here is where we can see our Client Realm and Outbound Proxy for this client in the event you need to register a SIP device manually.
Reports - To access the Reports menu just click on the Reports icon.
- Under the Reports Tab you will see 2 menu options.
- Activity Log
- Duplicated nated userloc
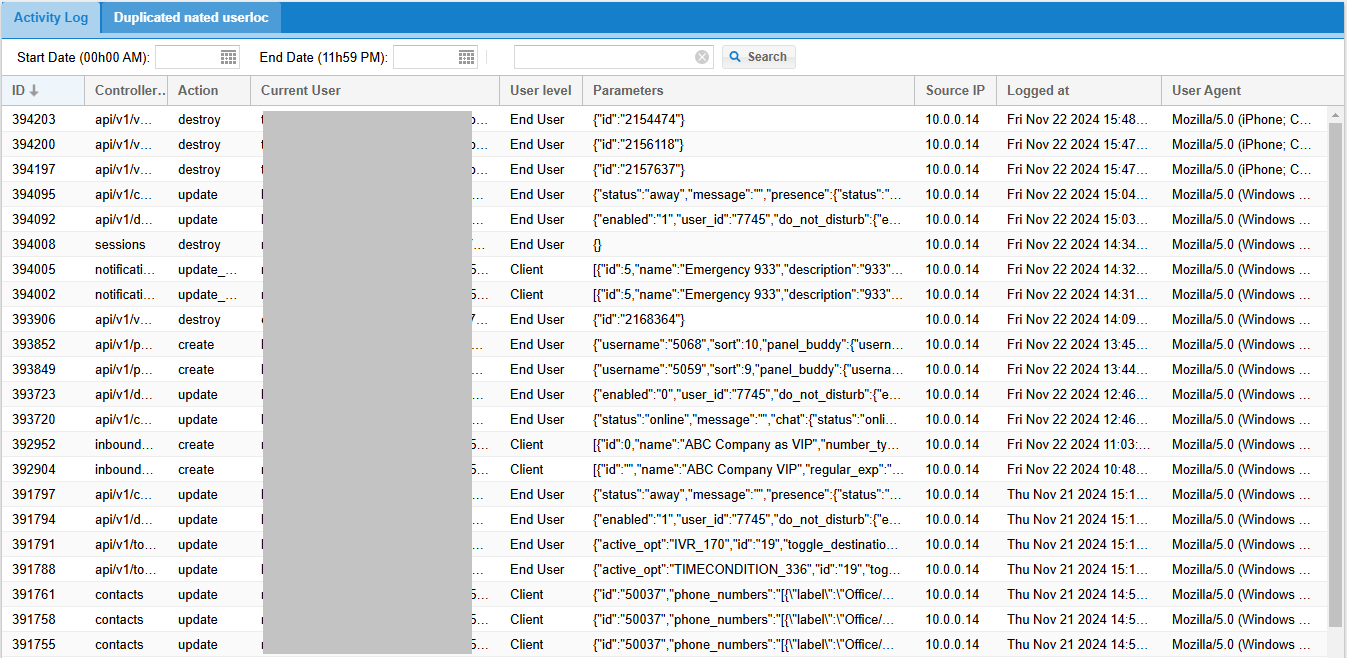
Activity Log - In this menu you will see a report of all the activities performed by any user. With this you can track what changes a user has done to any configuration point of your instance or instances.
- The report will show the following information:
- ID: An identification number assigned by the system.
- Controller: The resource modified. In other words, this is the menu where the modification was done
- Action: The action performed by the user on an entry. These actions can be:
- Current User: The username of the user that performed the action
- User Level: The level of the user that performed the action. These levels are:
- Parameters: The parameters updated by the user. If this parameters are hard to read, you can copy and paste them on a text editor.
- Source IP: The IP of the user that applied a change in the menu
- Logged at: The date the modification was applied
- User Agent: A resource to identify the web browser and the operating system of the user.
- As you can see, you can search through the Activity Log by date and perform a search based on any criteria.
 - You can right-click on any column header to sort the order of the rows and to select what columns you would like to be displayed in the report according to your needs.
Duplicated nated userloc - This report will show if you have two devices from the same external IP address, such as your office, both trying to use the same NAT port for SIP. If this happens, it will create issues. When we send a call to a phone, the route would not know which device to send the phone to. This usually happens because of NAT issues related to SIP ALG on a firewall or SIP helpers trying to help but get in the way.
- This report will only show devices that are sharing the same Public IP and NAT port for SIP.
- If the report is empty, that means you have no duplicated NAT devices.
- Click on the Duplicated nated userloc tab

Reseller Limited Accounts - In case you need to add an additional account that can help you manage your clients, you can set that up in the Reseller Limited Accounts Menu
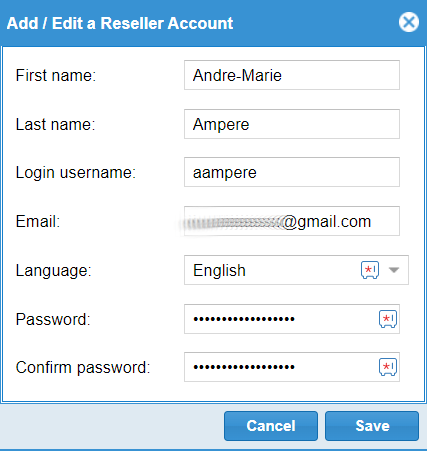
- To create a Reseller Limited Account click on the Add Reseller Account.
- Enter the following user's information:
- First Name
- Last Name
- Login username
- Email
- Language: You can choose the language of the interface. English and French are currently supported.
- Password
- Confirm Password
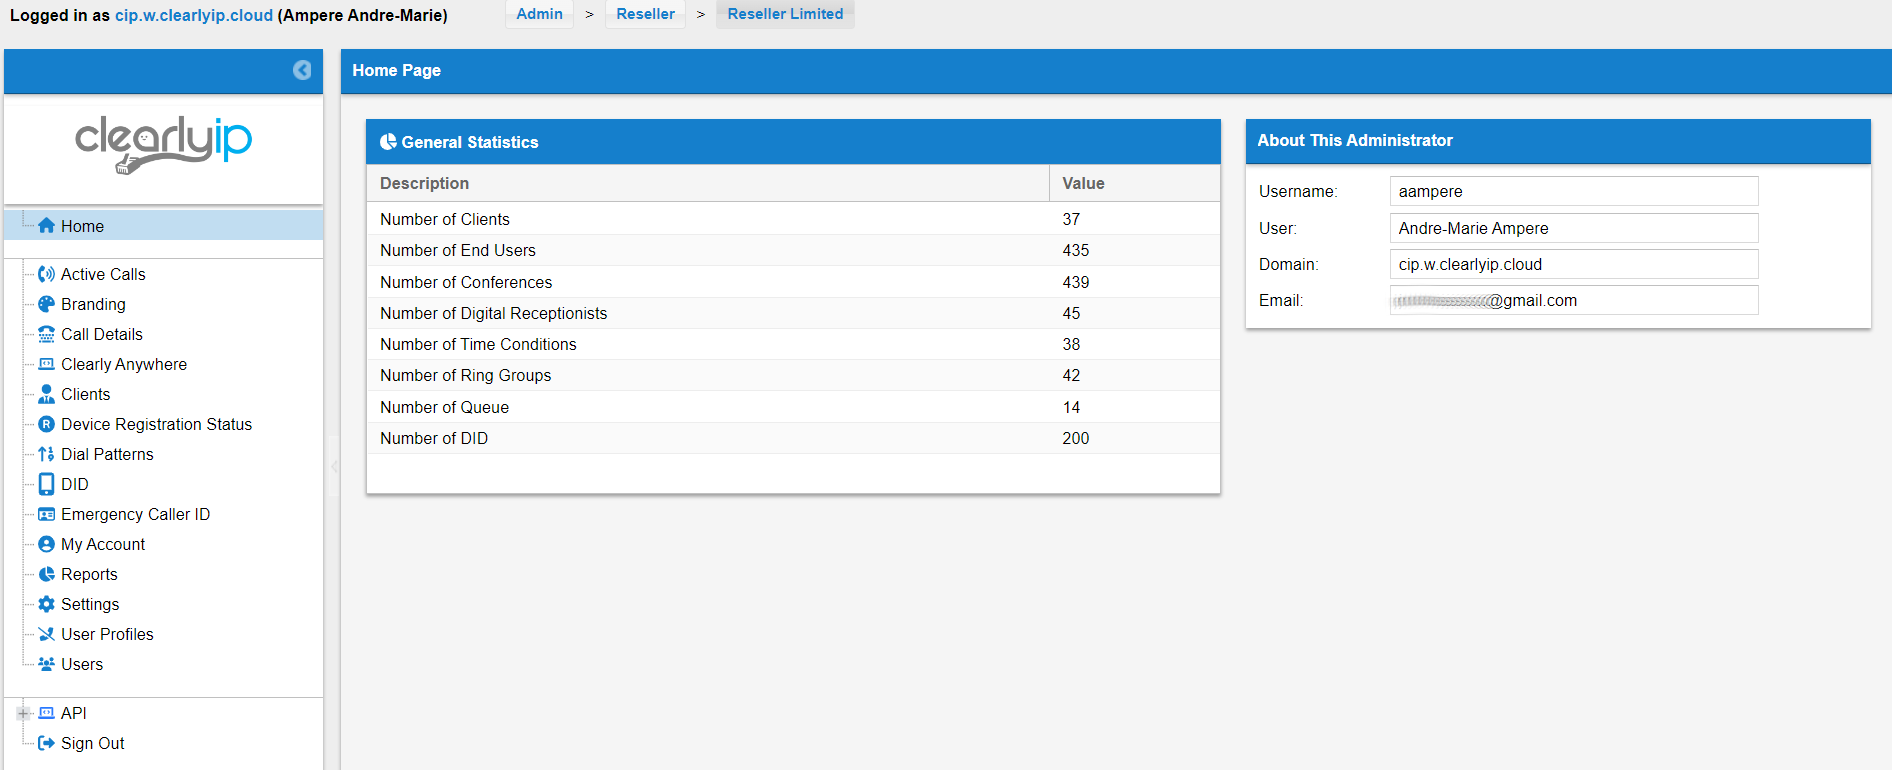
- When selecting a user you can Edit the Reseller Account, Delete the Reseller Account or Connect as Reseller Account. You can also search for any Limited Reseller Account you have.
- You can test the user you just created by clicking on Connect as Reseller Limited and review the creation of your users and the permissions they can handle.
Settings - Settings that relate to your Reseller Account
- Click on the Settings menu Option
 - Below are the following Settings you can set for your Reseller account
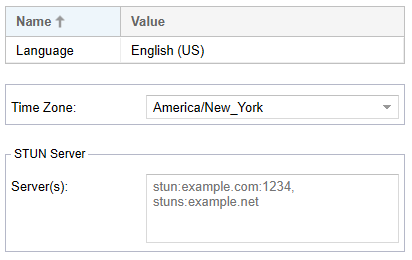
- Language - What default language this user wants to see the Web GUI of CloudPBX in.
- Time Zone - Which Time Zone to use for you Reseller account
- STUN Server - Possibility to set one or more customers-wide STUN Servers for aiding with proper routing of Call Panel's webphone audio streams.
User Profiles - User Profiles are mainly used to apply dial rules to Users under a Client. A User Profile, once created, can be shared with one or more Clients. Additionally, any User of that client can be assigned to the User Profile.
- User Profiles controls what Outbound Routes a User can call when making a call, such as US and Canada or International, along with what features such as Call Waiting, Voicemail and other things the Users Extension has access to.
- Click on the User Profiles menu Option
- From here, we can see a list of User Profiles that exist for your Reseller Account. By default, all Resellers get an auto-created Default User Profile. You can also see how many users are assigned to a specific User Profile.

- You can highlight any existing User Profile and press the Edit or Delete button to delete the Profile.

- Pressing the Add button will let you create a new User Profile.
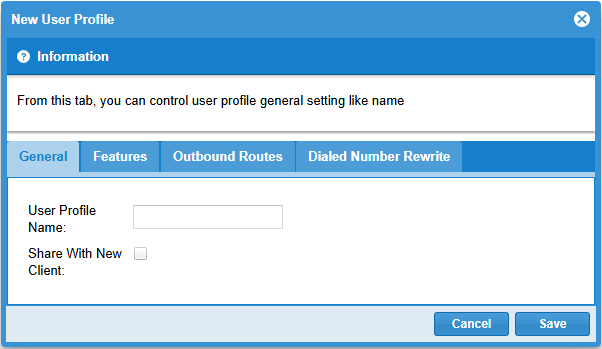
 - The settings for User Profiles are put into 3 tabs at the top
- General
- Features
- Outbound Routes
- Dialed Number Rewrite
- General (tab)
- User Profile Name - What name you want to give this User Profile
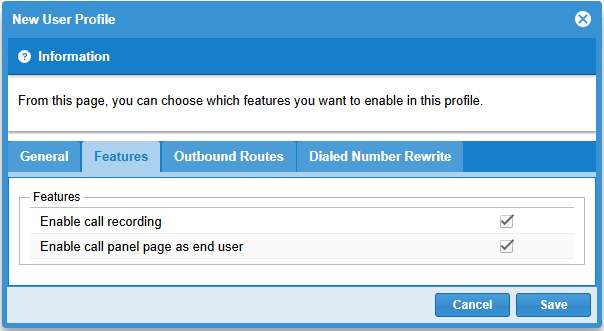
- Features (tab) - Here, we can enable different features for the Users of this User Profile that apply to the User on what they can do with their phone and what they will see in the WebGUI when they log in as an End User as outlined here.
- Enable Call recording - If checked, this will enable all calls for users of this Profile to have their calls automatically recorded.
- Enable call panel page as end-user - If checked, this will enable Call Panel access for all users of this profile and let them log in to Call Panel.
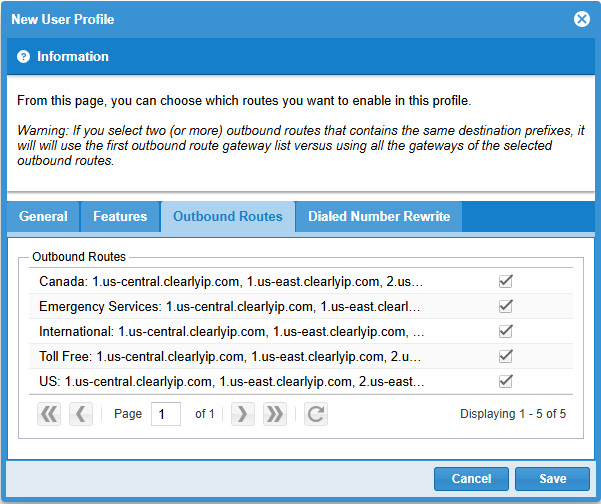
- Outbound Routes (tab) - Here, you can pick which outbound routes the users who have this User Profile can use when making outbound calls.
- Enable or disable each Outbound Route that is active on the system. The following are the standard four outbound routes we have created for all Resellers.
- Toll Free - Ability to call Toll Free Numbers with a one plus the 10-digit number or just the 10-digit number.
- Canada - Ability to call Canada based Area Codes with a 1 plus the 10-digit number or just the 10-digit number.
- US - Ability to call US-based Area Codes with a 1 plus the 10-digit number or just the 10-digit number.
- International - Ability to call most International destinations with a 011 plus the country code and number you want to reach.
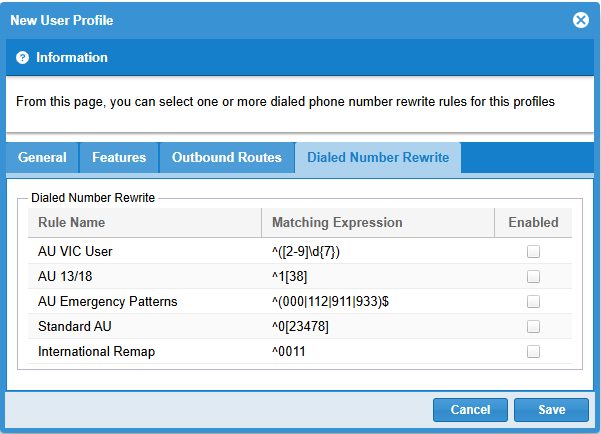
- Dialed Number Rewrite (tab) - Here, you can pick which dialed number rewrite rules that would be used on this User Profile can use when making outbound calls.
- Enable or disable each Dialed Number Rewrite rule that is active on the system.
Users - Users can be utilized in two ways in CloudPBX. A user has a login to the End User Level login for CloudPBX and Call Panel. A user is also set up with an extension on the CloudPBX that allows them to connect one or more Desk or SoftPhone to the CloudPBX Client they are under.
- Click on the Limited Client menu Option.
 - For more information on managing users review our Client documentation here on Users
Sign Out - To Sign Out from the Client Portal, Click on the Sign Out menu Option
 - You will now be signed out and taken back to a Login page
|
|
|
| | | |
|