| | | |
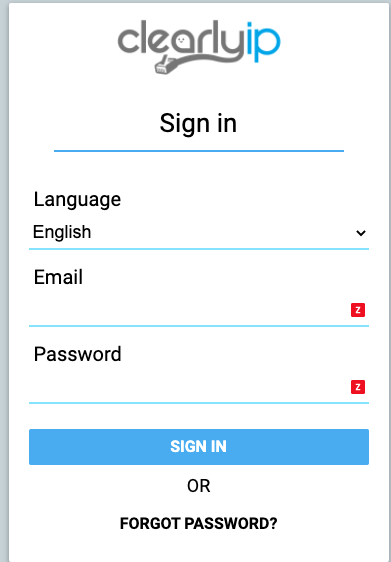
 Uploading .... Uploading .... The Clearly Cloud user level login allows end users to access and modify their user account and extension settings. It provides various features such as the Call Panel for real-time information and settings, Call Details for call logs and recordings, Voicemails with options to manage settings and listen/delete voicemails, Clearly Anywhere for mobile softphone access, My Queues to manage queue membership, Personal Conferences for creating conference rooms, and Settings for common options like Follow Me, Call Forward, and DND. Additionally, the Contacts module allows users to manage shared contacts with options for importing, adding, editing, and deleting contacts. User level login for Clearly Cloud is where you, the End User of the system, can set some basic settings related to your user account and extension. Standard Hierarchy of Clearly Cloud is: Logging In (Home Page) - Navigate to your perspective URL on where your Client is hosted, for example, https://w.clearlyip.com. Log in with your End User Username and Password
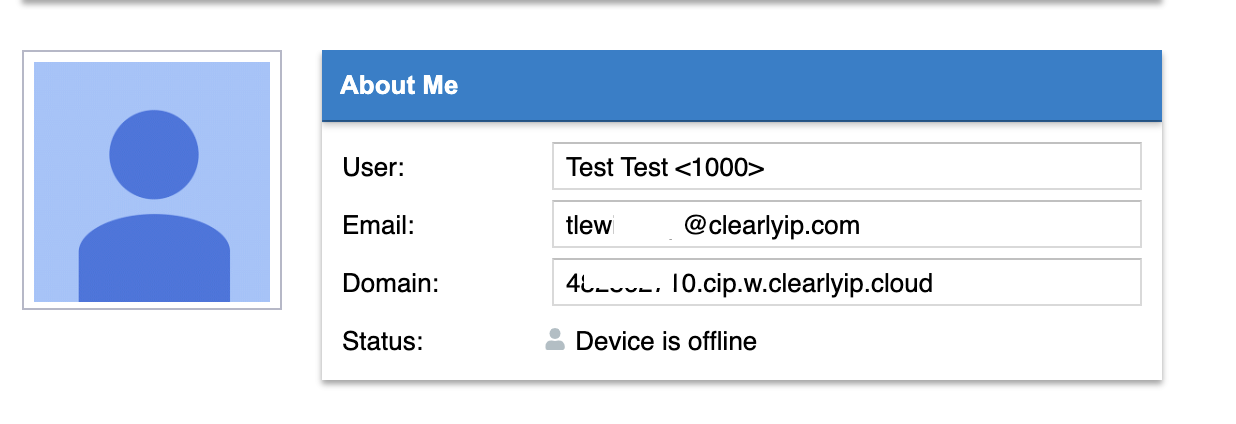
 - Once Logged in, you will see all the information available for that User's Login.
Call Panel -
Call Panel is a real-time operator panel that lets a user see information about other users, conference rooms, queues and has a built-in SoftPhone and give the End User the ability to change settings related to their User. -
Review this Documentation on how to use Call Panel -
Click on the Call Panel menu Option to have Call Panel opened in a new tab and auto log in the User.
 Call Details Voicemails
- Voicemail Box Tab - From here, we can see all the voicemails for your User, and for each message, we can do the following actions by checking the box next to each voicemail and pressing any of the buttons on the top.
-
Delete - Deletes the selected voicemail(s) from the system. -
Download - Downloads an audio file of the selected voicemail(s) from the system. -
Mark As New - Marks all the selected voicemail(s) from the system as New and not Read. -
Mark As Read - Marks all the selected voicemail(s) from the system as Read and not New. - You can also listen to any voicemail from your browser by pressing the Play button next to each voicemail message.

 - Settings Tab - The Settings Tab is where you can change the following settings related to your voicemail box for your logged-in User.
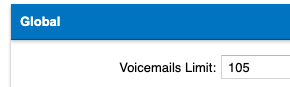
- Voicemail Limit - How many messages you can store at any time. Once this limit is met, any new voicemail will cause the oldest voicemail to be deleted automatically, making room for the newest voicemail.
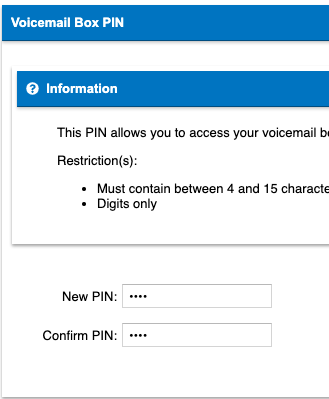
 - Voicemail Box Pin - The numeric PIN or Password you use to access your voicemail box from your phone when pressing the voicemail button or dialing the voicemail feature code of *97
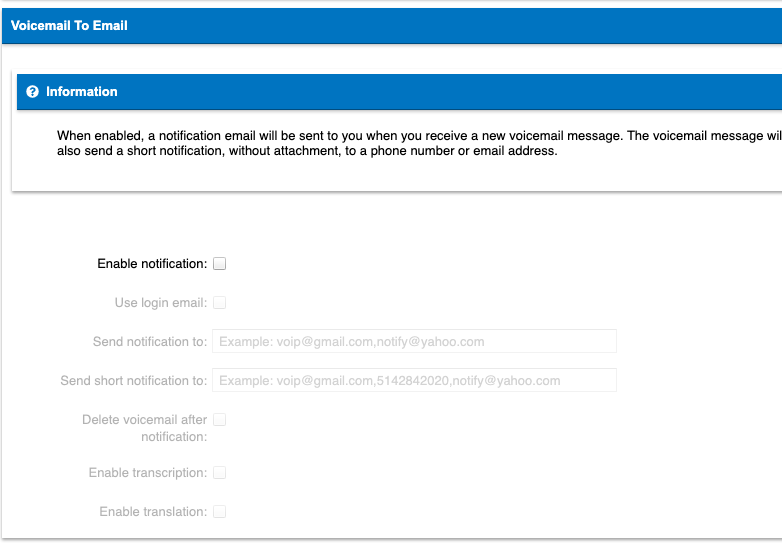
 - Voicemail to Email - Settings that relate to your Voicemail to Email for your User
- Enable Notification - Enable the ability to get Notifications for new voicemails through email.
- Use Login Email - This will set up voicemail to email notifications to just the Email address of this User and send an attachment of the actual voicemail file. If you enable this, you can only send it to this email address. If you want to send to more than one email address, you need to use the "Send notification to" field below instead. If you enable this, the "Send notification to" field will be hidden.
- Send notification to - Provide a custom list of email addresses to send voicemail to email notifications to. If you define more than one here, separate them by commas.
- Send short notification to - Provide a list of email addresses to send voicemail notifications without attaching a copy of the voicemail as an attachment.
- Delete voicemail after notification - If enabled, the voicemail message will be deleted once the email notification has been sent from the CloudPBX system.
- Enable Transcription - If enabled, your voicemail file will be sent to a 3rd party transcription API service to transcribe the audio file and include a transcription of the voicemail in the email notification above.
- Enable Translation - If enabled, the above Transcription will be translated to French.
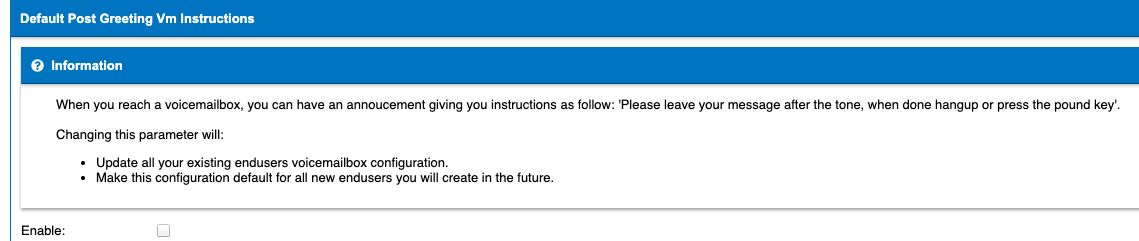
 - Default Post Greeting Vm Instructions - Enabling this will have the system play the following message after your personal voicemail greeting is played to the Caller. "Please leave your message after the tone, when done hang up or press the pound key'"
 - Your Unavailable Message - Message played to callers sent to your voicemail box after a call to your extension is unanswered, and you are NOT on another call, or are NOT in DND mode. From here, you can upload a new Message or Download the existing one.
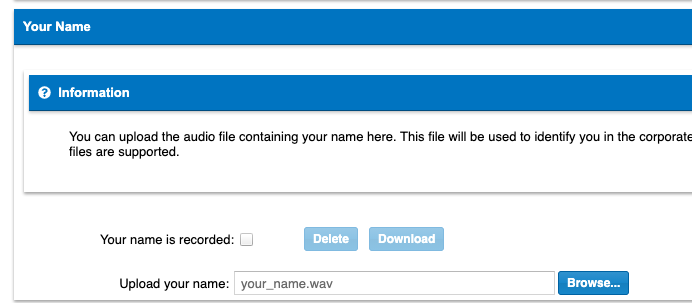
 - Your Name - Recording of your name, played when a caller uses the company directory to look up a user’s extension by name in an IVR
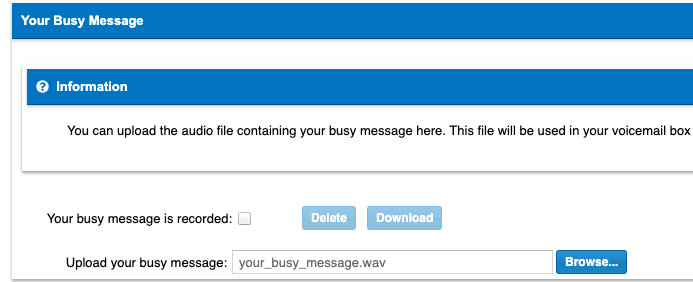
 - Your Busy Message - Message played to callers sent to your voicemail box after calling your extension with no Answer, and you are ON another call or IN DND mode will hear this message. From here, you can upload a new Message or Download the existing one.
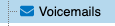
 Clearly Anywhere -
Clearly Anywhere is the Clearly IP Mobile Softphone for Android and IOS. This page will give you an easy to use QR code you can scan from the Clearly Anywhere module app to have it log you in automatically. It will also find links to quickly download and install the Android and IOS apps from their respective stores. -
Click on the Clearly Anywhere Option
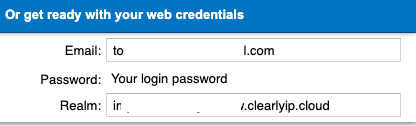
 - You can also manually Login to the Clearly Anywhere app by providing the Username, Password, and Domain as shown here. The password would be the same password you use to log in to the Client Portal here.
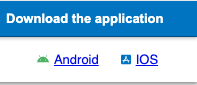
 - Lastly, under the Download the Application section, you can click on the Android or ISO buttons to quickly get a link to install the Clearly Anywhere App.
 - Full documentation on how to use Clearly Anywhere can be found here.
My Queues Personal Conferences -
This page allows you to create your own personal conference room to transfer callers to. This is also where you can change settings related to your personal conference room. -
To call into your conference room or transfer callers into your conference room, you will dial or transfer to *99EXT with EXT being your User extension number. For example, if I was extension 102, my Personal Conference room is *99102 - Click on the Personal Conferences Option
 - At the top of this page you can Enable or Disable your Personal Conference room.
 -
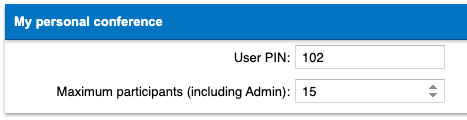
Under My Person Conference section, you can set the PIN Number for users to dial when joining your conference room and set the maximum number of callers who can join this room. - The admin pin for yourself to join the Conference is your voicemail password.
 - The Options section will let you set the following settings for your Conference Room.
- Announce User Count - If enabled, will announce the number of users in the conference room to the Caller when they call in.
- Music On Hold - Enabling this will play MOH when only one caller is in the Conference Room, so they do not get just dead air otherwise since no other callers have joined yet.
- Wait for Admin's arrival to start - If enabled, non-Admin Users will be left on hold until the Admin User joins the Conference Room. Users will not be able to hear each other or take part in the Conference Room until a user calls in and uses the Admin Pin to join the Conference.
- Announce User Join/Leave - When enabled, this will prompt each User to state their name on joining, and it will play the user's name when they join and leave the Conference.
- Open the options menu by pressing * - If enabled, users can press * and be given a menu option on how to mute, unmute, increase or decrease their microphone level and other settings.
- Listen only mode (users) - When non-admin users join, they will be muted. If you enable the Option menu by * above, they can press * and unmute themselves with the menu option.
 Settings- Settings are where you, a User, can change common things like Follow Me, Call Forward, DND, and other options as outlined below.
- Click on the Settings Option

- Settings section has 2 tabs
- Advanced
- Account
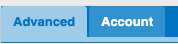
- Advanced Tab
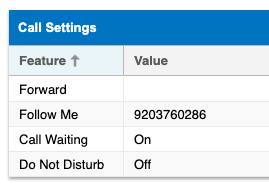
- Call Settings - Here is where you can control setting related to calling features.
- Forward - Let's you define a phone number you want all calls forwarded to. If blank, then you have no call forwarding enabled, and callers will ring your extension.
- Follow Me - This lets you define one or more numbers that you want to be called when your extension is called. Once you define one or more numbers here, you will get a new section shown called Follow Me Settings , as defined below.
- Call Waiting - If set to On and you are on an active call already, and an additional call comes for your User, that call will be sent to your extension as an additional new call. If turned Off and you are on an active call, and an additional call comes in for your User, the Caller will be sent to your busy voicemail greeting.
- Do Not Disturb - If set to Off, inbound callers will reach your devices. If set to On, all inbound callers will be sent right to your busy voicemail greeting.
 - Follow Me Settings - This section is only displayed if you have one or more numbers already defined in the Follow Me box above.
- Answer Confirmation - If a call is sent to an external number such as your Cell Phone, this will require you to press 1 before the Caller is transferred upon you answering the call from your external number. This is done to keep the Caller from going to your cell phone voicemail box if your cell phone is turned off or out of range.
- Delay between devices - This is how long we should wait before calling your Follow Me list of numbers. If you set this to a setting like 5 seconds, then the first 5 seconds will be just your desk phone ringing, and only if you do not answer after 5 seconds will it start to ring the numbers in your Follow Me list above.
- Ring timeout - How long to call all the numbers in the Follow Me list above before giving up and sending the call to your Users voicemail box.
- Time Condition - If your Client Admin has created a Time Condition for regular business hours, you can link your Follow Me to that Time Condition. Your Follow Me will automatically be disabled during regular business hours and will only enable itself during the time you select, using the Time Condition you pick here.
- CLID Prefix - You can set the Caller ID Name prefix here to be added to all calls when a call flows through your Follow Me here. Note this feature may not work with external numbers as many carriers will ignore the Caller ID Name we send.
- User Company CallerID - When calling an external phone number, by default, the system will send the Inbound Callers Caller ID as the outbound call. Setting this on will force it to override that with your user's external Caller ID that your Client Admin has setup for your User.
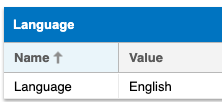
 - Language - Pick from which Language the Web GUI will be shown in from a drop-down of support languages.
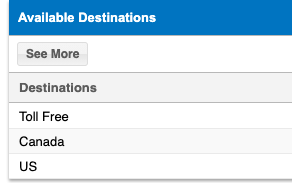
 - Available Destinations - Provides information on what areas your User is set up to call, such as Toll-Free Number or US and Canada. Only your Client Admin can change these settings for you.
 - Account Tab
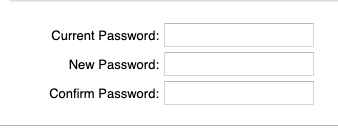
- Password - Change the password for this users Login for Cloud GUI and Call Panel
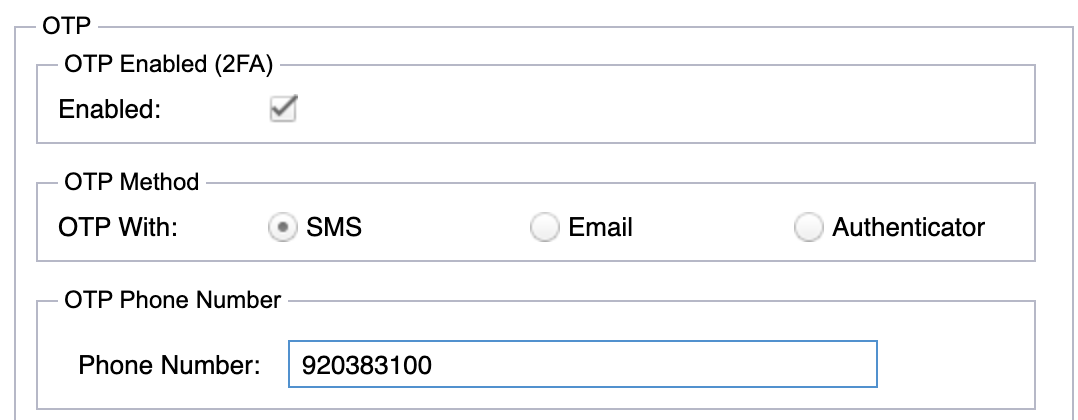
 - OTP - Here is where you can enable (One Time Password) or also know as (2 Factor Login) for a user. The supported ways for OTP is
- SMS - Provide a SMS capable number that after your login with your username and password we will send a SMS with your One Time Password as the additional login factor.
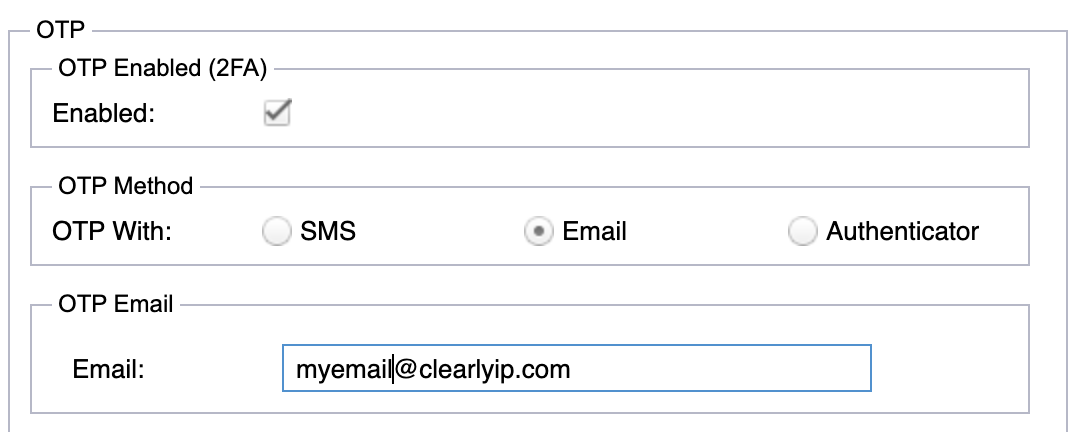
- Email - Provide a Email Address that after your login with your username and password we will send a Email with your One Time Password as the additional login factor.
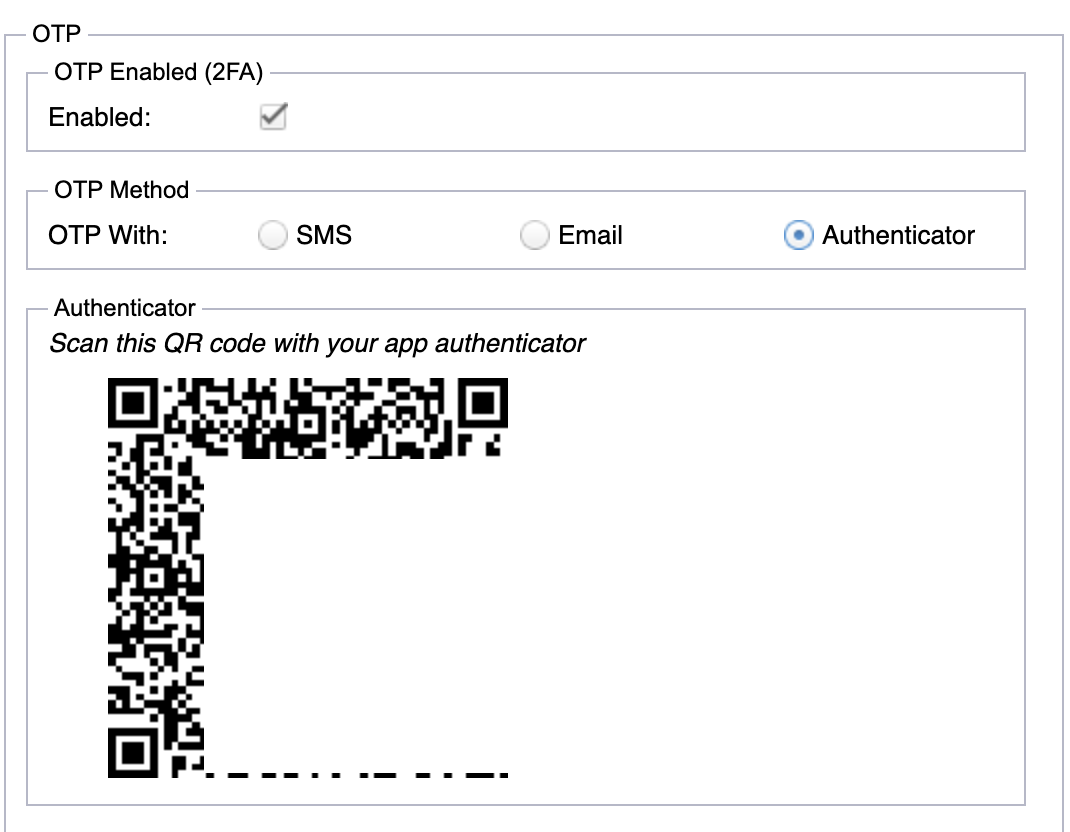
- Authenticator App - Download and install on your Mobile or Compute the Authenticator app which is a 3rd party 2 Factor Login app and scan the QR code generated here from your app.
- Backup Codes - Clicking this button will reveal backup codes that you can store somewhere safe to be used in the event that you are not able to use your 2 Factory option above such as loosing your Cell Phone if you are setup with SMS as your 2 Factor.

Contacts
In this module you can manage the shared contacts in your Clearly IP Cloud instance, and they will be available for your users. You can set one or many contacts as read only for some users, not accessible or filter what contacts a user can see through tags and permissions. - To access this module just click on the Contacts Option.
- You will see the current status of your contacts (personal and shared) and three Tabs: Contacts, Tags, and Personal Tags. The Contacts tab is shown by default.

There are two ways for adding a contact or contacts: Manually or by importing a CSV file. Manually Adding Contacts
- Click on the Add Contacts button and a new screen will pop-up.
 - This new screen has three tabs: Contact, Company, and Address
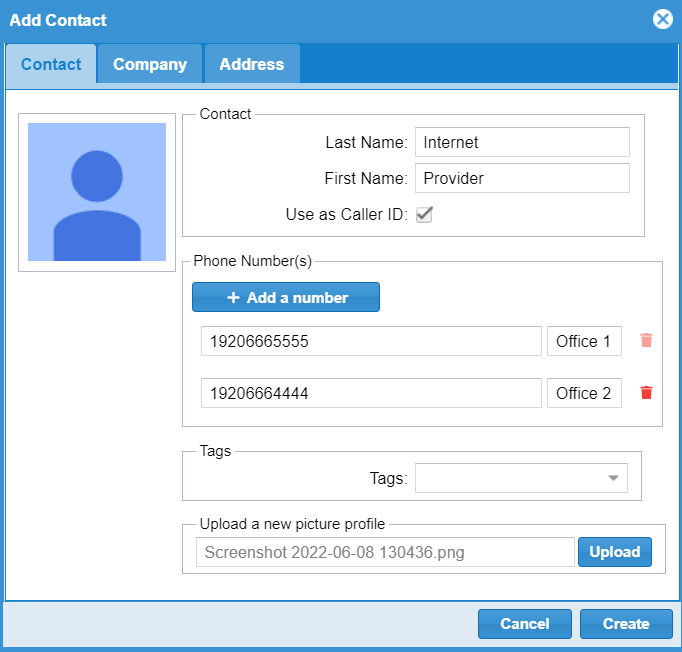
In the Contacts Tab you can enter the following information:
- Contact's Last Name and First Name.
- The option Use as Caller ID, if enabled, will override the Caller ID based on the First and Last names fields for received calls from any of the phone numbers entered below.
- Phone Numbers: Enter the desired phone number for this contact.
- In the Label field you can add a label to differentiate this number from the others.
- Clicking on Add a Number will add a new field where you can enter an additional number for this contact.
- Tags: You can select the tag that can be applied to this number.
- Upload a new picture profile: Here you can map a photo and have it associated to the contact.
In the Company Tab you can enter the following fields: 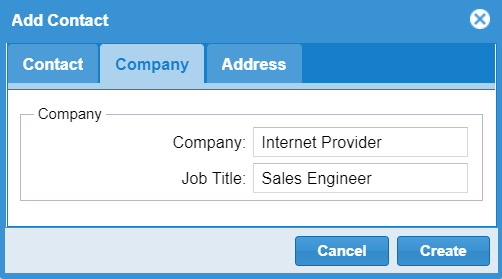
In the Address Tab you can enter the following fields: - Address Type: This could be Home, Work, School, or Other
- Address Line
- City
- State/Province/Region
- ZIP/Postal Code
- Country
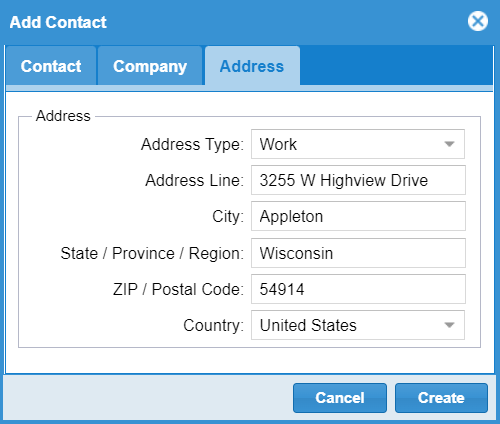
Just click on Create to add this contact.
Editing a Contact
- Simply select the contact to edit and click on the Edit Contact button or double click on the contact to edit and the editing window will appear.
- Update the desired fields and click on Update.

Deleting a Contact- Just select the contact to edit and click on the DeleteContact button.
Exporting Contacts- Click on the Export button and a CSV file will be downloaded to your PC/Laptop.

- The contents and fields of the CSV are as follows:

Importing Contacts
- Click on the Import button

- A new window will appear and from there you can select the CSV file with the contacts to import.
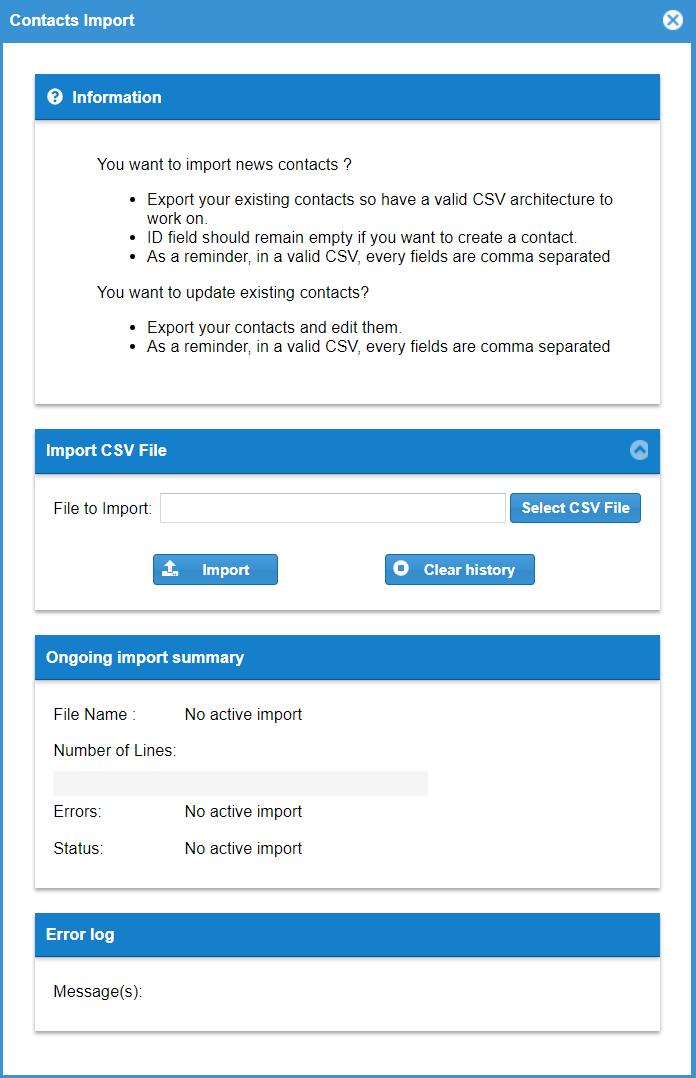
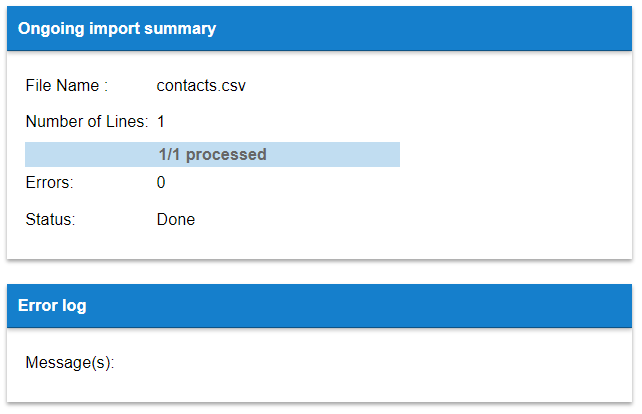
- The system will provide the status of the import in the Ongoing import summary section.
- We recommend you to first create one contact, export it so have a valid CSV architecture to work on.
- ID field should remain empty if you want to create a contact.
- As a reminder, in a valid CSV, every fields are comma separated.
Tags/Personal TagsTags are useful to filter what contacts a user can see through permissions or just to group some contacts. 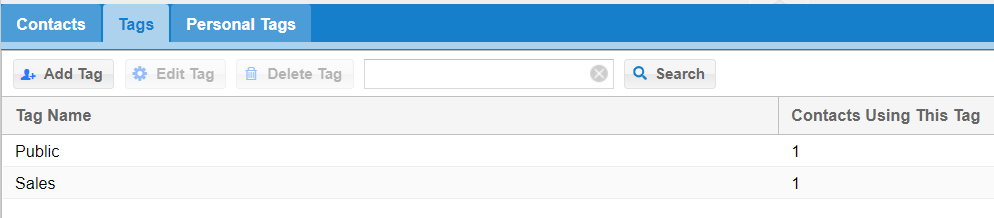
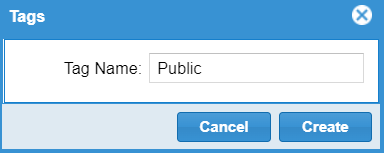
The Tags Tab will allow you create a Tag that can be associated to any contact. - To Create a Tab, click on the Add Tag button
 - A new window will be showed on which you can add or create your Tag.
 You can also Edit or Delete a Tag
Personal TagsPersonal Tags behave as the regular Tags in terms of their configuration and settings. 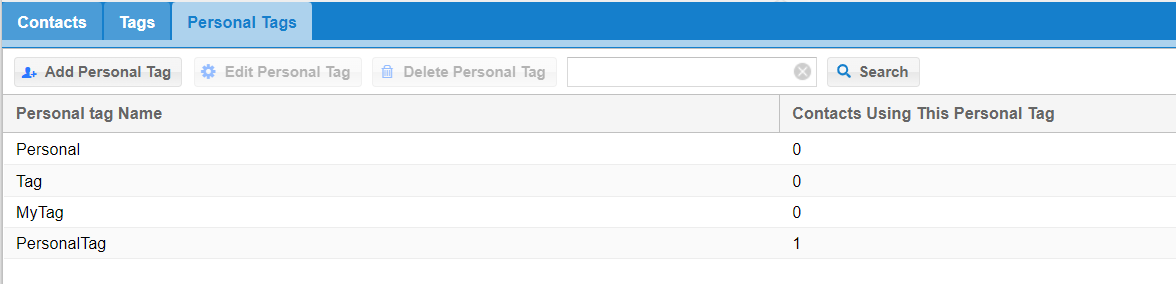
Sign Out- To Sign Out from the Client Portal, Click on the Sign Out menu Option
 - You will now be signed out and taken back to a Login page
|
|
|
| | | |
|