The app will check in once a hour to your PBX for new or updated configuration information. If you want to force the app to resync the provisioning information you can follow these steps.
Click on the Gear Cog in the top right from the Keypad screen
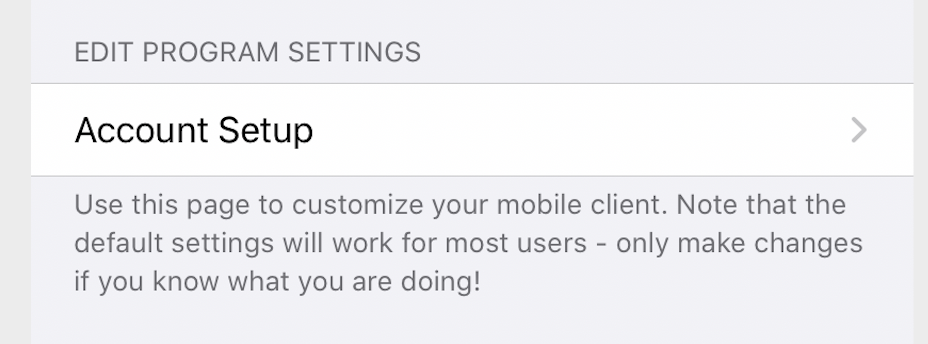
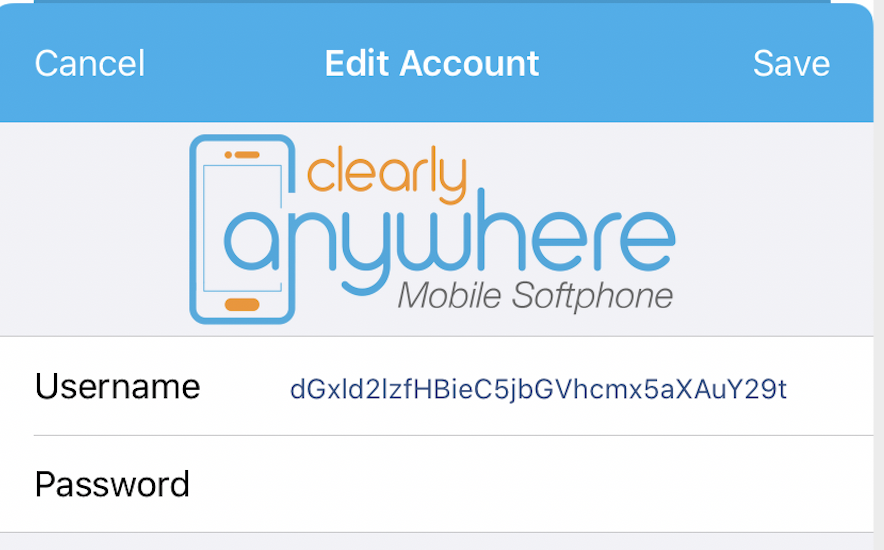
Click on the Account Setup option
Click on the Save button and your Clearly Anywhere app will reach back out into your PBX and get a updated configuration file and apply it.
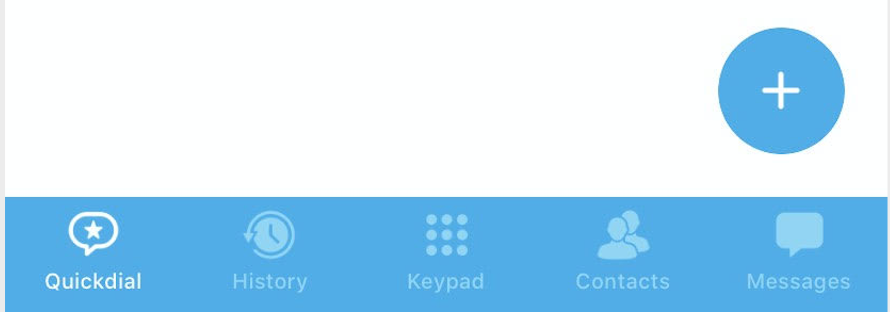
Open your Clearly Anywhere App and click on the Quick Dial option at the bottom.
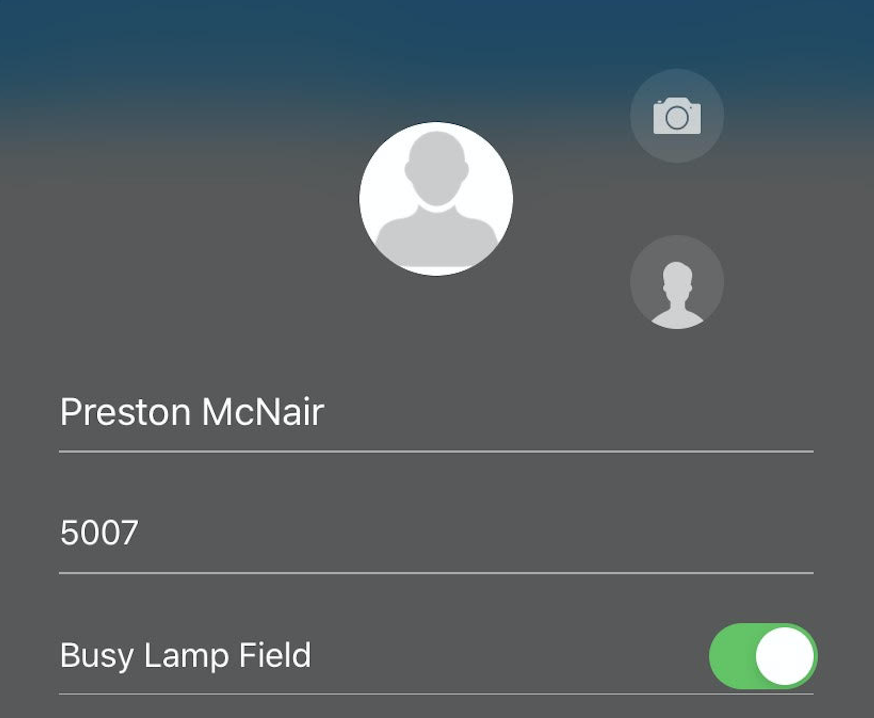
Press the + icon to add a new BLF
Provide the Extension Name, Extension Number and toggle on the BLF option. You can optionally provide a picture associated with this Contact/BLF.
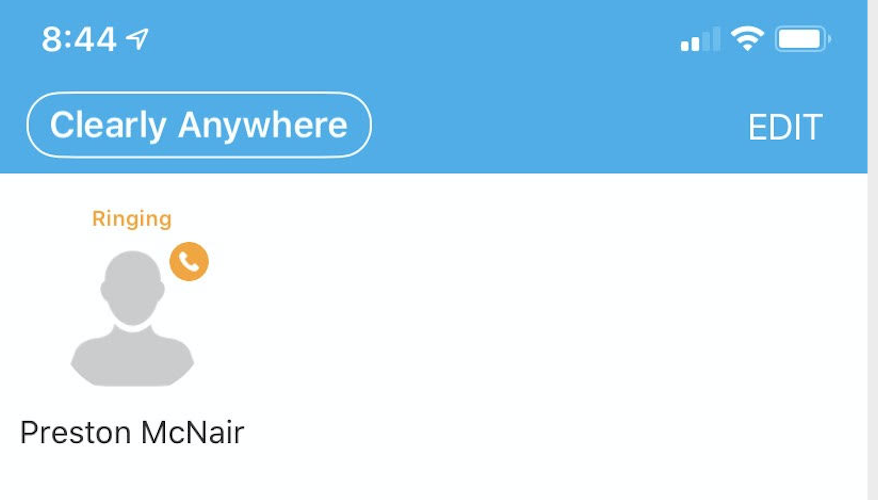
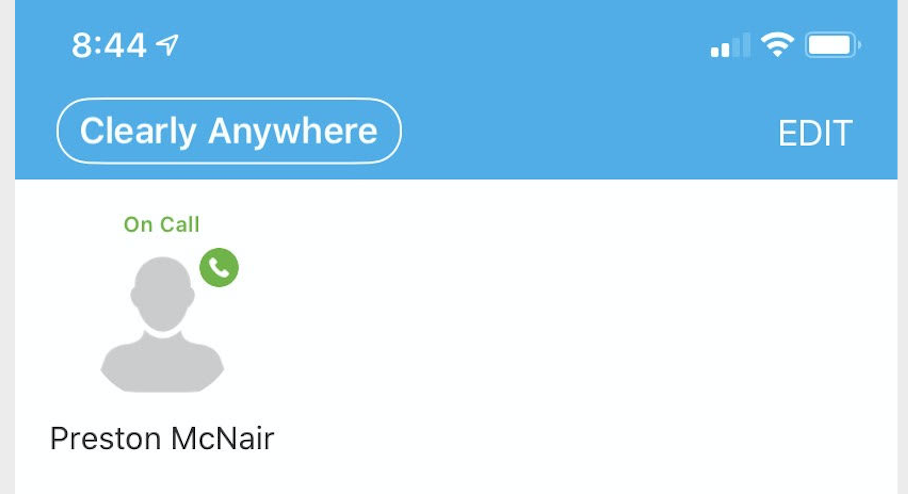
You can now see when the Extensions current BLF status at anytime and click on the persons name to quick dial them.
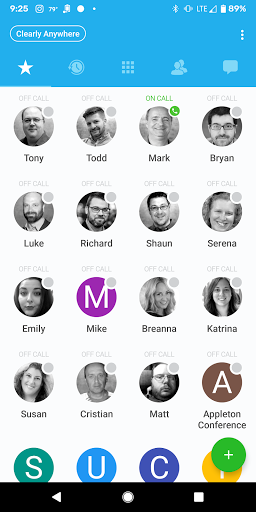
Here is a example of a layout with numerous BLFs and Contacts setup
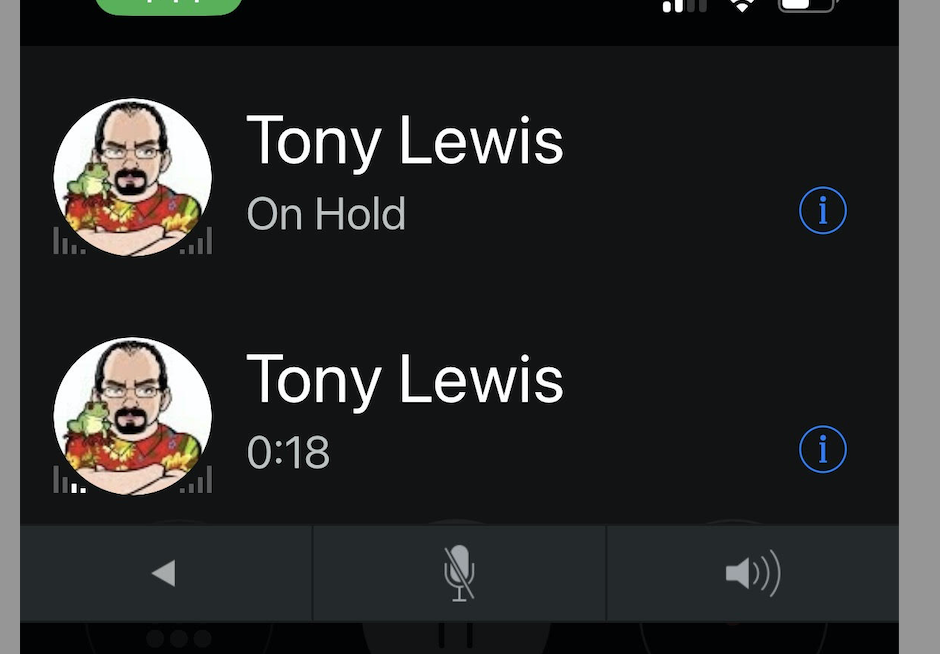
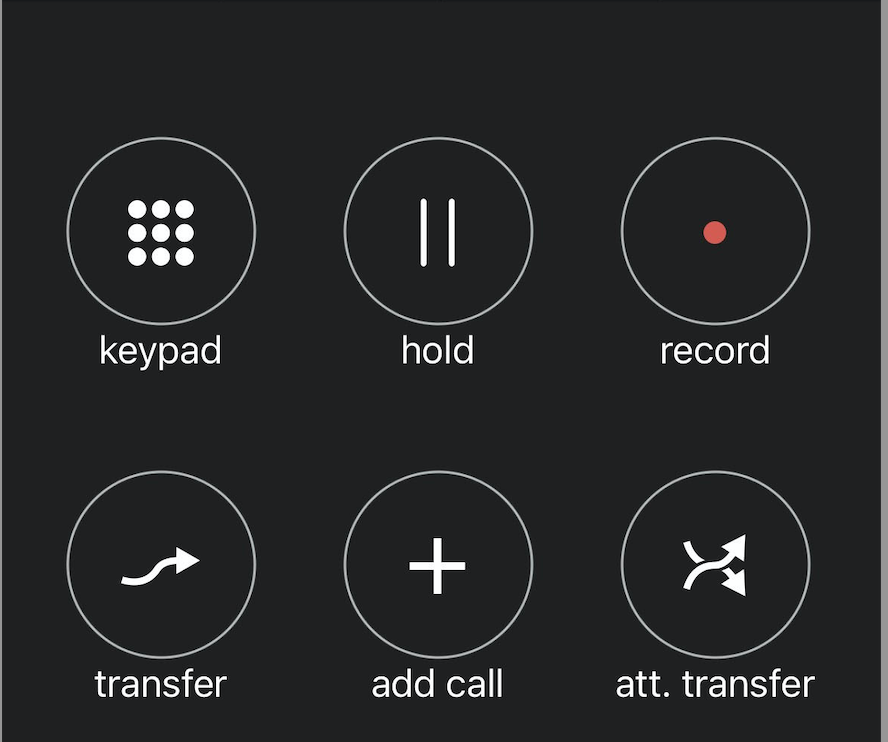
Managing More Than 1 Caller At A Time
While on a active call you can press the hold button.
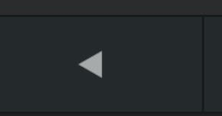
Next press the < key on the top nav bar
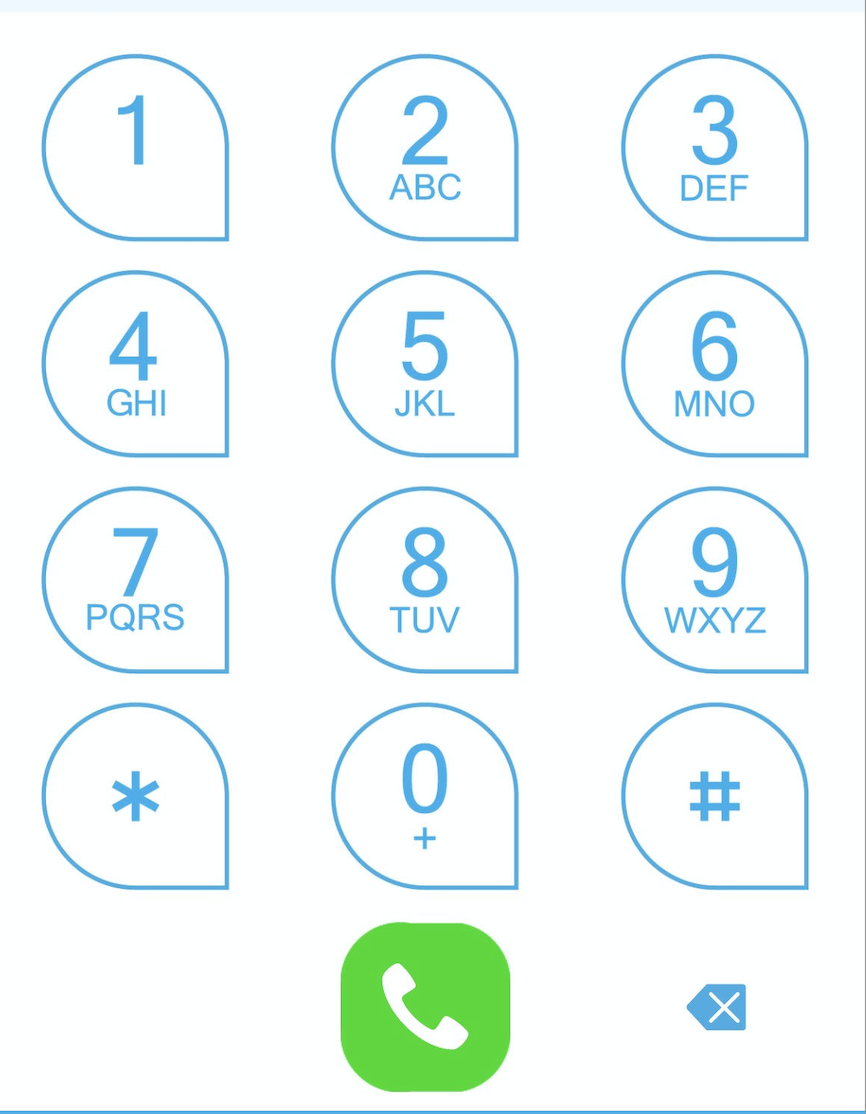
You can now place a second call.
Once the call is connect you can press the arrows at the top and it will slide down all your calls and you can switch between callers. Remember to put the caller you are talking with on hold first before you switch to a different caller.
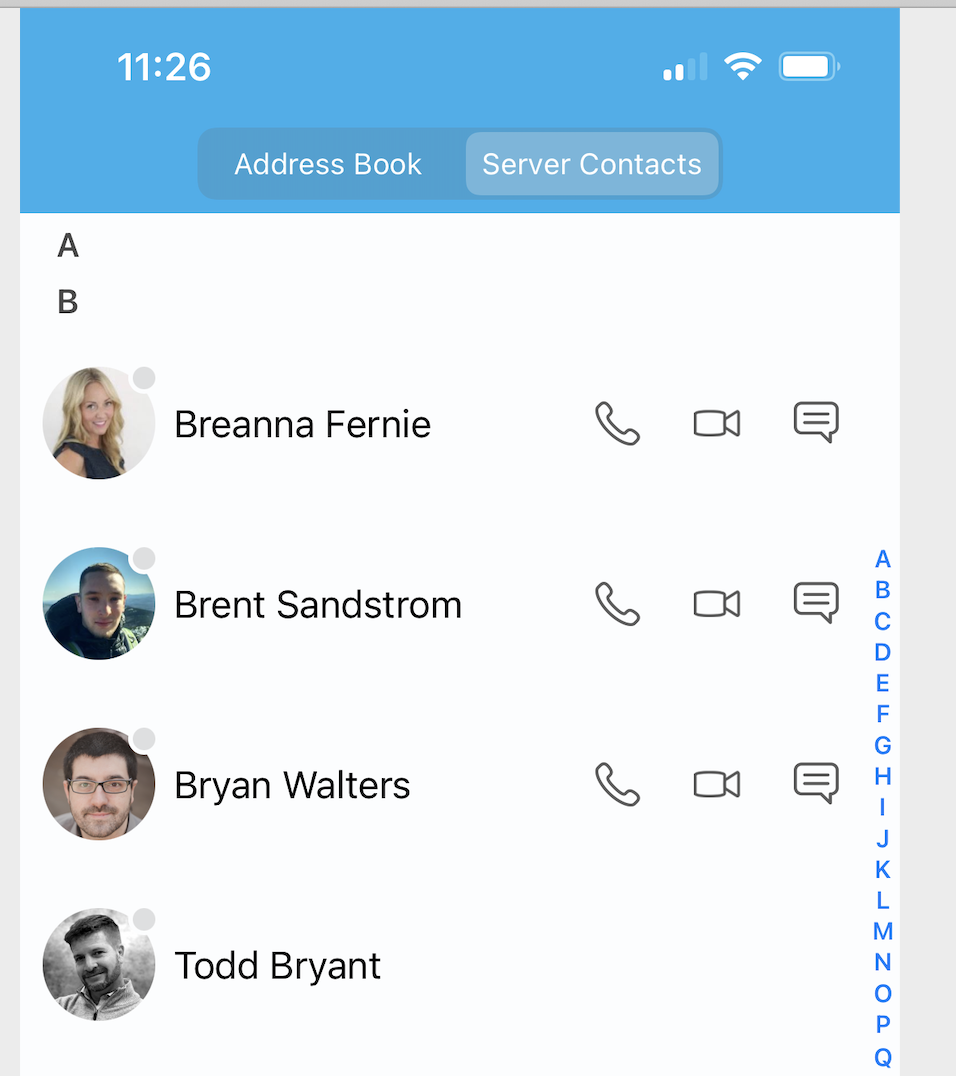
Contacts
Clearly Anywhere for Mobile has 2 menu options when viewing Contacts.
Address Book tab are all contacts you have saved on your mobile phone by default.
Server Contacts tab you will see all contacts that you user in PBX has access to in the Contact Manager of your PBX.
Do Not Disturb (DND)
DND on your Clearly Anywhere mobile app is not synced to the PBX for DND which means when you enable DND on your mobile app it will only enable it for that specific device. This is done on purpose, otherwise if you enabled DND on your mobile device it would enable it on all your phones if it was server side. The most common reason for enabling DND on your mobile is when you are near you desk phone you may not want calls coming to your mobile.
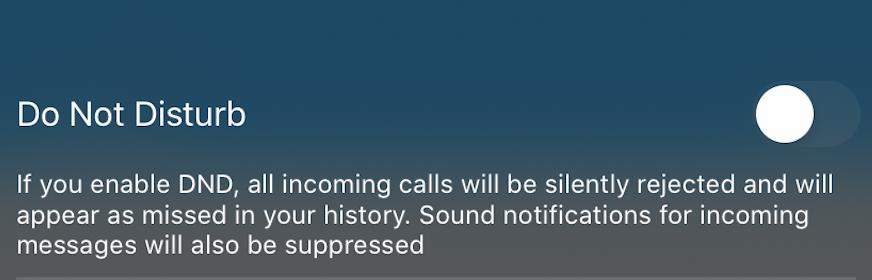
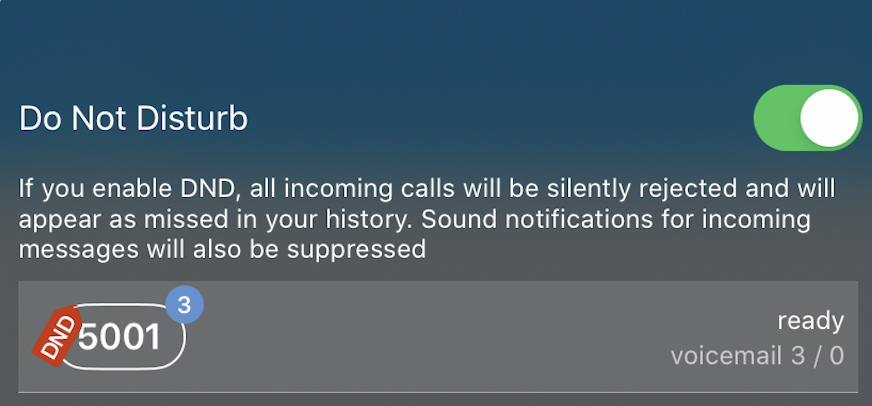
Toggling DND Manually
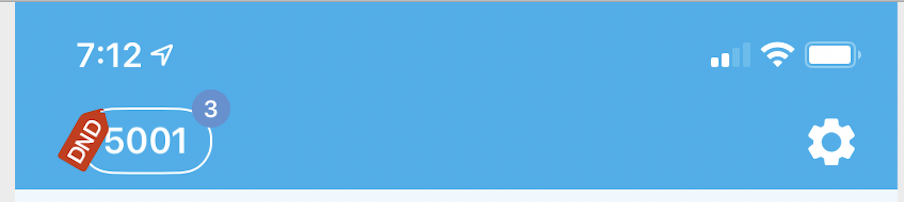
From the main screen of your app click on the (Extension) box at the top
From here we can see the current state of DND is off.
Click on the toggle slider to turn on DND and we will see it is now enabled
From the main screen we can also see DND now shows on the corner of the (Extension) box.
Setting up DND Schedule
You can optionally set a schedule of when you want DND to be enabled and disabled automatically. If the schedule is setup and you are currently within that schedule period DND is automatically enabled.
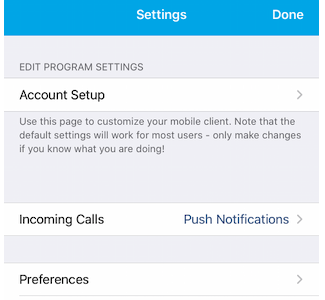
Click on the Gear Cog on the top right from the dial screen
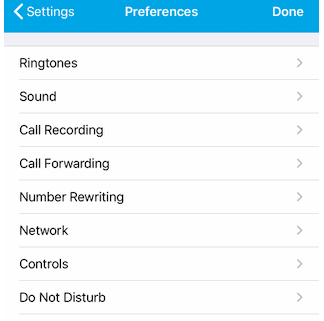
Click on the Preferences option
Pick the Do Not Disturb option
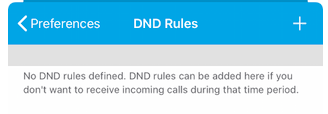
From here we can see a list of any DND rules we have already created and add, edit or delete rules. Click on the + icon in the top right to create a new rule.
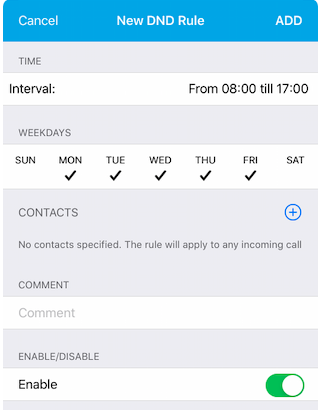
From here we can define what hours and what days of the week we want this rule to apply to along with a comment for this rule to describe what its purpose or use is. In our example we are calling it Business Hours and defining its Monday thru Friday 8AM to 4PM. Press the Add button at the top to save your rule.
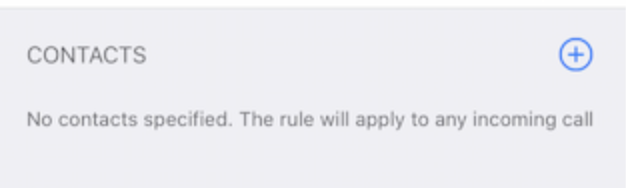
You can optionally define the rule for specific contacts or phone numbers if you want. For this rule we are going to leave it for all contacts.
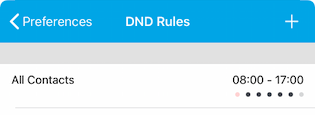
We can now see our new Rule is Enabled and added.
Below is a screenshot of a second rule I created but the rule is not marked as enabled so its greyed out in the list since its currently disabled. You can go into any rule at anytime and enable or disable the rule.
Video Calling
The Clearly Anywhere app supports making video calls from 1 Extension to another extension also known as 1:1 Video Calling. Video calling should work with any other extension on your PBX that is setup with a Video enabled DeskPhone or Softphone such as Clearly Anywhere. If video is not working for you please have your PBX admin verify they have Video calling enabled correctly on your PBX as outlined here.
While on an active call you can press the Video icon to establish a Video feed with any extension on the same PBX that is setup for Video including other Clearly Anywhere users.
Pick if you want to use the Front or Back Camera
You can now see the video of the other caller and your own feed
Enable Debug Logging
Your Mobile app by default does not log anything and we have to enable logging if prompted by Support to provide logs.
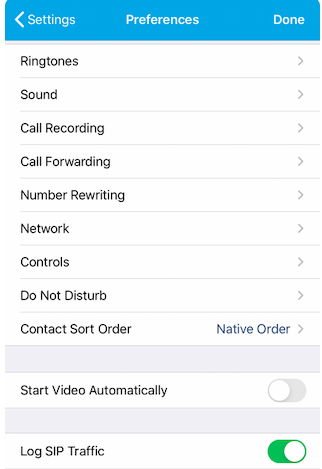
Click on the Gear Cog in your app.
Pick the Preferences option
Activate the Log SIP Traffic button and verify it shows it is active now as shown below and press Done at the top.
Viewing Debug Logs
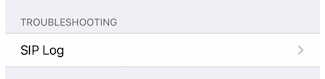
Click on the Gear Cog in your app.
Click on the SIP Log option
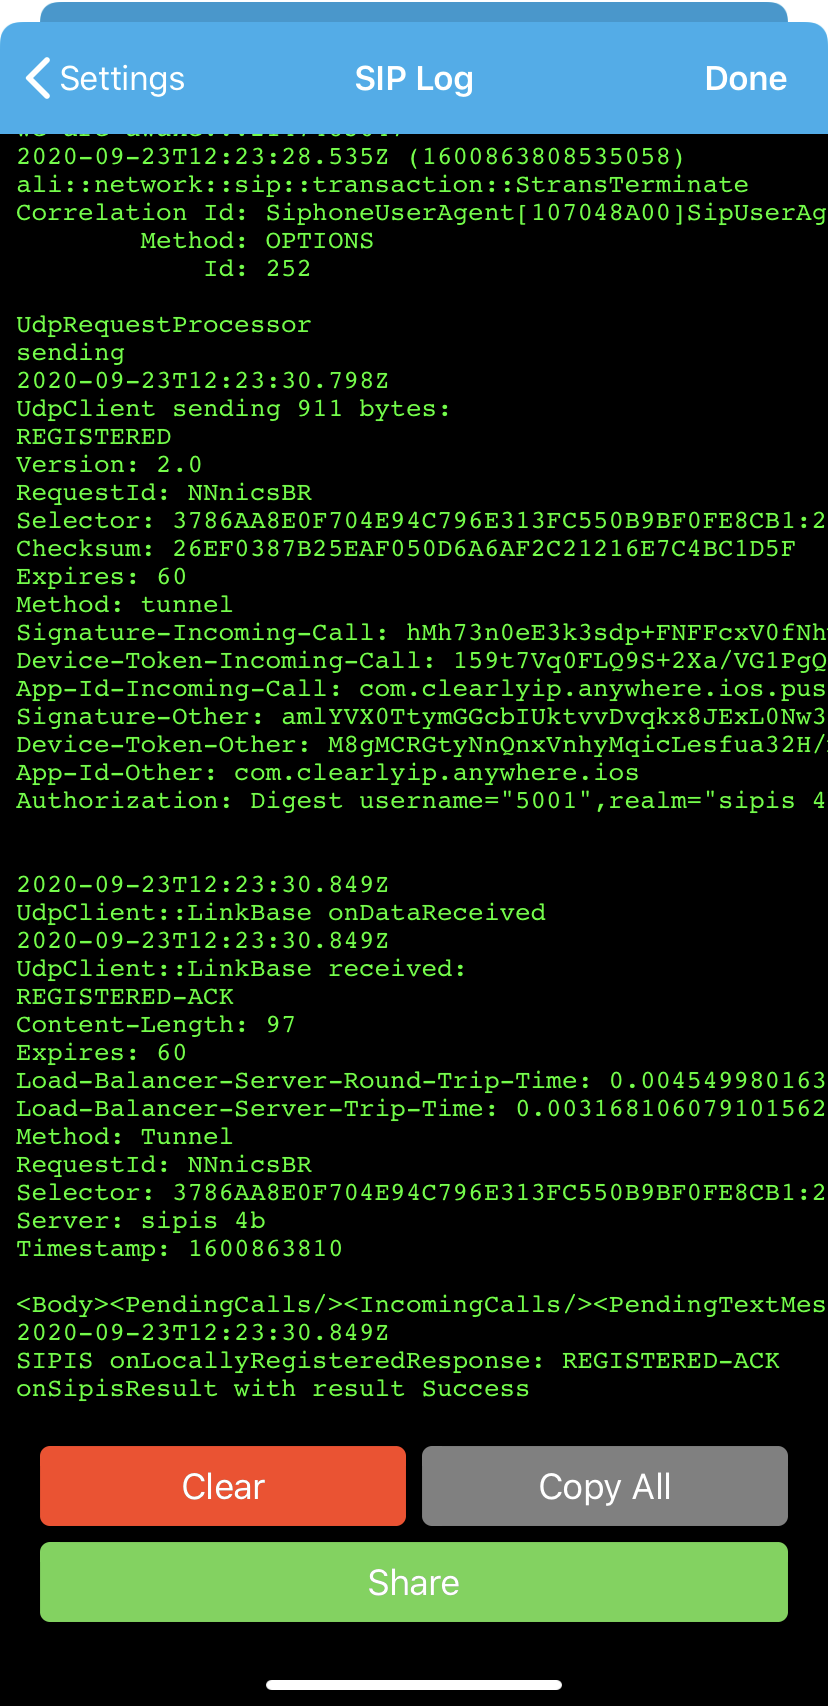
From here you can see the full logs and use the share button to email it to yourself or support.
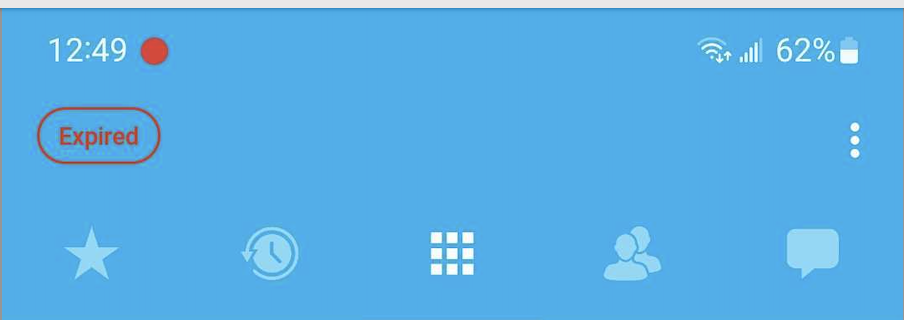
Mobile App Showing Expired
If you see a Red Box that says Expired when viewing your mobile app this means the license on your PBX for Clearly Anywhere has expired and you need to renew your license.
To view your current license and expiration date review this wiki here.
You can renew your license at https://store.clearlyip.com.
 Uploading ....
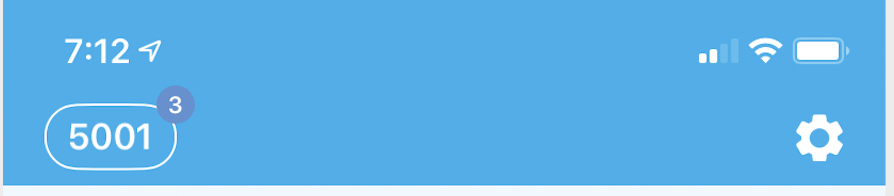

 arrows at the top and it will slide down all your calls and you can switch between callers. Remember to put the caller you are talking with on hold first before you switch to a different caller.