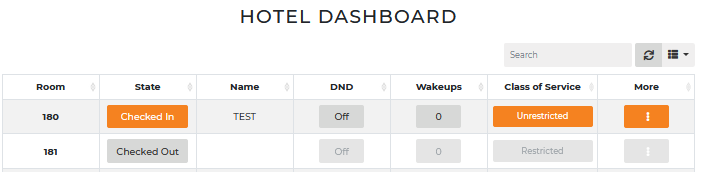
The Hotel Dashboard is a web GUI that ComXchange Administrators and Hotel Staff can use to Manage the Hospitality Features for a room such as check in / out, manage wakeup calls, and calling permissions. Once the room is "Checked In" you can activate features such as DND, Wakeup Calls, and change the Class of Service. This can be useful for troubleshooting or when there is no Property Management System (PMS) available and you need to allow for guest rooms to be Checked In to be able to utilize the phone, wakeup calls, voicemail, etc. If the ComXchange has a PMS interface, the PMS is the primary data source and will overwrite any local changes made from the Hotel Dashboard. Making Changes in the Hotel Dashboard only affects how the phone system views the room and doesn't affect the PMS in any way. For further information on using the Hotel Dashboard See The Hotel Dashboard User Guide.
Admins can access the Hotel Dashboard through Reports > Hotel Dashboard. Hotel Staff can access the hotel dashboard by logging into the User Control Panel (UCP) with a user created in the User management module that has login permissions. The Hotel Dashboard can be set to be accessed with https through either the LAN or the WAN interface of the ComXchange. Hotel staff typically accesses the dashboard by logging into the UCP over the WAN using https port 443 which can be set up in System Settings > Web Access. For more information see: Web Access. The User Control Panel Dashboard is where you can add links to access the Hotel Dashboard and Call Accounting if the feature is enabled for the site. For Information on Call Accounting See the Call Accounting Admin Guide Create a Hotel Staff User Login
Hotel staff will login to the Hotel Dashboard with a non Administrator User. The User will be created in the User Manager Module and will be assigned login permissions to the UCP.
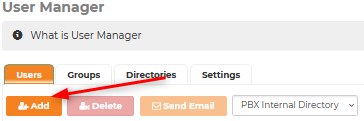
Navigate to Admin > User Manager.
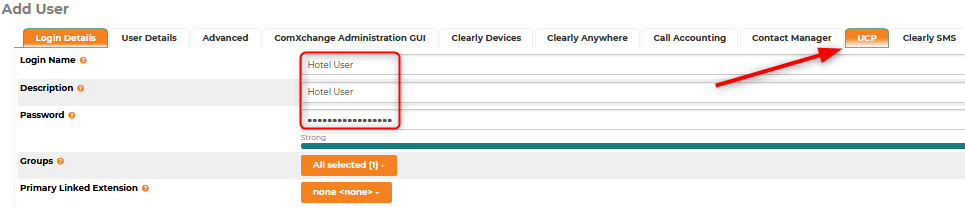
- Enter a Login Name
- Enter a description
- Enter a Password
- You can leave the groups and Primary Linked extension as default.
- Click on the UCP tab
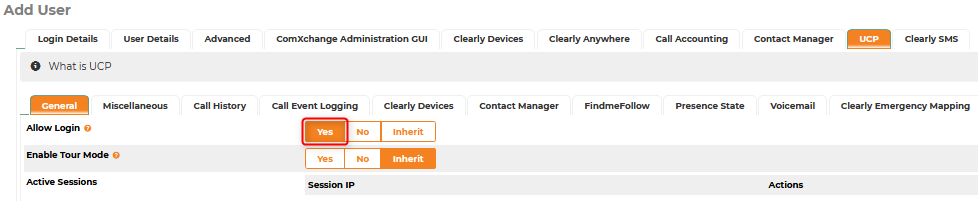
Add UCP Access
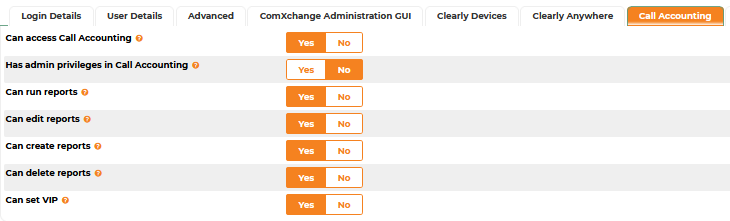
Call Accounting Access Permissions
If the the Hotel User should have access to call accounting we can set permissions in the Call Accounting tab. You can grant permissions for the user by clicking on Yes button next to the permission. Usually a Hotel User will be given all but the "Has Admin privileges in Call Accounting" as this permission is for setup of the Call Accounting server and the interfaces.
Create the Hotel Dashboard Landing Page
As stated above the UCP can be accessed by a staff member over the WAN with https when the ComXchange User Portal is set to use HTTPS. Logging into the UCP as the Hotel user will take you to a Landing Page that will need to be setup with the links to the Hotel Dashboard and Call Accounting is desired.
- Login into the User Control Panel as the User
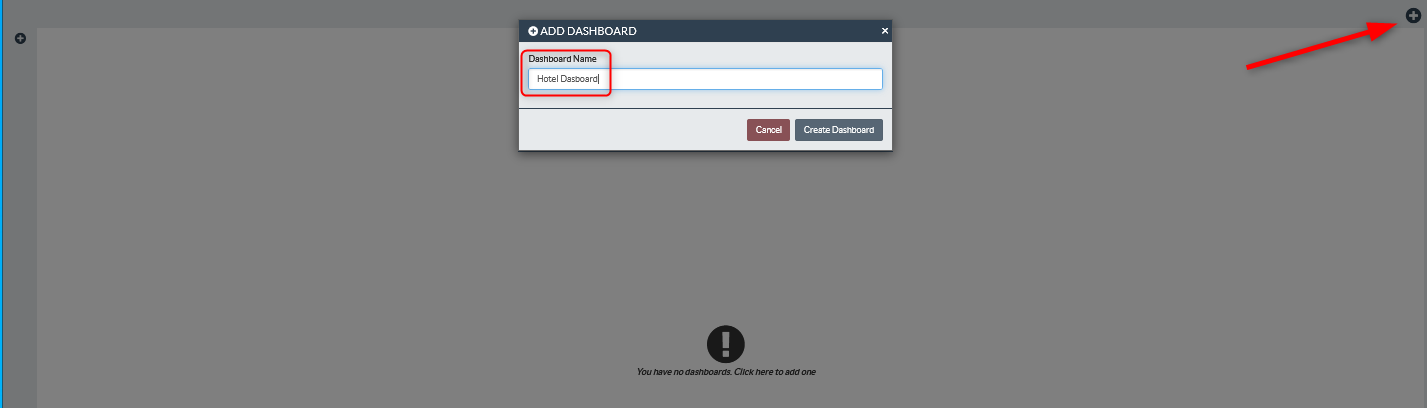
- Click on the + button in the upper right hand corner to add a dashboard
- Add a name for the Dashboard
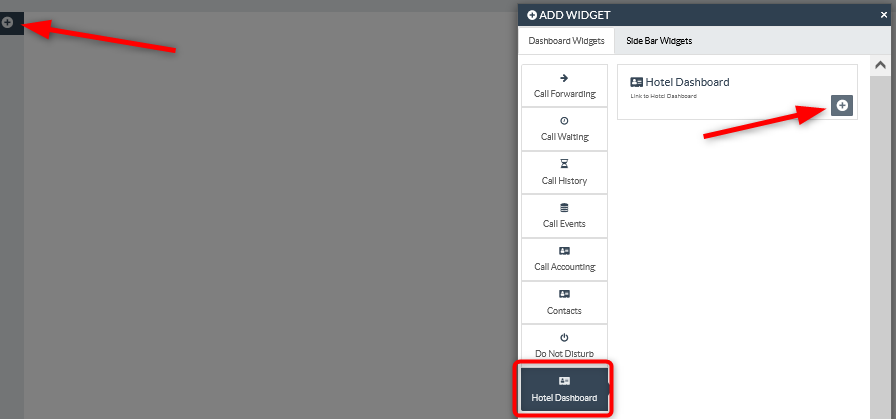
- Click on the + button on the upper left hand side to open the Add Widget dialogue box
- Choose the Hotel Dashboard Widget
- Click on the + button to add the widget to the dashboard
- Add the Call Accounting Widget if the feature is available.
 Uploading ....