CloudPBX Survivability allows us to setup the gateway to take calls from your local IP phones that would normally be connected to your Cloud or Hosted PBX and route the traffic.
In the event your Hosted PBX has an outage this will allow interoffice calling between phones to continue to function and allow calls from the IP SIP phones to route out a SIP trunk for outbound calling including 911.
In the event the office internet fails, we will treat that event the same as if the Hosted PBX is having an outage but we will failover to the 4G connection to connect to the SIP Trunk.
The Gateway has to be setup with a SIP Trunk and configured for allowing the local IP SIP phones to failover to the device.
The setup guide below assumes you have already setup the 4G Sim and APN as outlined in our Initial Setup guide here
Setup SIP Trunk
Note: When using Clearly IP trunks you can use Sublocation Trunks for registering your Primary Server and the Failover Gateway to allow automatic routing of DID's to the gateway if the Primary server becomes unreachable. You can find information on creating and using sublocations here Clearly IP Sublocation Trunks.
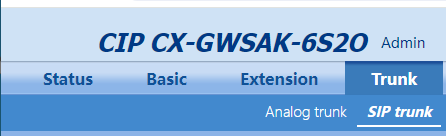
From the Menu click on Trunk > SIP Trunk.
Click on the Add button to add a new SIP Trunk.
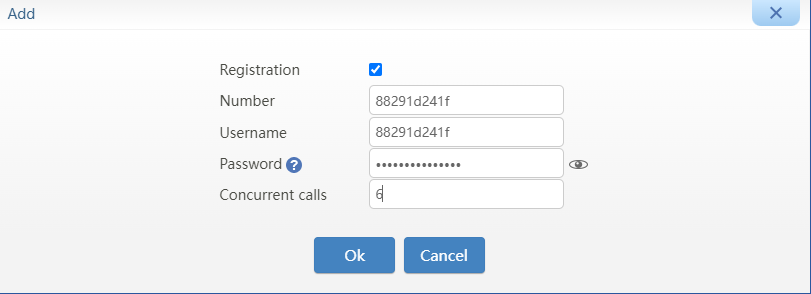
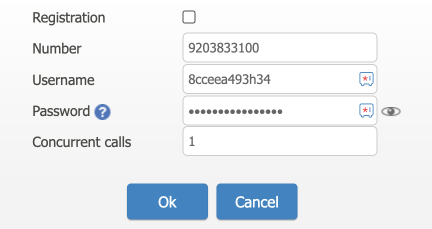
Set the following fields to setup your SIP Trunk and press the OK button when done.
Registration - Enable
Number - SIP username that you register with on you SIP Trunk
Username - SIP username that you register with on your SIP Trunk
Password - SIP password that you register with on your SIP Trunk
Concurrent Calls - Set to the number of concurrent calls you want to limit this trunk to. Usualyl set to however many calls your SIP Trunk carrier allows you to make at a time.
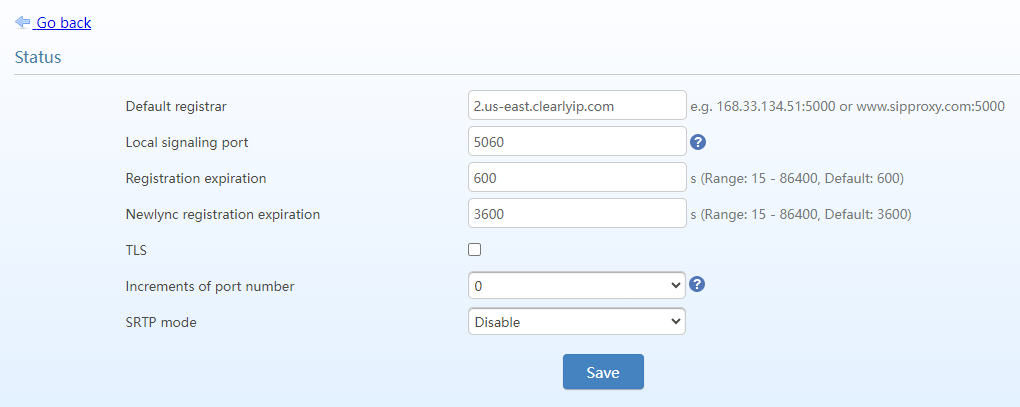
We now need to designate the server that will accept the the SIP trunk registrations. Click on the Registrar Options button.
Set the following fields and press the Save button when done.
Default Registrar - IP address of FQDN of your SIP Server
Local Signaling Port - What port you want to listen to SIP on for this SIP Trunk
Register Expiration - How often to re-register to the SIP Server in seconds (we recommend 60-600 Seconds)
You will now see that your new SIP Server is registered.
Routing Inbound Calls
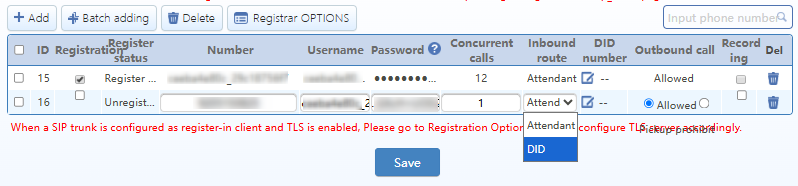
Once the trunk is registered you will need to map entries for DID's to an inbound route wich can go to an attendant or to extension on the gateway.
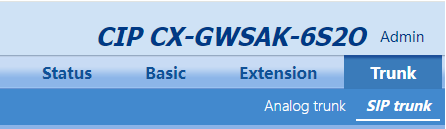
From the Menu click on Trunk > SIP Trunk
Click on the Add Button to add a new Phone Number Mapping
Set the following fields to setup your SIP Trunk and press the OK button when done.
Registration - Disable
Number - Set to be the phone number of the DID we want to map to a port.
Username - SIP username that you register with on your SIP Trunk
Password - SIP password that you register with on your SIP Trunk
Concurrent Calls - Set to the max number of inbound calls you want on this DID at anytime.
The inbound DID can be mapped to and extension or to an attendant
Monitoring your Hosted PBX
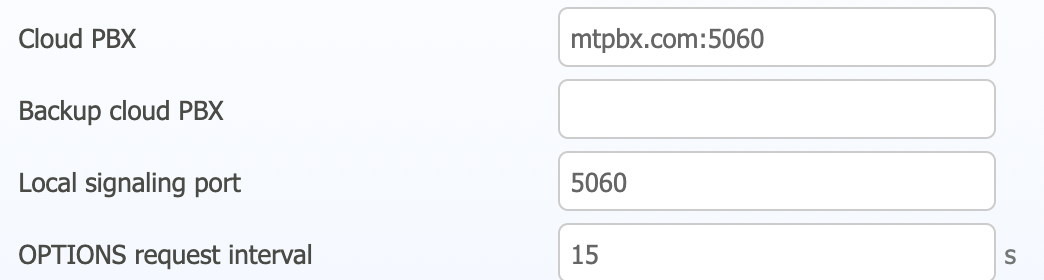
In order to monitor availability for failover, the gateway needs to be told the IP or FQDN of your Hosted or Cloud PBX.
Navigate to Outbound call routing.
Set the following fields and make sure you save your changes when done.
CloudPBX - The IP address or FQDN of your Hosted PBX
Local Signaling Port - What port SIP signaling is setup on your Hosted PBX. Usually 5060
Options Request Interval - How often to send an Options packet to your Hosted PBX to make sure its still reachable in seconds. We recommend something between 15-30 seconds.
Next we need to tell the gateway the IP Subnet of your local IP phones that are allowed to register to this gateway in the event your Hosted PBX is down. The gateway will accept registration from any phone in the subnet you define. You can define up to 2 subnets
Scroll down to the Supplemental Authentication section
Allow call from IP Segments - Enable this.
IP Segment 1 - The local subnet your phones are on.
IP Segment 2 - If you have an additional subnet your phones are on you can define it here.
Save your changes when done
Configure your SIP Phones to failover Registration to Gateway
Each SIP based IP phone handles failover registration a littler different. In our example below we are going to show how to set this up on a Clearly IP Desk Phone.
Below will show 3 different ways you can set the failover server based on how your CIP phones were configured.
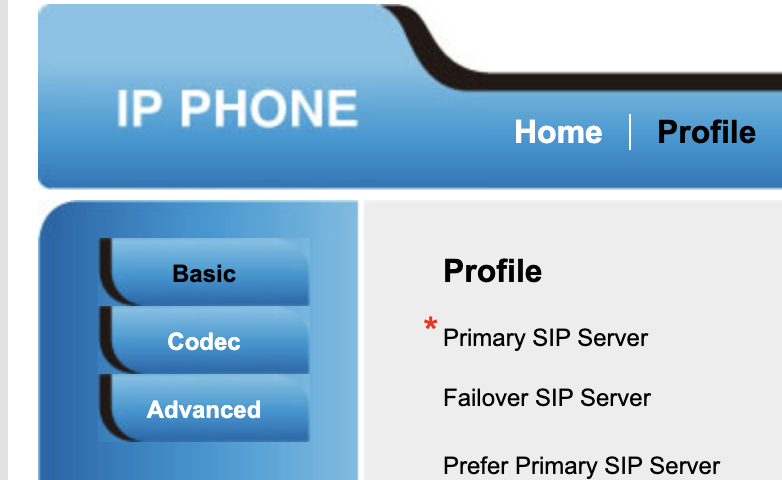
From The Phone GUI Direct
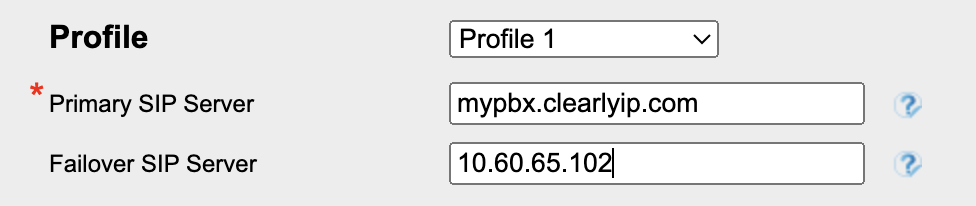
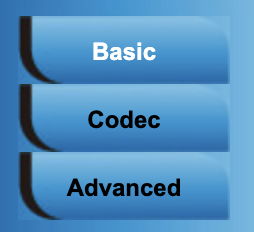
From the Menu click on Profile on the top and Basic on the left menu
Locate the field called "Failover SIP Server" and put in the IP address of your Failover Gateway from above
Press the Save Set button at the bottom
From the Left menu click on the Advanced tab
Set the following 2 fields
SIP Detect Mode - Set to be "SIP Options"
SIP Detect Interval - Set to 15 to 30 seconds. This is how often the phone will check to see if the primary server is up or down and switch between primary and secondary and back to primary
Press the Save Set button at the bottom
Your phone is now setup to failover to your new gateway in the event the hosted or cloud PBX is down.
FreePBX or ComXchange Clearly Devices Module
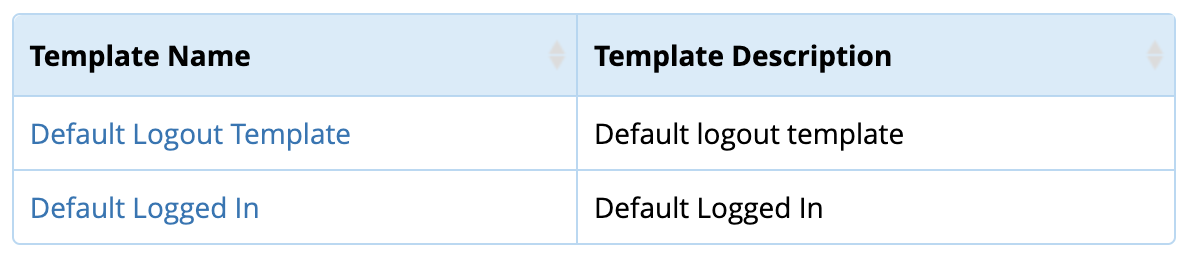
From the Clearly Devices module click on the Template from the right menu you want to setup to failover to this gateway
Under the Redundancy Tab of the template you will set the IP address of the Gateway and Port 5060.
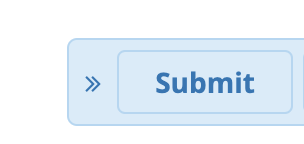
Submit your template changes and the phones should pull a new config that enables the secondary registration now to the gateway for failover
Clearly IP Cloud Device Manager
If you are using CDM to manage your phones you will need to login and navigate to the Location that you want to setup to failover to this failover gateway.
Edit the Location by clicking on the Binoculars icon for the location you want to edit.
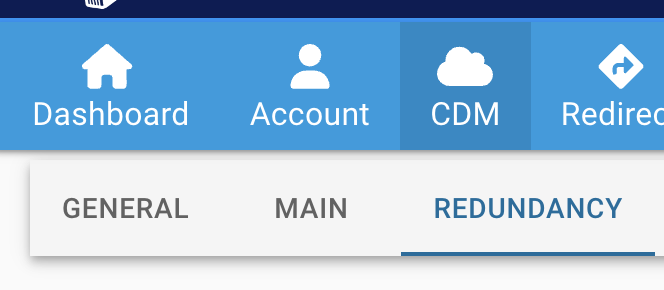
Click on the Redundancy tab at the top
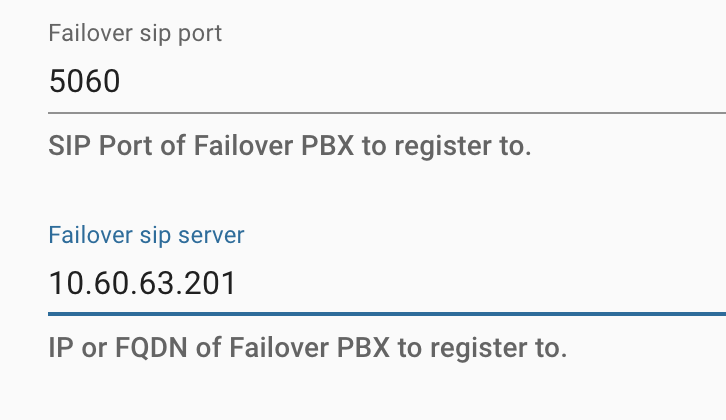
Define the SIP port you have the gateway setup on. 5060 is the default port
Define the IP address of the gateway
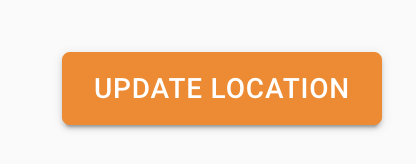
Click on Update Location and the phones on this Location should now update their config with this failover option
 Uploading ....