| | | |
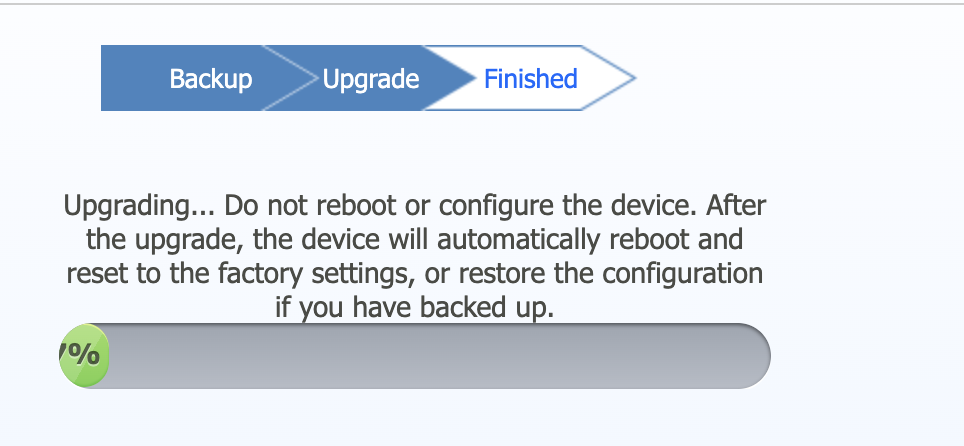
 Uploading .... Uploading ....
Determine the IP Address - The gateway comes with DHCP client enabled by default and will retrieve a IP address from your DHCP server.
- Plug in a Analog phone into FXS Port 1 and dial ## from the phone.
- The system will play back the DHCP IP address that the device received from your network.
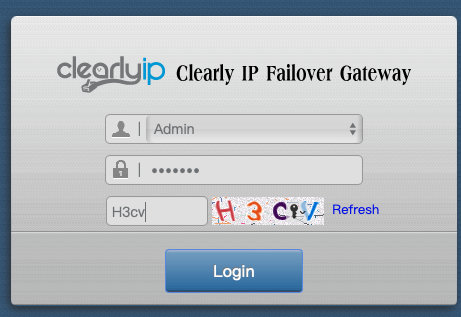
Logging into GUI - Put the IP address of the device in your web browser with https://IPADDRESS.
- On the login page login as Admin and the default password of clearly and provide the Capture information and press Login.
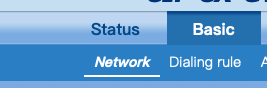
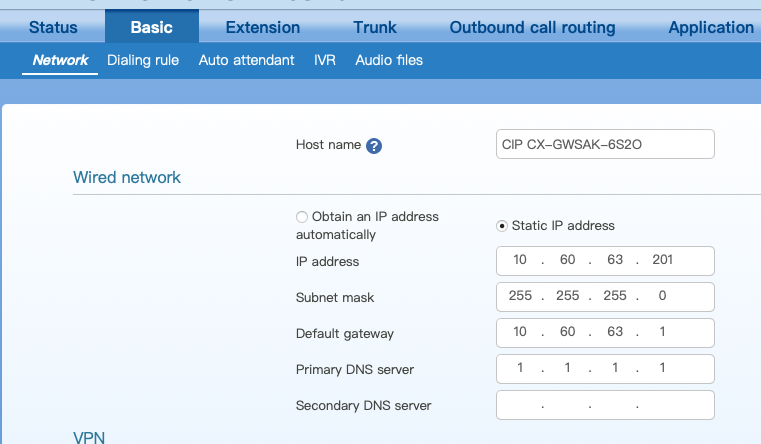
Setting Static IP - From the Menu click on Basic > Network
- Scroll down to the Wired Network section and define a static IP address if you prefer the device to have a static IP.
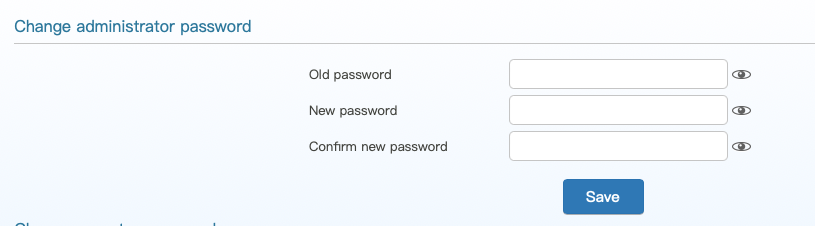
Changing Admin Password - From the Menu click on System Tool > Change Password

- Type in your existing password and your new password along with confirmation of the new password and press Save.
Check the Wireless Signal Strength (and, if signal is weak, act accordingly) - To check the wireless signal's strength just go to Basic > Network and scroll down to the "Mobile network" section.
- Within that section the wireless connection Signal strength can be viewed:
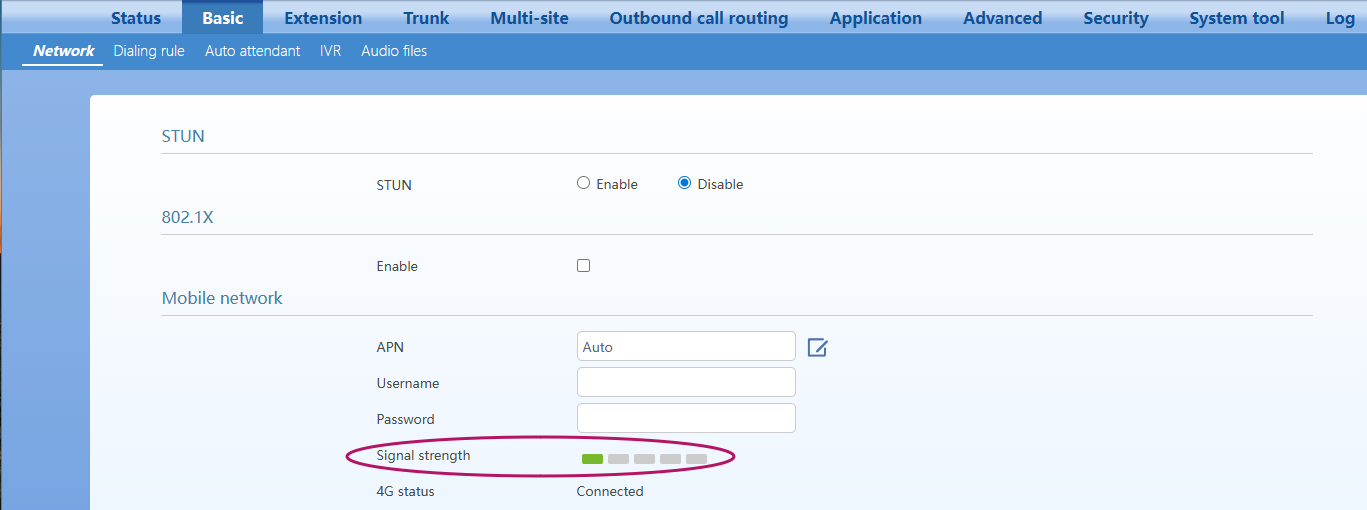
(example above shows a CIP 4G Gateway with poor signal strength as just the first out of 5 possible bars are colored)
- If the signal strength shows to be consistently low (3 or less bars the majority of the time), we strongly suggest either:
- Placing the gateway in another available place where the wireless signal reception is consistently better
---or, if the moving the gateway to another place proves to be not possible,---
- Purchasing an External Antenna, and its corresponding Antenna Cable, so that the external antenna can be placed in a place with better signal reception - for example, outside of the building
The objective of the above recommendations is to consderably improve the wireless signal strength and therefore the quality and reliability of the voice communications when using the 4G connection.
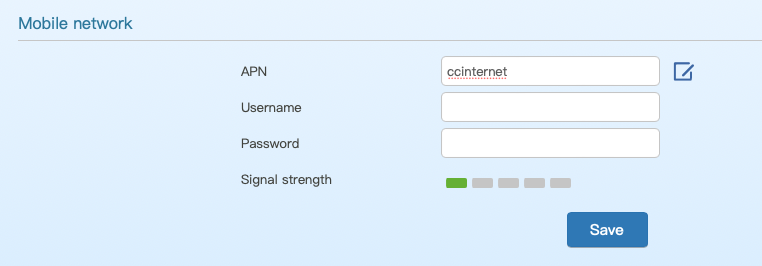
Setup APN based on your Wireless Carrier - If you are using a 4G SIM not provided by Clearly IP you will need to go setup the APN based on your wireless carrier SIM. The APN tells us what Router to use with the wireless carrier. Common APN for different wireless carriers are below but you will need to check with your carrier if the APN below does not work or your wireless carrier is not listed.
- From the Menu click on Basic > Network

- Scott down to the Mobile Network section and provide your APN and if required the Username and Password for the APN.
- Most APNs do not require a username or password
 - Optionally you can click oni the Edit Icon
 next to the APN field and get a list of common APNs for US wireless carriers. next to the APN field and get a list of common APNs for US wireless carriers.
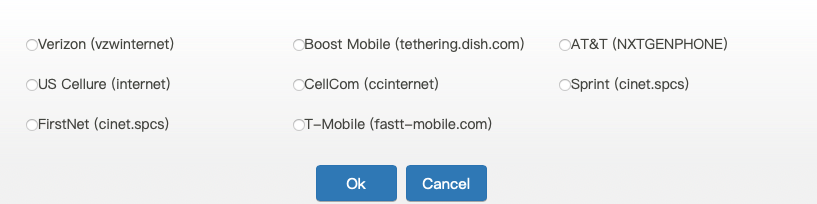
- Press Save when done.
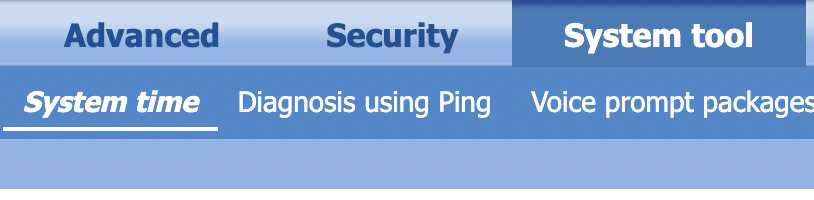
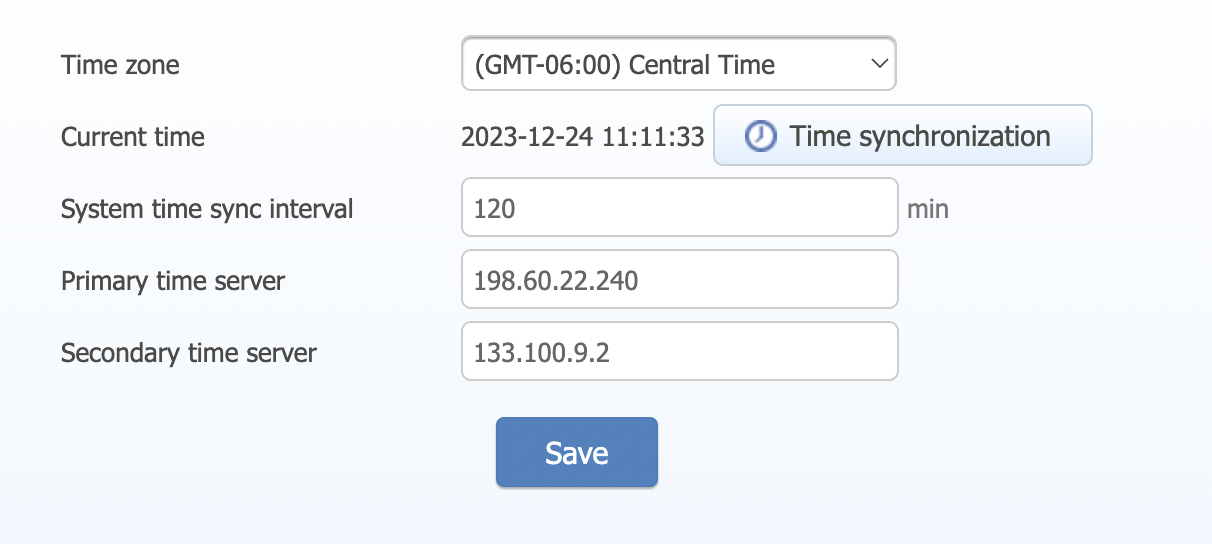
Setting Up Time Zone
|
|
|
| | | |
|