Redirect Location: Select your PBX's Location from the drop down. (If it doesn't show make sure you defined it as per the Adding Locations wiki, and/or refresh your browser)
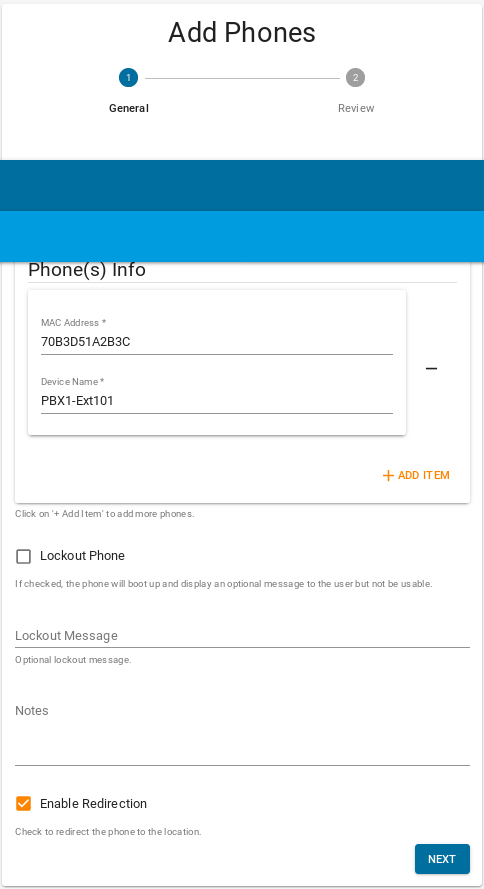
For each phone define the MAC address and Device Name
MAC Address: This is the MAC address of the phone you wish to map.
This can be Located on the Back of the Phone, On the Original Packaging, in the Phone's Menu; see Finding Network Addresses.
Device Name: This is the descriptive name for the Phone
Optionally you can Select "Add Item", to add additional phones at the same time.
Lockout Phone: When this is enabled the phones will boot to Black Screen with just a Lockout Message displayed and will not be in a usable state.
Lockout Message: Message to display if the above option is enabled.
Notes: This so you can make notes for your techs as to the status of this Extension.
Enable Redirection: Make sure this is enabled if you the ClearlyIP redirection to take effect. Note: Typically this should always be enabled, cases where you might not want would be say a cut over where you don't want to disrupt phone's existing status.
Select "Next" to see your settings.
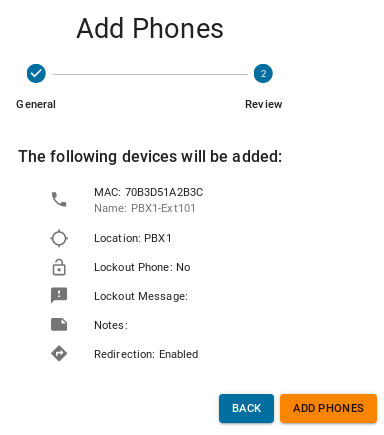
Select "Add Phones" to confirm and save your settings,
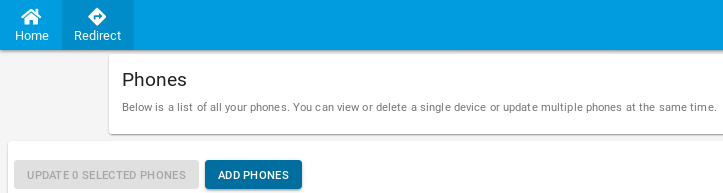
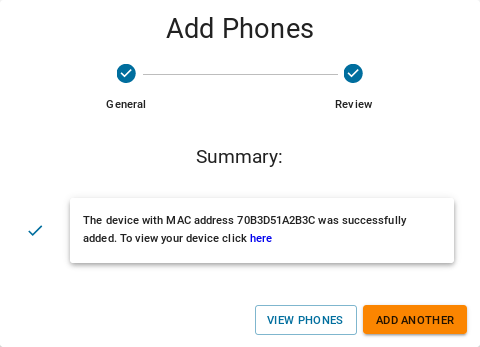
From here you can return the List of your Mapped phones "View Phones" or "Add Another" Phone.
 Uploading ....