Overview
This is where you will specify the PBX settings for each Location in your Organization
Login into the Redirect Server
Create New Location
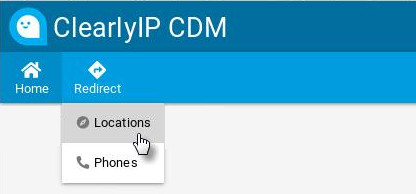
- Navigate to Redirect --> Locations
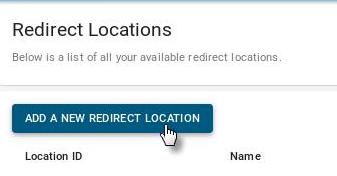
- Select "Add A New Redirect Location"
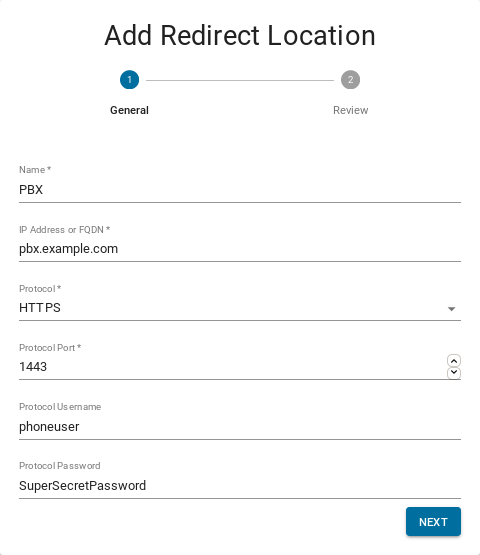
- Set the Specifics for your PBX's Location
- Name: However you want to identify this Location
- IP Address or FQDN: Address the phones will use to find the PBX Server
- Protocol: The Protocol the phone should use to talk to the PBX
- Protocol Port: The Port the phone should use to talk to the PBX
- Protocol Username: The Username the phone should use if authentication is enabled on the PBX for the Protocol being used.
- Protocol Password: The Password the phone should use if authentication is enabled on the PBX for the Protocol being used.
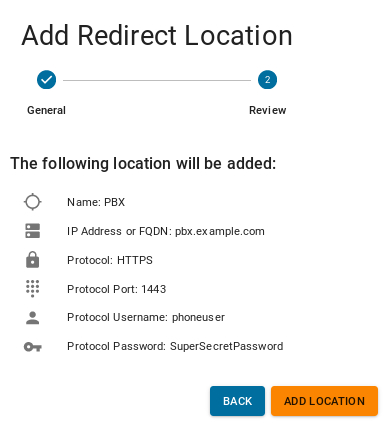
- Select "Add Location" to confirm your settings.
- You should then see your New Location listed on the Locations Page.

 Uploading ....