Overview
Clearly IP offers a great SMS and MMS platform when bundled with our SIP Trunking platform. All inbound SMS is included for free for all Local US and Canada numbers and outbound SMS is charged at $0.009 per message. We also offer inbound and outbound MMS for $0.015 per message.
For FreePBX based systems we deliver all inbound messages into FreePBX which allows by default for interacting with SMS and MMS messages through the User Control Panel (UCP) in FreePBX. The Clearly Anywhere mobile and desktop add on for FreePBX also allows viewing and sending of messages through FreePBX when paired with a SIP Trunking provider that hooks into FreePBX messaging system such as Clearly IP SIP Trunks.
In this wiki we will cover the following
- How to enable Messaging on your Clearly IP SIP Trunks
- For information on how to purchase Clearly IP SIP trunks for FreePBX review this wiki
- For information on configuring Clearly IP SIP trunks for FreePBX review this wiki
- How to configure FreePBX to allow sending and receiving of messages through UCP
- How to configure Clearly Anywhere to allow sending and receiving of messages
- For information on purchasing and configuring Clearly Anywhere review this wiki
Enabling SMS on your SIP Trunks
- Review our wiki here on getting setup with 10DLC Brands and Campaigns which are required to allow you to send and receive SMS/MMS messages.
- Once the Brand and Campaign are accepted and setup, you can set the numbers in the trunking portal to SMS/MMS enabled, use out wiki here for that. This will open up the SMS Number Listing tab in the Clearly Trunking module.
Configuring FreePBX for SMS/MMS
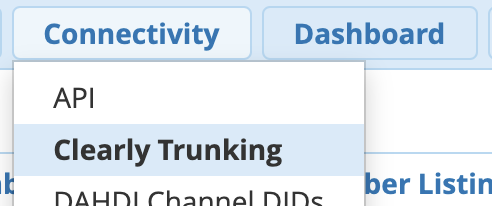
- Now that we have enabled SMS/MMS on your trunking location we need to navigate into the Clearly Trunking module on your FreePBX based system under the Connectivity > Clearly Trunking
- Click on the green "Refresh" button to have your FreePBX box reach out to our servers to get back a list of which numbers are SMS capable to setup the routing on.

- Click on the "SMS Number Listing" tab on the top of the module
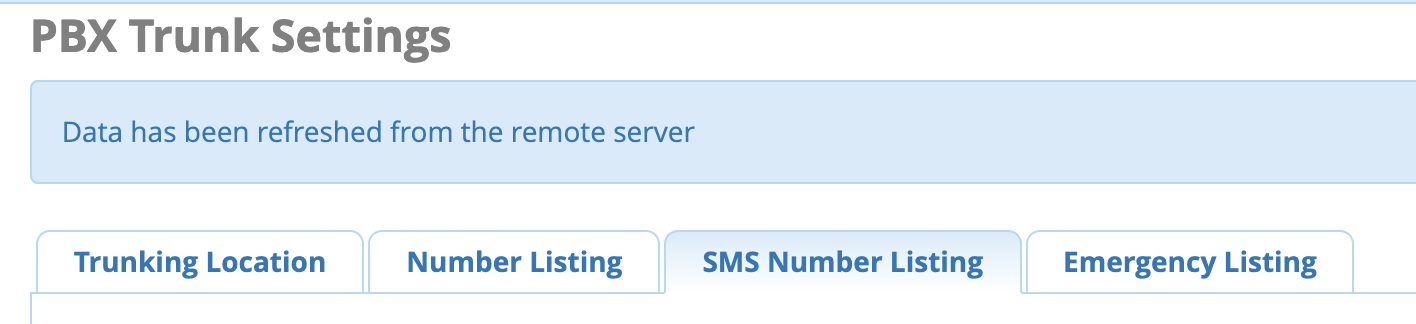
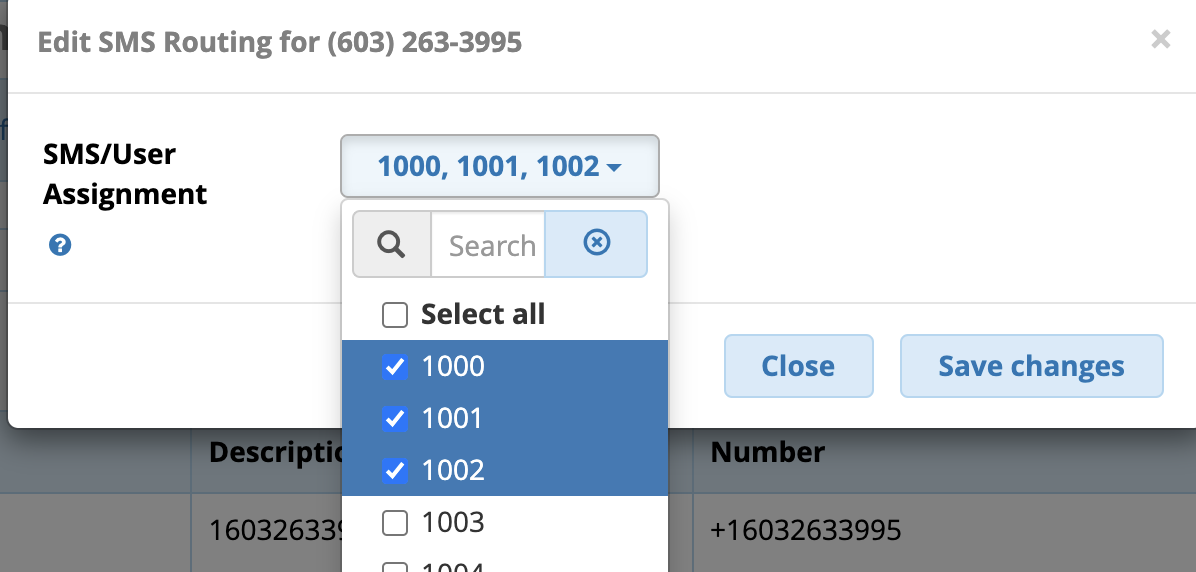
- From here we can see a list of all the numbers that are SMS capable and we can for each number pick which user(s) are allowed to send and receive messages from within UCP for each number by clicking on the Edit icon under the Action column

- Pick which users from the multi select option that are allowed to send and receive messages from UCP for each number.
- The users listed here are pulled from the User Management module in FreePBX
- Save and Apply your changes.
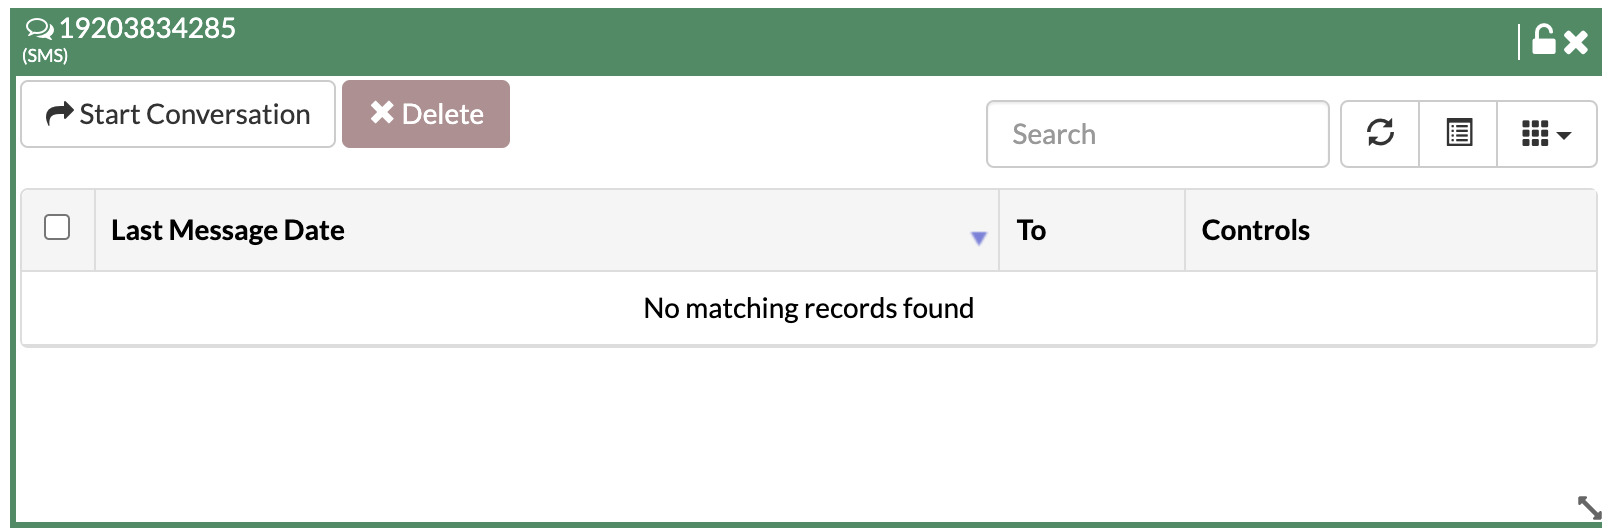
User Control Panel (UCP) Messaging
Setting up Clearly Anywhere to send and receive messages from a number
- Clearly Anywhere can also be setup to send and receives messages from a single number. At this time Clearly Anywhere can only support a single number assigned to a user.
- Once 1 or more numbers have been associated with a User Manager user as outlined above here you can pick 1 of those numbers to be associated with the users Clearly Anywhere account.
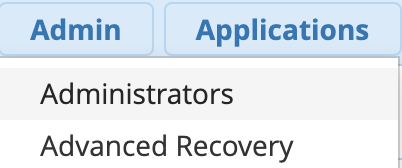
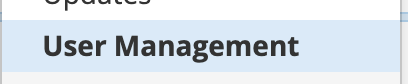
- Navigate to your User Management module in FreePBX
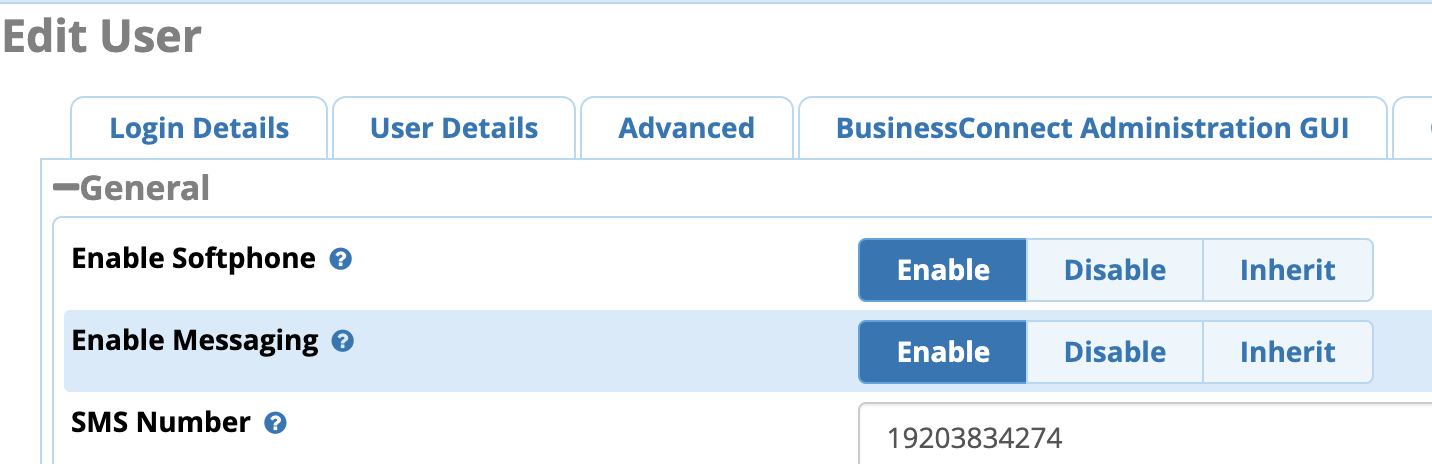
- Edit the user you want to assign a SMS number to for Clearly Anywhere

- Click on the Clearly Anywhere tab

- Under the General section Enable Messaging and from the drop down of SMS Number pick 1 of the numbers assigned to this user to be the number the user can send and receive SMS from Clearly Anywhere for.
- Save and Apply your changes.
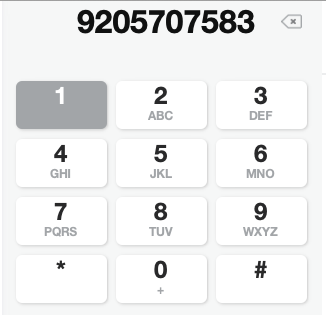
Clearly Anywhere Mobile Messaging
- From your Clearly Anywhere mobile App click on the Message Icon in the top right menu

- From here you can view a history of all messages and click on any message to bring up the history and reply back
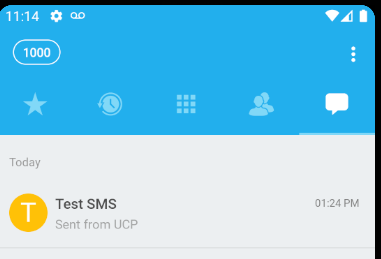
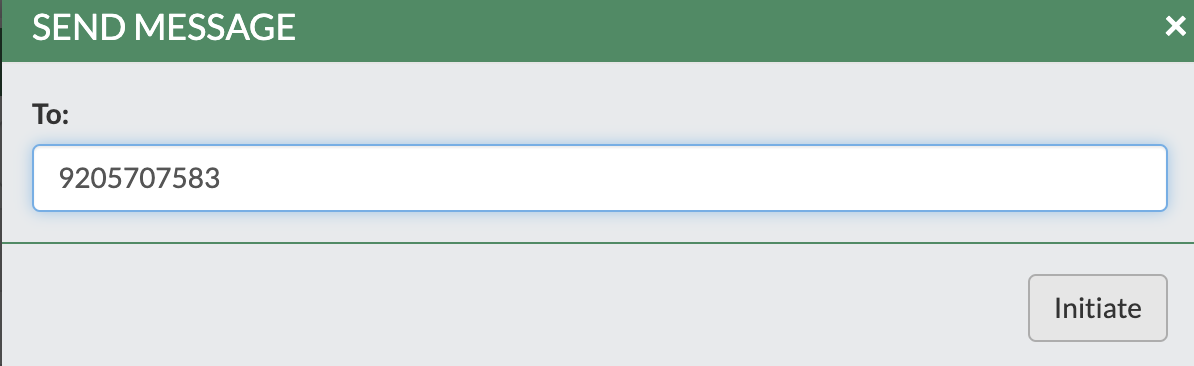
- Click on the Green + to start a new message to a new contact or number for the first time

- Messages from FreePBX are pushed once per minute from FreePBX to external applications such as Clearly Anywhere.
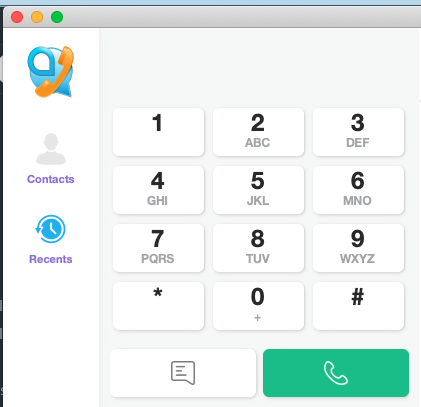
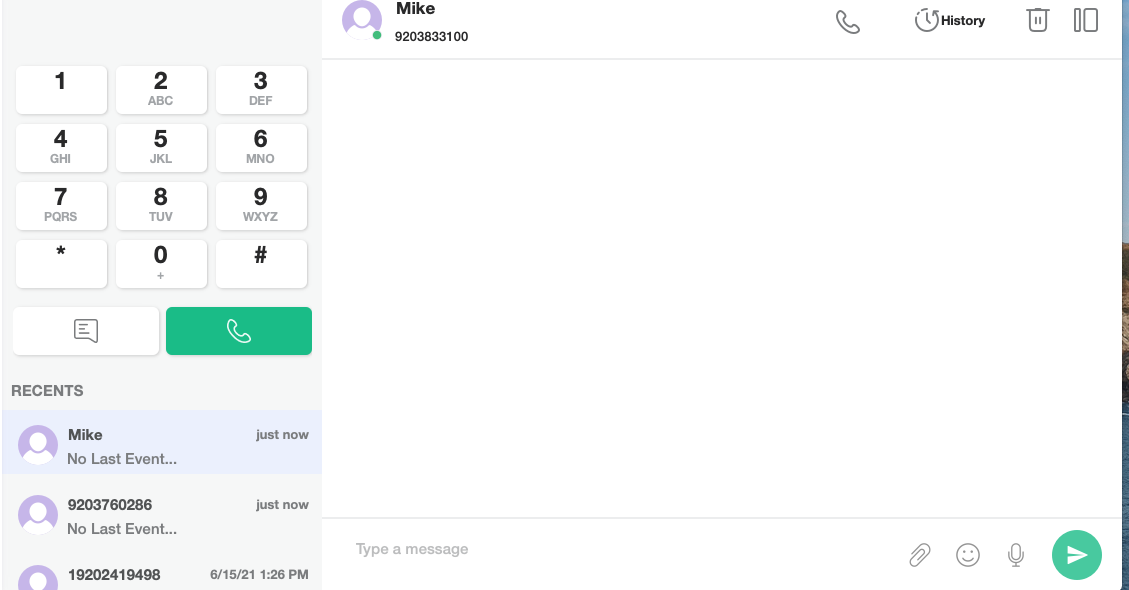
Clearly Anywhere Desktop Messaging
- From your Clearly Anywhere desktop App click on the Recents icon to view all recent calls and messages.
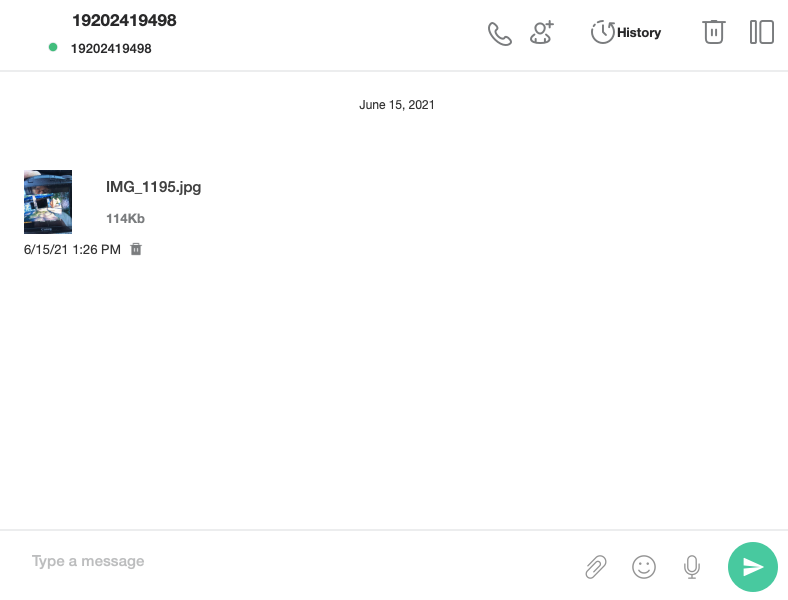
- Click on any individual number/contact to view the history and interactions with that number
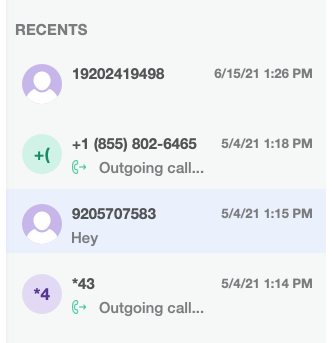
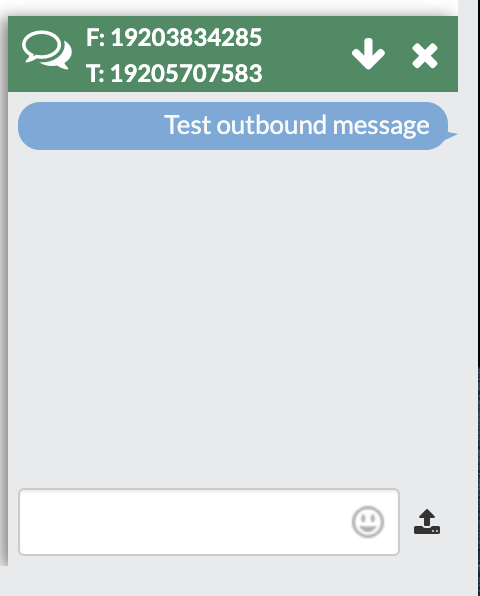
- From here you can now reply to any conversation and see the history
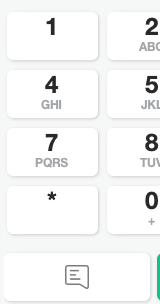
- To send a message to a phone number for the first time use the keypad to enter in the number
- Click on the message icon under the keypad
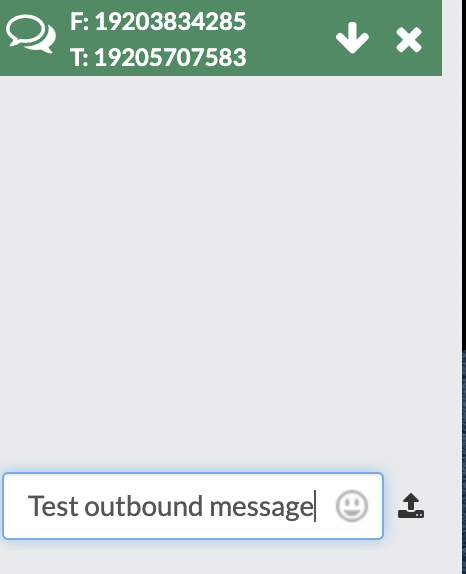
- On the right side of the screen you can now start typing your message and interacting.
 Uploading ....