By default the trunks that are created when using the Clearly Trunking module do not enable T.38. You will need to make a few changes to have the trunk with us enable for T.38.
Navigate to the trunk module on your PBX
Edit the Clearly IP trunks. If you have more than 1 you will need to edit all of them.
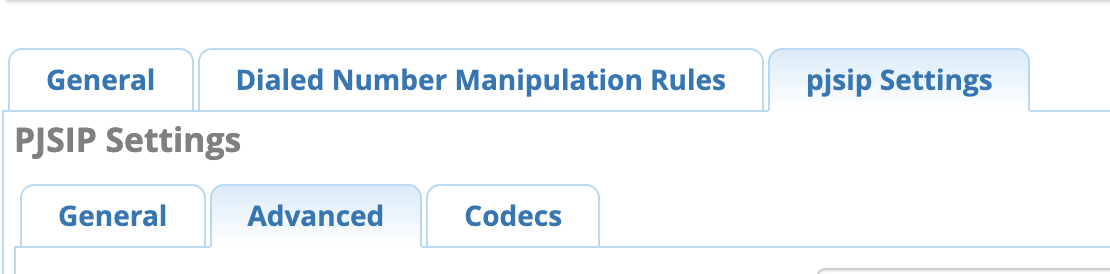
Click on the pjsip Settings > Advanced Tabs as shown below.
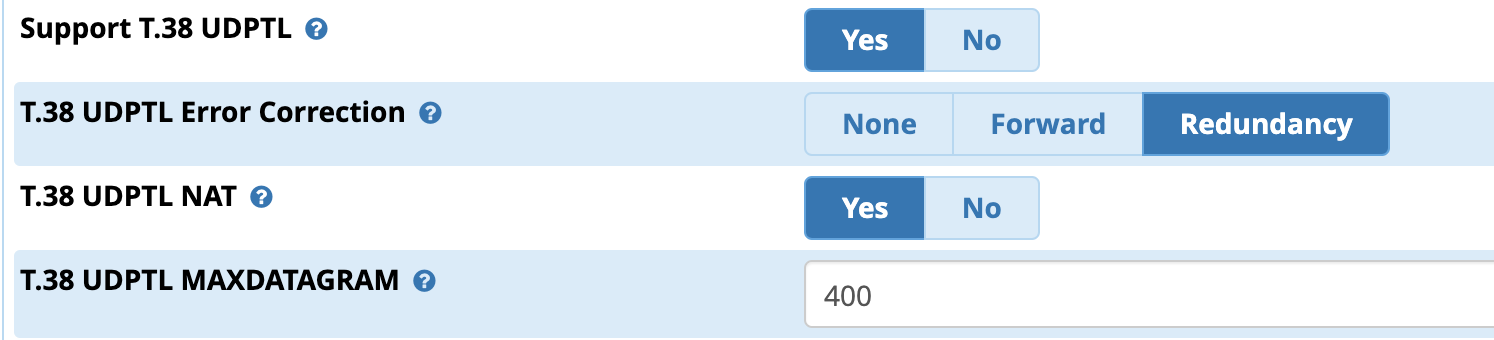
Navigate to the T38 Settings and set the following fields
Support T.38 UCPTL - Set to Yes to enable T.38
T.38 UDPTL Error Correction - Either set to None or Redundancy. Redundancy helps fix faxes when communications between two endpoints are stuggling but for some fax machines that do not support ECM it can create problems.
T.38 UDPTL NAT - If you PBX is behind NAT you will need to set this to Yes
T.38 UDPTL MAXDATAGRAM - usually set to 400 for Asterisk to play nice with faxing.
Submit your changes and now go edit your other Clearly Trunks. Press the Apply Config when done.
Remember Asterisk handled UDPTL packets on a different port range than standard RTP for voice calls which is 10000-20000 by default. UDPTL packets use 4000-4999 by default and are defined in your /etc/asterisk/udptl.conf file in asterisk so make sure if you have a firewall between your PBX and our trunking servers that you forward those ports.
Setup Inbound Faxes to go to Email
We first need to setup a User in User Manager with Fax Enabled. Navigate to User Manager module on your PBX and edit a user or Group and under the Fax Tab make sure the User has Fax Enabled.
Now navigate to Inbound Routes and edit your inbound route and set the Destination to be Fax Recipient and then the user you want the faxes going to.
Setup Outbound Routing for T38
Create an Outbound Route that allows *329 plus the number to process out to us. We usually recommend creating a new outbound route for this on your PBX.
Navigate to Outbound Routes module and create a new Outbound Route.
Provide a name for this Route such as (T38 Faxing *329)
Set the Default Caller ID you want to use for this route
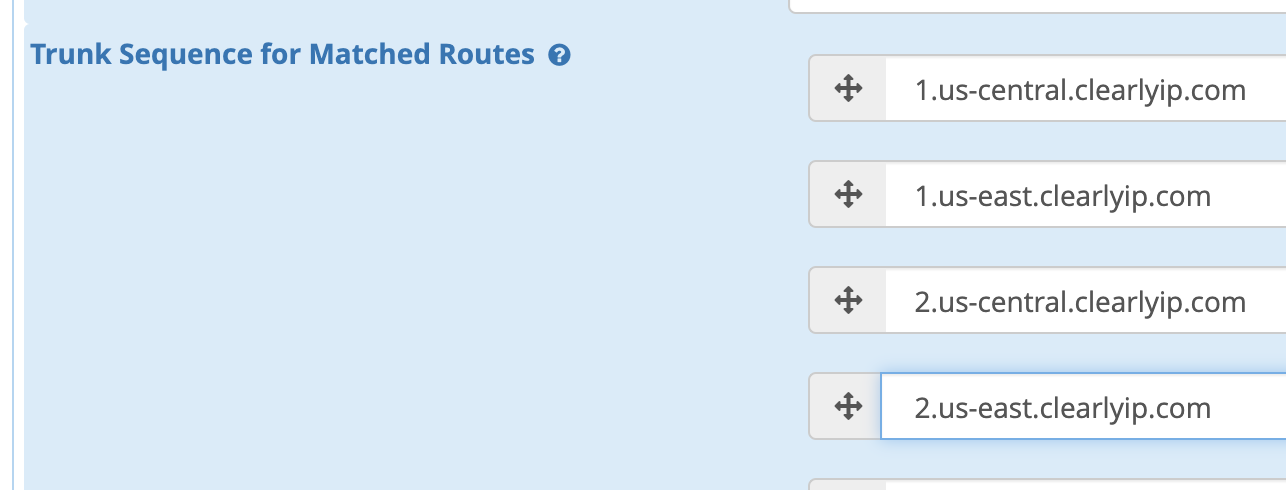
Pick the 4 trunks you have with Clearly IP in the Trunk Sequence.
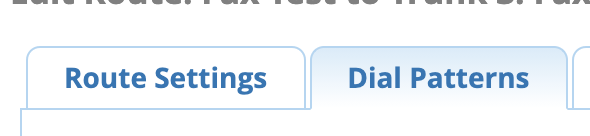
Click on the Dial Patterns Tab of the Outbound Route
Setup the following Dial Pattern Rules
These two will allow any user who calls *329 plus a 10 or 11 digit number to match.
*329NXXNXXXXXX
*3291NXXNXXXXXX
These two rules will automatically add the *329 bur restricted to extension 9000 which we have setup as a Cisco SPA 122 with T38 connected to a analog fax machine
Prepend *329, Match Pattern NXXNXXXXXX, CallerID 9000
Prepend *329, Match Pattern 1NXXNXXXXXX, CallerID 9000
Submit your changes and Apply Config.
Verify you have T38 Passthrough enabled
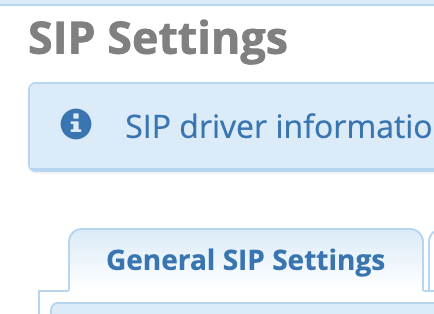
Navigate to your Asterisk SIP Settings module on your PBX
Click on the General SIP Settings
Scroll down to the Audio Codes section and verify you have T38 Pass-Through enabled with "Yes with Redundancy" option.
Submit our changes
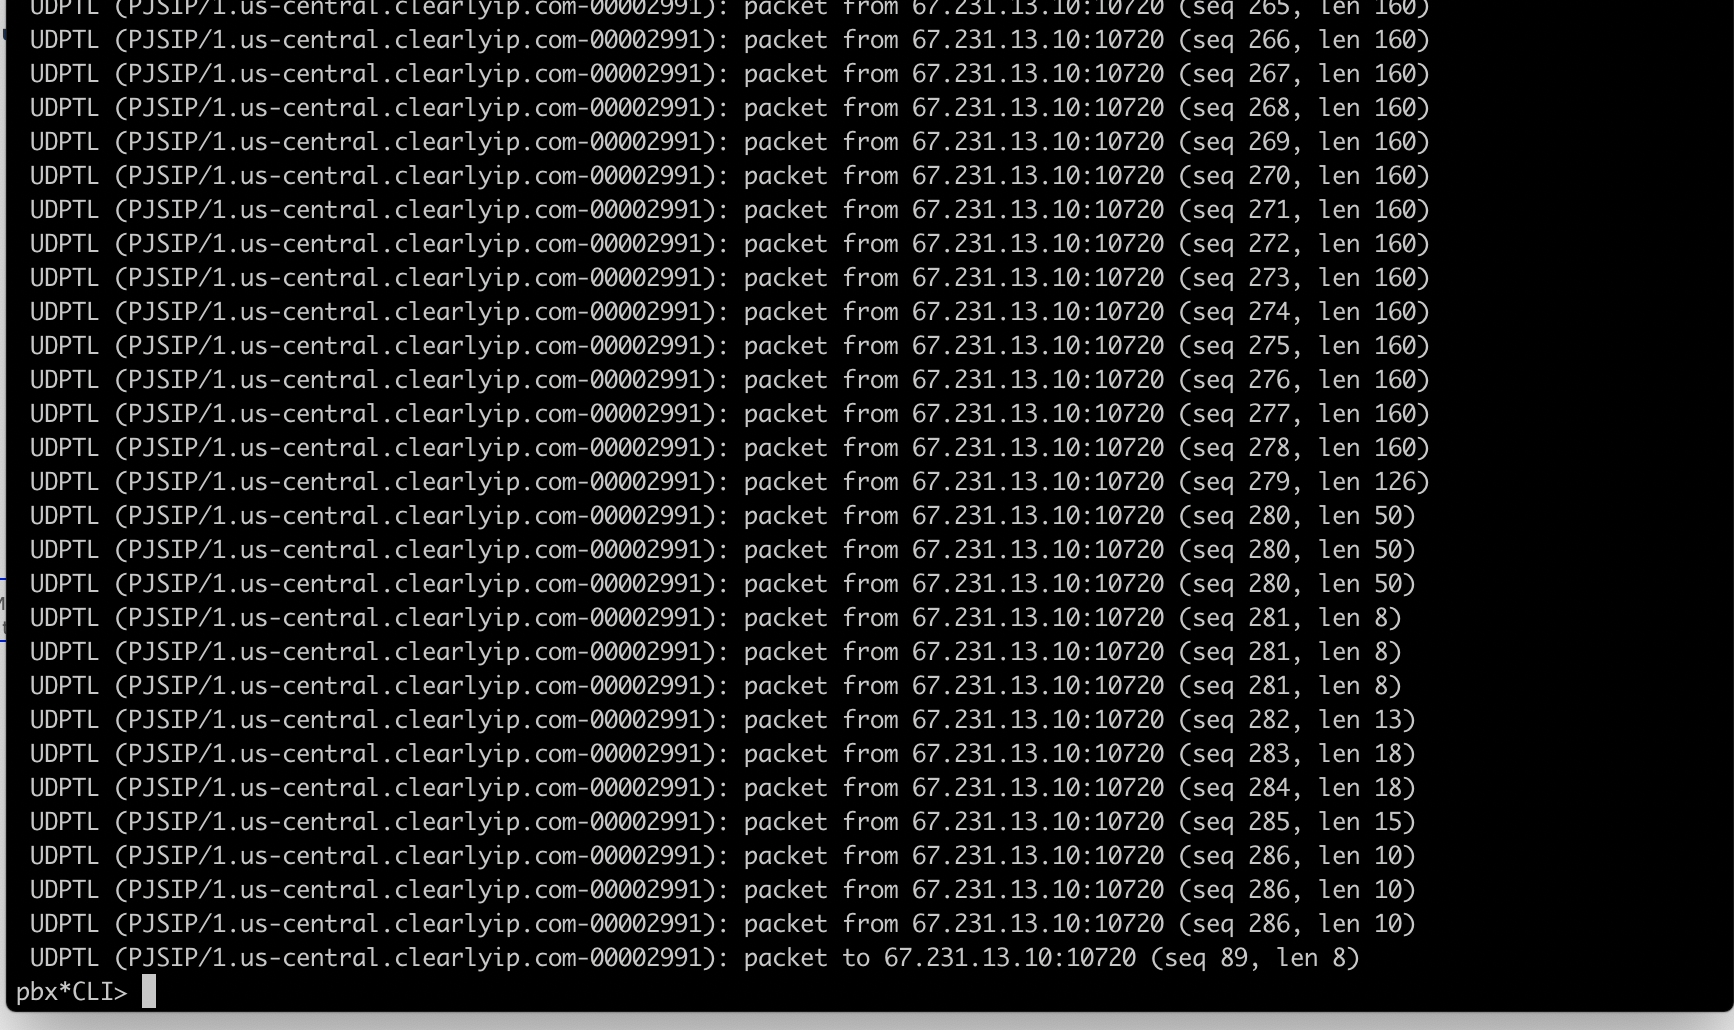
Verify T.38 is working on inbound fax call
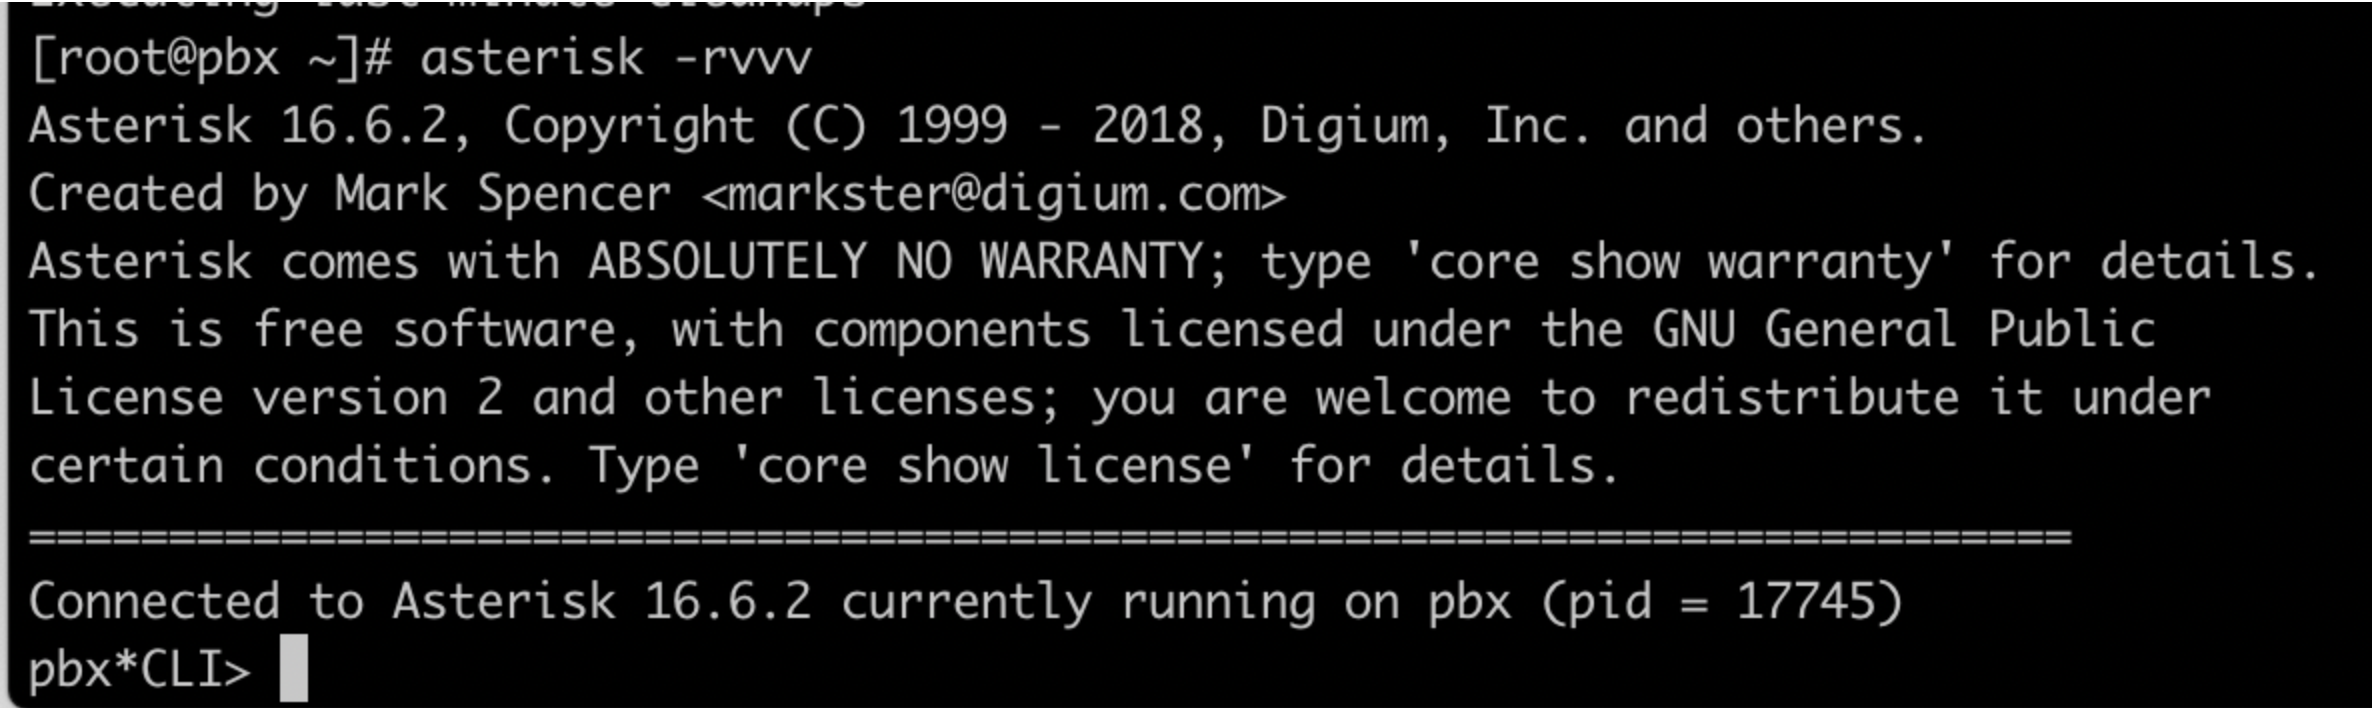
To verify your inbound fax is using T.38 we can bring up the Asterisk CLI with a verbose level of 3 with the following command asterisk -rvvv
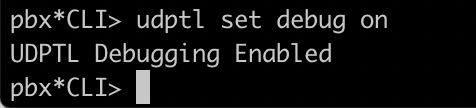
Enable UDPTL Debugging with the following command udptl set debug on
Send an inbound fax to your DID that is setup for faxing and watch the Asterisk CLI for a stream of all the UDPTL packets. If you see a stream like below that means the fax is using T.38. if you receive no UDPTL stream that means something is keeping you from using T.38 and you will need to debug on your setup or firewall why this is not working.
Setup ATAs registered with FreePBX
Below are a list of guides to assist you in setting up a T38 capable ATA to register through your PBX and use your Clearly IP Trunks to send outbound T38 faxes from analog fax machines.
 Uploading ....