Overview
- Sign into your account here: https://trunking.clearlyip.com
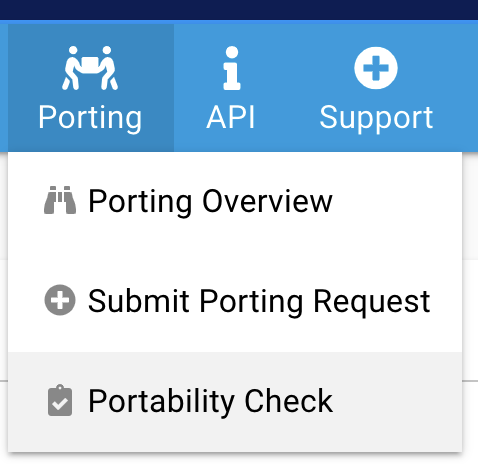
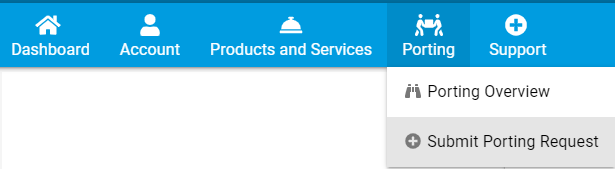
- Once you are signed in go to the drop down menu Porting
- Here you can look at our Porting Process in Porting Overview or Submit a port request by filling out our LOA
Portability Checking
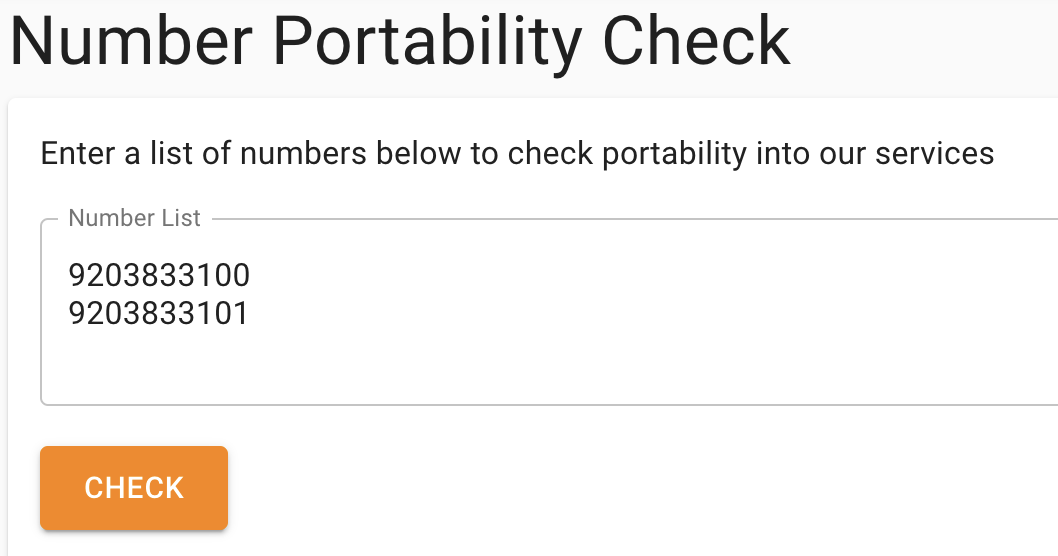
- Before submitting a number to Port to us you can check and verify the number is portable. Not all numbers and rate centers are portable. In the event the automated check says the number is not portable please open a support ticket with us and we can do a manual verification to see if any offnet partners have access to port that number for us.
- Click on Porting > Portability Check
- Type in 1 or more phone numbers with each number being on its own line and press "Check". You can provide up to 500 numbers with each port check submission.
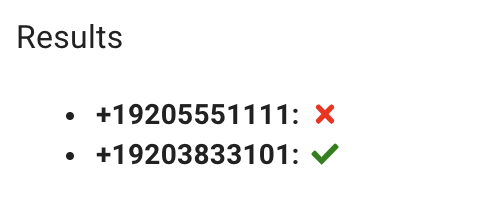
- You will see the results below.
- A GREEN Check mark means its portable
- A RED check mark means the number is not portable but at times we can still port these numbers with offnet partners so please open a support ticket with us to verify that.
Submitting Number Port Request
Whether you are a direct customer or one of our Master Agents, learning how to use the tools in our trunking portal is a huge benefit to you and your service. Today I wanted to talk about filling out our Number Porting LOA and how that is processed to get you the best results on the port request.
A Letter of Authorization (LOA) is a formal document in which the customer grants permission to the gaining provider (Clearly IP in this case) to legally initiate the transfer of the customer’s phone numbers.
Porting numbers does not automatically cancel your account with the previous carrier or provider. Be sure to reach out to the losing provider after the port has completed to confirm the port out with them and to update or close the account.
Before You Start
Before you fill out the LOA with Clearly IP, be sure you have the most accurate information from the losing provider or carrier.
- Confirm customer name and address exactly as it appears with losing carrier
- Gather the most recent invoice
- Confirm BTN/ATN (Billing Telephone Number / Account Telephone Number, not all providers or carriers have this)
- Confirm account number and any PIN/passcode
- Confirm if numbers are wireless, VoIP, or landline
- Verify which Location you want the numbers assigned to in the Clearly IP trunking portal
- Identify your required port date
- If you are porting numbers from 2 or more carriers, please fill out a separate LOA for each carrier
How to Access the LOA
- Log into the Clearly IP trunking portal:
- US customers: https://trunking.clearlyip.com
- Canadian customers: https://trunking.clearlyip.ca
- If you are a Master Agent completing an LOA for your customer, be sure to log in as the customer so the LOA contains the correct routing and account information.
- Navigate to the Porting tab and select Submit Porting Request.
Information Section
Company Name
The Company Name field is auto-filled with the name associated with your Clearly IP account.
You must update this to match exactly what the losing carrier has on file.
Location
Select the Location where you want the ported numbers to be routed. This selection will auto-fill additional fields.
Important:
Any auto-filled information must be edited to match the losing carrier’s records exactly — even minor differences can cause rejections. If corrections are needed after the port is submitted, notify us in the porting ticket and our team will update the LOA.
FOC (Firm Order Commitment) Date and Time
Choose your requested port-in date and time. We will submit the closest available date and time that the losing carrier supports. If the date that ends up being requested is not what you want, just reach out in the porting ticket tied to the port order and let us know. We will be able to make those changes as needed and be able to advise what will and will not work for the port in dates and times. If you need a specific date for port in, try to submit the port around two weeks before the date you need to ensure enough time for any rejections to be settled and for the port to be approved
Key notes:
- If you do not change this field, the system defaults to a date two weeks from submission.
- Carriers generally have a 3–7 business day response window once a port is submitted.
- Ports cannot occur on weekends or bank holidays.
- Same-day ports are not possible.
- Expedited ports may be possible; request this in the LOA notes or in the porting ticket. We will confirm the cost (varies by losing carrier) before proceeding.

Address
The address auto-fills based on your selected Location.
Replace this with the service address on file with your current provider, as the losing carrier uses this to validate your port request.
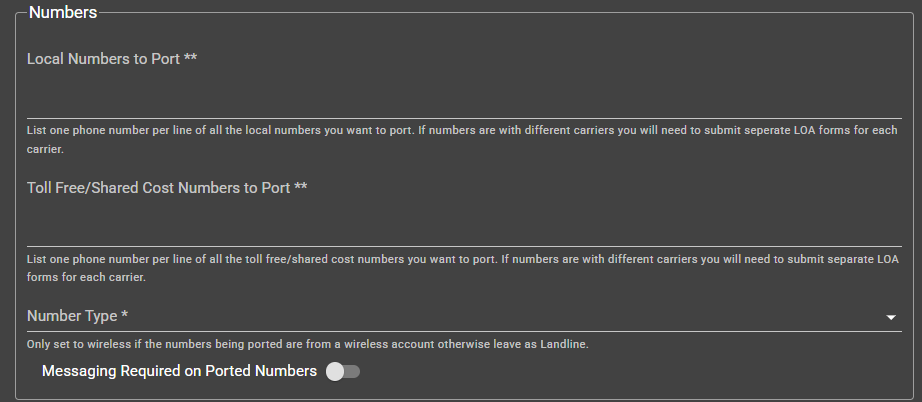
Numbers
Enter only the numbers you wish to port.
Local vs Toll-Free
Be sure to enter numbers in the correct section:
- Local numbers
- Toll-free numbers
Number Type
Choose:
- Wireless (mobile/cellular numbers — always require a port-out PIN)
- Landline (traditional or VoIP lines)
Messaging Required on Ported Numbers
If you need SMS enabled after the port completes, indicate it here.
Most local numbers support SMS, but if a ported number does not show SMS capability, open a General Technical Support ticket and we can verify or enable it, if possible.
Please note that all SMS in VoIP requires 10DLC Registration before use. Please see our article on that
here.
Existing Provider Information
Complete this section using the information from your current provider’s invoice or portal.
Existing Provider Name
The name of the company you pay for your phone numbers.
Existing Provider Account Number
The account number associated with your current provider.
Existing Provider PIN
The port-out PIN, if applicable.
All wireless/mobile numbers always have a port-out PIN.
Contact your provider if you are unsure.
Existing Provider Invoice
Attach a fully scanned copy of the most recent invoice or other documentation that shows:
- Account name
- Billing address
- Account number
- BTN/ATN (if applicable)
If your provider does not supply traditional invoices, you may submit:
- A screenshot of their customer portal showing account information
- A CSR (Customer Service Record)
- Any documentation verifying account ownership
Special Notes or Instructions
Use this section for:
- New BTN requests
- Listing numbers you are not porting but wish to keep active with the losing provider
- Requests for expedited porting
- Additional details needed for complex port scenarios

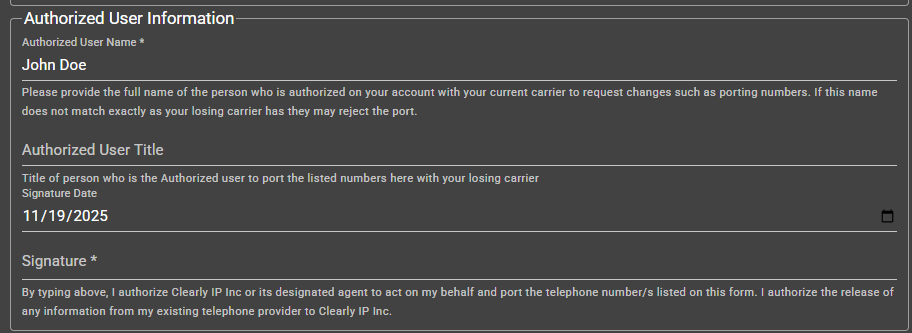
Authorized User Information
Enter the name and contact information of the authorized user on file with the losing provider.
Most carriers require this to match exactly. If you are unsure who the authorized user is, contact the provider to confirm or update their records before submitting the LOA.
- Authorized User Name: Typically this is the person's name who is authorized with your current carrier to make changes on the current account
- Authorized User Title: The title of the person's name you put in above
- Date Signed: This should auto fill to today's date
- Signature Authorized User: This is where the Authorized User from above signs the form
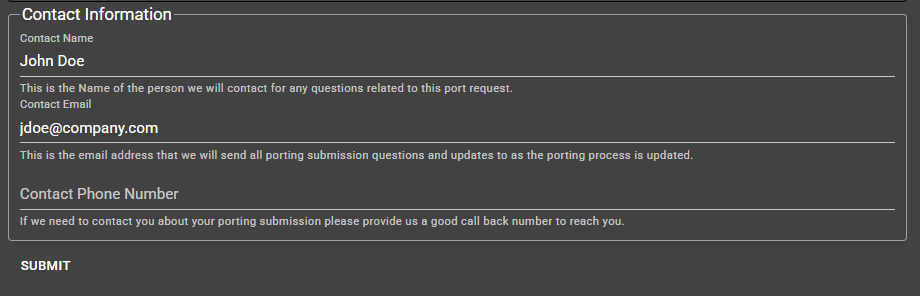
Contact Information
This section determines who Clearly IP will communicate with regarding the porting ticket.
If you are a Master Agent and you want us to contact you instead of the customer, replace the auto-filled information with your own.
This section does not affect the port order itself — only who receives updates and communication.
What Happens Next
Once you submit the LOA:
- The order is sent directly to our porting team.
- Ports are submitted to carriers on a first-come, first-served basis; response times vary by provider.
- A porting ticket is automatically created for the contact listed in the Contact Information section.
You will receive automatic updates throughout the process:
Submission Notice
Confirms:
- Numbers included
- Requested port-in date
- Successful submission to the losing carrier
Rejection Notice
If the losing carrier rejects the request:
- You will receive an automated status update
- A porting agent will follow with the specific reason and instructions on how to resolve it
Approval Notice
You will be notified of the confirmed port-in date and time assigned by the losing carrier.
Completion Notice
Once the port completes, you will receive instructions for testing your numbers and reporting any issues.
If you have questions at any time, simply reply to the ticket and our porting team will assist you.
Port Request
- The Port Request screen will show you all your pending, completed and cancelled port request that your organization has opened with us,
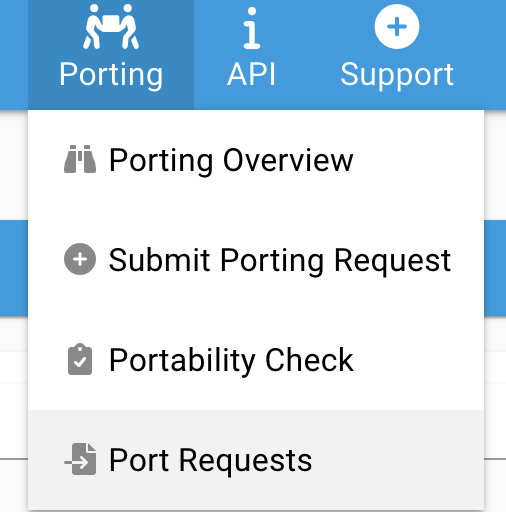
- Click on Porting > Port Requests
- The default filter is to show all status that are considered open ports which is any number port request that has not completed or been cancelled. You can adjust the filter to specific statues if you want. Below is a explanation of each status.

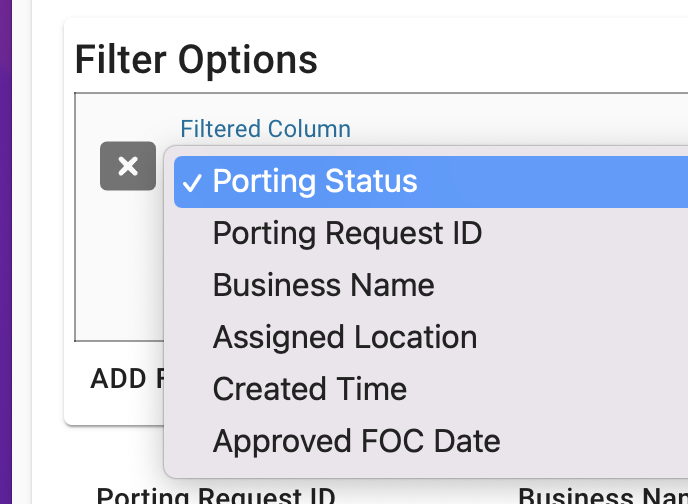
- Within the Filter you can also Filter by the following fields. See below for explanation of each field.
- Porting Status
- Porting Request ID
- Business Name
- Assigned Location
- Created Time
- Approved FOC Date
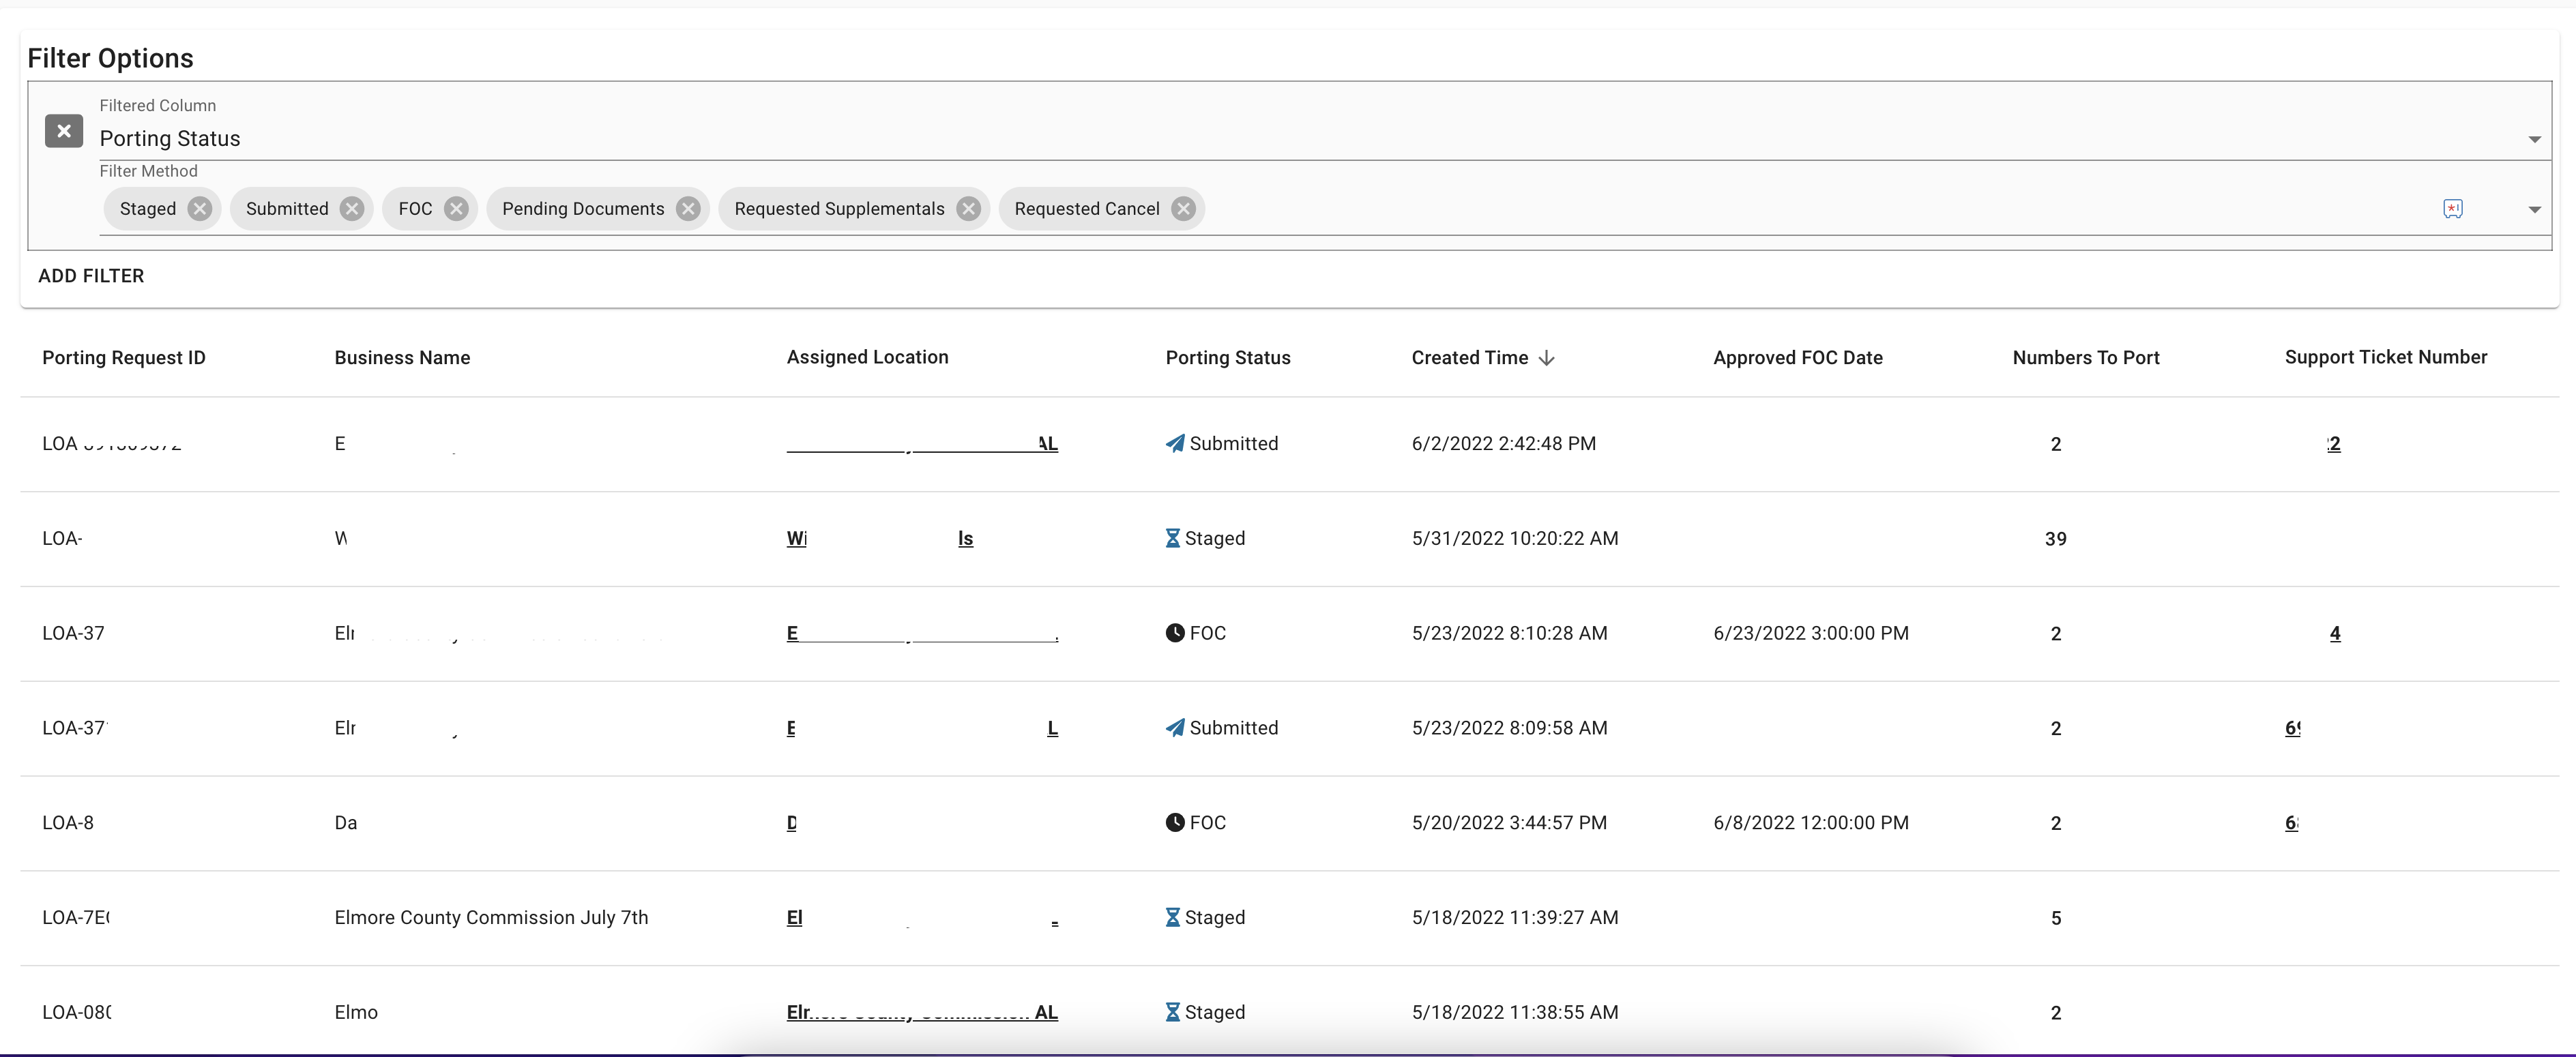
- The table will show the following fields for all port that meet your filter above
- Porting Request ID - This is our internal unique ID number we assign each port request we have to submit. A single LOA submitted by you may create more then 1 Porting Request ID if the numbers on the LOA are owned by different carriers or in different rate centers.
- Business Name - Company name the LOA/Port Request was submitted under.
- Assigned Location - What Trunking Location the LOA/Port Request is for.
- Porting Status - The current status of the Port Request. Below is a list and explanation of the different Porting Statues
- Staged - All new submitted LOA's start at the Staged Status. This means we have recieved the LOA request from you but it has not been reviewed by our staff and submitted into the Porting eco system yet.
- Submitted - We have submitted the port request to the losing carrier and waiting for a response back from them.
- FOC - The losing carrier has accepted the port request and set a Date for the port to be completed. FOC stands for (Firm Order Commitment). You can see the date and time of the approved port under the Approved FOC Date field in this grid.
- Exception - The losing carrier has rejected the port request and we will be contacting you requiring clarification or more information from you to fight the rejection. You will want to review the linked Support Ticket below for more information on the Exception. Once we re-submit the request to the losing carrier the status will be changed back to Submitted again
- Pending Documents - Means the losing carrier is requesting more documentation from us. This status can be treated to you as a Submitted status. There is nothing for you to do here yet. If we need more documentation from you, the status will be changed to Exception and we will send you a email reply in the linked Support Ticket requesting the information we need.
- Requested Supplementals - Means we have submitted more documents to the losing carrier and waiting for them to get back to us. This status can be treated to you as a Submitted status. There is nothing for you to do here yet. If we need more documentation from you, the status will be changed to Exception and we will send you a email reply in the linked Support Ticket requesting the information we need.
- Requested Cancel - This status is when you request we cancel a pending port request the status will be changed to this until the losing carrier accepts the cancellation request. The status will be changed to Cancelled once the losing carrier accepts the cancel request.
- Cancelled - A port request that had to be cancelled for any reason and the cancellation was accepted by the losing carrier. This is considered a closed port request at this point and no other status changes will occur.
- Completed - A port request that has been successfully completed and has now been ported over to us and activated on our system and tested. This is considered a closed port request at this point and no other status changes will occur.
- Created Time - The date and time the LOA was submitted to us by you.
- Approved FOC Date - The date and time the losing carrier approved and provided to us as when the numbers will actually port. This field will be blank until the Status is changed to FOC meaning FOC was granted by the losing carrier.
- Numbers to Port - Quantity of numbers included in this porting request. Clicking on the actual quantity will pop up a box showing a list of all the numbers included on this request.
- Support Ticket Number - Each porting request submitted to us once moved beyond the status of Staged will automatically open a ticket in our support system and will email you a link to the ticket and all communications and updates related to the port request are detailed in that ticket. You can click on the Ticket Number to have it auto open the URL to the ticket in our support system to review all the communications related to this port request and even reply back to us.
-
Porting FAQs
- How accurate does my LOA need to be?
- Determine the correct information with your current provider before filling out the LOA. The information you use to fill out your LOA must match exactly with what the current carrier has on file for you. A good rule of thumb is to use the information on your invoice. However the billing address may be different than the service address so you will need to verify this with your current carrier. Wrong information on the LOA will lead to problems and prolonging the port
- How long is porting going to take?
- Porting can take anywhere from one to four weeks for the porting process to take place. We try our best to accommodate your requested FOC date, however, porting can be a slow moving process especially if we run into errors on the port or with the losing carrier.
- How do I prepare on my end for the port?
- When you make a port request, be sure you have your trunks and routes set up to take the numbers once they port to us. If you are not set up and verified by the time of the port date, there will be downtime between when your number ports and when you have it set up. We suggest you have this tested and verified before submitting the port request.
- When you do submit your port request, be sure to have all the required documents ready and anything else that may help in the process. We require a bill from the losing carrier no more than 30 days old. If you are able to obtain a CSR from your current carrier for the numbers you are porting, we appreciate that as well as it helps in determining what information the losing carrier is looking for in order to allow the port. Some carriers do not provide CSR at a customer level.
- If rejections do come to the port, you may be required to rectify issues on the account with the current carrier. Be sure to watch for our emails and stay in contact to get those issue rectified as quickly as possible. If a port sits in a rejection status for more than 30 days it will be cancelled and have to be resubmitted only after the rejections are rectified.
How to Port Numbers out from Clearly IP
- You will need to work with your new carrier to submit a LOA for the numbers you want to port.
- Clearly IP does not provide Customer Service Records (CSR) but review the information below on what we validate outbound port request on.
- Make sure you submit the correct information on the LOA to your new carrier.
- Clearly IP does not use BTN on any accounts
- The information we validate against when a port request is sent to us is outlined here
- Account Number - As found in the Location screen as shown here
- Location Address - As found in the Location screen as shown here
- Port Out Pin - As found in the Locations screen as shown here for any locations that you have a Port Out Pin enabled on.
 Uploading ....