Requires ComXchange 14 or newer.
Setting Up Trunks and Outbound Routes
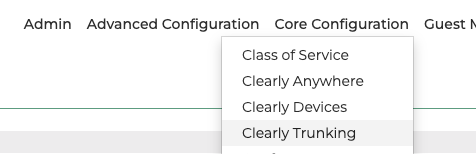
- Navigate to the Clearly Trunking module in ComXchange under the Core Configuration menu option. If this Menu option is missing from your system contact Support to assist with upgrading your ComXchange system to a newer version that has the Clearly Trunking module added.
- Paste in your Keycode in the box below and press Submit.
- Your Token can be found as outlined here from the Clearly IP Trunking Dashboard for your location.

- We have now paired your PBX with your Trunking Location and we can have it now auto setup our Trunks and Outbound routes for us by clicking the "Auto Configure Outbound Routes" button
- This will create 2 trunks to two different Clearly IP servers for redundancy
- It will create 2 outbound routes.
- Clearly Trunking Outbound - For North America Domestic Calling
- Clearly Trunking Emergency - For 911 and 933 Test dialing.

- It will now prompt you to pick what DID you want to set as the default Caller ID for your outbound routes and trunks that it is creating.
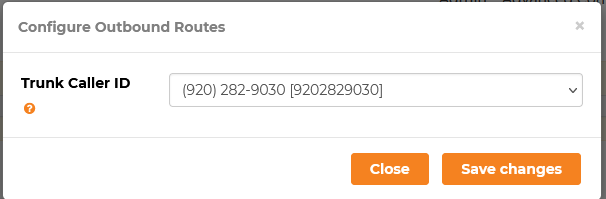
- Press the Red Apply Config button now and your routes and trunks should be live.

Setting Up Inbound Routes
- Navigate to the Number Listing tab now to setup your inbound routes for all the DIDs you have purchased with us. We will see that the DIDs are not setup yet as the "Route To" is marked as "Missing"

- We can press the "Auto Configure Missing Inbound Routes" it will take all DIDs you have with us and if they are not setup to route anywhere yet it will create them and set them to route to the default Trunking verification system. The trunking verification system is a destination on the PBX that when called will play back the DID number and Caller ID of the number that placed the inbound call to the DID.
- If you buy additional DIDs later from us you can come here and press the button and it will setup all the new DIDs automatically for you.

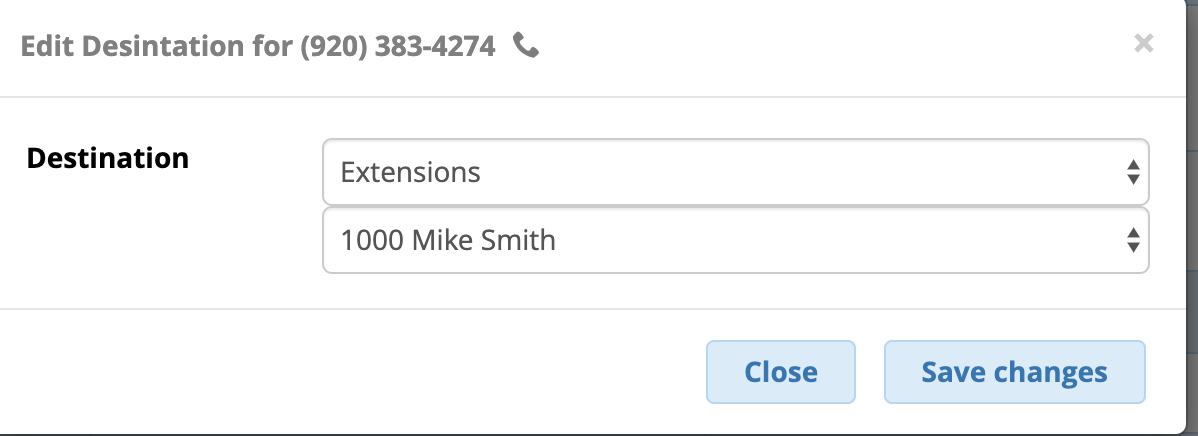
- Once the DIDs are setup you can now click on the "Route To" field and setup routing of those DIDs or you can go into inbound routes on your PBX and change the destinations.

Setup SMS
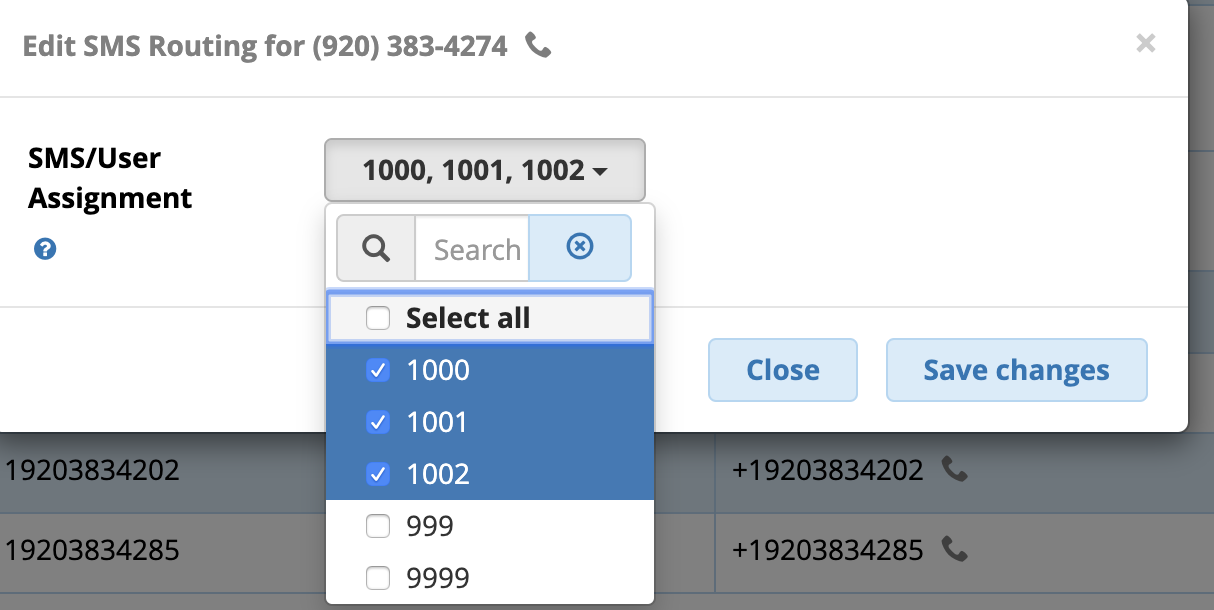
- Click on the "SMS Number Listing" tab to manage SMS settings for all DIDs that are SMS capable with your service.
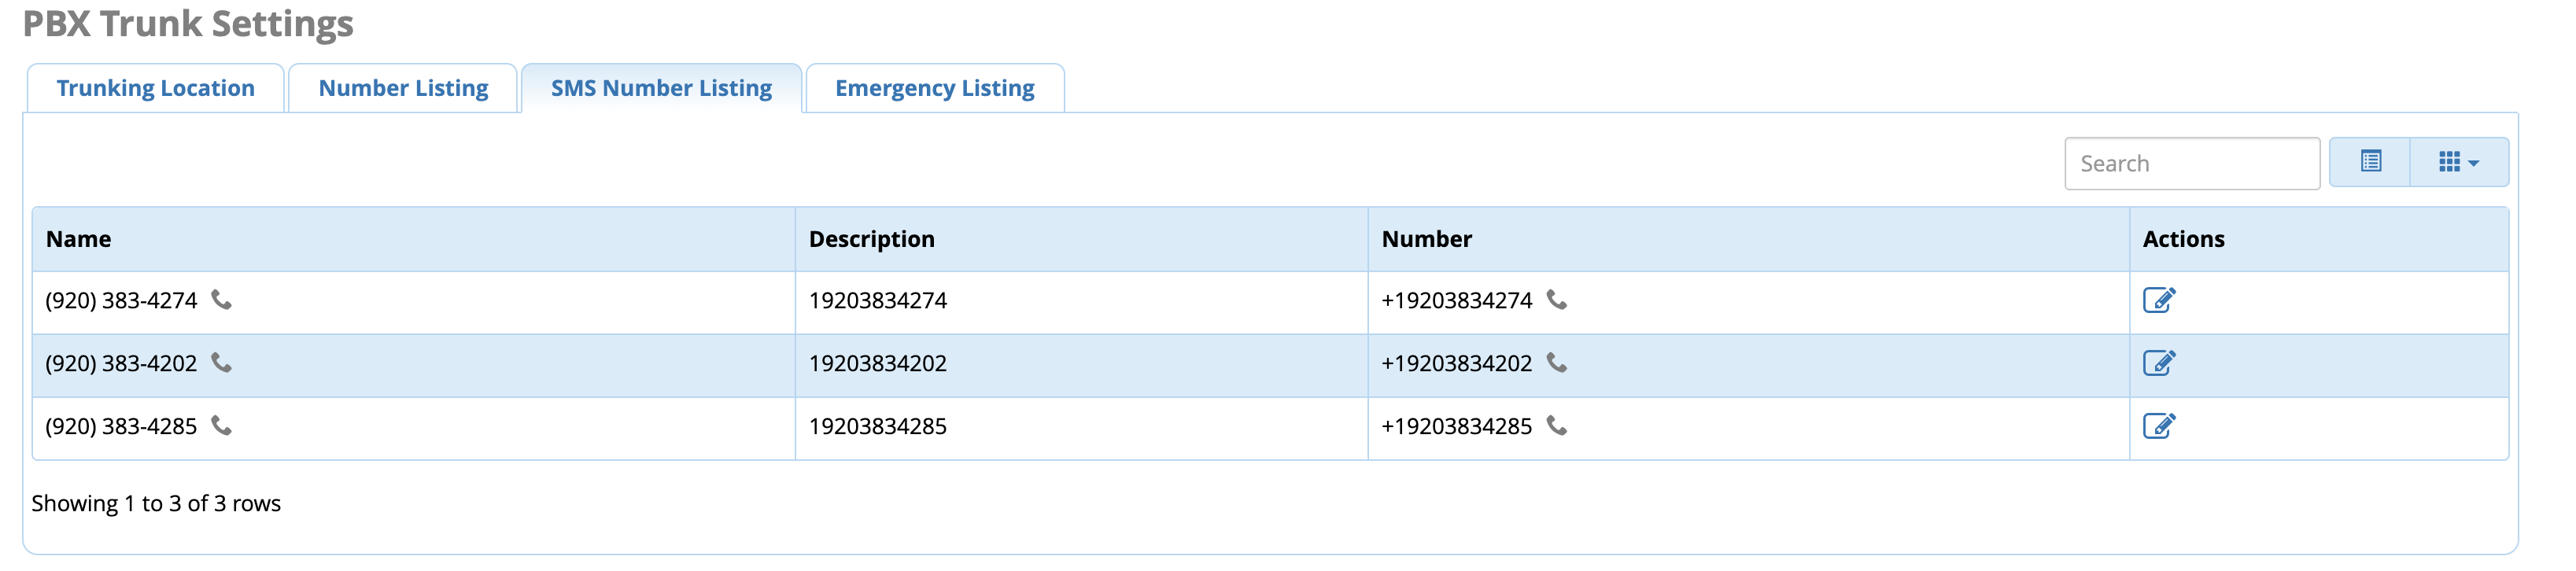
- Click on the Edit icon in the action column to setup which users from User Management are allow to view and send SMS messages for this DID.
- You can also go into User Management module in your PBX and manage the SMS permissions from the User.
- user can now log into User Control Panel on the PBX and send and receive messages from all the numbers they have permissions for.
Managing E911
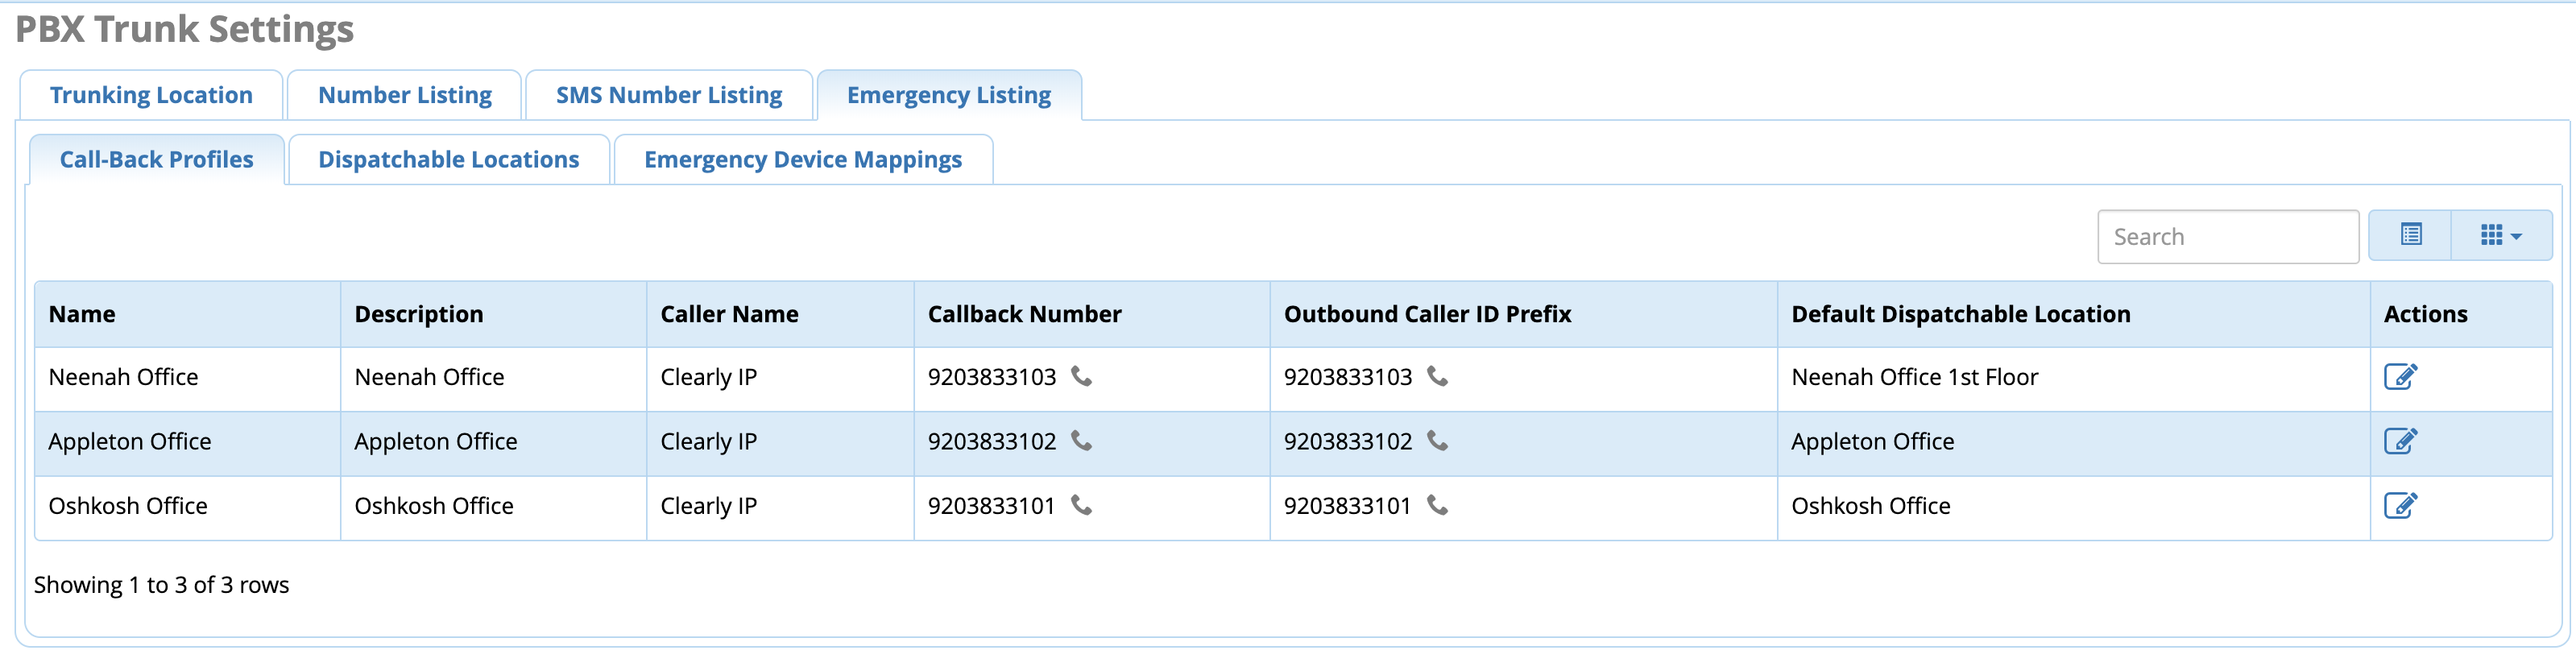
- If you have purchased additional e911 Call Back Profiles or Dispatchable Locations from us you can click on the "Emergency Listing" and see these.
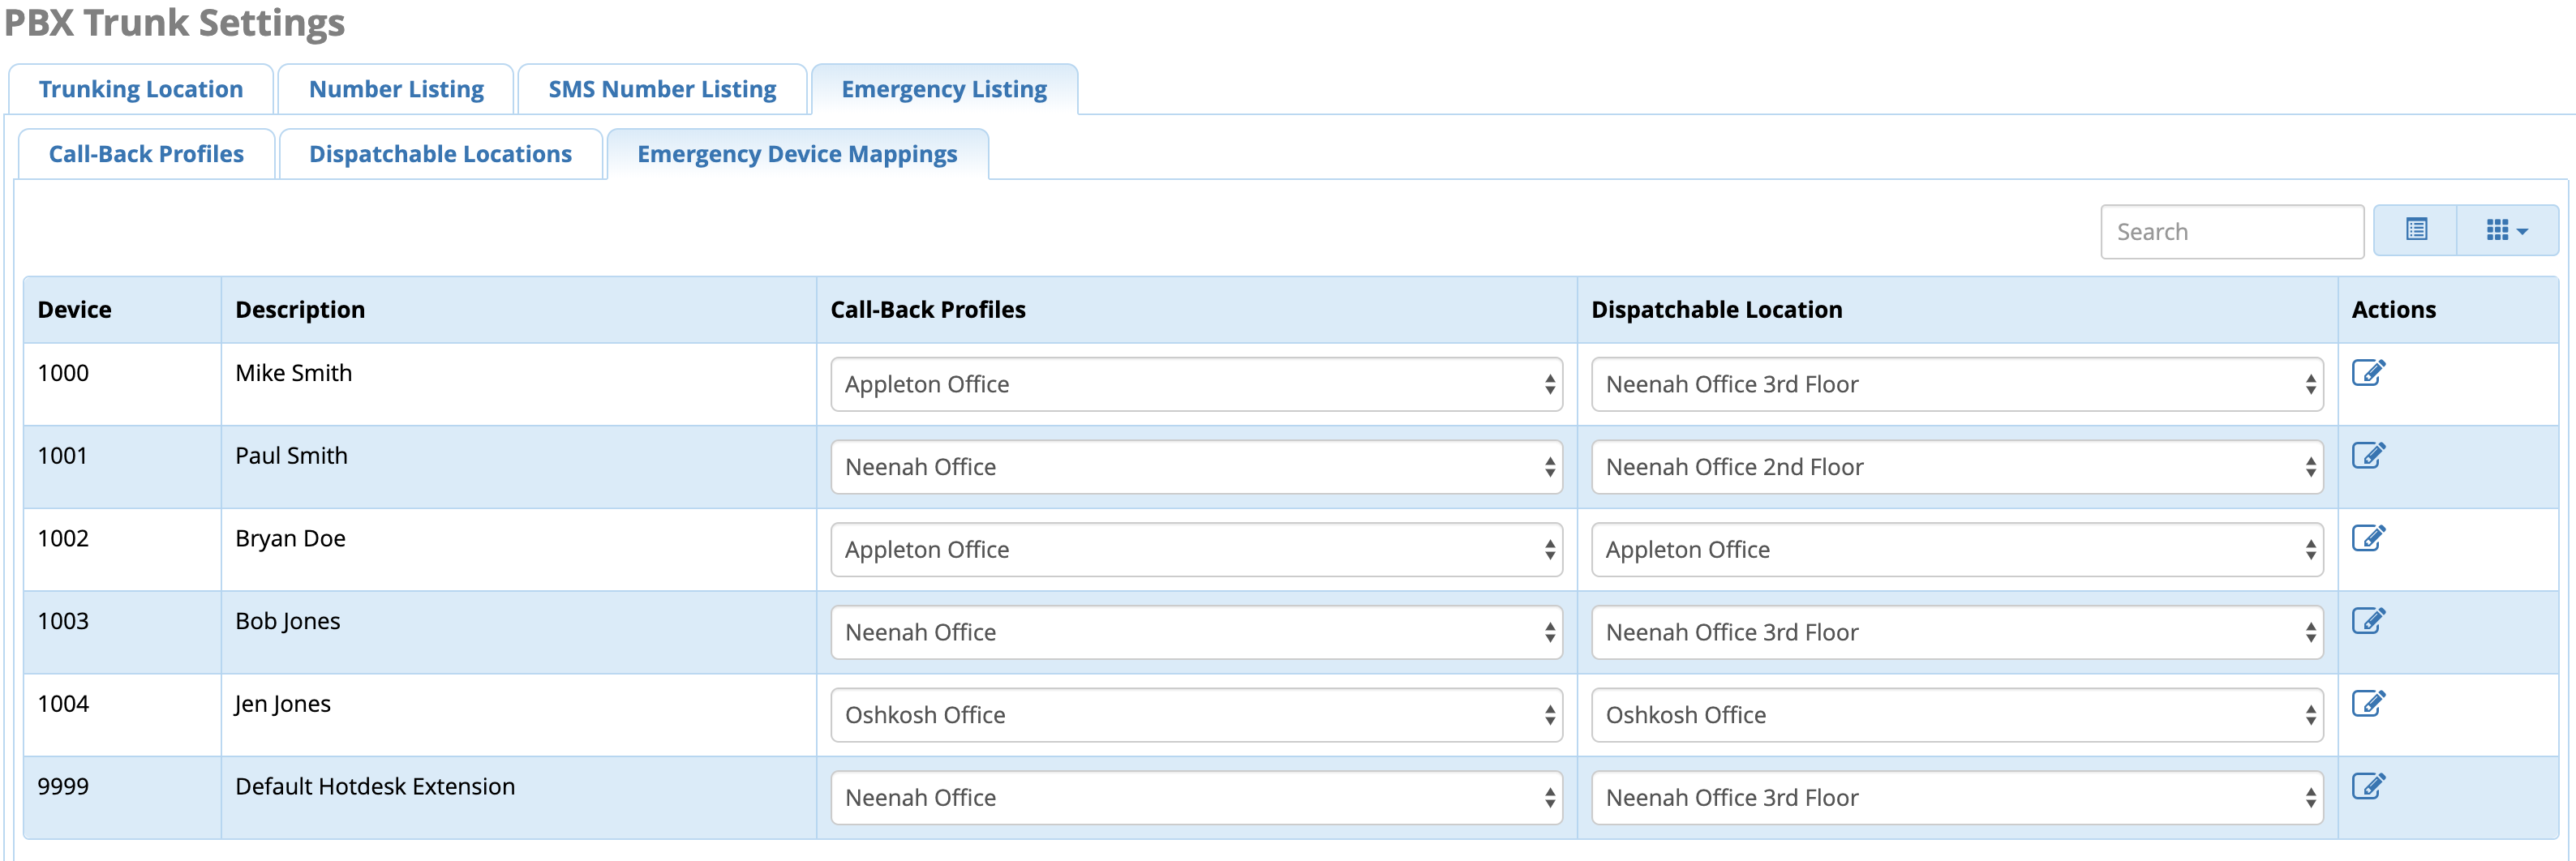
- In the "Emergency Device Mapping" section you can set each Extensions to use specific Call Back Profiles or Dispatchable Locations on a per extension basis which will tell Clearly Trunking what Location to send when that extension calls Emergency Services.
- By default if you do not edit these they will use the standard Caller ID that your Emergency Outbound Route is setup to use here is just a override if you want to force specific extensions to use different 911 Call Back Profiles or Dispatchable Locations
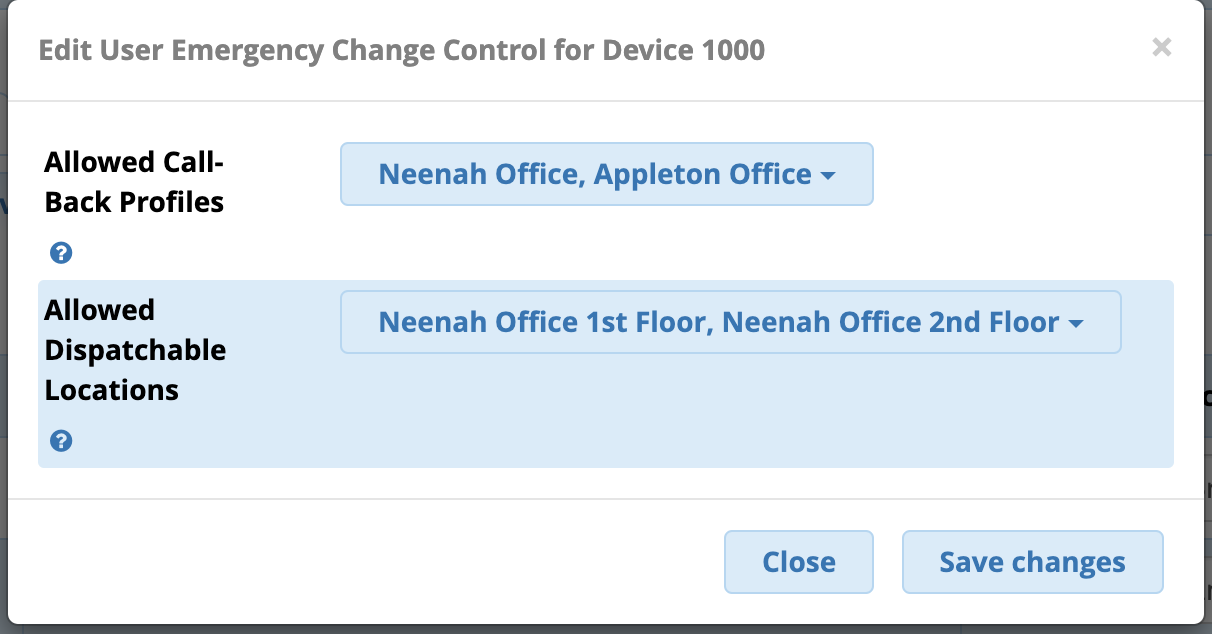
- You can click on the Edit icon under Action and pick 1 or more Call Back Profiles or Dispatchable Locations the user is allowed to change too. Users can then change their 911 location from ComXchange User Control Panel (UCP) or Clearly IP Desk Phones using the 911 Clearly IP device app.
- See this wiki on how to use the 911 App for Clearly IP Phones
- See below on how to manage 911 Location and Call back Profiles at a user level in User Control Panel (UCP)
- It is your responsibility to verify that your 911 configuration is working as intended by dialing 933, or the appropriate process for emergency address verification in your area!
Using UCP to Manage 911 Call Back Profiles and Dispatchable Locations
Loggin In to UCP
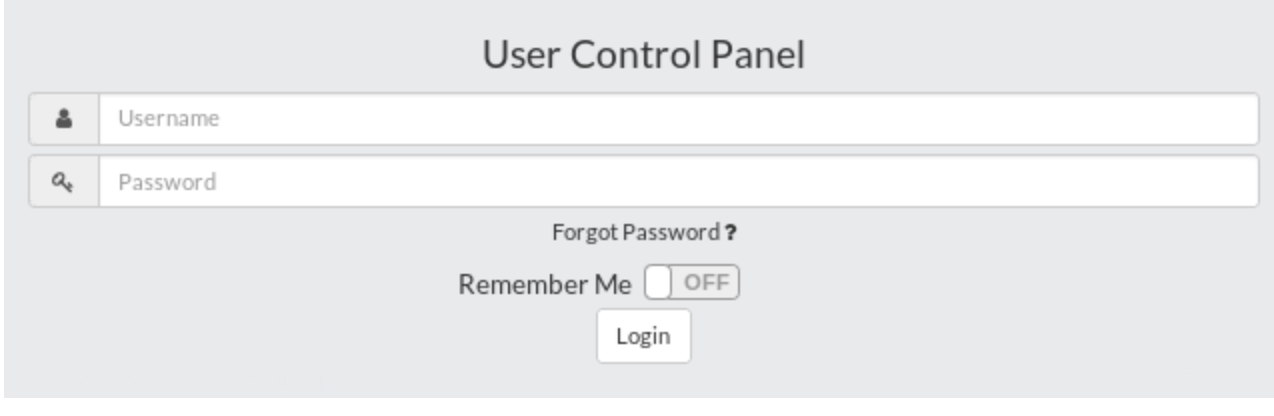
- Navigate your PBX's User Control Panel (UCP)
- Login to UCP
Adding Widgets to a Dashboard
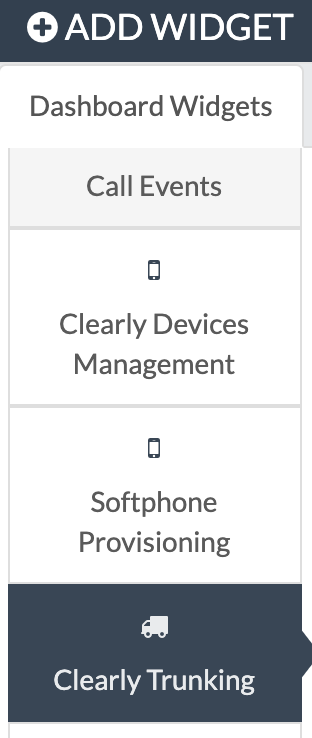
- Select the Widget Add button
 in the Top Left.
- Scroll down to and Select Clearly Trunking
- Select the Add button for Emergency Settings
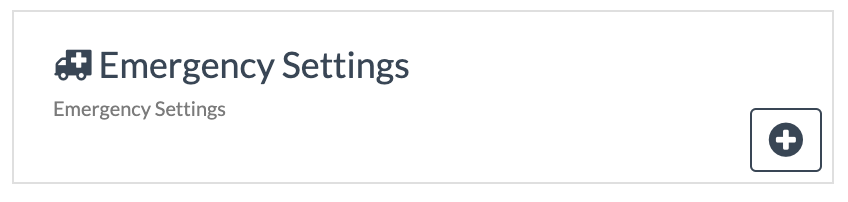
- You should then see the ClearlyIP Trunking Emergency Settings widget on your DashBoard
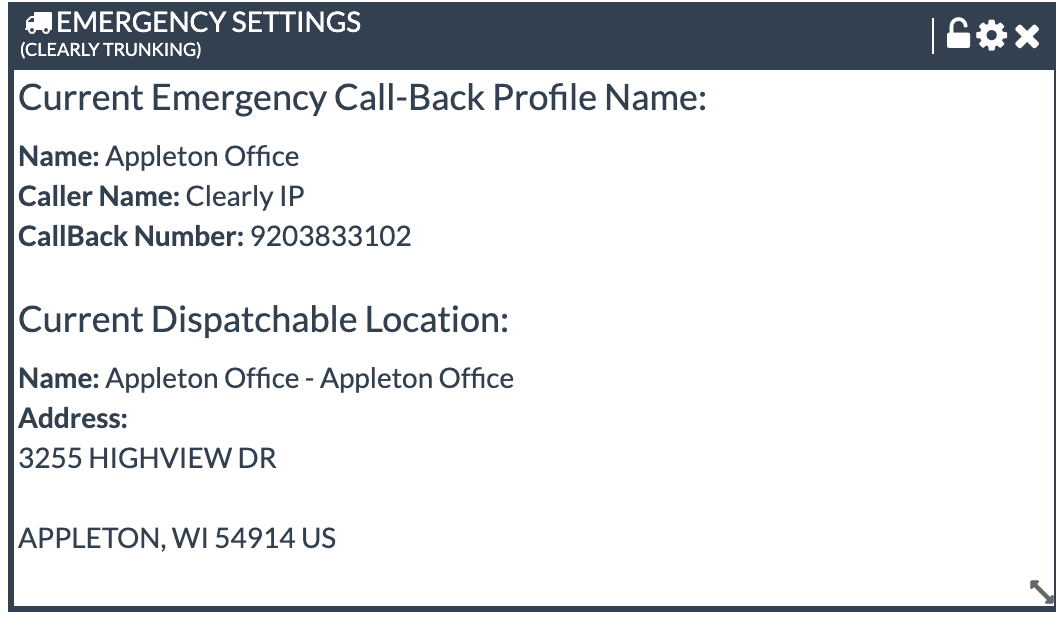
Editing E911 Cal Back Profiles and Dispatchable Locations from UCP
- From the ClearlyIP Trunking Emergency Settings widget select the Setting Gear in the Top Right

- Select the Call-Back Profile and/or Dispatchable Location you want from the Drop Downs.
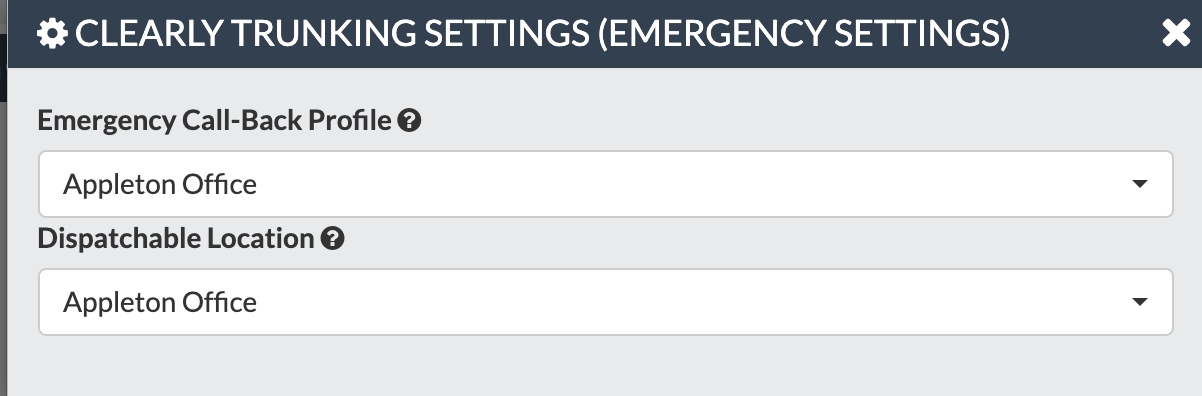

- Once you've made your changes close the settings Popup, and you should see your changes on the DashBoard Widget
- Under the Clearly Trunking Module, go to the Emergency Listings tab, then the Manage Notifications tab. Here you can set different notifications for different groups.
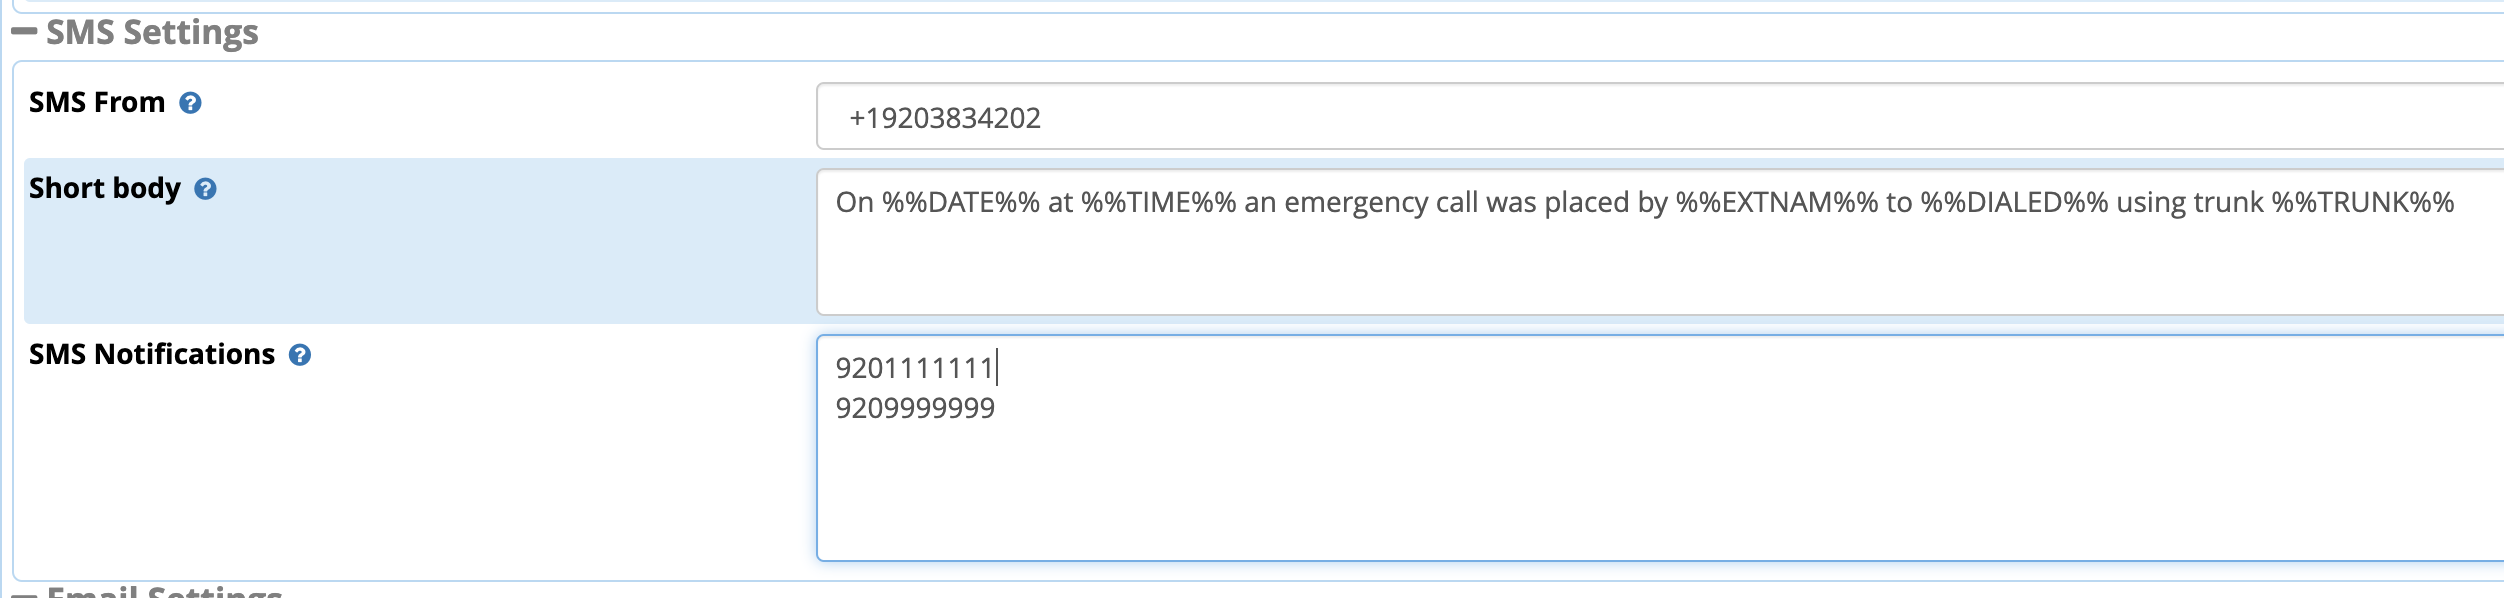
- Click on Add Notification button. For each notification you can create any combinations of Email, SMS or Page group notification for anytime someone calls 911 from your company.

- Provide a Name and Description for this Notification Group

- To Setup SMS Notifications fill in the following information
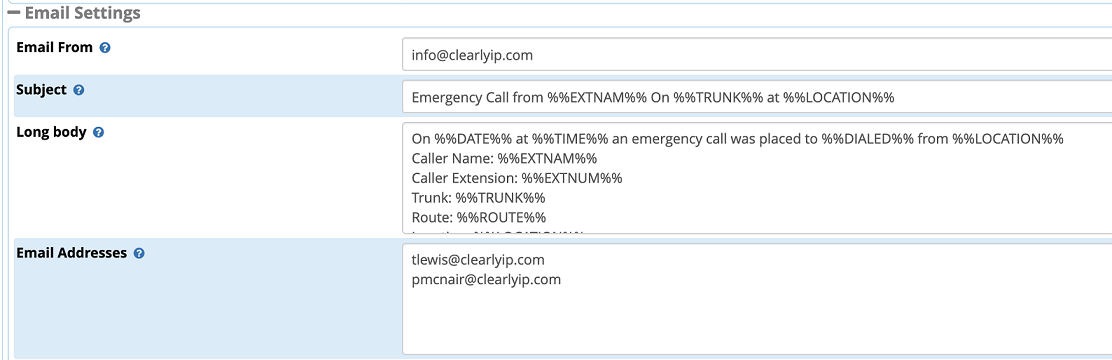
- To Setup Email Notifications fill in the following information
- Lastly we can also link the notification to any page group setup on your PBX.
- When a call is placed out 911 and this notification is triggered it will page the group of phones in the page group you link too and announce who called emergency services and drop you in the emergency call muted.
- You can press *1 to unmute yourself and take part of the emergency call.

- Now we just need to go pick which outbound routes will link to the Emergency Notification group we just created.
- From the Clearly Trunking module under Emergency Listing click on the Route Notifications tab.

- From here you can pick any outbound route you want to link to a notification groups and pick 1 or more groups it will link to.

Debugging
- If you paste in the keycode and it fails with an error about connecting to API please run the command below from your Linux CLI and make sure to replace the word KEYCODE below with your own keycode.
- If this returns an error about SSL Connect error it means your Curl and SSL is outdated as we only support SSL 1.2 or newer for security reasons and we need you to update those. If you are using a CentOS 6 based system this is a common issue and you will need to yum update curl and try again.
Call Choking per DID
- With the ComXchange module for Clearly Trunking you have the ability to limit the number of calls accepted on the PBX on a per DID or Phone Number basis.
- Go into the Inbound Route in ComXchange that you want to limit the number of concurrent calls on and edit the Route

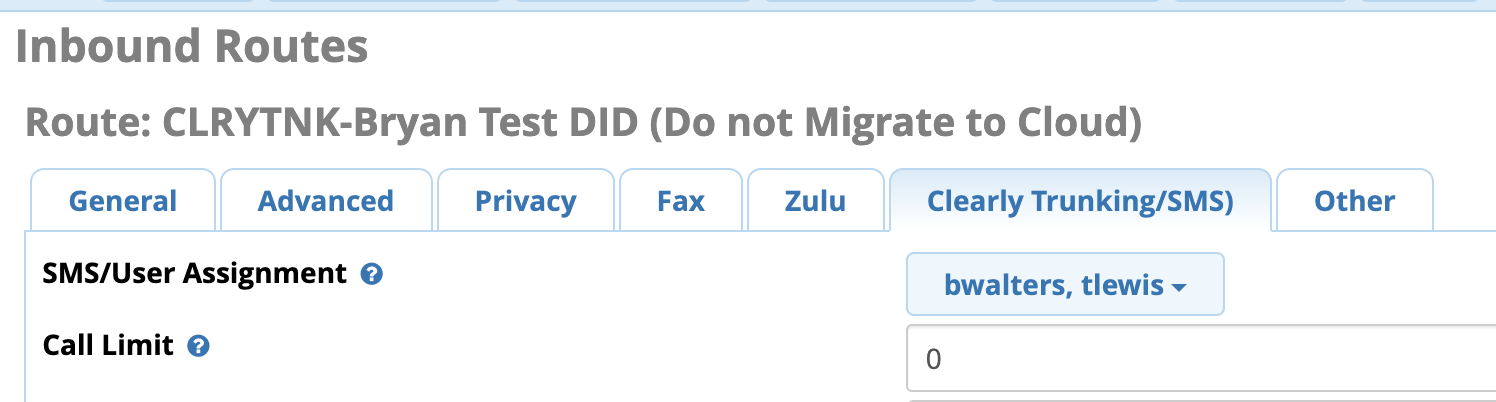
- Under the Clearly Trunking/SMS Tab you will see a Call Limit option. You can set this to the max number of calls you want at any given time on the system for this DID. In my example I set this to 5.
- Leaving this field blank means it has no choking. Setting it to 0 will mean no calls are allowed in and setting it to any other numeric value will be the max number of calls allowed on this DID.
- Under the Destination (If LImited) option set a destination for the call if the limit is met. Normally you would set this to Terminate the Call with Hangup but you could also route it to any other destination on the PBX

- A handy trick to force the call to be rejected but cause our Trunking Servers to kick in any failover you have set on the DID or Location level you can set the Terminate Call to be Congestion which will return the SIP Cause that will cause our Trunking Servers to honor the failover settings you have setup in our Trunking Portal for the Location or DID. A normal Hangup would not cause the failover.

How to Send SMS through Asterisk Dialplan
- If you are using our version 13.0.13 of module above to manage your PBX you get full access to our SMS service built into ComXchange and PBXact from UCP and different mobile clients that support ComXchange Messaging. For more information about that, you can review our SMS documentation above.
- In addition to UCP and different mobile clients that support ComXchange Messaging, you can also use an AGI script we include in the module to send SMS through Asterisk dialplan. Below is a simple example of sending SMS through dialplan in ComXchange to our AGI script which will relay out the message.
- [clearly-send-sms-via-dialplan]
exten => _X.,1,NoOp(== Here with ${CALLERID(num)} to ${EXTEN} ==)
same => n, Set(CLEARLYSMSFROM=15555555555)
same => n, Set(CLEARLYSMSTO=15555555555)
same => n, Set(CLEARLYSMSMESSAGE=This is a test message)
same => n, AGI(agi://127.0.0.1/clearlytrunkingsms.agi)
same => n, Macro(hangupcall,)
 Uploading ....