| | | |
 Uploading .... Uploading ....
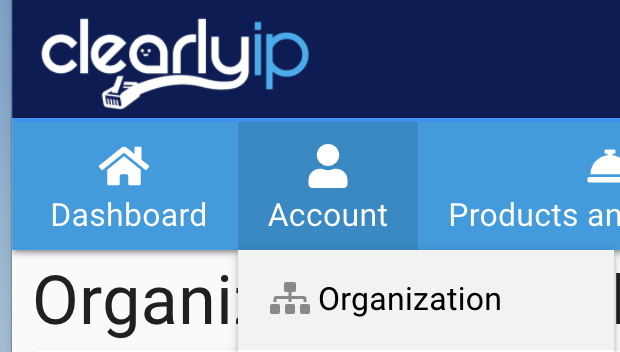
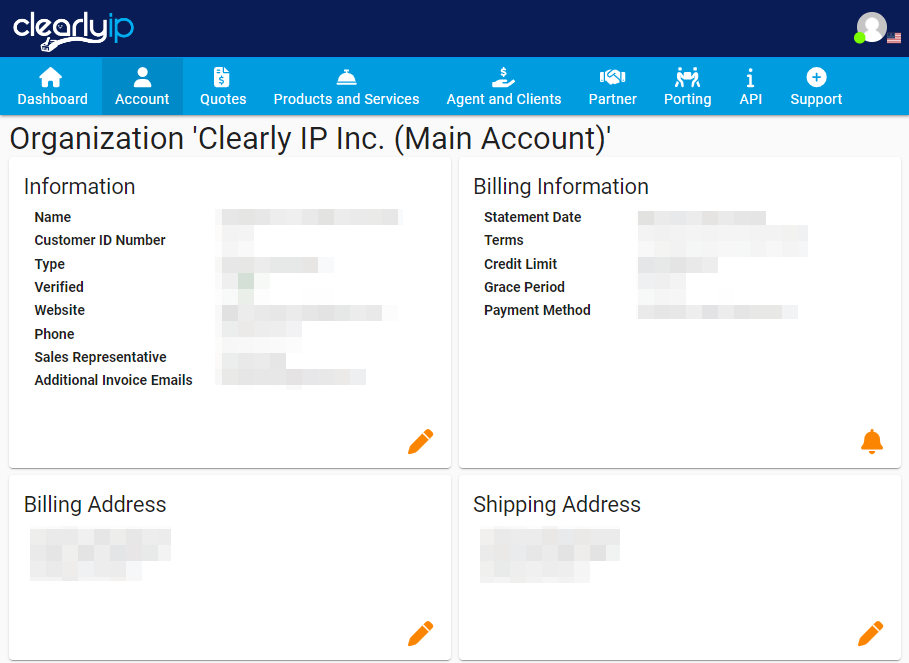
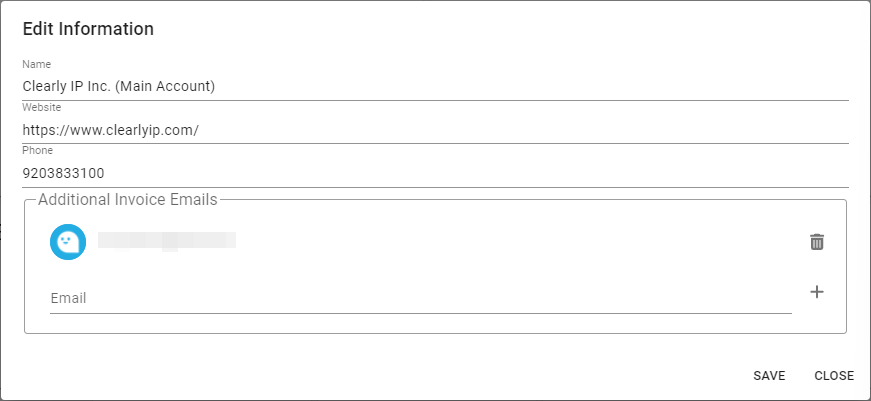
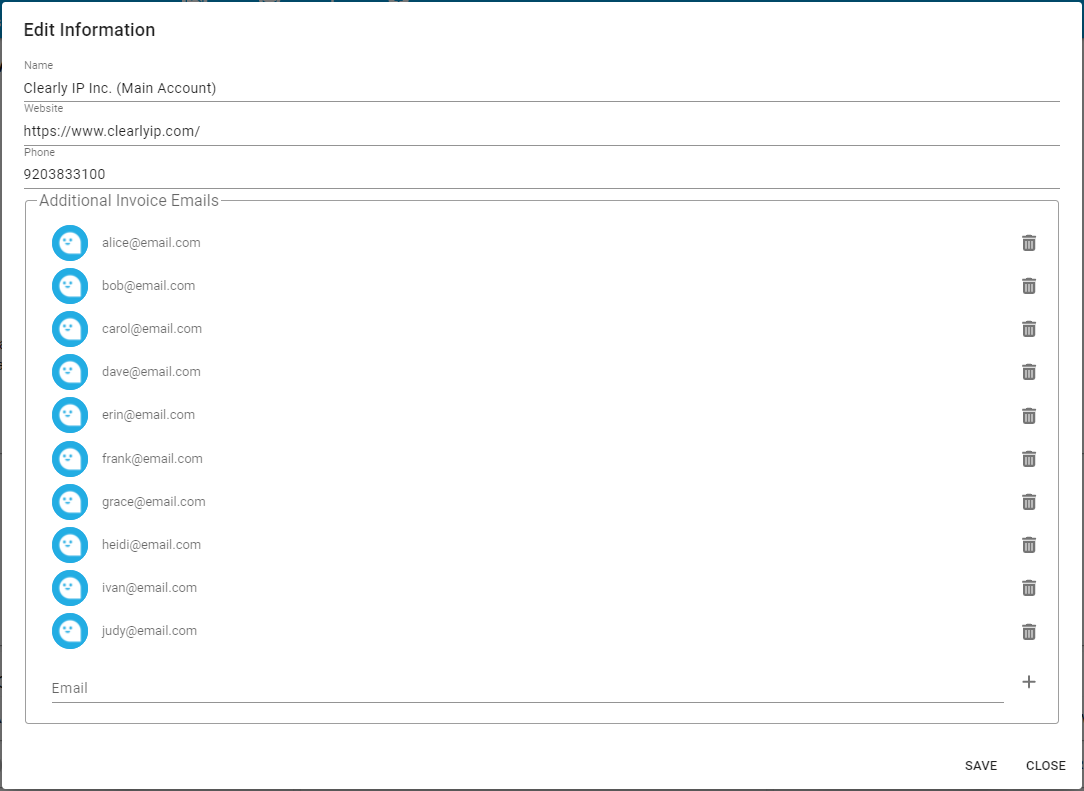
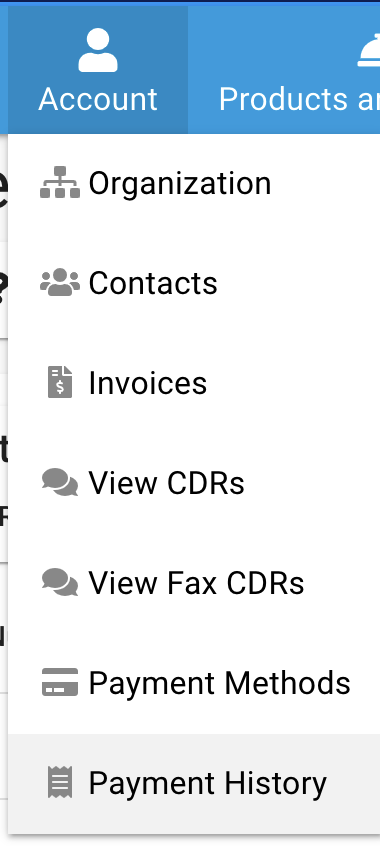
Organization
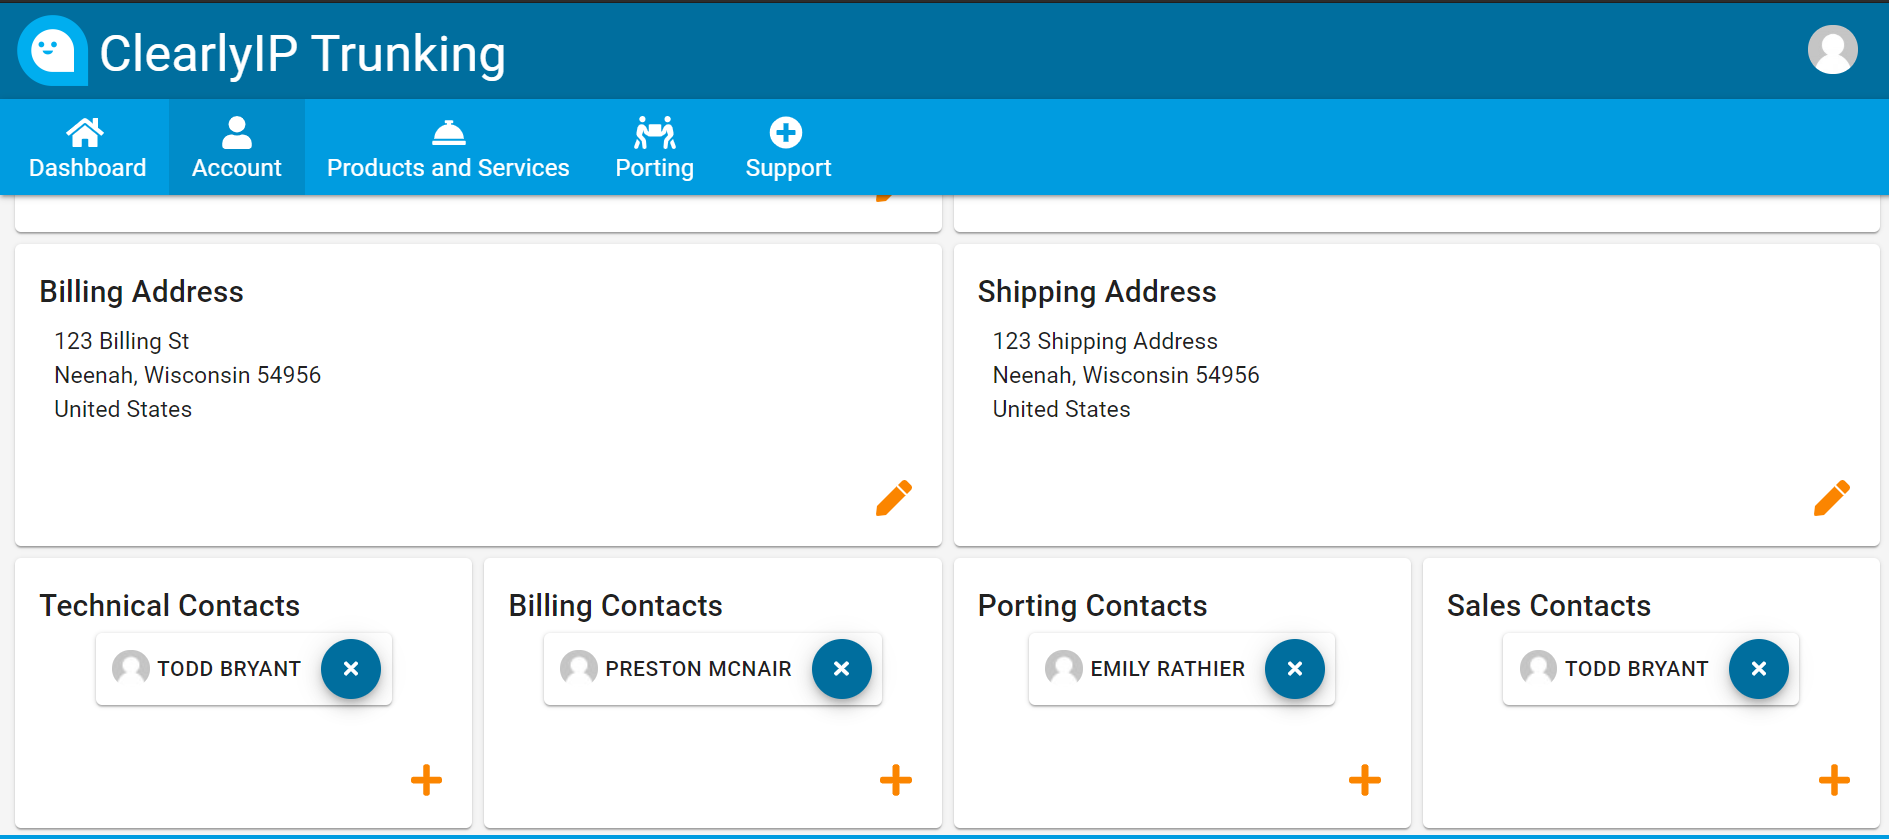
Contacts - What is a Contact? A contact would be any user listed within the account. These users may be listed as technical, billing, etc., with variable permissions and authorizations.
- Within your Account, you can easily View, Edit, and/or Create Contacts for your Account.
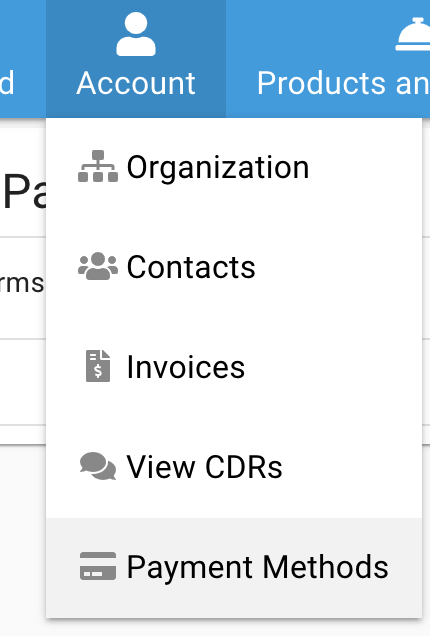
- Once logged into the Clearly Trunking Portal , Go to Account -> Contacts to view your existing contacts.

- From there you will see a full list of the current Contacts to your account. You can choose to Add a New Contact, as well as View properties of existing Contacts (as noted under the 'Actions'), and whether or not this User is allowed for account Login.
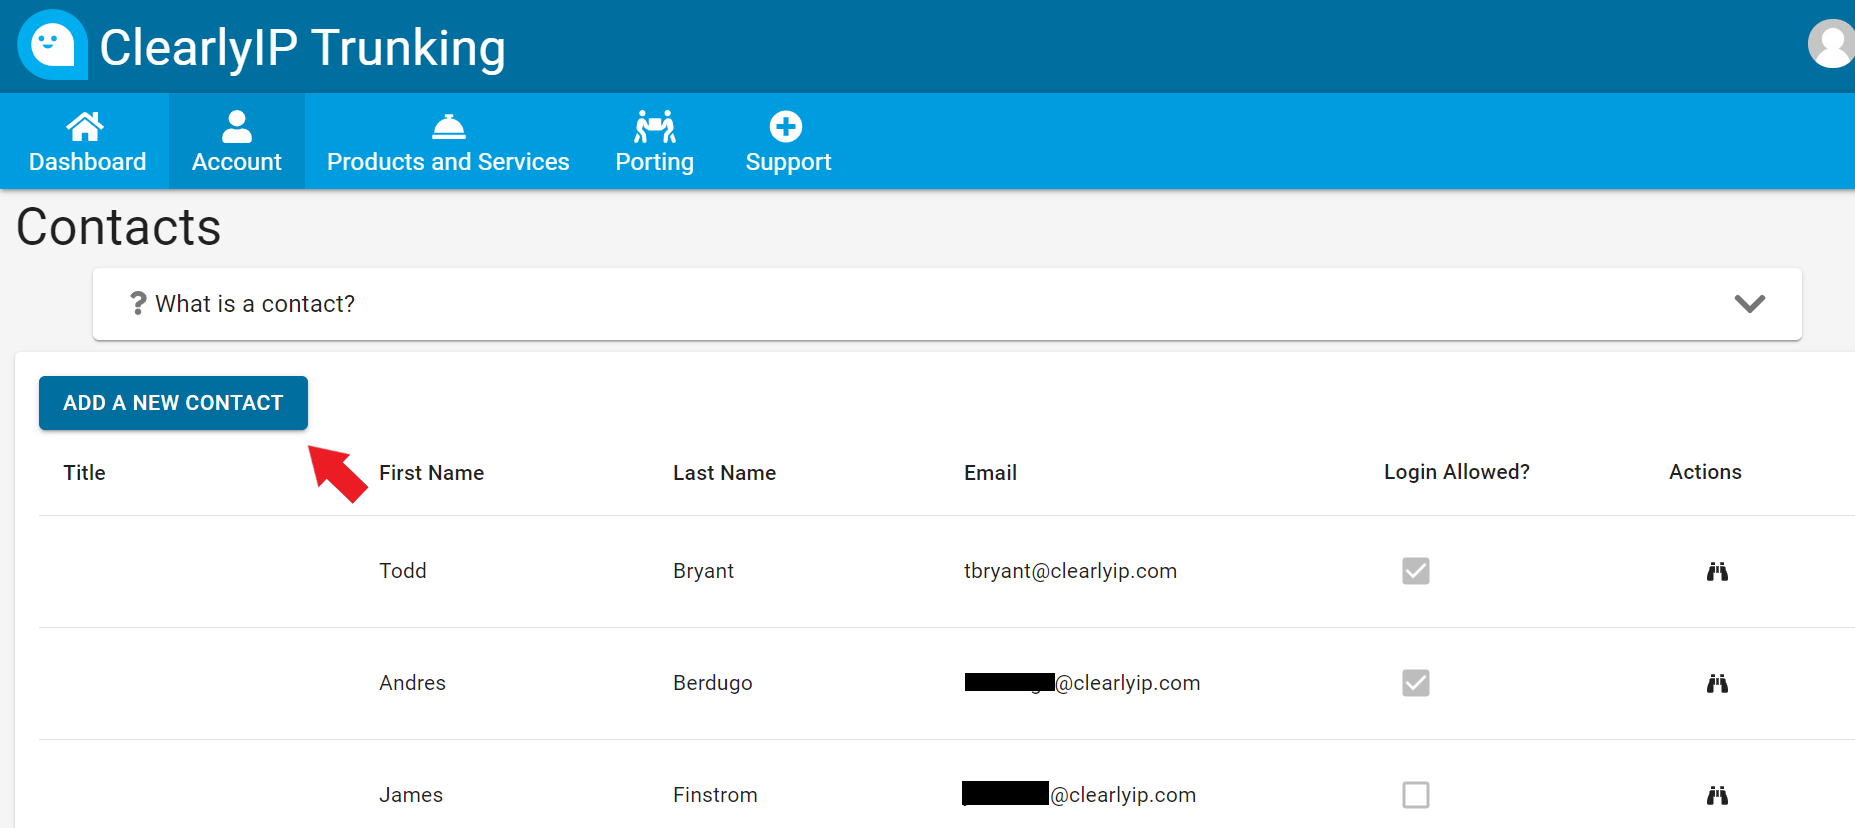
- Click on the Binoculars for a Contact that you would like to enable login and set a username and password for this contact.
Invoices
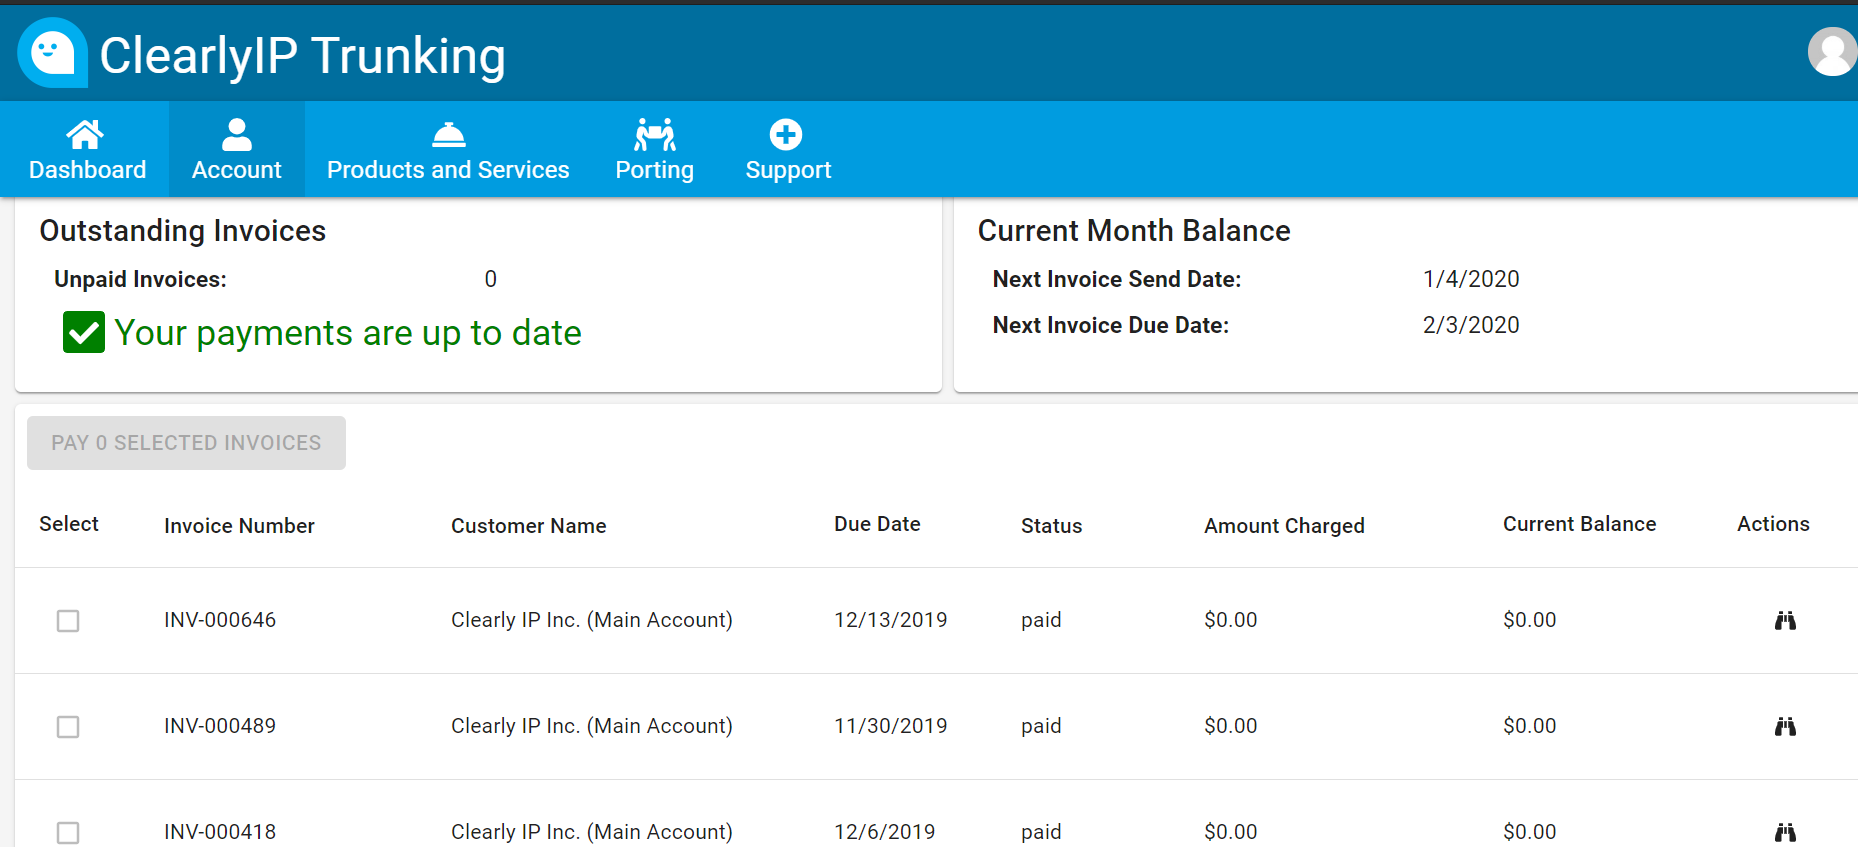
- Invoices are where you can see the full history of all your paid and unpaid invoices with Clearly IP and download PDF copies along with making payment with a Credit Card for any unpaid invoices.
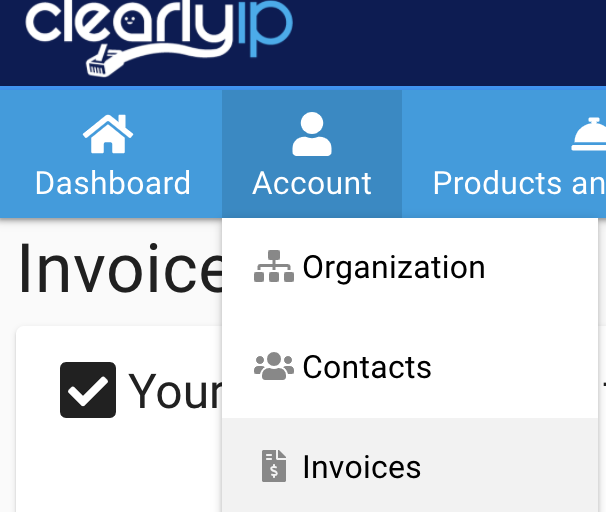
- Once logged into the Clearly Trunking Portal , Go to Account -> Invoices to view your Invoices
- From here you can view, download and pay any of your invoices and see the status of each invoice
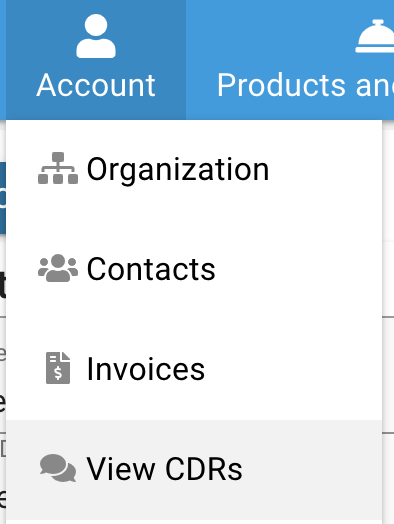
View CDRs - From within your Account, you can easily view and download current and previously billed Call Detail Records (CDRs). These records are updated in 'near time', and generally within 60 seconds of a recently ended call. They will show both Voice and Fax calls and any amounts that the specific call may have related to charges for that call.
- Once logged into the Clearly Trunking Portal , Go to Account -> View CDRs
- From here we can see all of our CDRs and use the Filter to change the date range and/or a specific Trunking Locations.
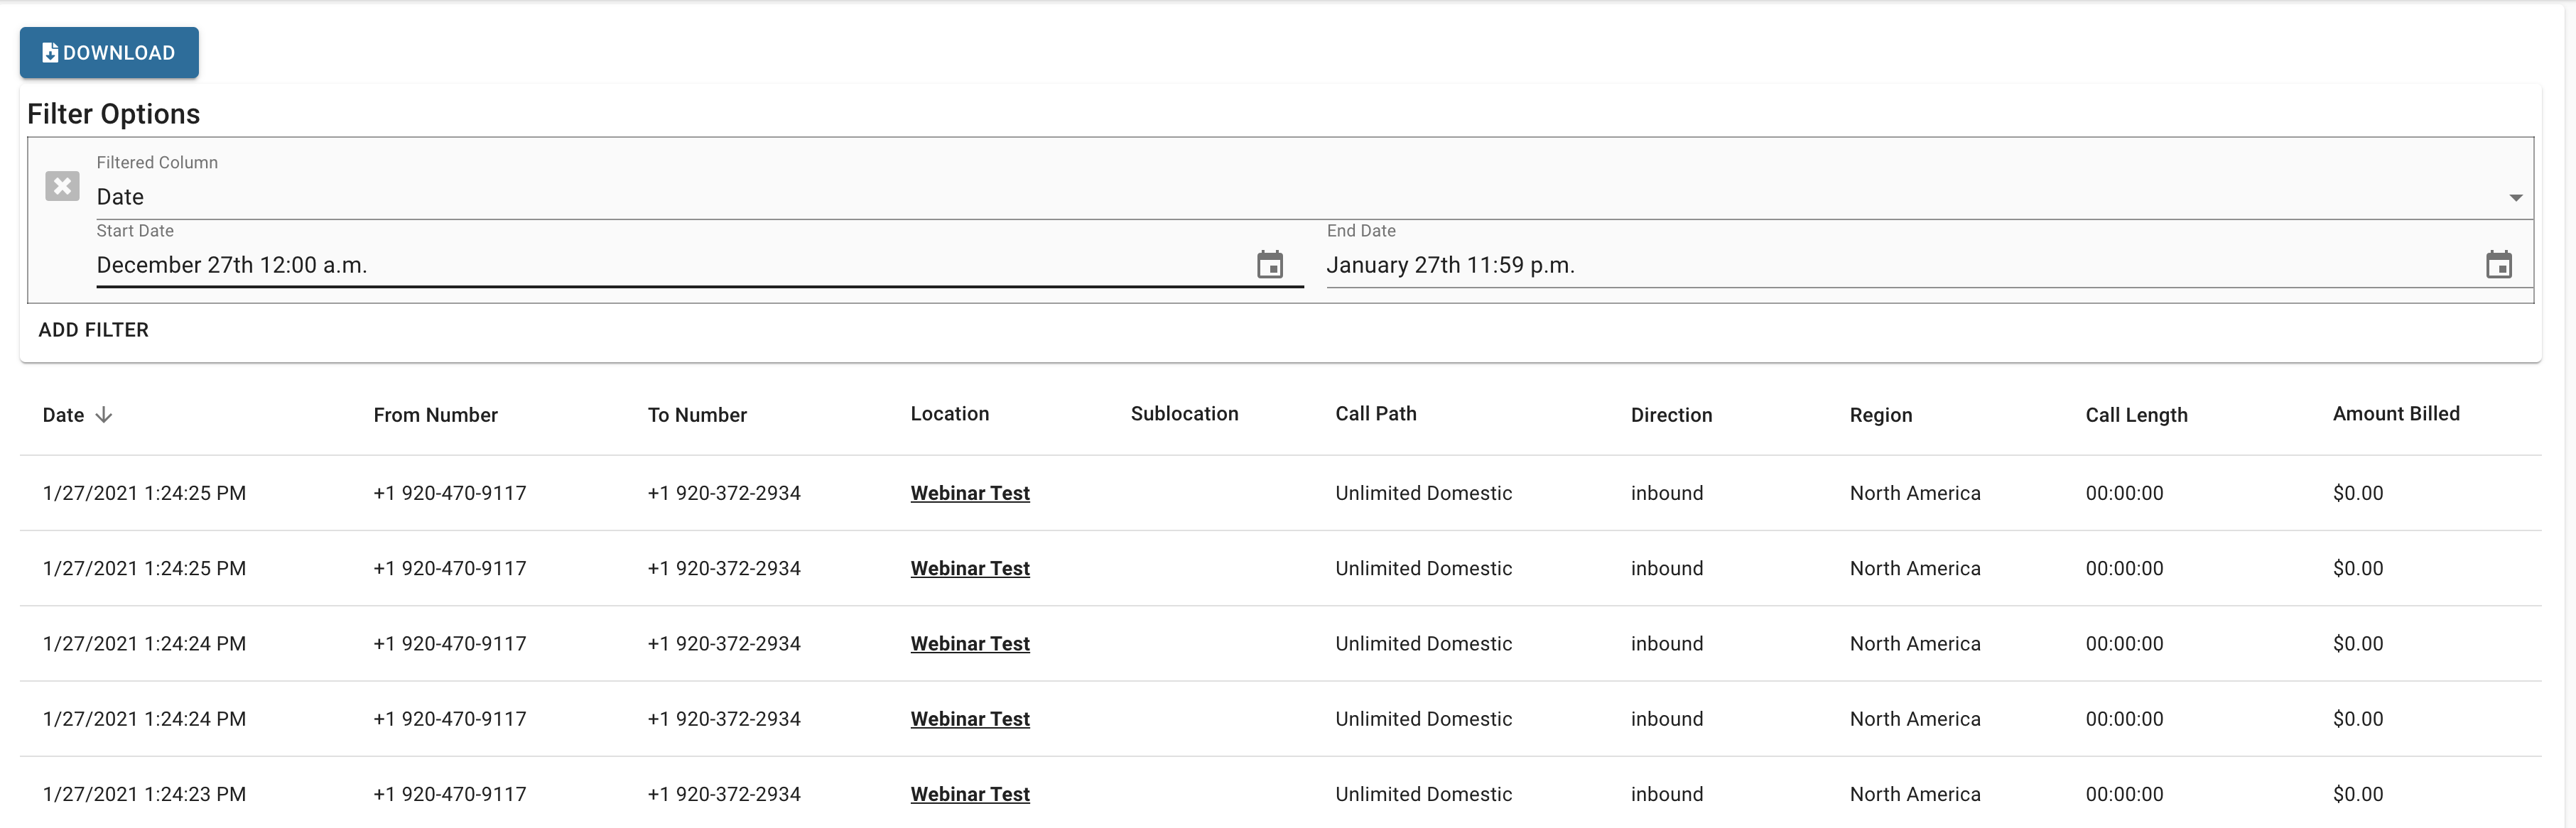
- To download the CDRs to CSV click on the "Download" button at the top and all the CDRs within the filter range will be downloaded to CSV.
View Fax CDRs - From within your Account, you can easily view all Fax Calls made using the Clearly Trunking Fax Service call paths for SendFax.to service. You can view the status of each fax such as success or failure. These includes all faxes sent or received using;
- Fax to Email
- Email to Fax
- API Faxing
- Send and Receiving Faxes through a SendFax.to Appliance device.
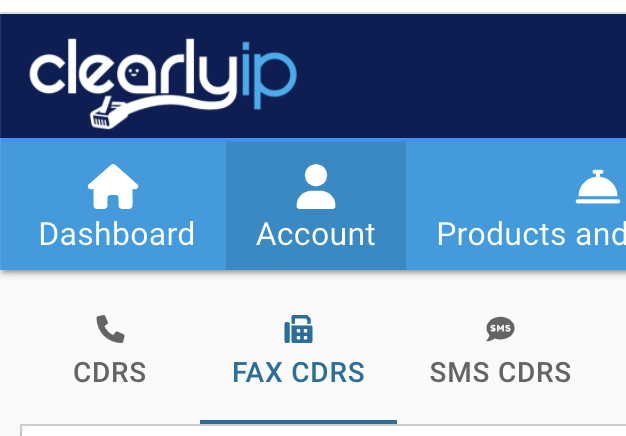
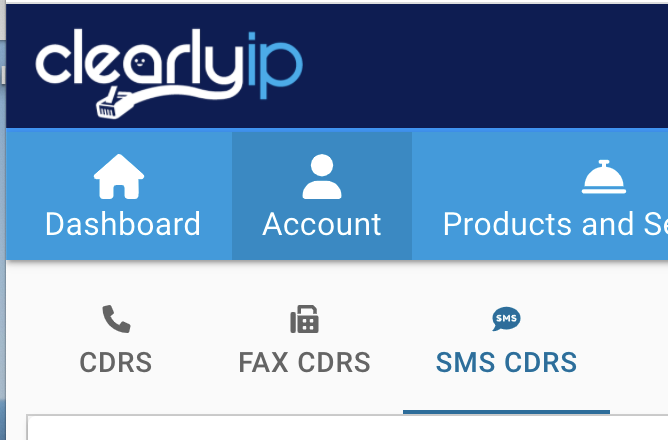
- Once logged into the Clearly Trunking Portal , Go to Account -> View CDRs and click on the Fax CDRS section
- From here we can see all of inbound and outbound faxes and use the Filter to change the date range and/or a specific Trunking Locations.
- You can see the date and time of the fax, direction of the Fax, Sending and Receiving Phone Number and the final outcome of the fax under the status column.
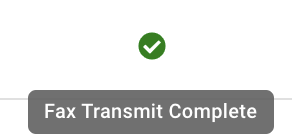
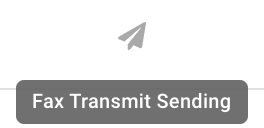
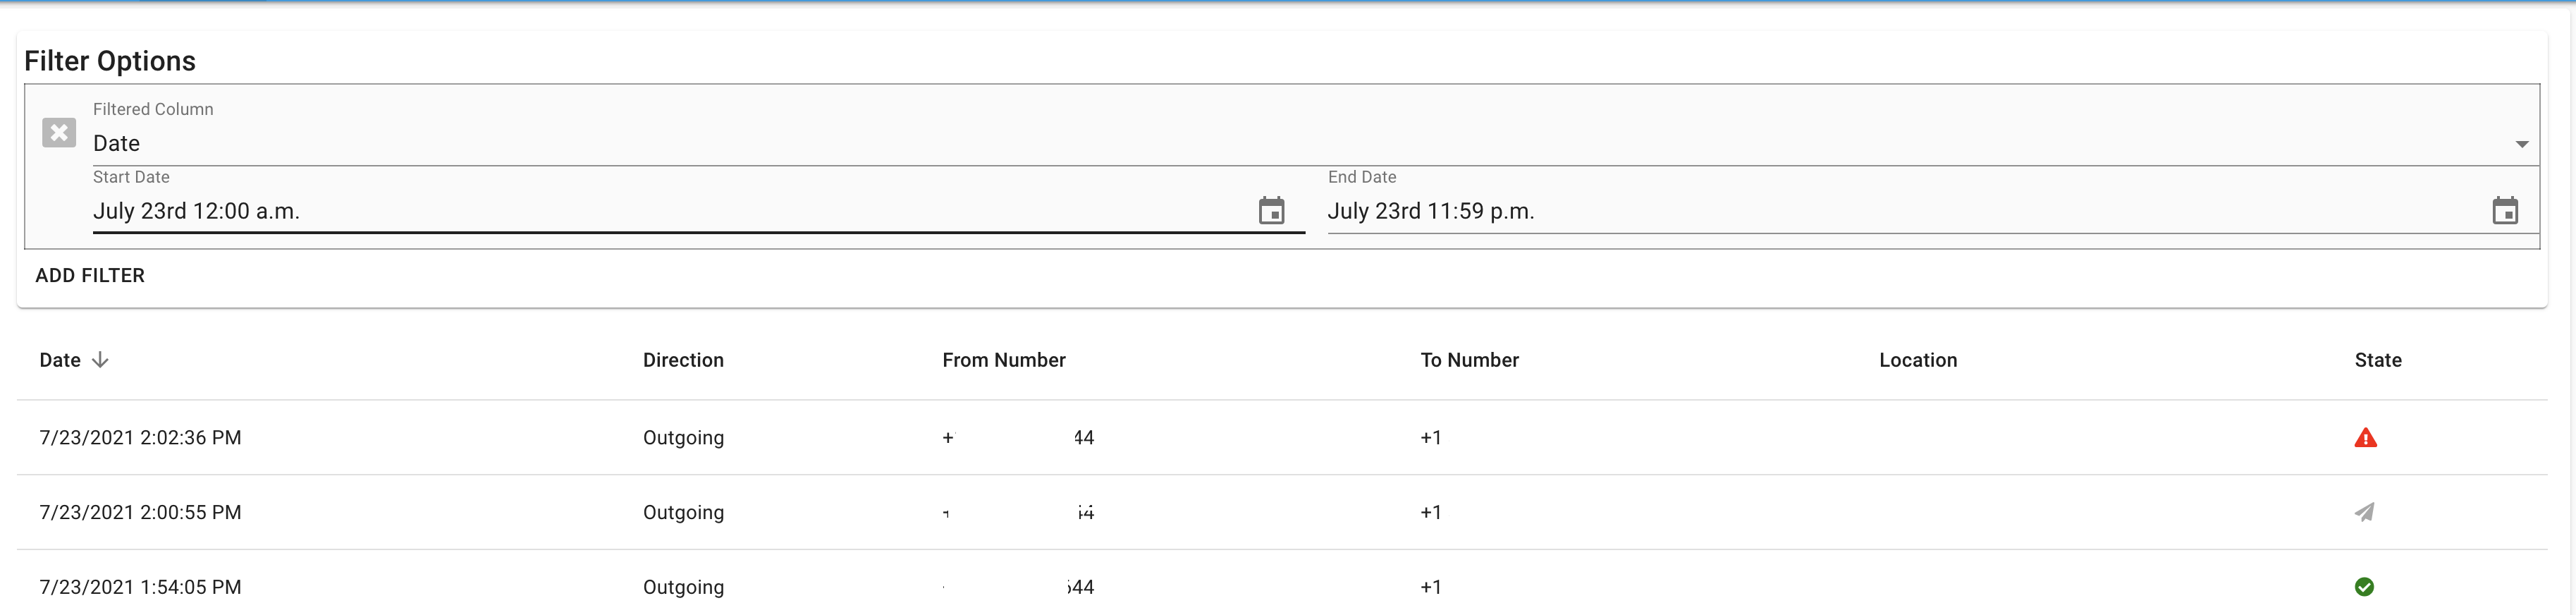 - For each fax you can see the current Status of the Fax such as;

View SMS CDRs - From within your Account, you can easily view all SMS and MMS Messages sent or received along with the charges and any Wireless Carrier 10DLC surcharges.
- Once logged into the Clearly Trunking Portal , Go to Account -> View CDRs and click on the SMS CDRS section
- From here you can see all the information for each message. Please note we do not store the message contents so we can not show the actual message that was sent.

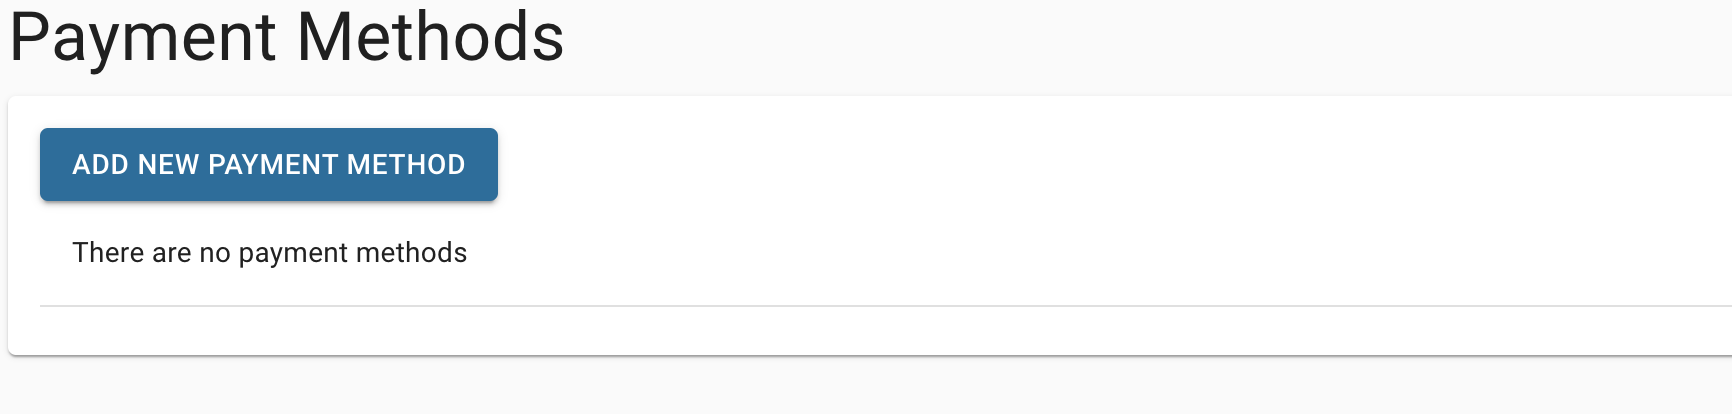
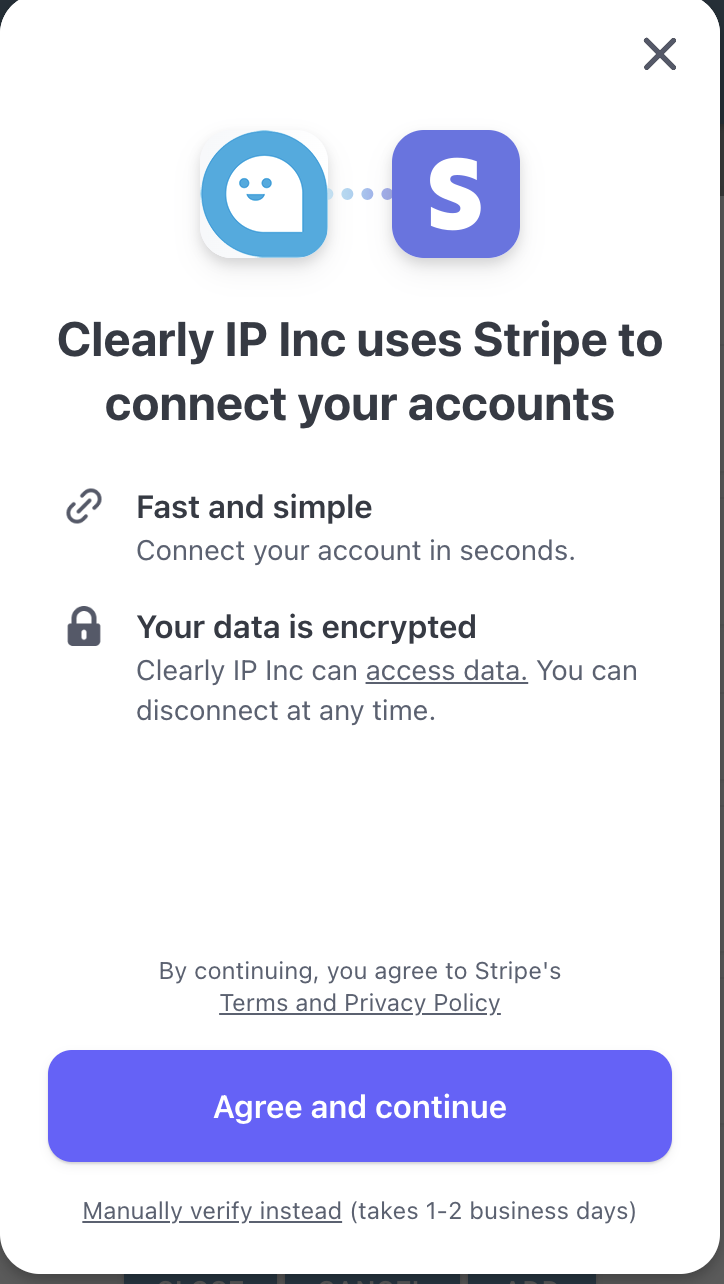
Payment Methods - The payment history tab will show you each payment made to Clearly IP on your account and what invoice(s) the payment was applied to. This is useful to reconcile a charge on your Credit Card for monthly service that was charged against more than 1 invoice as you can get a list of all the invoices the payment was applied against.
- Once logged into the Clearly Trunking Portal , Go to Account -> Payment History
- We can now see a list of all payments, the date of the payment, amount and what invoice(s) the payment is applied against.
- if the payment is applied against more than 1 invoice click on the
 in the Invoices Applied to column and you will see a list of Invoices the payment was applied against. in the Invoices Applied to column and you will see a list of Invoices the payment was applied against.

|
|
|
| | | |
|