Installing Branding Module from Linux CLI
To configure a system use your brand you will have to manually install the branding module
- SSH into your PBX
- From the Linux CLI run the following command replacing "https://LINKTOMODULE" with the actual URL of your module.
fwconsole ma downloadinstall https://LINKTOMODULE

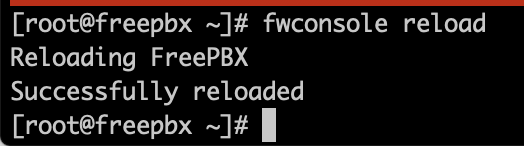
- Now we need to reload FreePBX with the following command
fwconsole reload
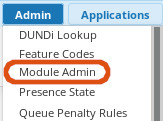
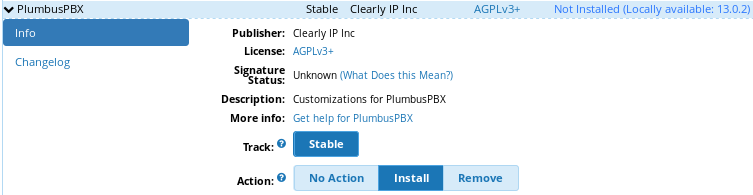
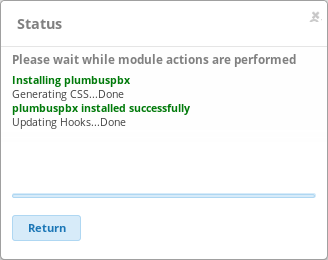
Installing Branding Module from PBX GUI
To configure a system use your brand you will have to manually install the branding module
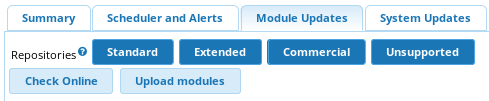
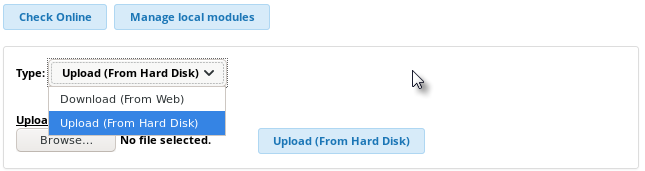
 Uploading ....
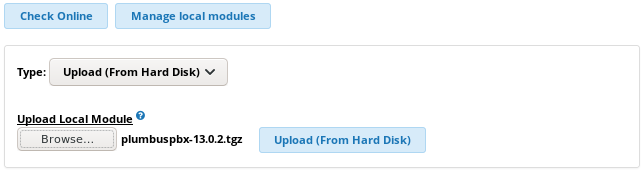