Starting with ComXchange version 17, the autoprovisioning of SIP endpoints (phones, gateways, ATAs, etc.) is no longer managed via the deprecated EndPoint Manager module but rather via the Cloud Device Manager (CDM) module which integrates ComXchange with the CDM Portal. This guide explains how to setup the autoprovisioning via this new improved method.
1. Auto Create CDM Location (Trunking Portal)
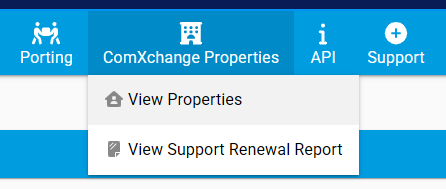
- In your Trunking Portal, go to: ComXchange Properties > View Properties
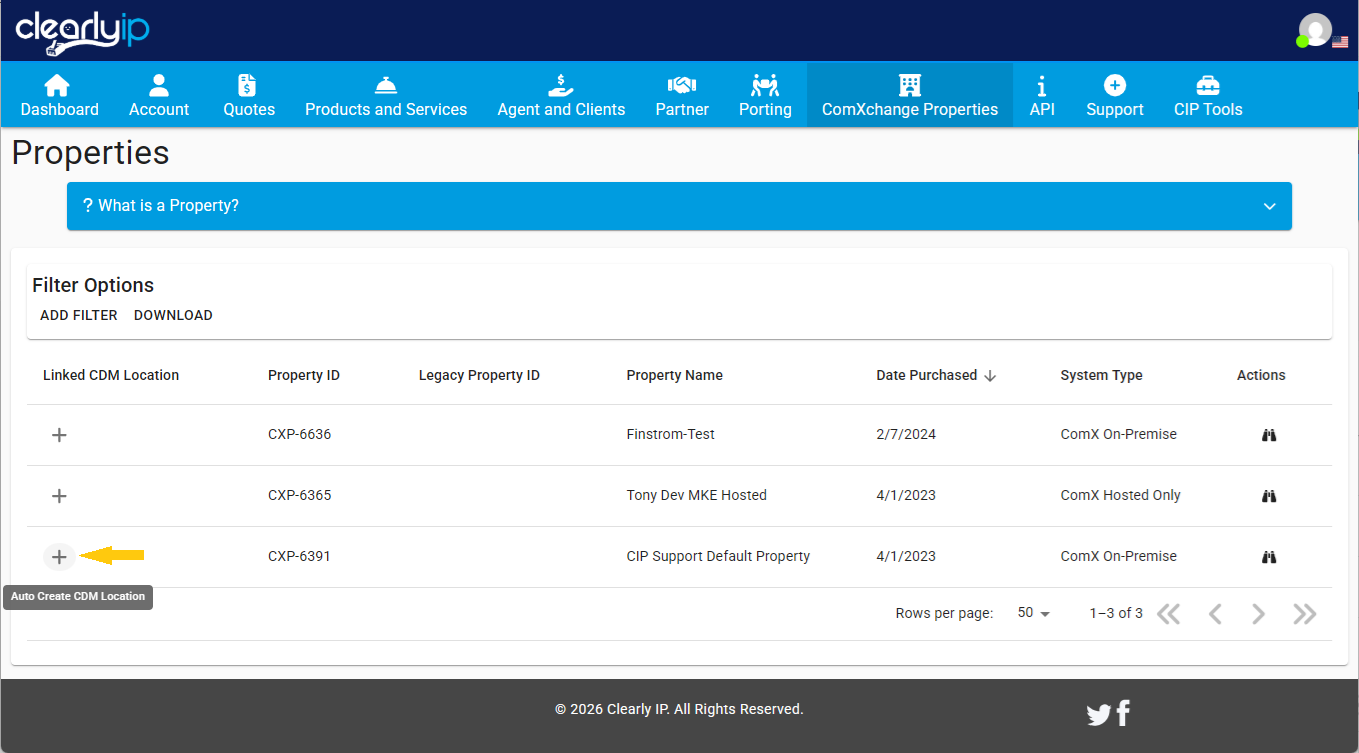
- Once there, locate the ComXchange property for which you want to implement the autoprovisioning and click on the "+" (plus) icon on the left side of the table (under the "Linked CDM Location" column)
- A popup will show up in the center of the screen, here just select your corresponding CDM Tenant Account from the dropdown menu there and then click on the "ADD CDM LOCATION" button on the lower right corner:

This makes the ComXchange property start to show in your CDM Portal, under: CDM > Locations
2. Link ComXchange's Cloud Device Manager module with the CDM Portal
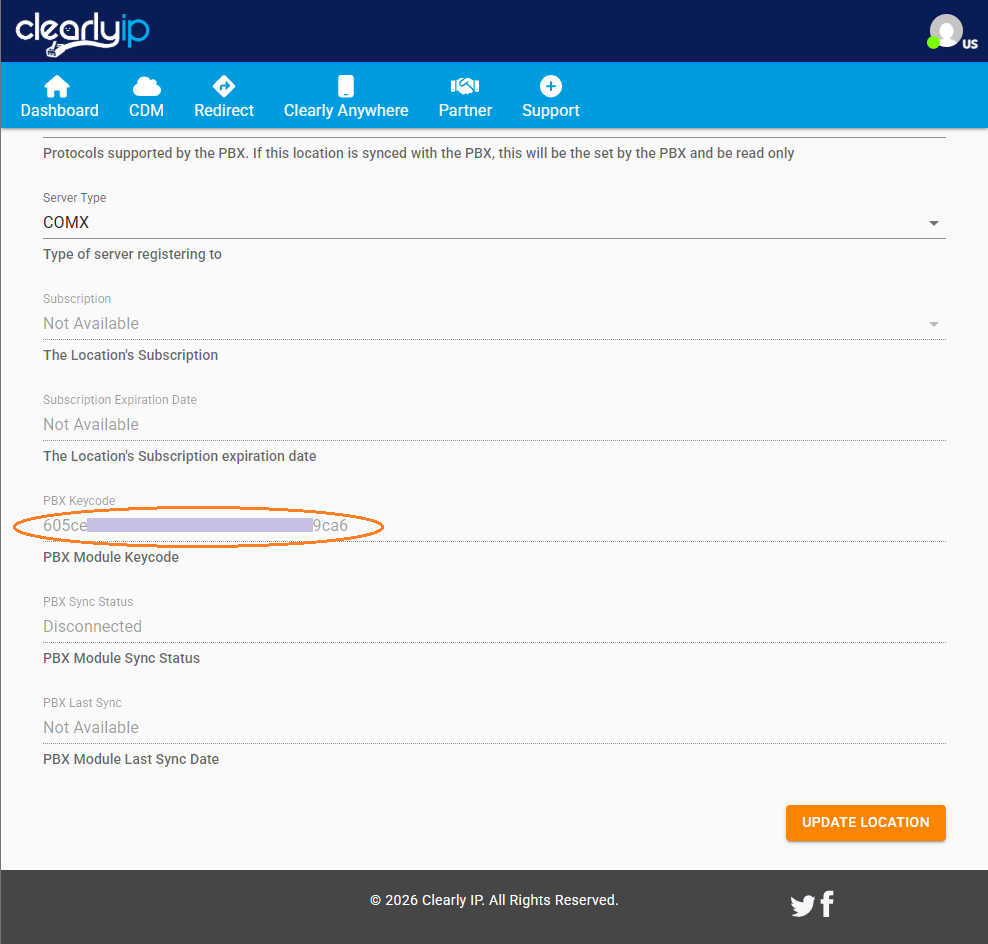
- In your CDM Portal, go to: CDM > Locations and click on the binocular icon corresponding to your ComXchange Location (this is under the "Actions" column). The Location's "GENERAL" tab will be displayed, there you need to scroll down until you see the "PBX Keycode" parameter, copy it as it will be needed later:
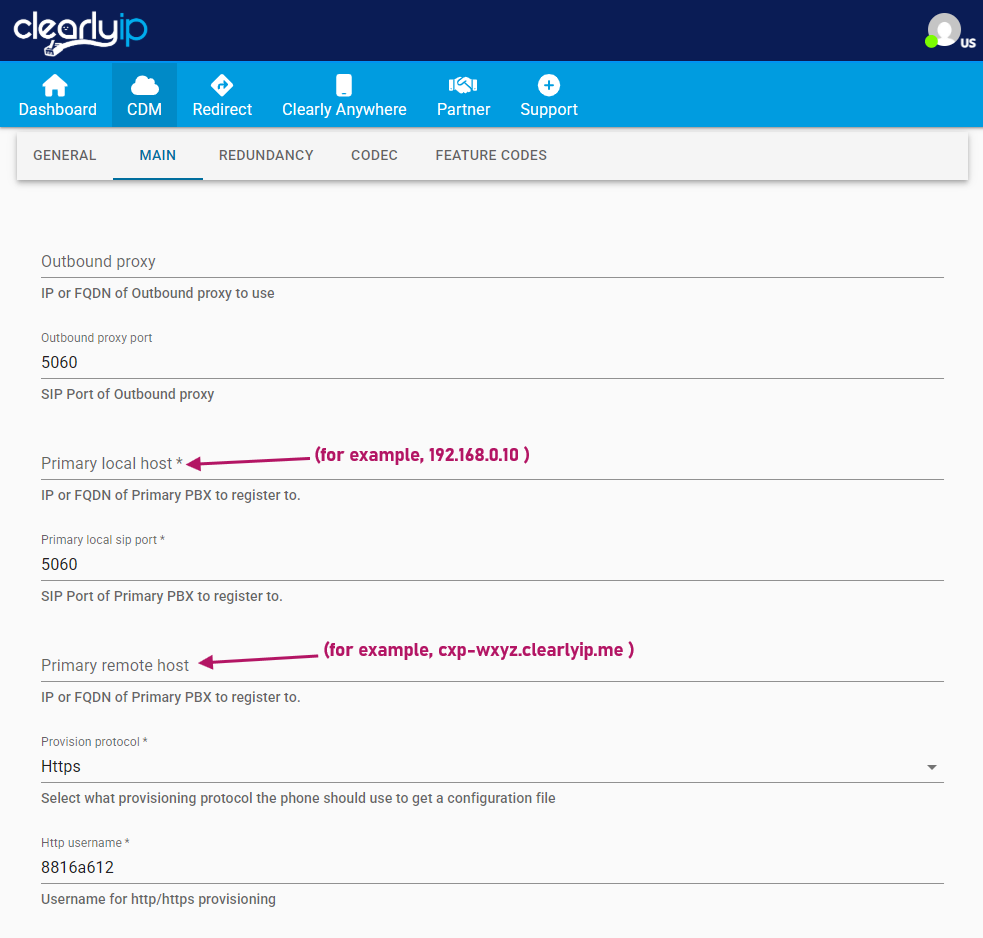
- Next, go to the "MAIN" tab to enter the IP or FQDN of your ComXchange controller. Depending on where the endpoints that you want to autprovision will exist in relation to the location of the ComXchange controller (either: locally, remotely, or both), you need to enter the IP or FQDN in the corresponding field(s), the "Primary local host" field and/or the "Primary remote host" field:
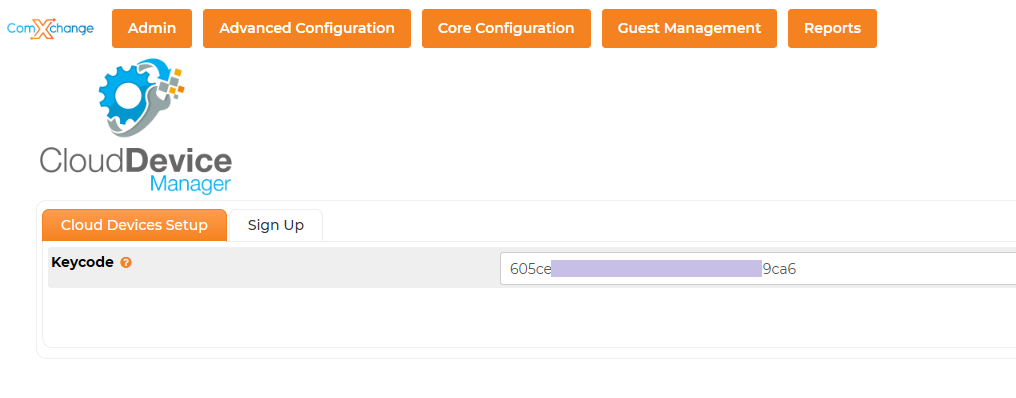
- Now, in your ComXchange controller's webUI, go to: Core Configuration > Cloud Device Manager , once there just paste the Keycode obtained in a previous step here above, and then click the "Submit" button:
3. Configure the autoprovisoning settings in CDM Portal ( Template(s), Phone Model(s), and Mapping(s) )
- In your CDM Portal, go to: CDM > Templates to add or edit any existing Template accordingly.
Templates are where we provide the information about the End Point Settings we want to configure, such as Line Keys, BLF keys, and all the options and features of the endpoints. A template gets linked to a Tenant and can be mapped to any Extensions of that Tenant as well as any Locations for that tenant.
Follow this guide for creating a new Template, or this other guide for editing an existing Template.
- Next, add the Phone Model(s) inside the Template ("MODELS" tab), you'll be able to select from over 300 hundred different endpoints models currently supported for autoprovisioning by the CDM Portal.
Follow this guide for adding Phone Model(s) into the Template including their keys assignments.
- Finally, go to CDM > Mappings to add the extension(s) mapping(s).
Mappings are where we pull in all the information of Locations, Templates, Models, and Extensions and map them to specific Device MAC Addresses that are used to provide all the configuration details to the Device when it logs in and requests the configuration information.
Follow this guide for adding the extensions Mappings.
That's it! The provisioning of your endpoints from now will be handled by the CDM Portal and any subsequent additions, deletions, or modifications would be managed there.
 Uploading ....