Here you can find a quick guide for common brands and models of phones on how to point the device to use CDM for provisioning manually through the Phones Web GUI. You can also use things like DHCP Option 66 to automatically tell your devices how to reach CDM for their configs.
Algo (8186 IP Horn Speaker)
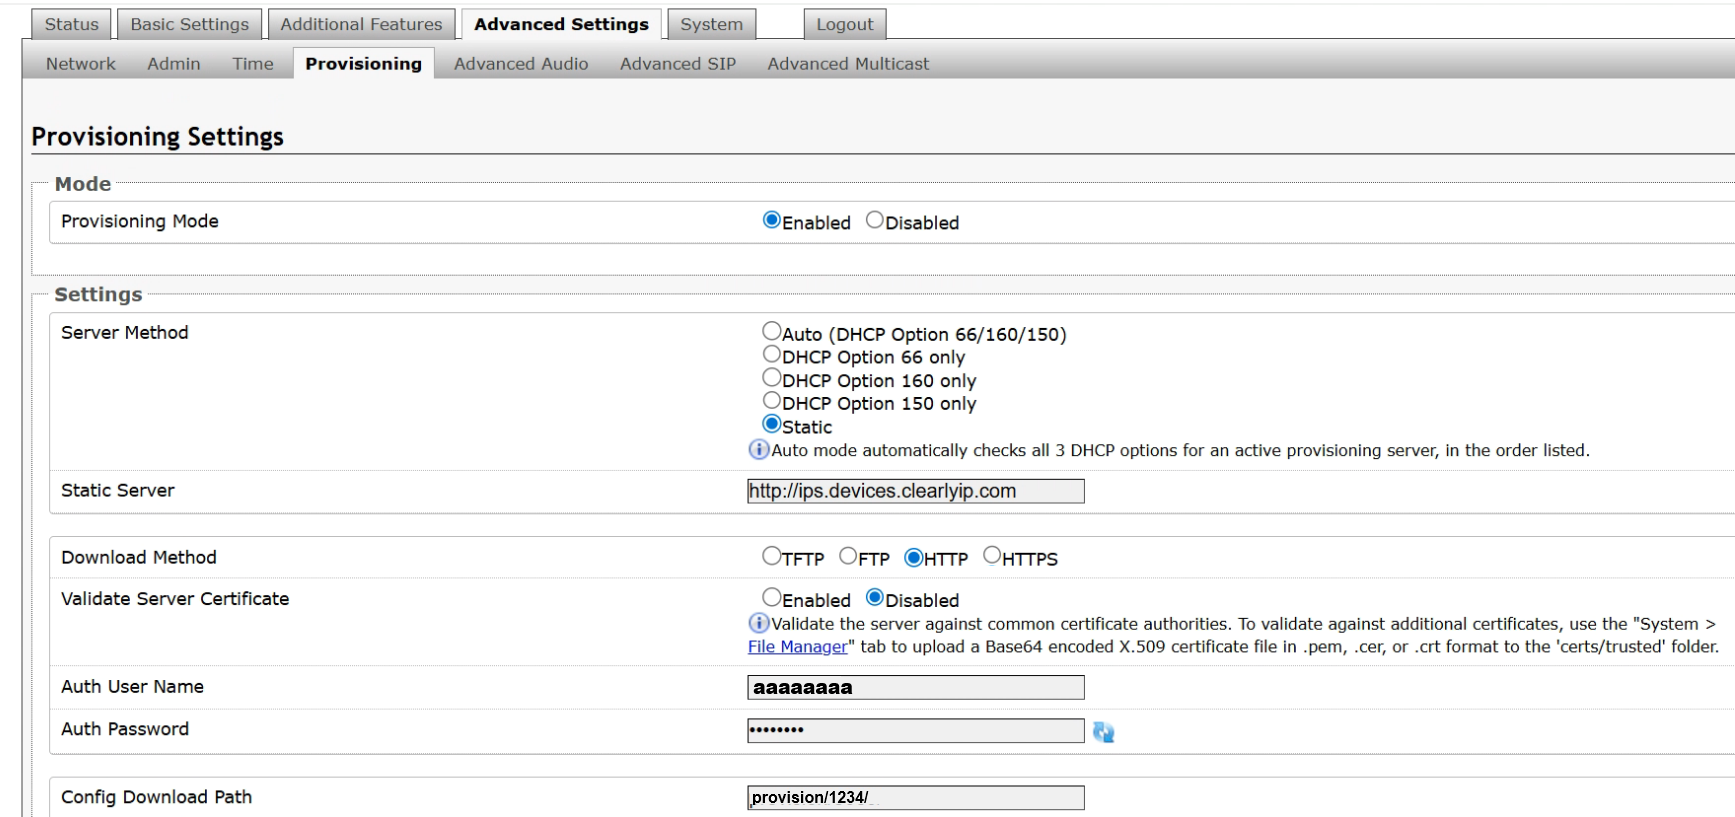
- Navigate to Advanced Settings > Provisioning.
- Set the Server Method to 'Static'.
- In the Static Server enter the provisioning URL as "https://devices.clearlyip.com" or "http://ips.devices.clearlyip.com".
- Select the Download method to use. It could be HTTP or HTTPS.
- Enter the Auth Username and the Auth Password.
- In Config Download Path enter the last part or the provisioning URL or whatever comes after "clearlyip.com".
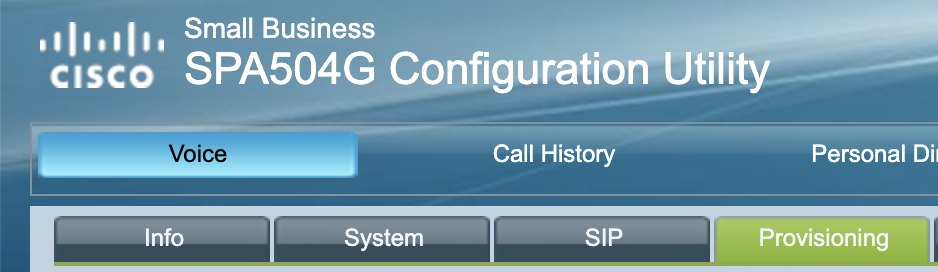
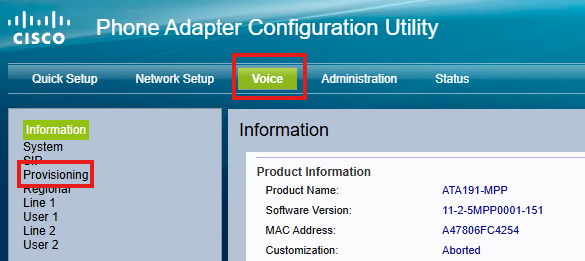
Cisco/Linksys SPA Phones
Clearly IP Phones (CIP)
Clearly IP Gateways
CIP CX-GWSAK-6S2O - Clearly IP Failover Gateway/POTS replacement
- Power up the GW on your local network.
- For a device with FXS ports, you can dial ## by using an analog telephone connected to the FXS port 1 after the equipment is powered on.
- For a device without FXS ports, you can use device IP address obtaining tool called 'Finder' or any network scanner to obtain the IP address.
- Navigate through your web browser to the IP address of the device on the same network where the GW is connected.
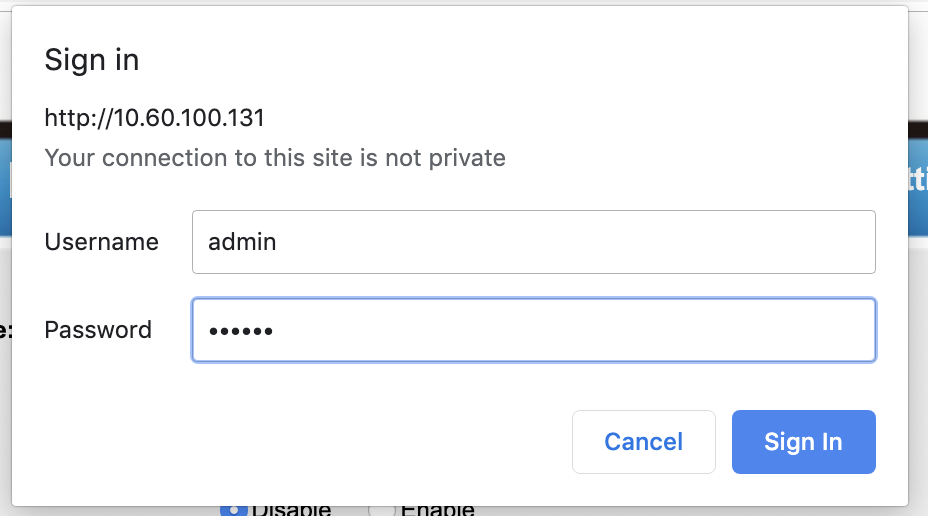
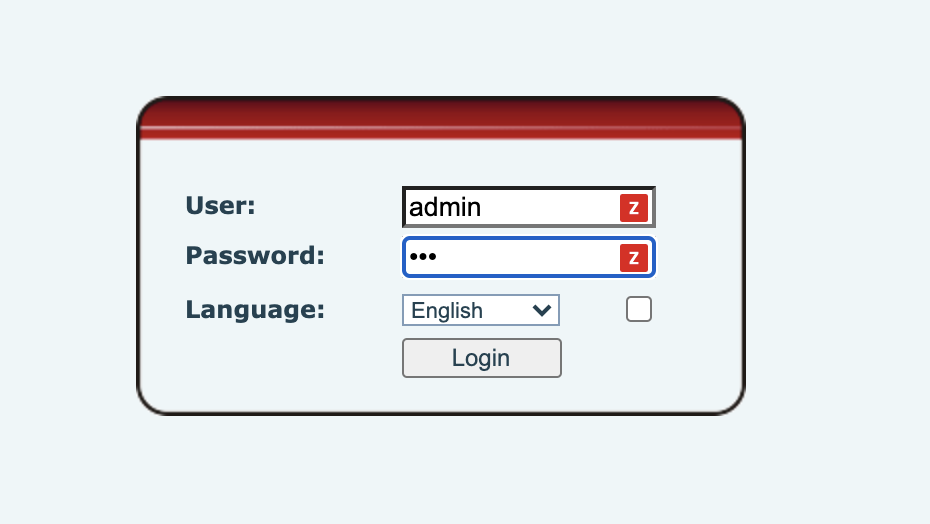
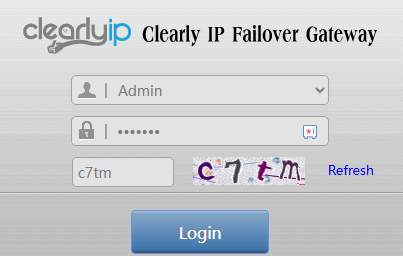
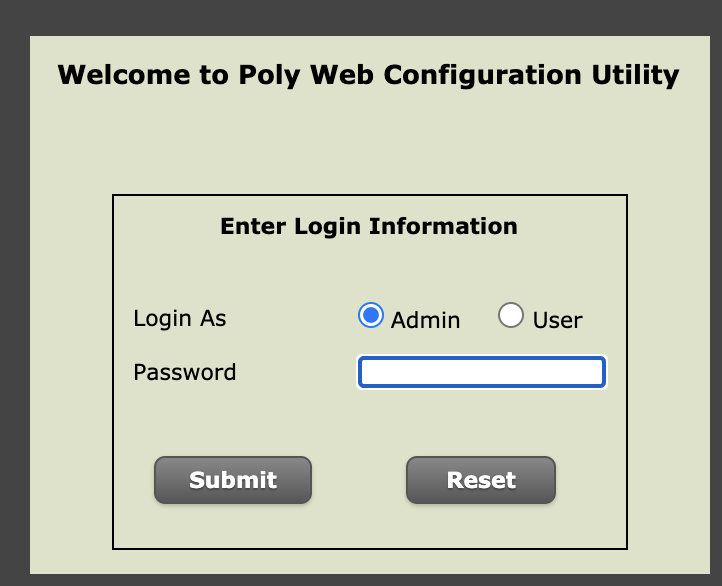
- Log into the web GUI. Default Username is "Admin" and the initial password is in a sticker in the bottom of the device for older devices. If the sticker does not list a Password the device will have a default password of "clearly".
- Enter the captcha letters and numbers to access. These are case insensitive.
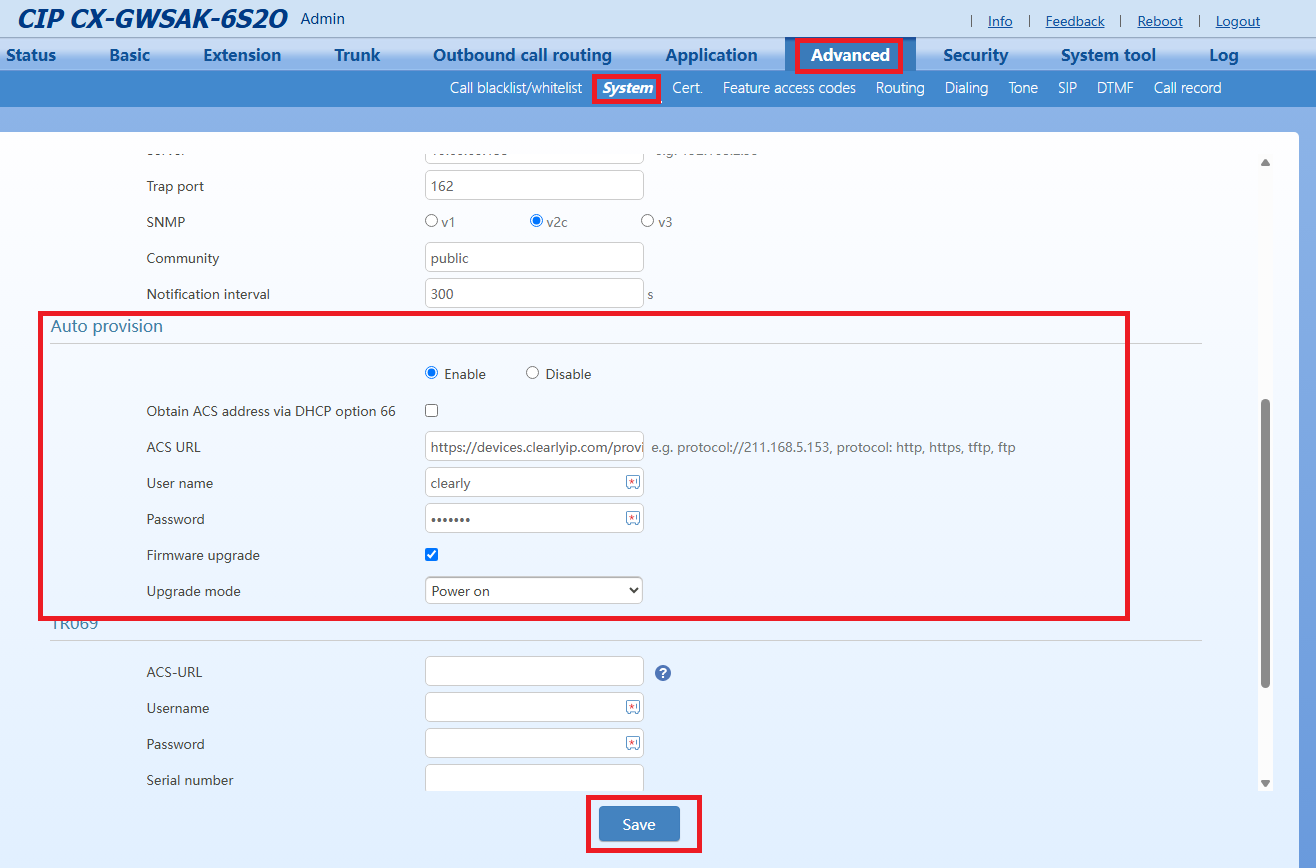
- Navigate to Advanced > System
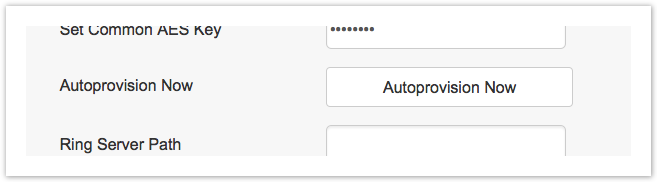
- In the Auto Provision section, select Enable
- In the ACS URL field enter the provisioning address as outlined here.
- Enter the Username and password.
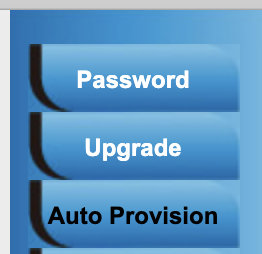
- Check the firmware update button
- Select the Upgrade mode to Power on
- There is another option called Power on + periodic which will sync with the provisioning system depending on the seconds set in Upgrade period field.
- Click on Save and reboot the unit.
NOTE: Some Grandstream firmware require a trailing "/" at the end of the provision address, some will NOT work with it.
Note: For phones with newer firmware versions (1.0.9.15) we recommend using HTTP as the config protocol.
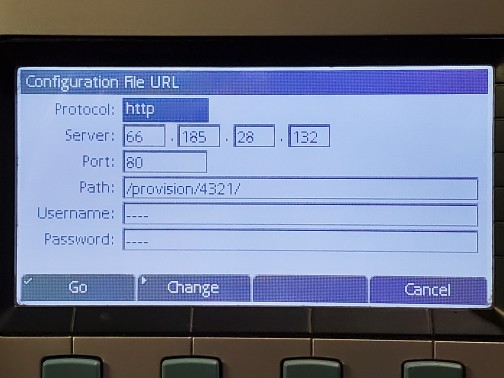
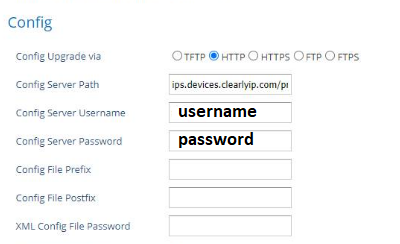
- The Config Server Path has to be entered without the 'http://' string at the beginning and without the ending '/' character at the end. For example:
- ips.devices.clearlyip.com/provision/XXXX
- Enter the Config Server Username with the Http Username field from the location.
- Enter the Config Server Password with the Http Password field from the location.
Grandstream GXP2170 & GXP2160
- Select the “Menu” button.
- Select "Status" or "Network Status"
- Scroll down until you see the IP and Mac Addresses.
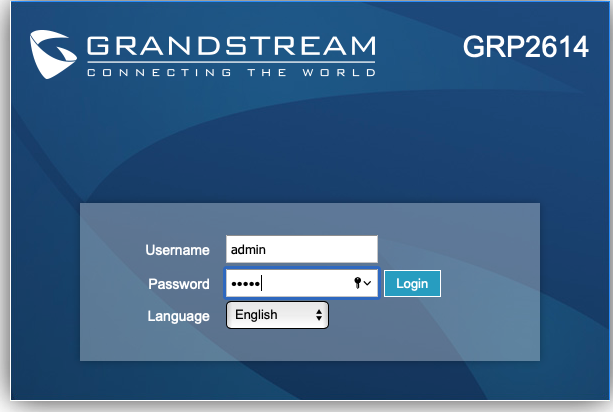
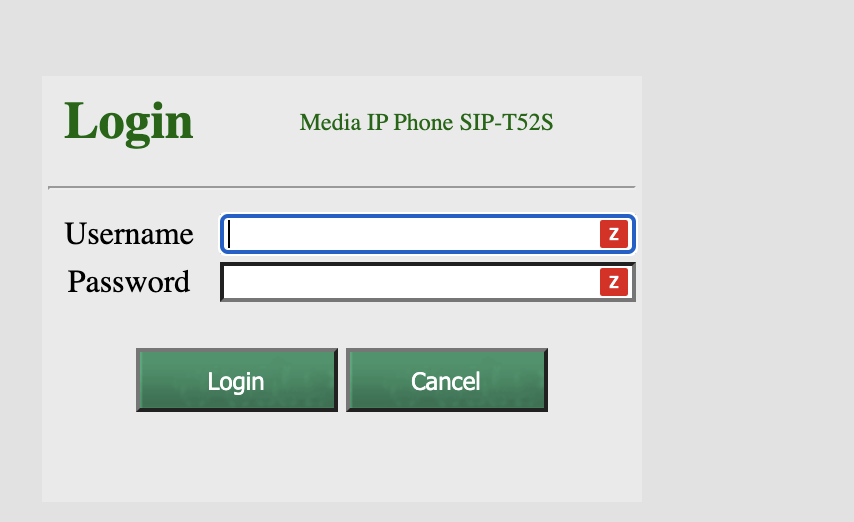
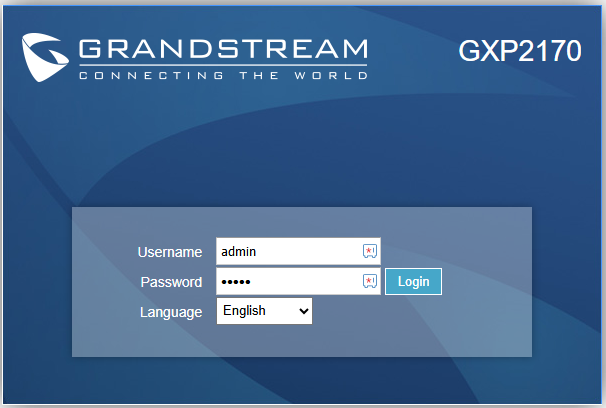
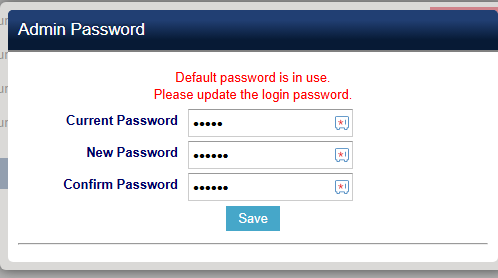
- Open a web browser on your computer and type in the IP address of your phone. Type in the Username and Password of your phone. From the factory the default username is admin and the default password is on the back of the phone label and press the "Login" button.
- You will be asked to change the current password for the admin user. Change it to something you can remember easily.
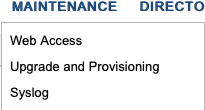
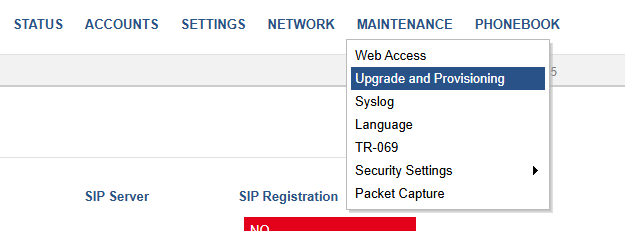
- Click on Maintenance > Upgrade and Provisioning
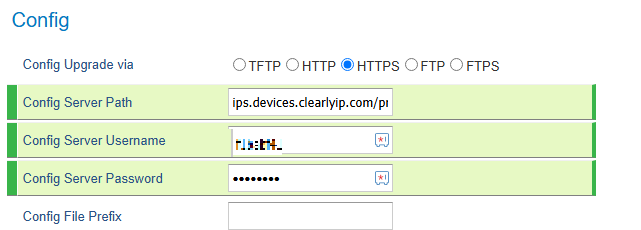
- Set the Config Upgrade Via to be HTTPS

- Using the information from the full URL for your Template from CDM as outlined here, fill in the fields below.
- Select the proper protocol, normally https.
- Enter the Config Server Username with the Http Password field from the location.
- Enter the Config Server Password with the Http Password field from the location.
- Enter the full url, without the http(s)://user:password@ in the Config Server Path field. Make sure you do not have a trailing / at the end.
- Press the Save and Apply button

- Now reboot the phone for it to pull its provisioning data
Mitel-Aastra
- *Note: Mitel-Aastra phones do not support http(s) authentication, so we require FTP for provisioning.
- Press the Options (or gear or wrench) key on the phone.
- Select Status (or Phone Status)
- Select Network (or IP&MAC Addresses)
- Open a web browser on your computer and type in the IP address of your phone.

- Type in the Username and Password of your phone. From the factory the default username is admin and the default password is 22222 and press the "Submit" button.
- Click the Configuration Server option on the left menu
- In the Download Protocol, choose FTP

- For the next entries, we will refer to your Provisioning URL which is outlined here.
- In the FTP Server box, enter devices.clearlyip.com

- In the FTP Username box, enter the exampleusername from your Provisioning URL
- In the FTP Password box, enter the examplepassword from your Provisioning URL

- In the FTP Path box, enter the path (everything after the devices.clearlyip.com/) from your Provisioning URL (do not have a leading /)

- Press the Save Settings button
- Reboot your phone
Polycom
- Press the Home or Settings button.
- Select Settings
- Select Status
- Select Network
- Select TCP/IP Parameters
- Scroll down until you see the IP and Mac Addresses
- Open a web browser on your computer and type in the IP address of your phone.
- Type in the Username and Password of your phone. From the factory the default username is admin and the default password is 456 and press the "Submit" button.
- Click on Settings at the top and pick Provisioning Server

- Set the Server Type to be HTTPS

- Edit the Server Address field. We will want to put in the full URL for your Template from CDM as outlined here.

- Press the Save button

- Now reboot the phone for it to pull its provisioning data
Yealink
NOTE: Some Yealink firmware require a trailing "/" at the end of the provision address, some will NOT work with it.
SNOM
- Press the settings softkey (gear icon) on the phone.
- Navigate to Network with the arrow keys
- Scroll down until you see the IP next to the IPv4 label
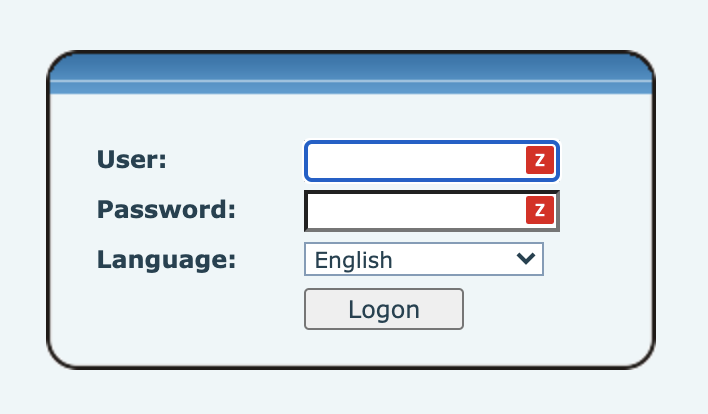
- Open a web browser on your computer and type in the IP address of your phone.
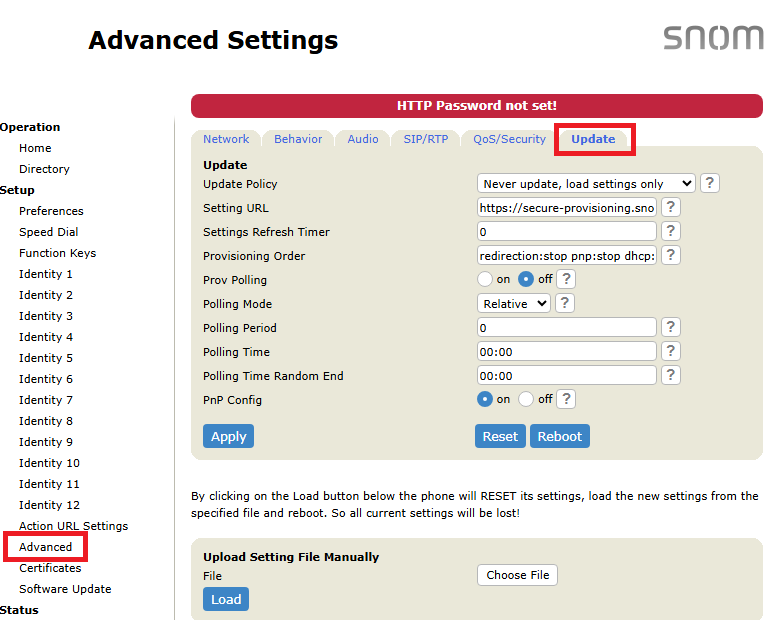
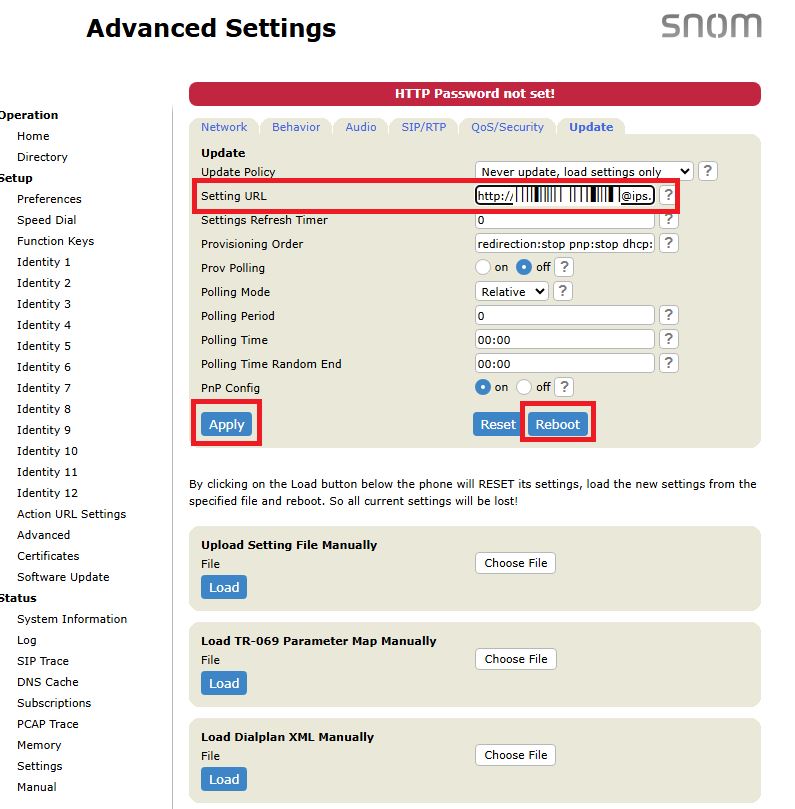
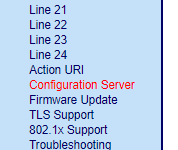
- Navigate to Advanced and select the Update tab
- In the Setting URL field enter the provisioning URL. The provisioning URL should look as follows: http://username:password@ips.devices.clearlyip.com/provision/123/
- Click on Apply and then on Reboot.
- These tests were done using a D785 phone
Sangoma (S-Series)
 Uploading ....


 twice.