| | | |
 Uploading .... Uploading ....
Overview - At an OEM Level, you can do the actual setup of CDM data, such as Locations, Templates for configuring phones for any of your Tenant Accounts below you.
- Review the Documentation on Tenant Admin Guide here on how to setup CDM data.
- This Guide outlines what rights as an OEM Account you have that are not part of the Reseller and Tenant User guides.
Logging In - Open a web browser to https://devices.clearlyip.com
- Log in with your Clearly IP Single Sign On (SSO) Username and Password. This is the same username and password used to login to Clearly IP Support Site and different Portals.
- Click on the CDM Tab at the top. If you do not have a CDM tab, that means your account is not set up with CDM access. At this time, CDM is not sold or offered as a stand alone product and is bundled with the Clearly Cloud offering only.
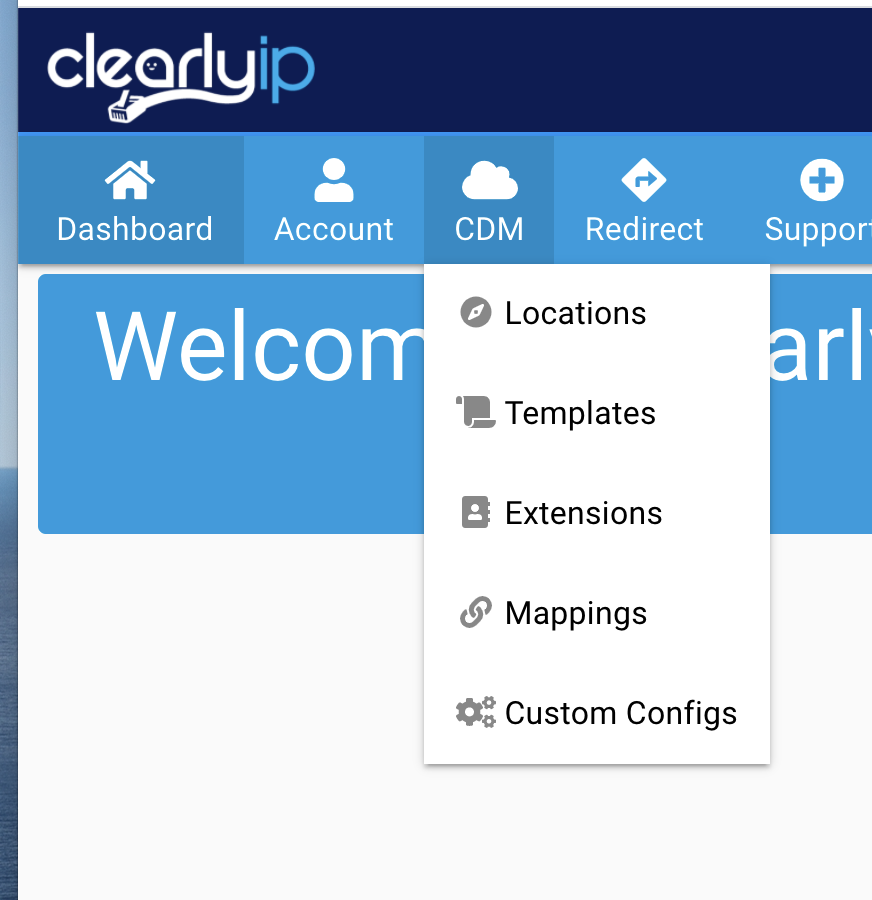 - If you do not see OEM level menu options under CDM that means you are set up as just a Reseller or Tenant. OEM level is only offered to Partners who resell our service through other Resellers and Tenants below that Reseller.
Creating OEM Login Users - Since an OEM Account is the Top Level, you create Contacts for CDM from the normal Account Management section of CDM.
- Once a Contact is added to Account Level organization, we can enable that Contact to have login rights to your CDM OEM layer.
- Once Logged into CDM from the Menu bar, click on Account > Contacts
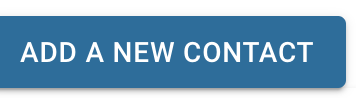
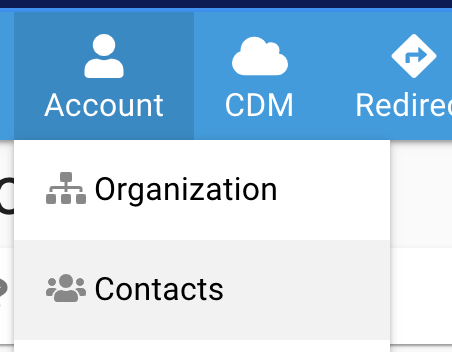 - If the Contact exist here already, then you can skip down below; otherwise, press the Add A New Contact button
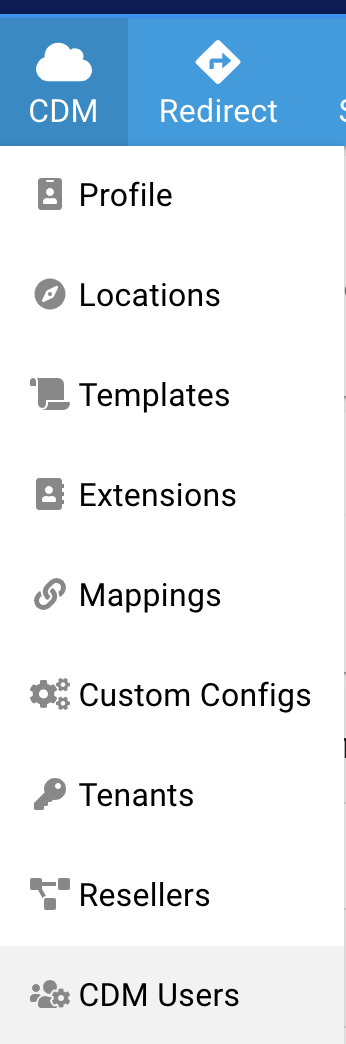
 - Once the contact has been created, you can now Link the Contact with your CDM OEM account to let them log in to the CDM Portal. From the Menu-bar click on CDM > CDM Users
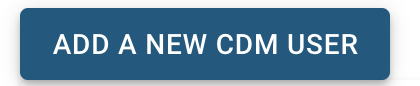
 - From here, click on the Add a New CDM User button
 - Since we are trying to add an OEM Level user in the Drop Down of Type pick OEM
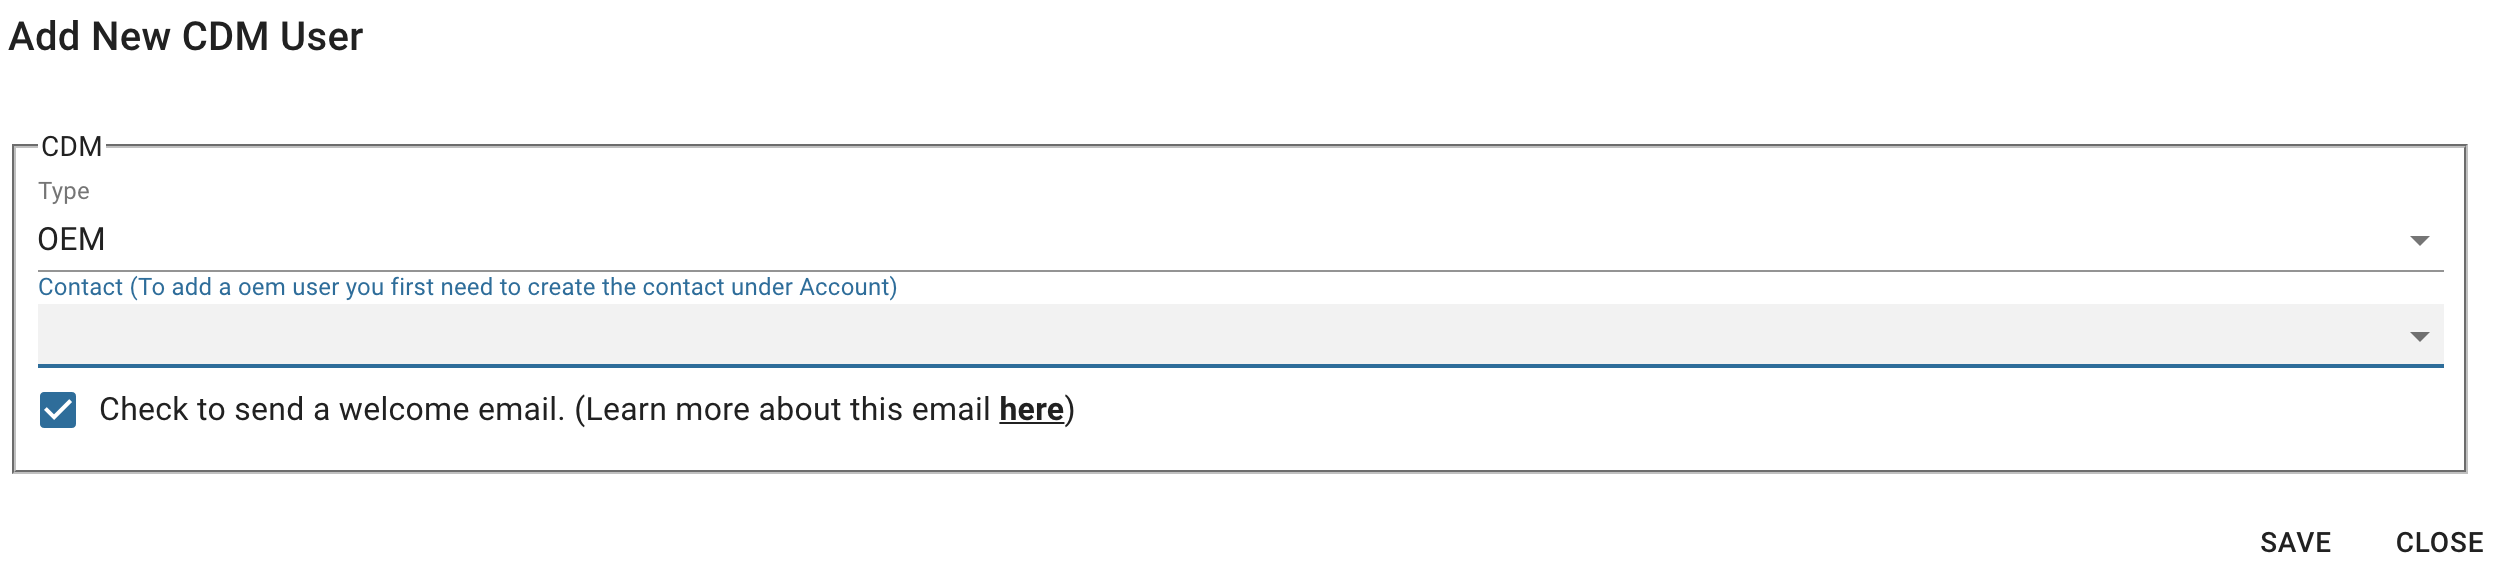
- You will now get a Contact drop-down of all the Contacts that belong to your account to pick which Contact you want to create this user for and optionally, you have it send them a welcome email that will let them set a password if they do not have a Login already for any of the Clearly IP Portals or if they have a Login already, it will just inform them they have been joined to this new OEM Account for CDM and press the Save Button.
Reseller Level Information Creating Reseller Accounts Managing Existing Reseller Accounts - Once Logged into CDM from the Menu bar, click on CDM > Resellers
 - From here, you can see a list of all Resellers that are under your OEM Account
 - Click on the Trash Can icon
 under the Action column to delete the Reseller record under the Action column to delete the Reseller record - Click on the Binocular icon.
 under the Action column to view and edit the details of the Reseller and see all of the Tenants that belong to this Reseller under the Action column to view and edit the details of the Reseller and see all of the Tenants that belong to this Reseller
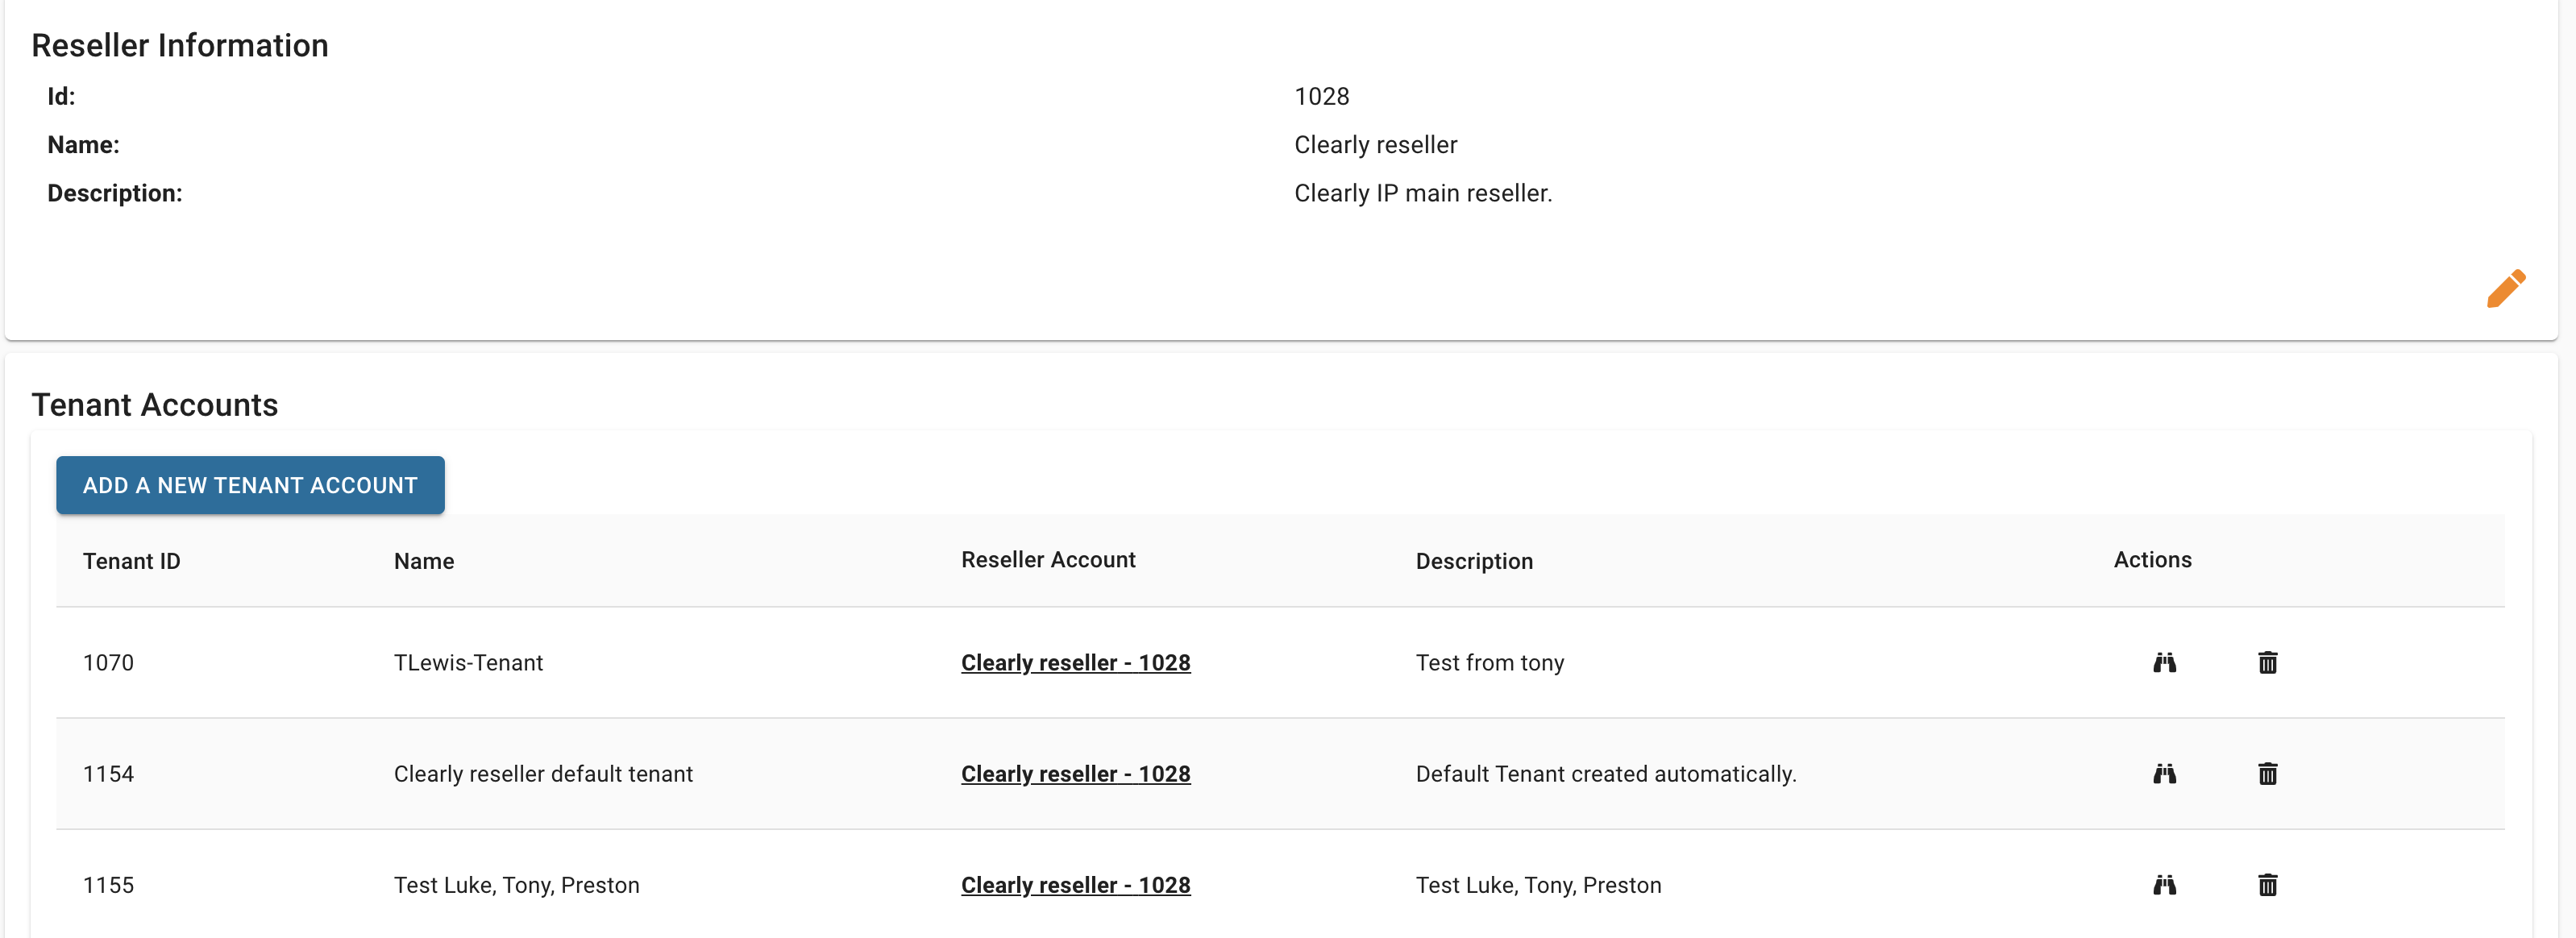 - Click on the Orange Pencil Icon
 to edit the Reseller Name or Description to edit the Reseller Name or Description
Creating Reseller Login Users - Once Logged into CDM from the Menu bar click on CDM > CDM Users

- From here, click on the Add a New CDM User button

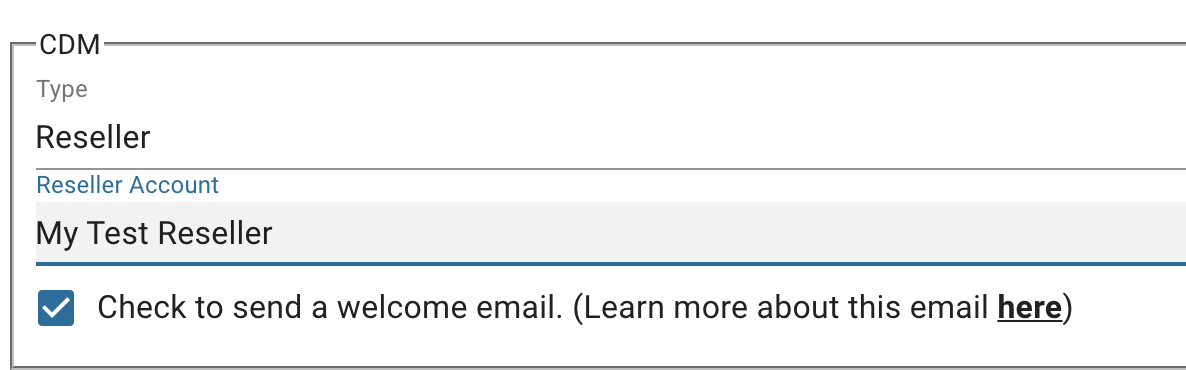
- Under the Type pick Reseller since we want to create a Reseller User and under Reseller Account pick which Reseller Account this User is for.
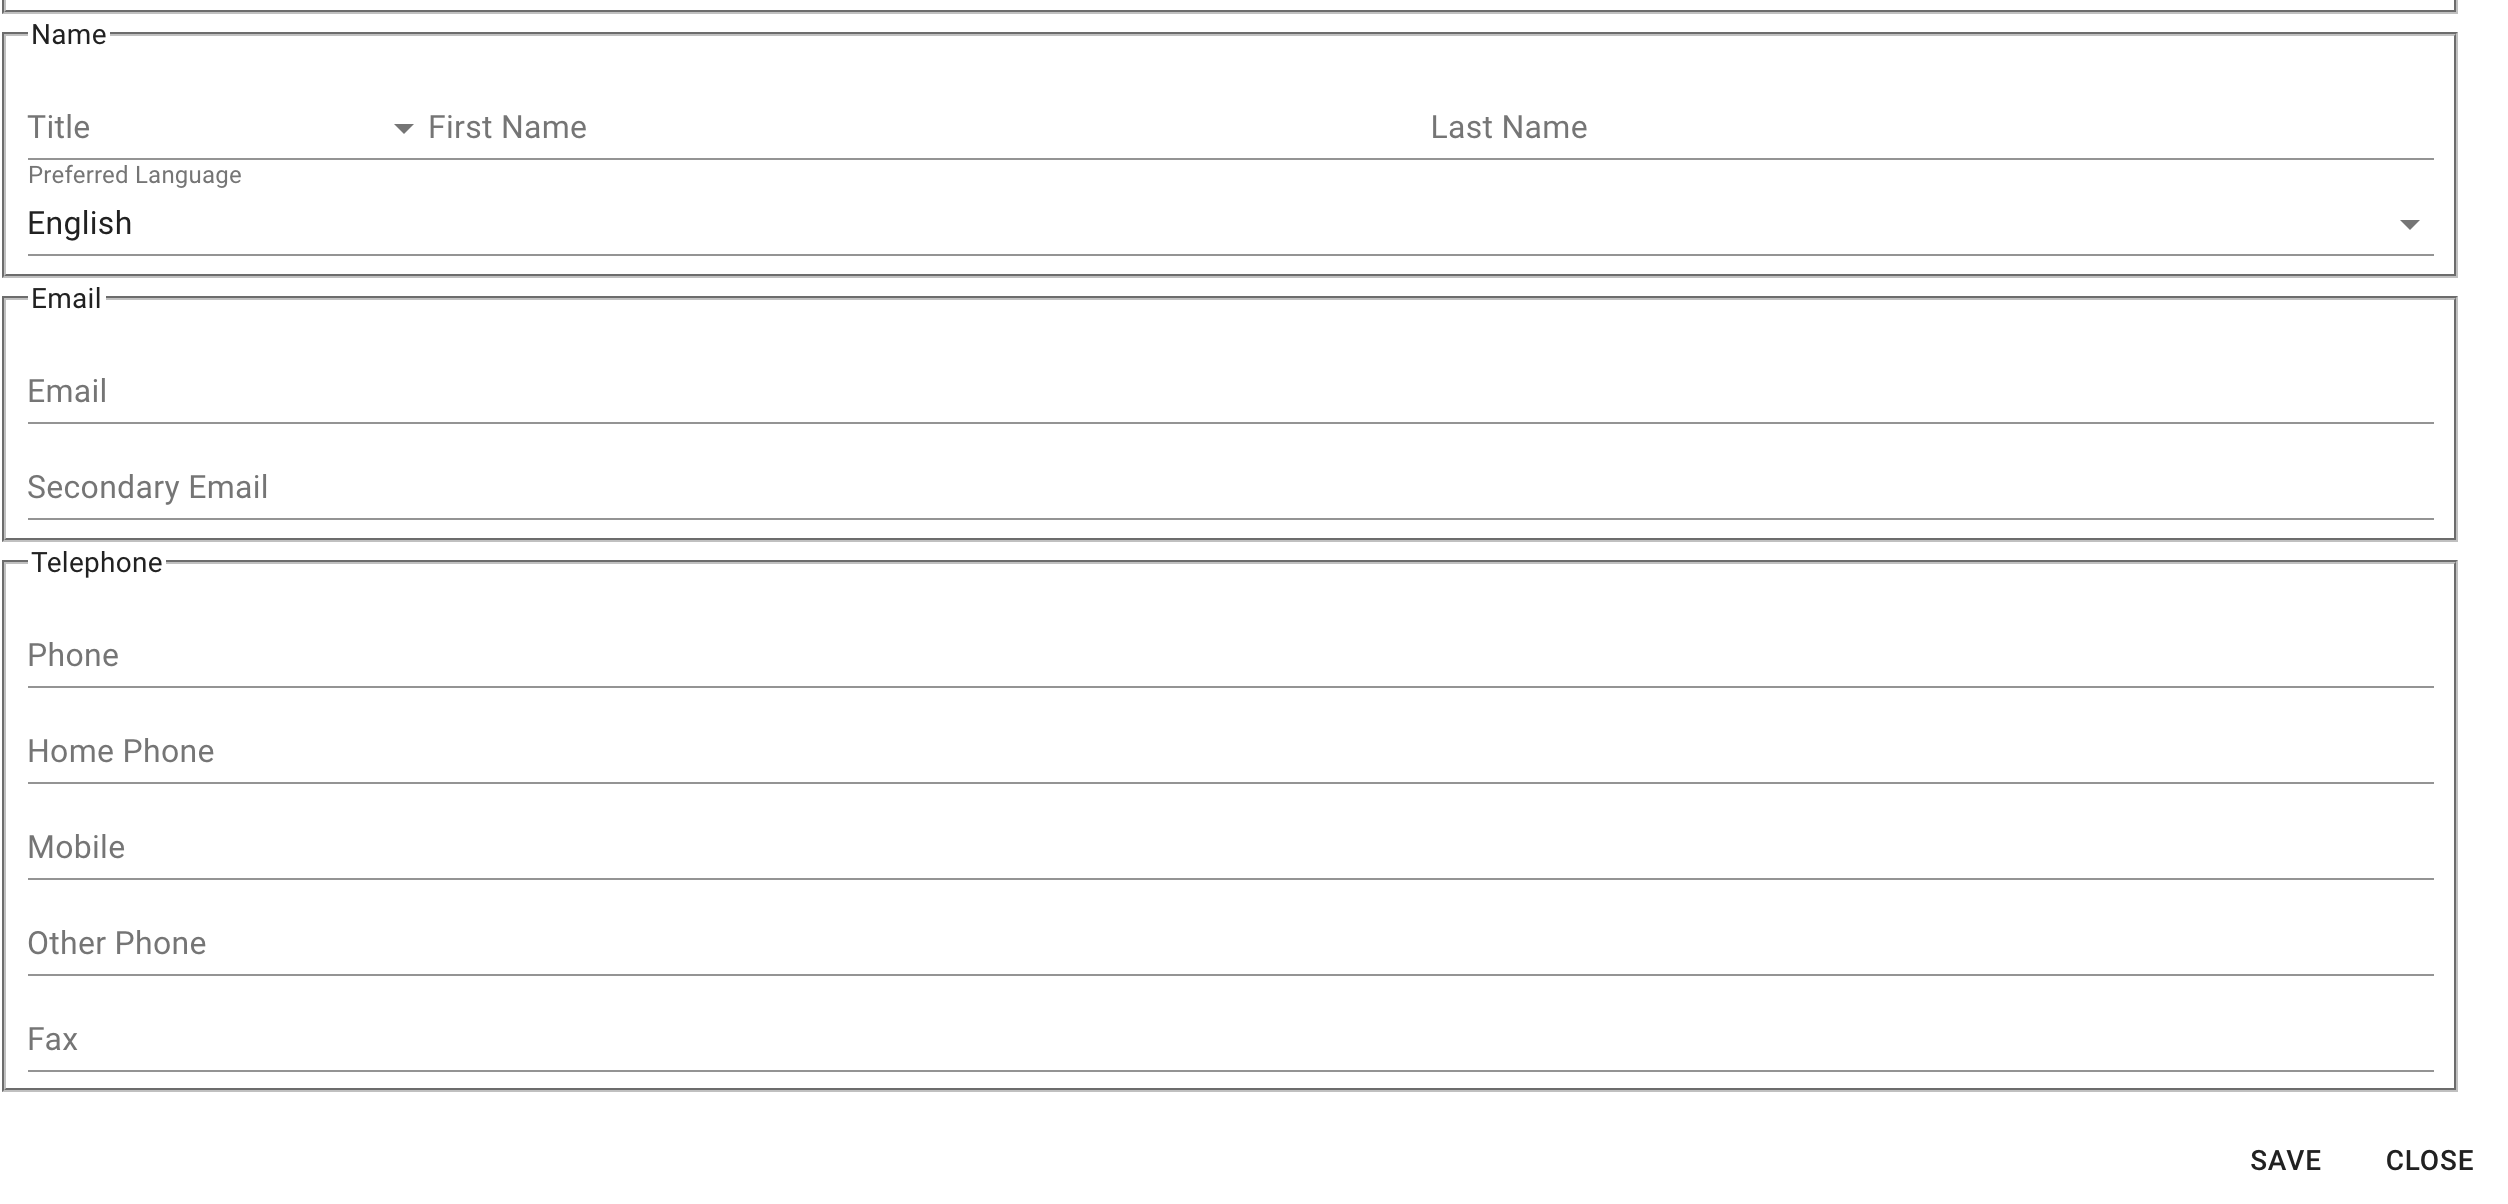
 - Provide the Details on this User. The required fields are First and Last Name and Email, and press Save when done.
 - If the Email Address provided already has a Login to any of the Clearly IP portals such as CDM under a different OEM, Reseller or Tenant, our Support Site, or any other portal, it will send them an email notification letting them know they have been granted permission to this Reseller Account. When they log in to CDM, they will now be able to see everything related to this Reseller Account.
- If the Email Address provided does not have a Login to our system yet, they will get an email welcoming them to CDM and a link to go set a password and can now login.
Managing Existing Reseller Login Users - Once Logged into CDM from the Menu bar click on CDM > CDM Users
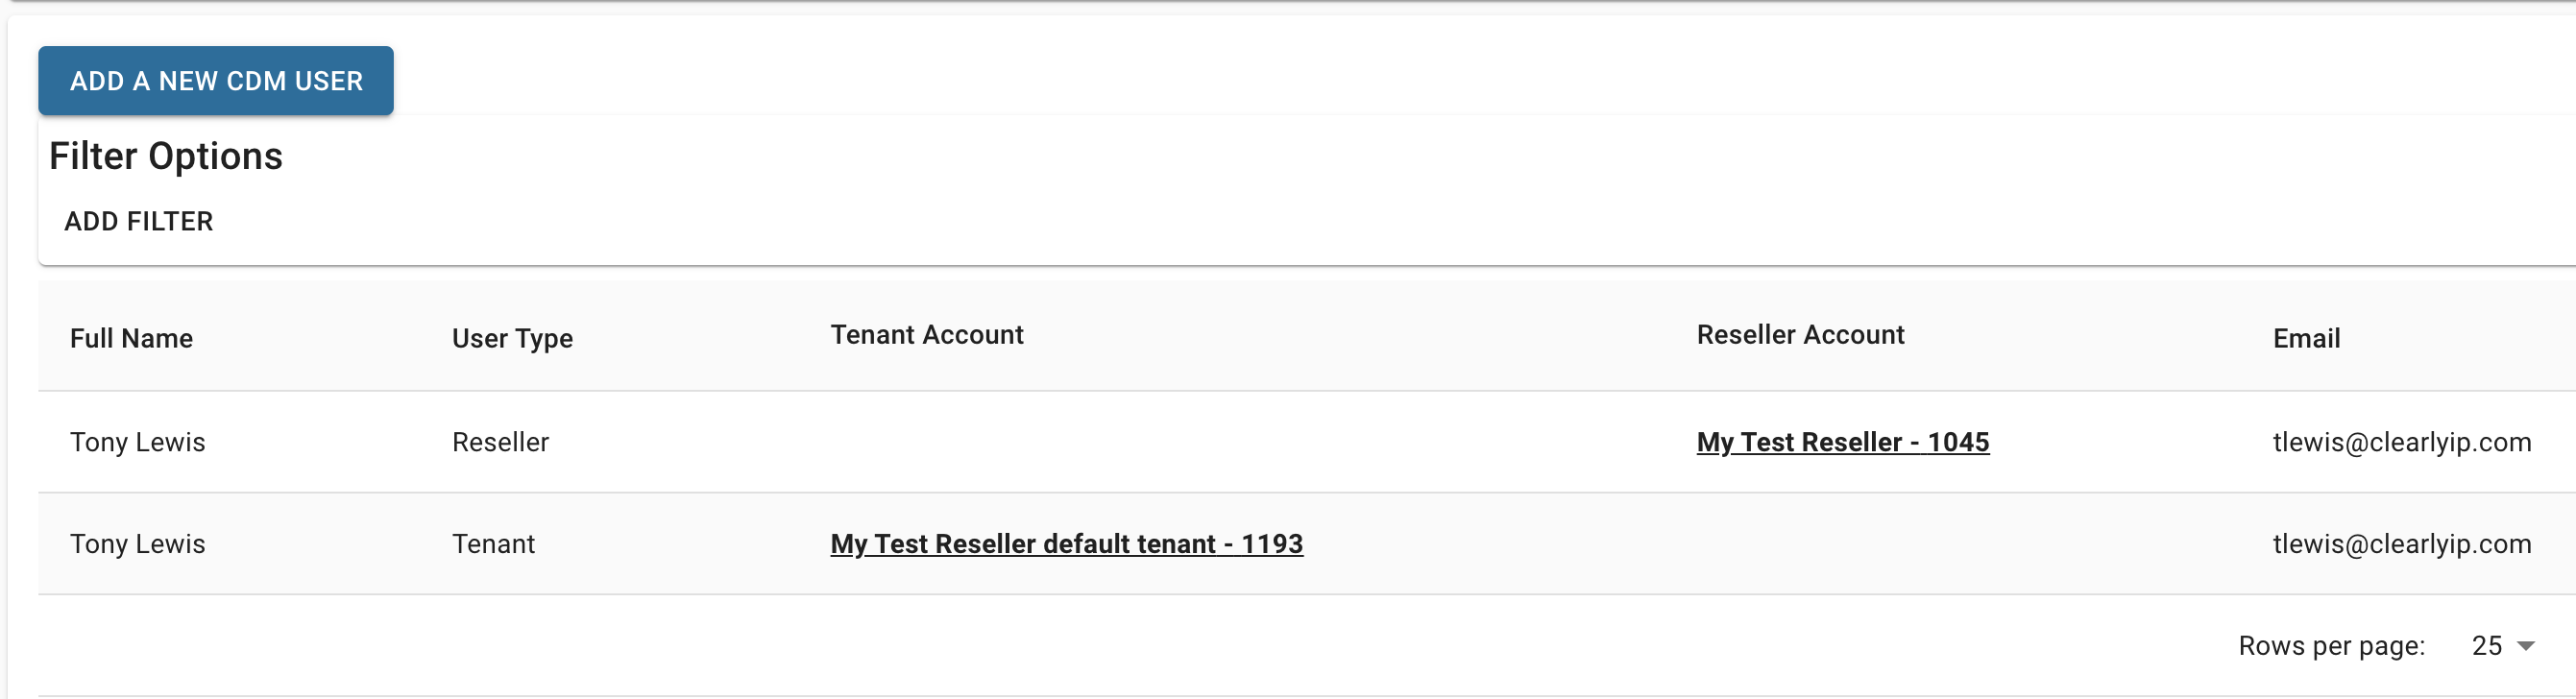
- From here, you will see a list of all CDM users that are linked to your OEM Account and any Resellers or Tenants below you.
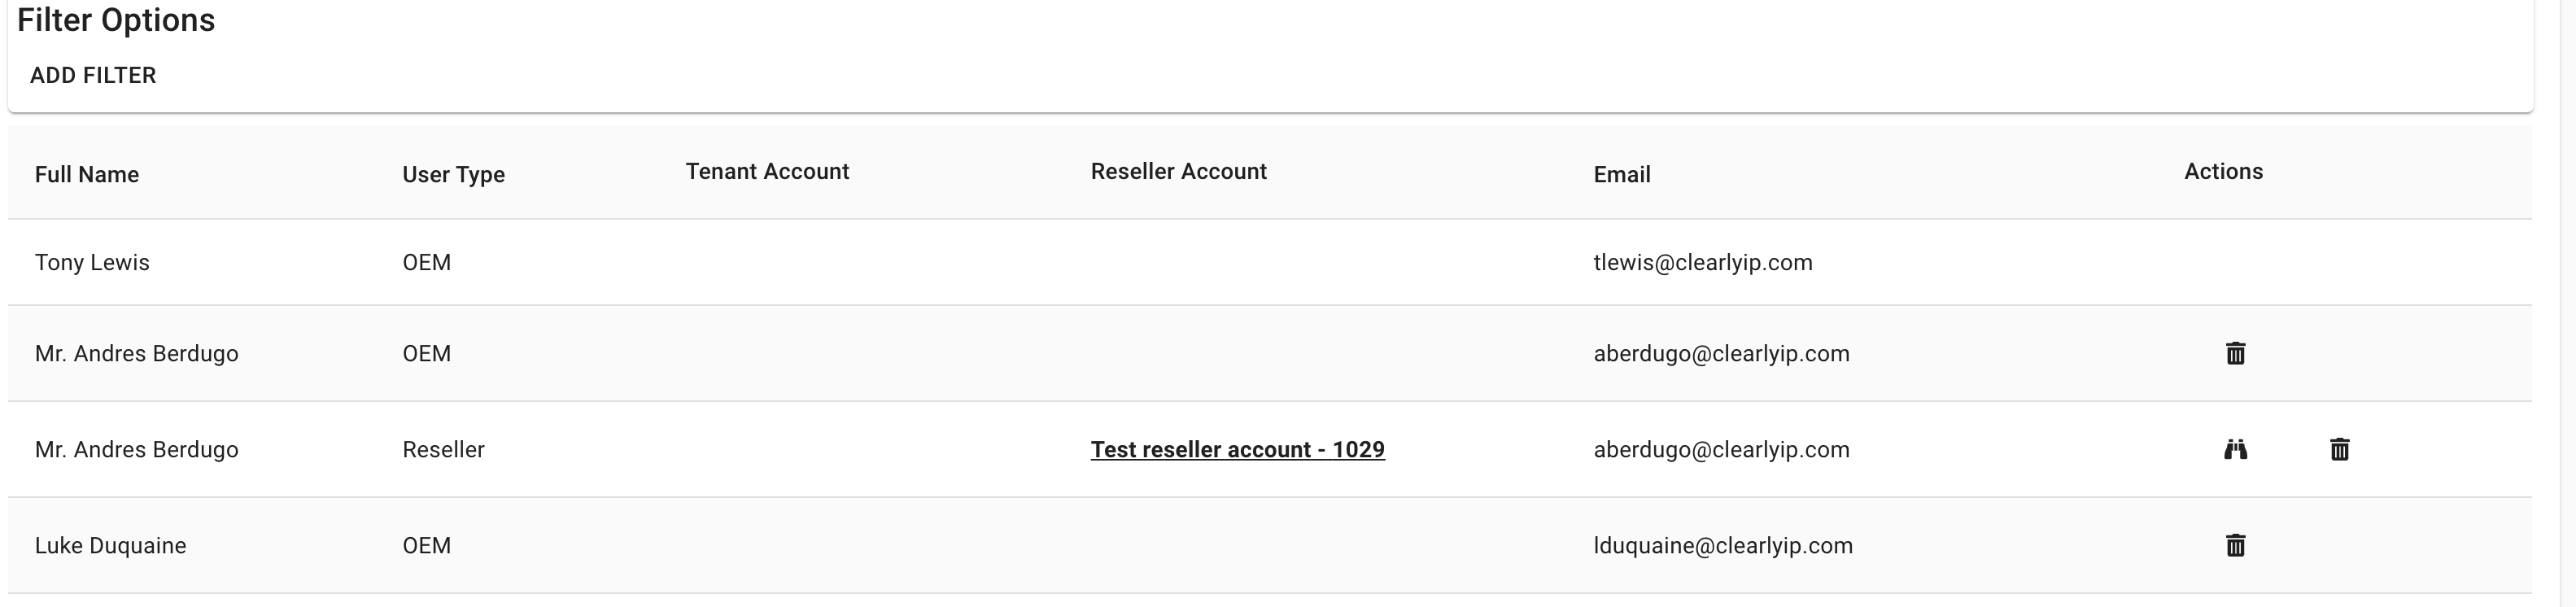 - You will notice a single Email can be associated with more than 1 type of User Type. For the example above, we show Andres with the same Email has two entries. One as a OEM User Type and one as a Reseller Type. When Andres logs in, he can pick from the two profiles depending on what he wants to see. He will be able to pick from the OEM or the Reseller Profile and will see everything related to that User Type once he picks that option on login.
- Click on the Binocular icon. under the Action column to view and edit the details of the User
- Click on the Trash Can icon under the Action column to delete the User. This will not delete the user from our system; it will just delete the user from being associated with the CDM User Type account.
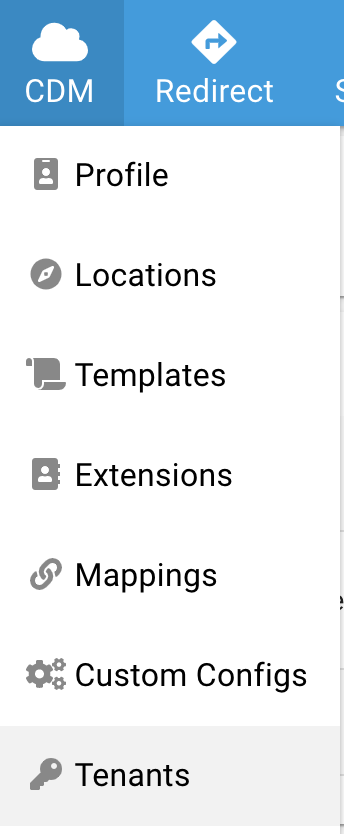
Tenant Level Information Creating Tenant Account - Once Logged into CDM from the Menu bar click on CDM > Tenants
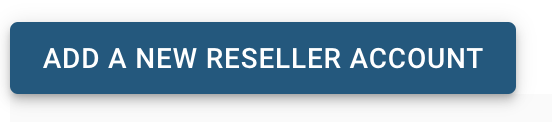
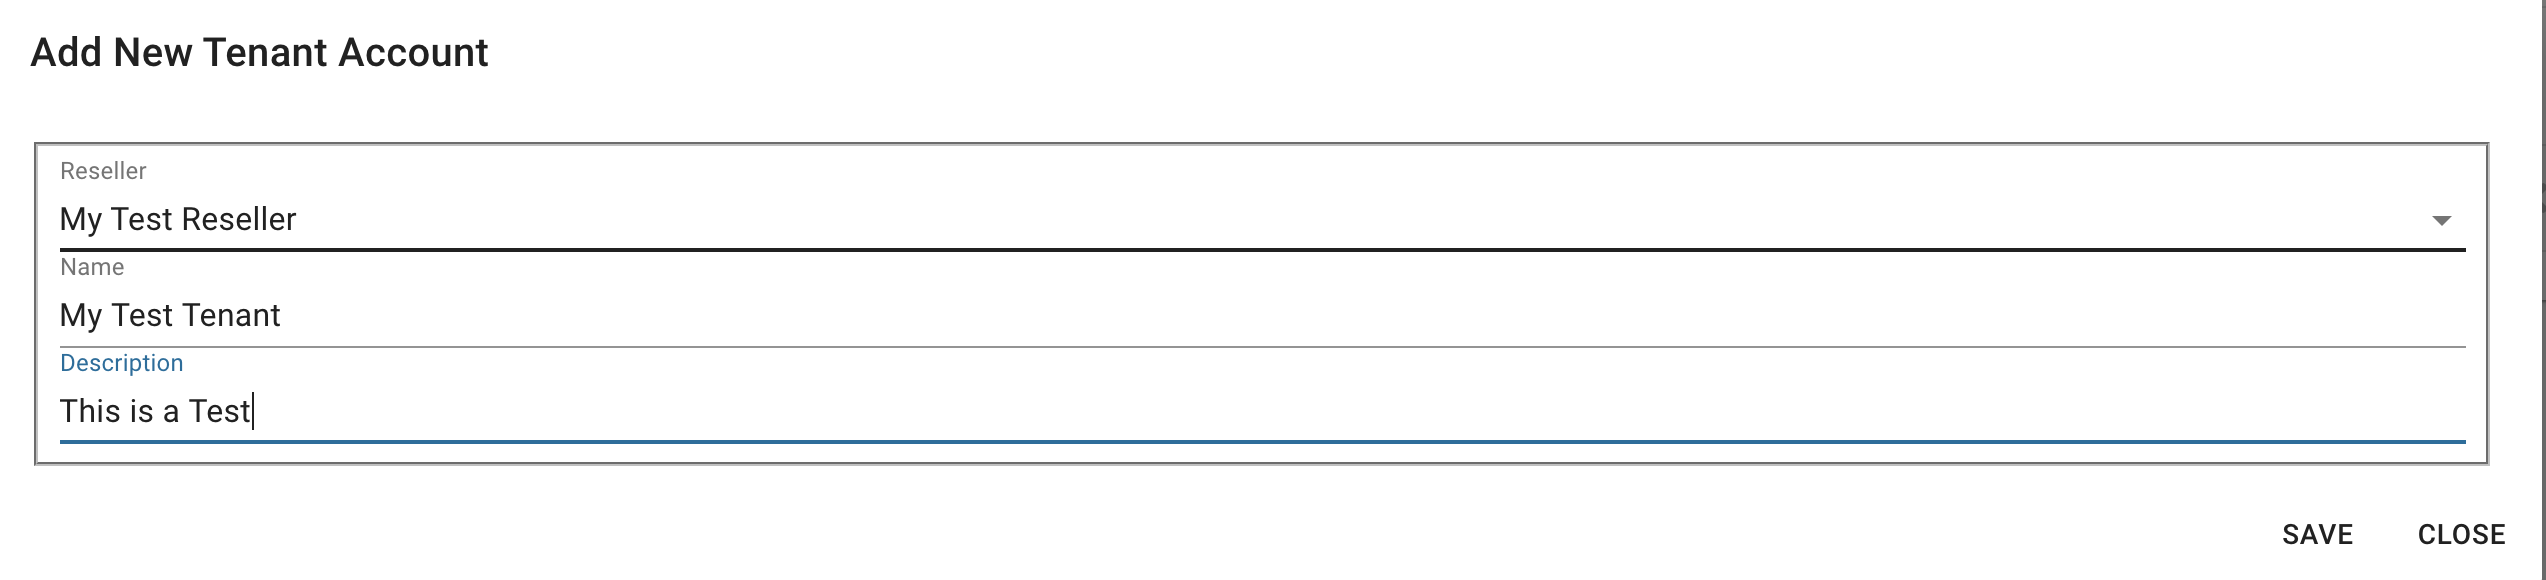
- Click on the Add A New Reseller Account button
 - Pick what Reseller this Tenant will be under and fill in the Name of the Tenant and an optional Description and press the Save button
 - Once we have a Tenant Account created, we can add Tenant Login Users to that account as outlined below.
Managing Existing Tenant Accounts - Once Logged into CDM from the Menu bar click on CDM > Tenants
- From here, you can see a list of all Tenants that are under your Reseller Account
 - Click on the Trash Can icon under the Action column to delete the Tenant record
- Click on the Binocular icon. under the Action column to view and edit the details of the Tenant

- Click on the Orange Pencil Icon
 to edit the Tenant Name or Description to edit the Tenant Name or Description
Creating Tenant Login Users - Once Logged into CDM from the Menu bar, click on CDM > CDM Users
- From here, click on the Add a New CDM User button
- Under the Type pick Tenant since we want to create a Tenant User and under Tenant Account pick which Tenant Account this User is for.
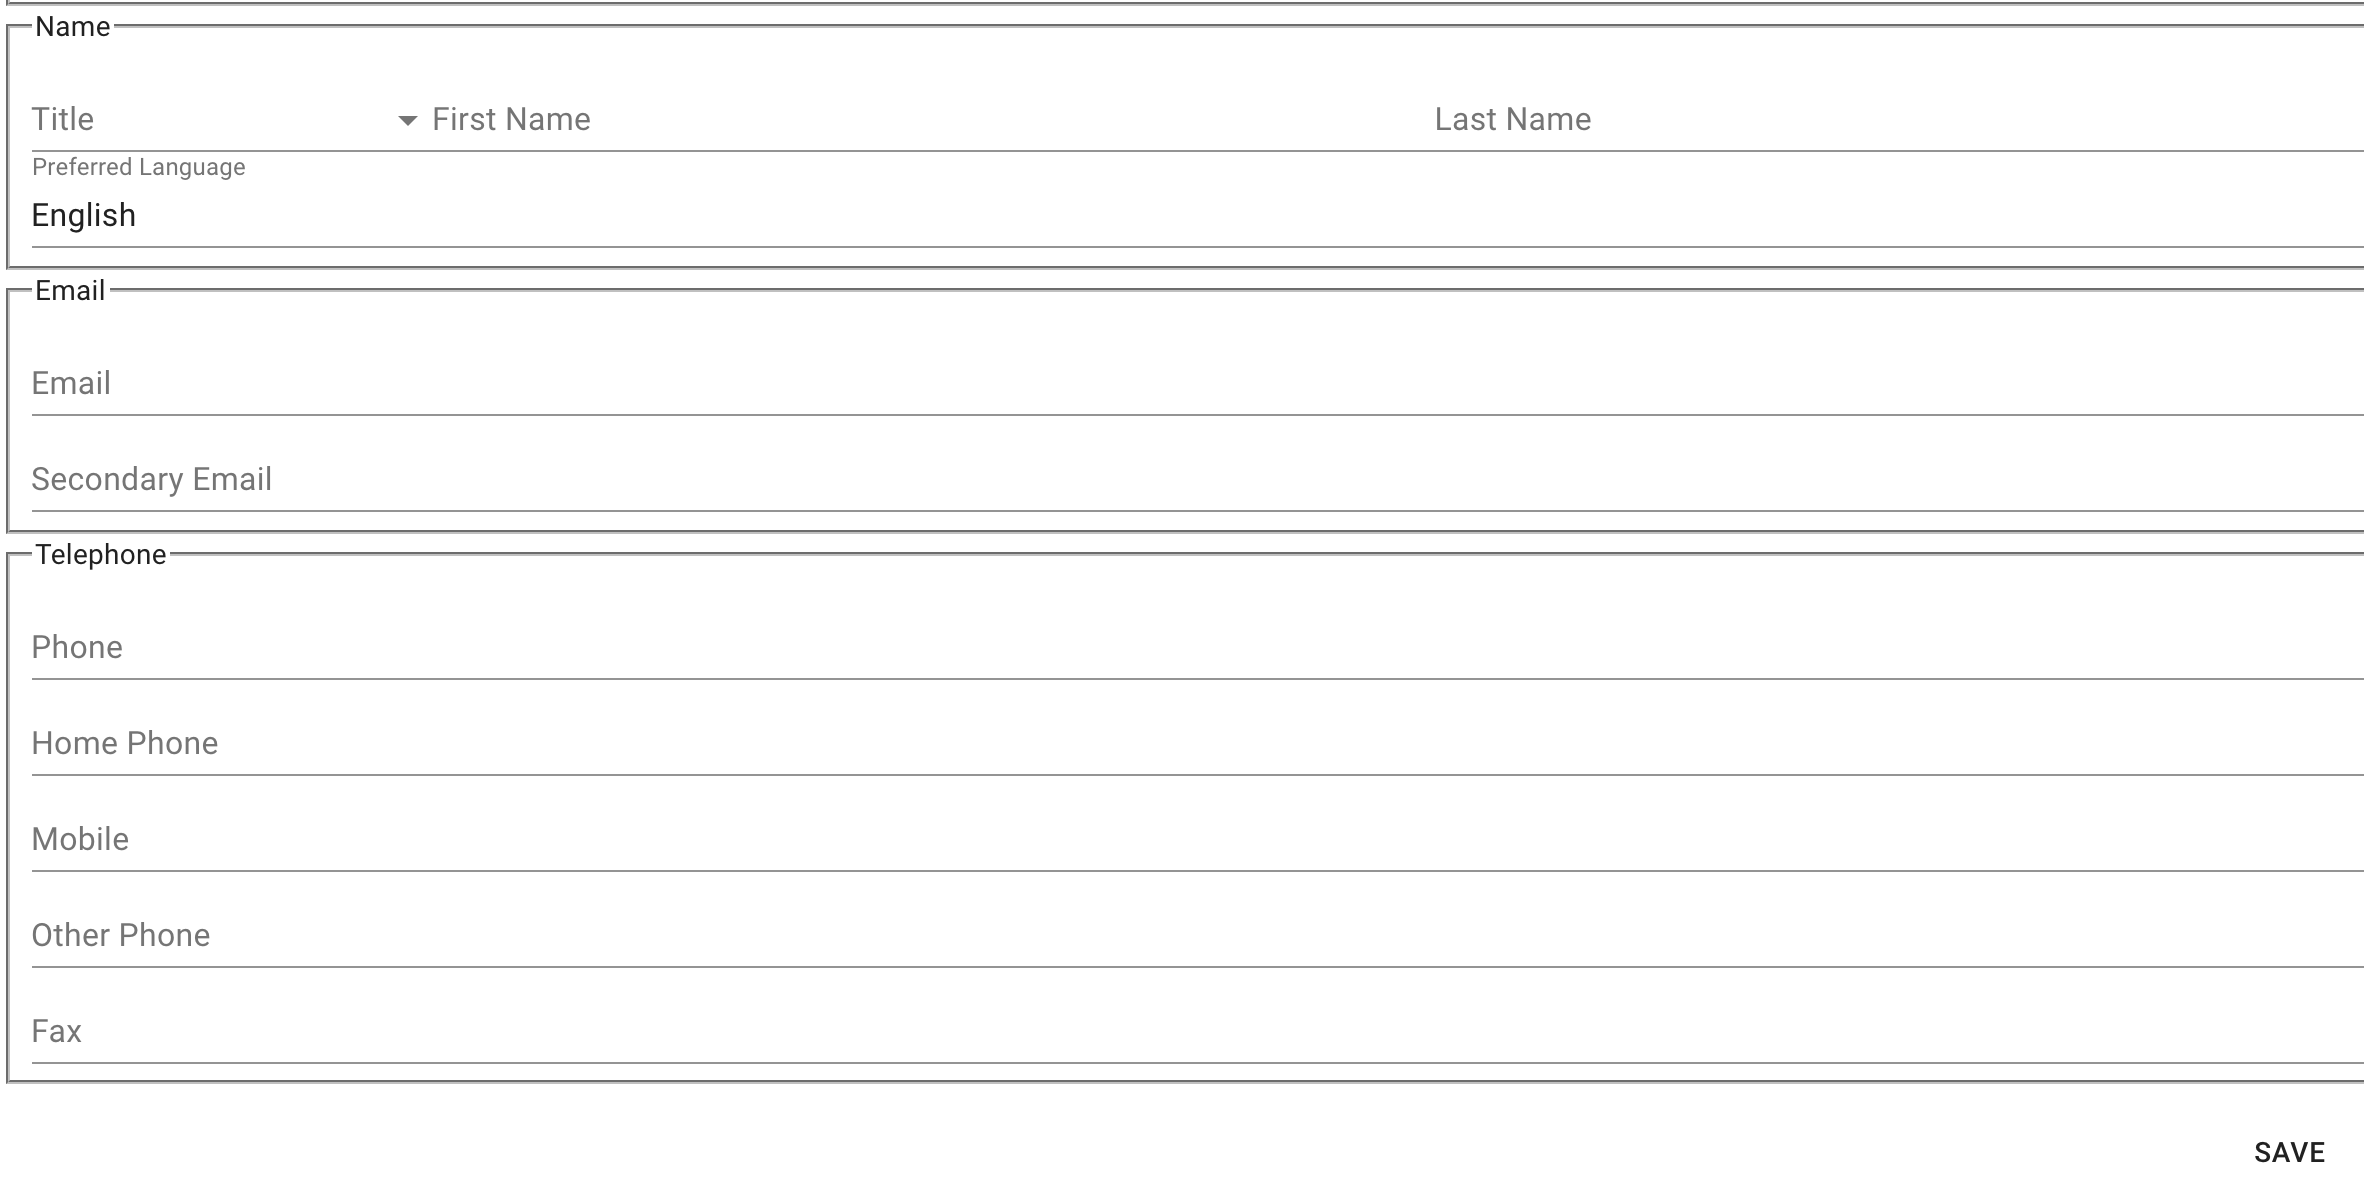
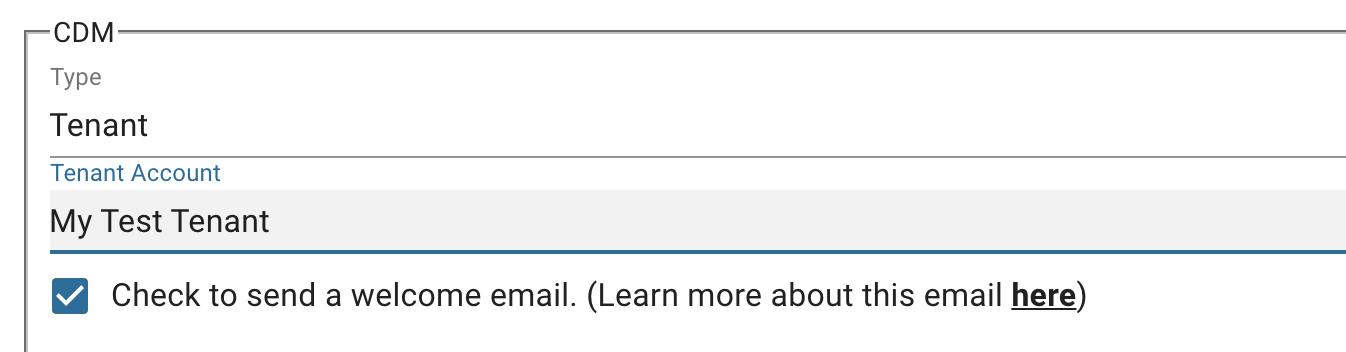 - Provide the Details on this User. The required fields are First and Last Name and Email and press Save when done.
- If the Email Address provided already has a Login to any Clearly IP portal such as CDM under a different OEM, Reseller or Tenant, our Support Site or any other portal it will send them an Email notification letting them know they have been granted permission to this Tenant Account and when they login to CDM, they will now be able to see everything related to this Tenant Account.
- If the Email Address provided does not have a Login to our system yet, they will get an Email welcoming them to CDM, and a link to go set a password and can now log in.
Managing Existing Tenant Login Users - Once Logged into CDM from the Menu bar, click on CDM > CDM Users
- From here, you will see a list of all CDM users that are linked to your Reseller account or any Tenants below you.
- You will notice a single Email can be associated with more than 1 type of User Type. For the example above, we show Andres with the same Email has two entries. One as a OEM User Type and one as a Reseller Type. When Andres logs in, he can pick from the two profiles on what he wants to see. He will be able to pick from the OEM, or the Reseller Profile, and will see everything related to that User Type once he picks that option on login.
- Click on the Binocular icon. under the Action column to view and edit the details of the User
- Click on the Trash Can icon under the Action column to delete the User. This will not delete the user from our system; it will just delete the user from being associated with the CDM User Type account.
|
|
|
| | | |
|