Overview
The FreePBX module called "Cloud Device Manager" allows for faster setup and configuration of CDM with the following features once setup
- Sync newly created extensions from FreePBX into CDM
- Update extension settings such as name from FreePBX into CDM
- Allow users to override their button layouts from FreePBX User Control Panel
- Map Extensions to Devices and Template from within FreePBX or CDM
- Sends notices to FreePBX to send a SIP Notify to a phone to update its config when a template or mapping is changed from within FreePBX or CDM.
Installing the CDM Module
- Requires FreePBX 14 or newer
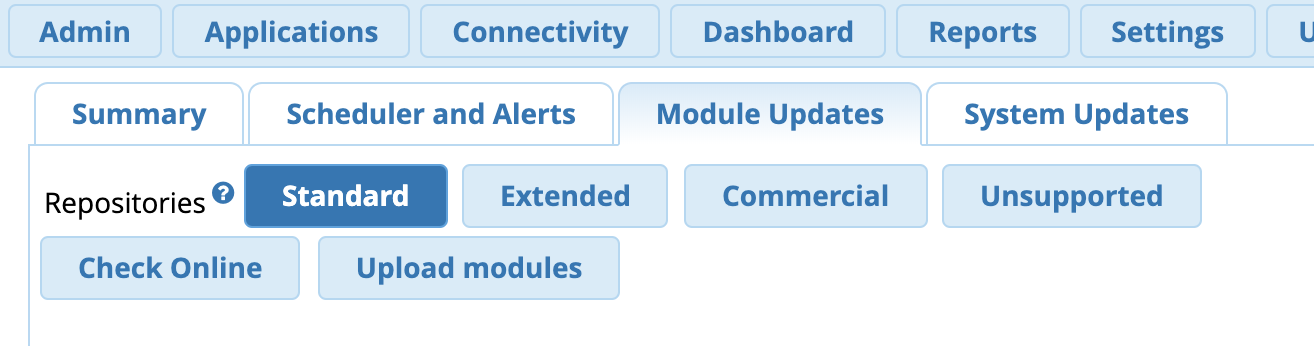
- Navigate to your FreePBX Admin GUI and Login and click on Module Admin module in FreePBX and click on "Upload Modules" button below.
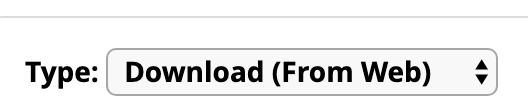
- Click on Type and pick “Download (From Web)
- Put in the URL of the module:
- For FreePBX 14/15/16, http://mirror.clearlyip.com/modules/clouddevices/clouddevices-14.0.3.12.7.tgz
- For FreePBX 17, https://mirror.clearlyip.com/modules/clouddevices/clouddevices-17.0.3.tgz
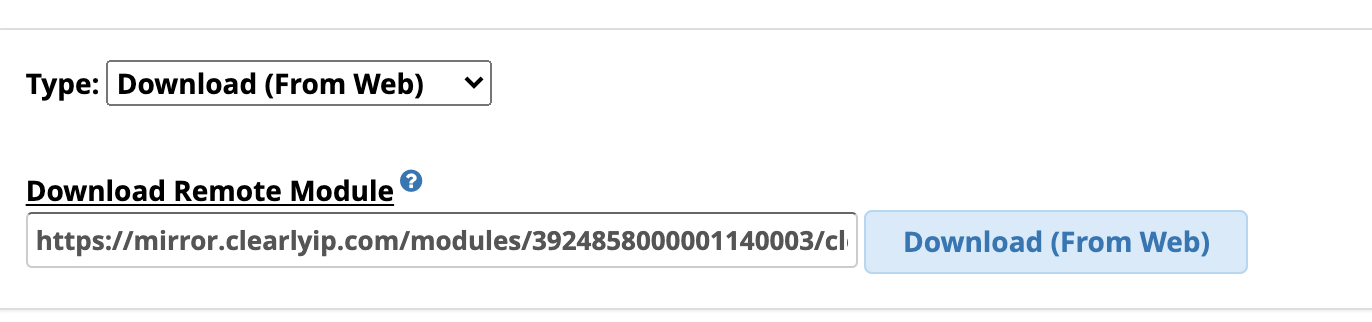
- Now click on “Download (From Web) button

- We can now go install the module by clicking on “local module administration” link below

- Scroll down to the Cloud Device Manager module and click Install
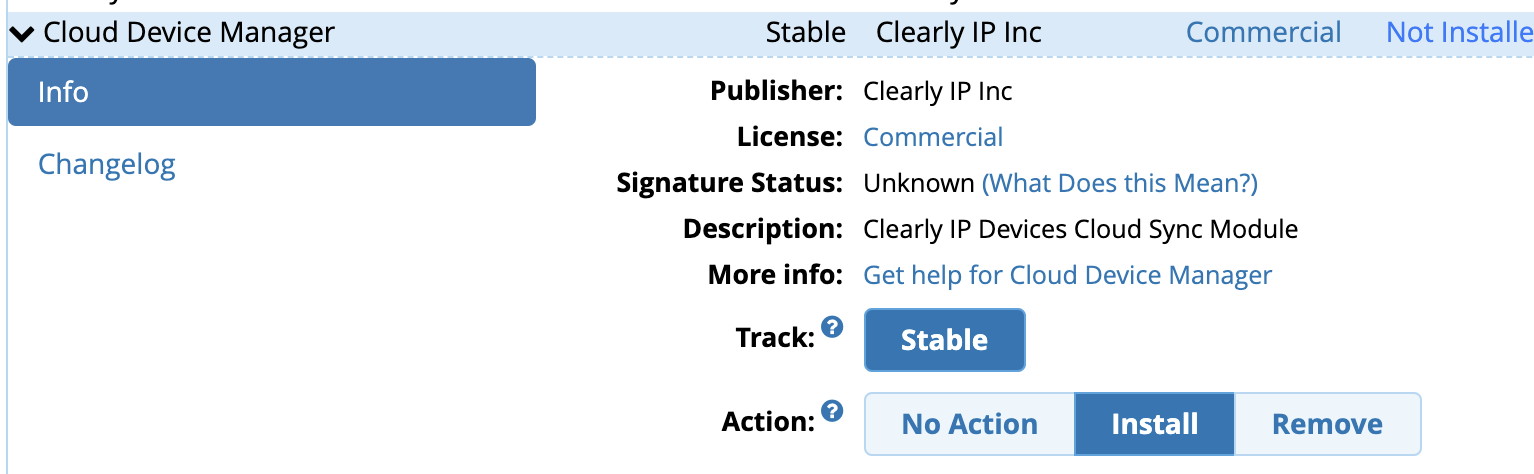
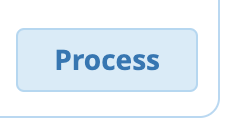
- Scroll down and click Process button
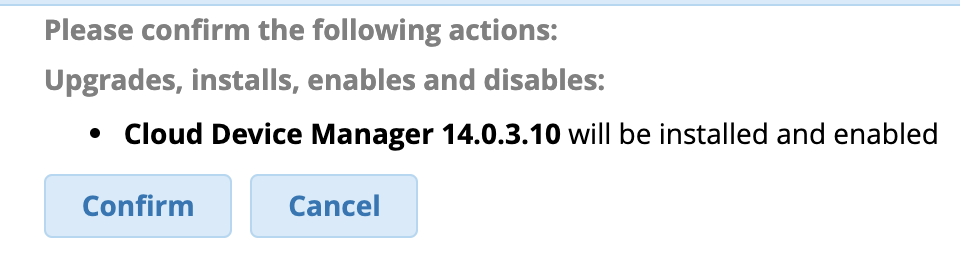
- Confirm you want to install the module
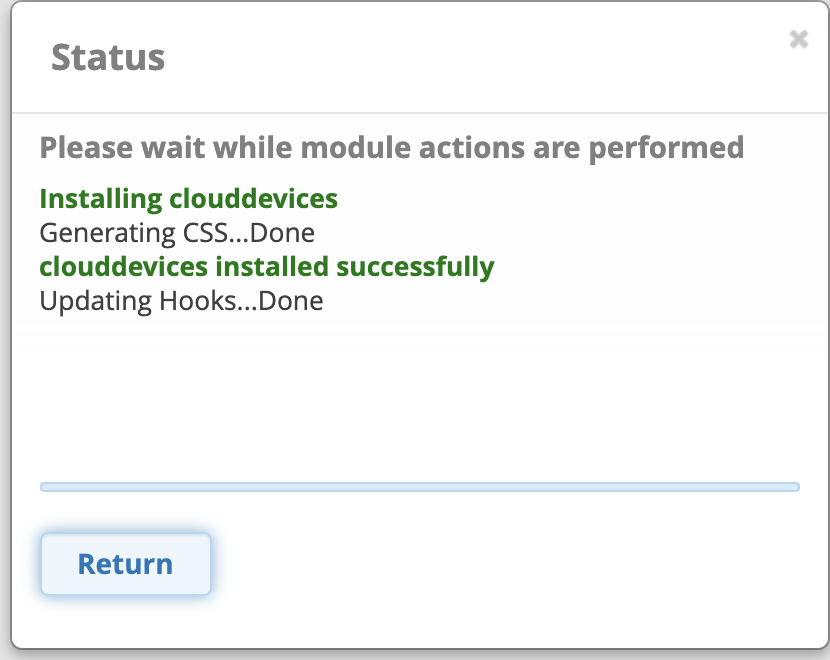
- Once the install completes you will get a Return button to click on
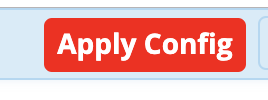
- Press the Apply Config button now to write out the changes
- All future updates now will be handled in the normal FreePBX module admin section with the "Check Online" button just like any module provided by FreePBX project
We suggest you check for updates of the module in FreePBX module admin now as the module linked above only gets updated occasionally in the documentation here so go update to the latest and greatest of the module.
Now that we have the module installed we need to setup activate the module with your CDM Location
Activating the CDM Module
- Now that we have the module installed we can navigate to the module from within FreePBX under the Settings Menu
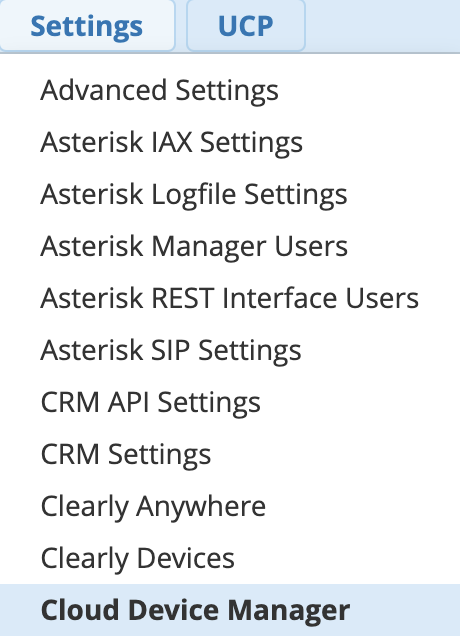
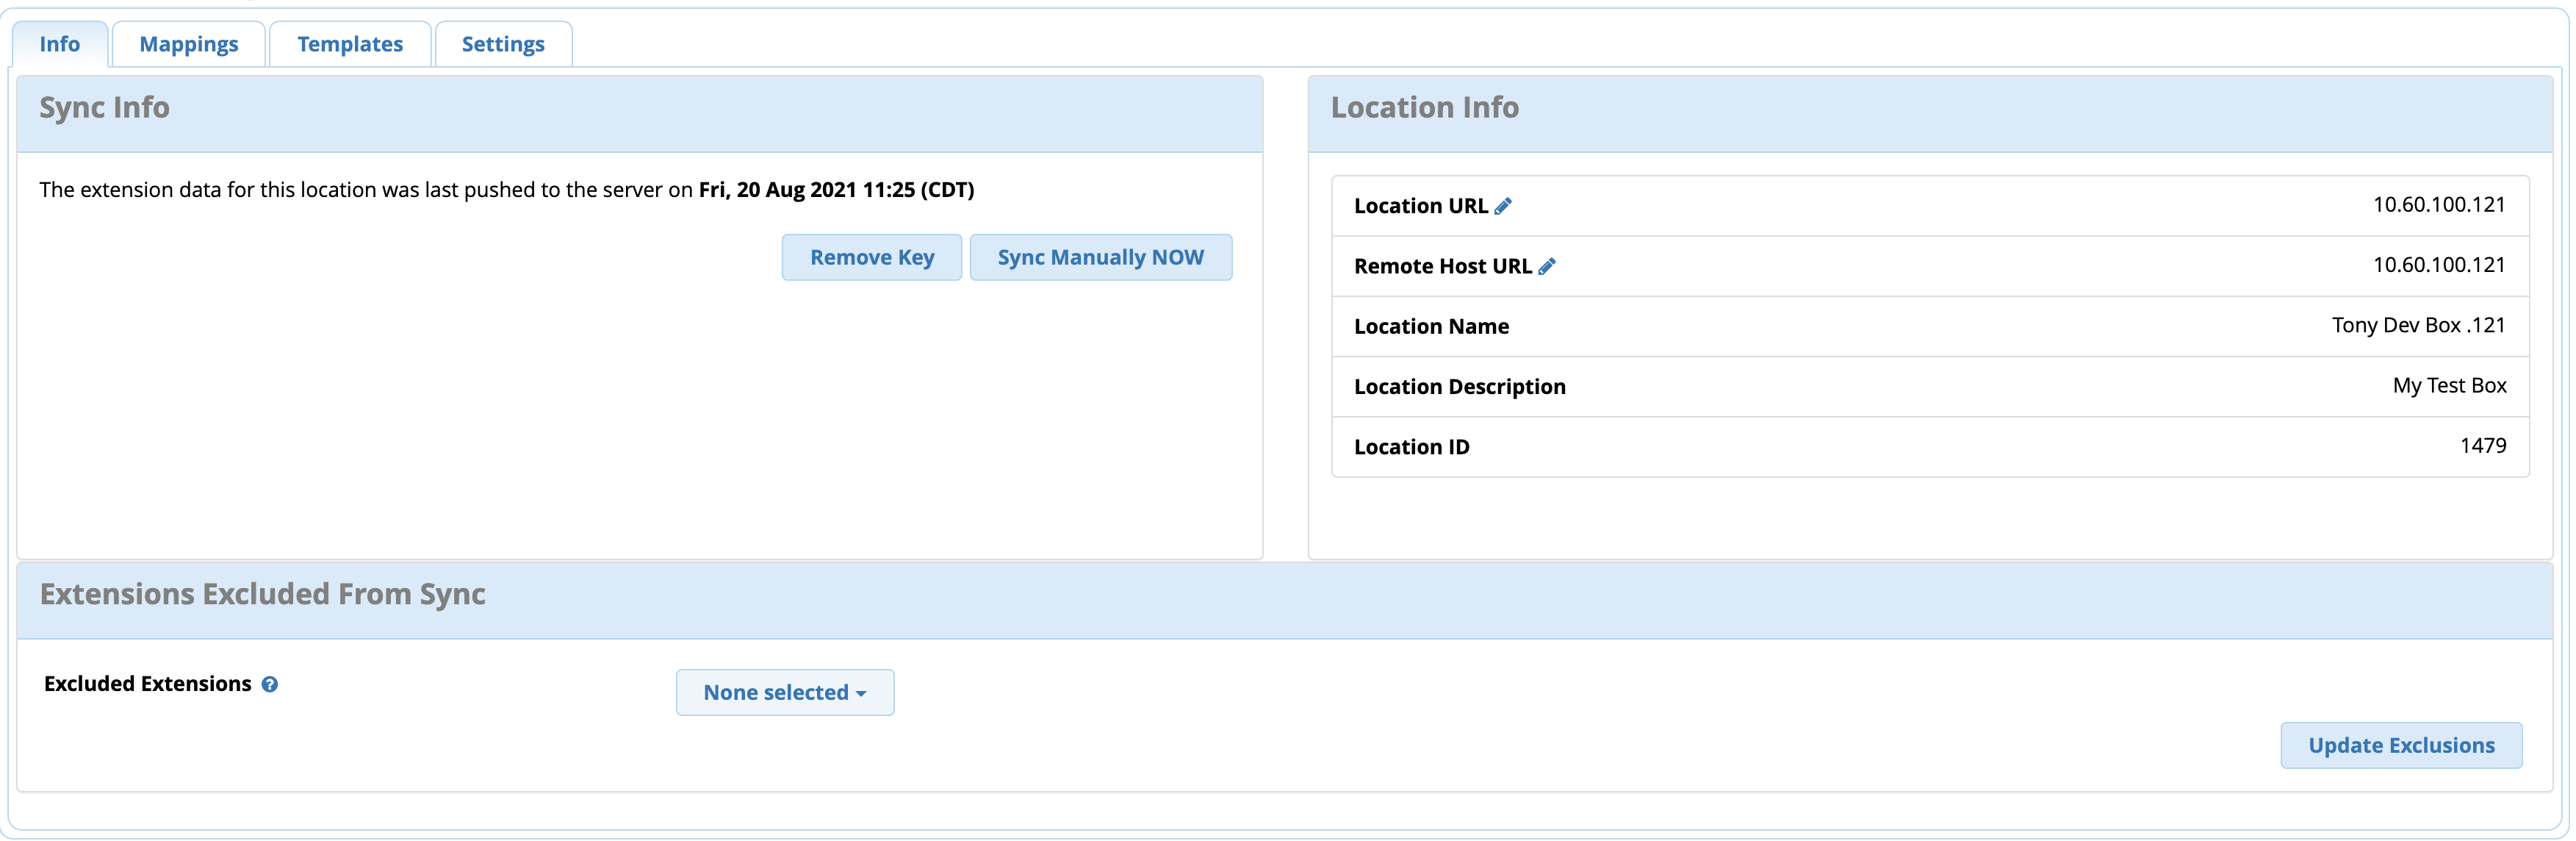
- Paste in the Keycode from your CDM Location you created earlier in the CDM Interface and press the Submit button.
- You should now see a screen similar to below. Your FreePBX system is not set and linked to your CDM Location and it will sync data between FreePBX and CDM for you.
Viewing and Managing Device Mappings
- The mappings tab will show you all of your extensions that are mapped to a Template and Model with what MAC address they are setup with.
- Mappings can be managed from within the CDM Portal or from the CDM FreePBX module.
- Clicking on the Mappings tab will open up a view of all your existing mappings
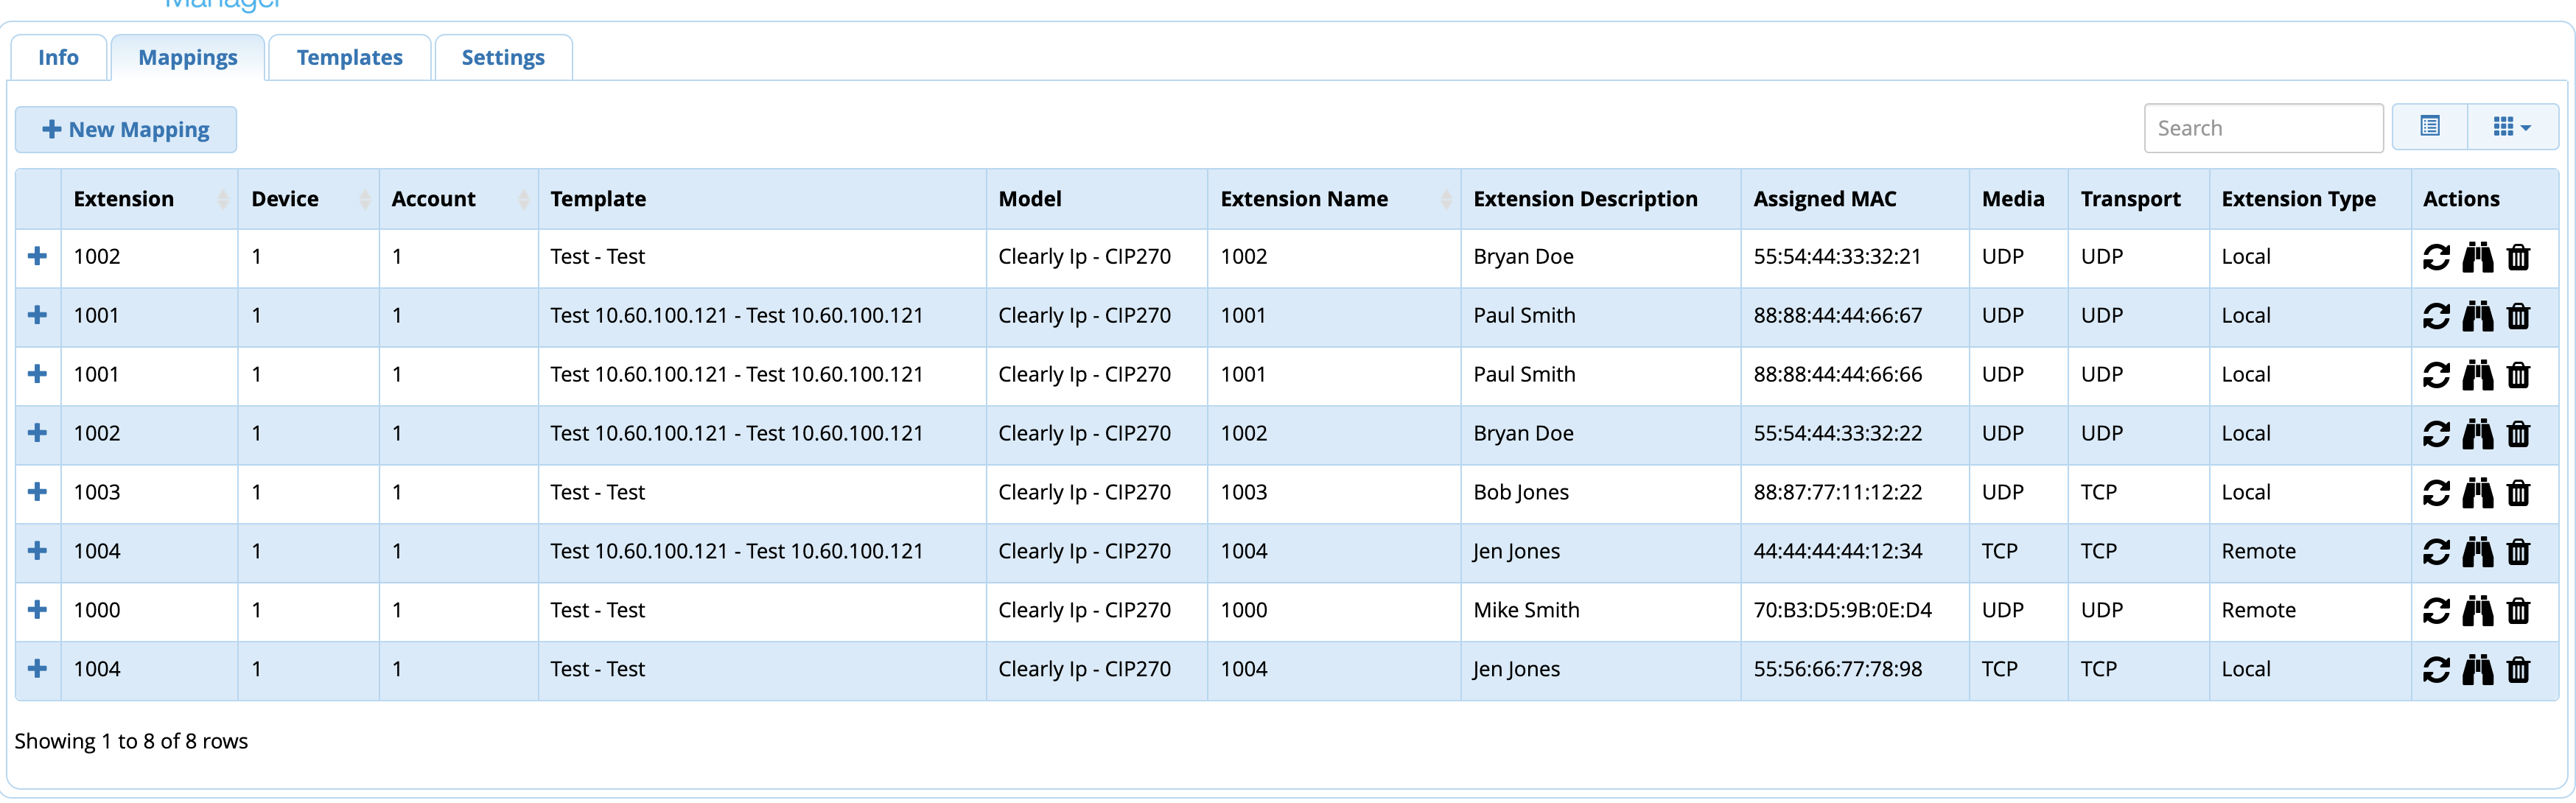
- Any changes you make from here on the mapping are instantly pushed to CDM and can be seen in the CDM Portal.
- Any changes your make to mappings in the CDM Portal will be displayed here based on the Sync Period defined below or by pressing the Manual Sync Now button
- Pressing the
 next to a mapping will send a notify to the phone to check for an updated configuration file.
Setting Sync Period
- By default your FreePBX system will sync to CDM real time anytime you create new extensions or edit an extension or update a mapping.
- If you make changes in CDM to Extension Mappings from within the CDM portal those changes are pushed real time to FreePBX across a web socket. This same websocket is used to tell FreePBX to send SIP Notifies to phones to update a config when a template or mapping change is made in CDM. We also have a failsafe/backup polling job incase a websocket event is missed that defaults every hour. You can set this polling interval to be higher or lower if you choose.
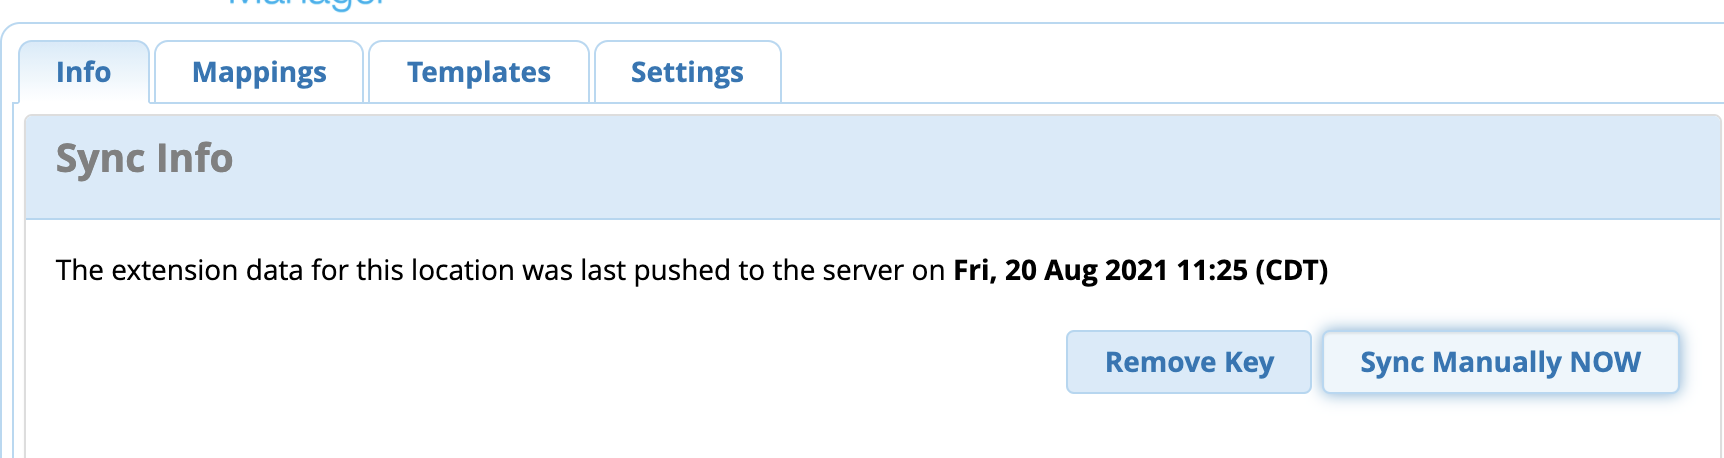
- You can also force a manual sync at anytime by pressing the "Manual Sync Now" button from the home page of the CDM module in FreePBX
- To change how often FreePBX will pull down changes from CDM click on the Settings tab from within your CDM module in FreePBX

- From here you can adjust the polling frequency if need be

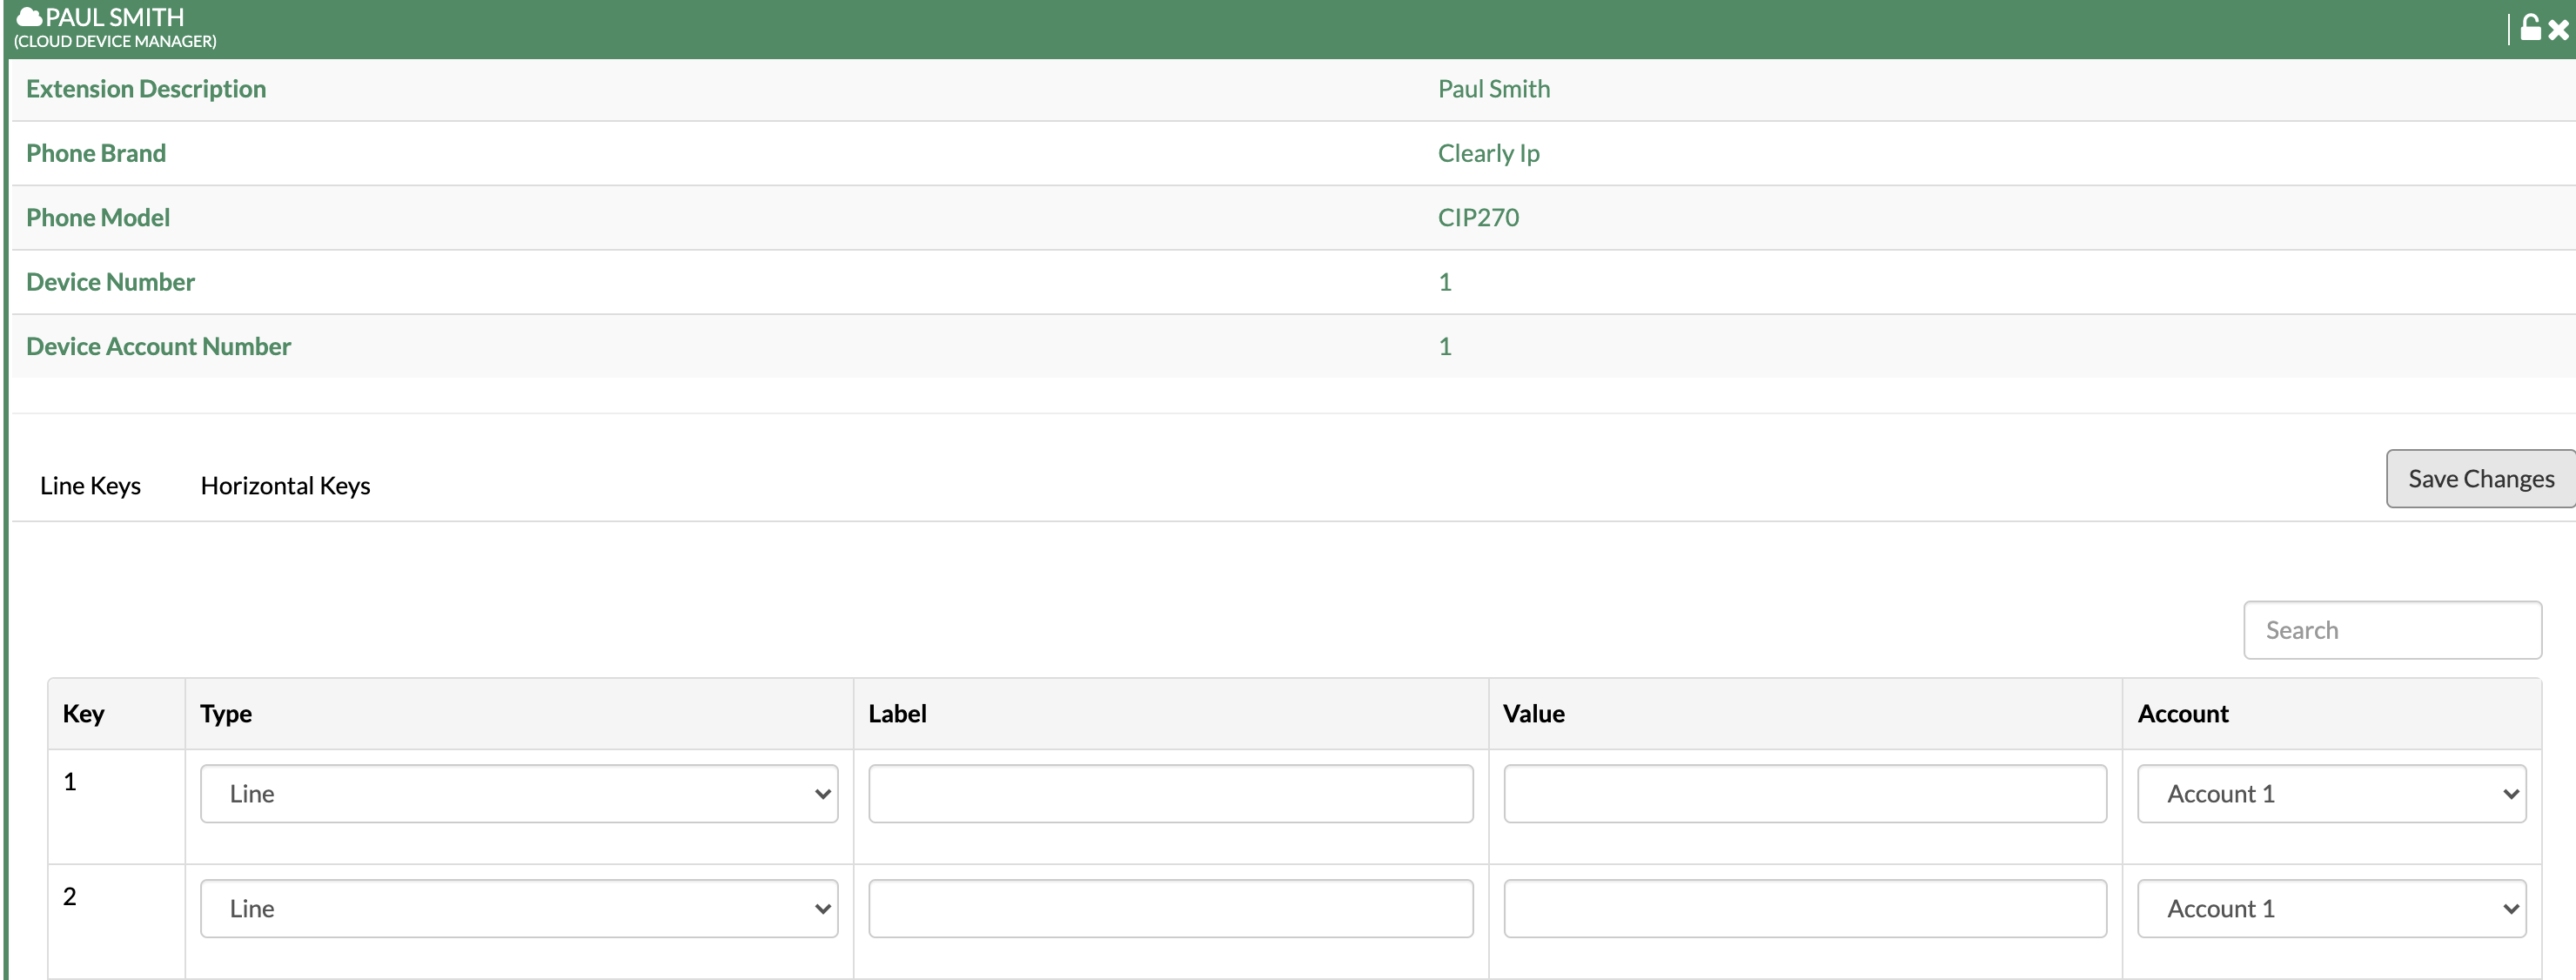
Using UCP to override Template buttons per User.
- Based on permissions that you define in User Manager in FreePBX users can have the ability to change the button layouts on their own phones as overrides to the Template they are mapped to. These changes will only effect that user and will not change the template itself.
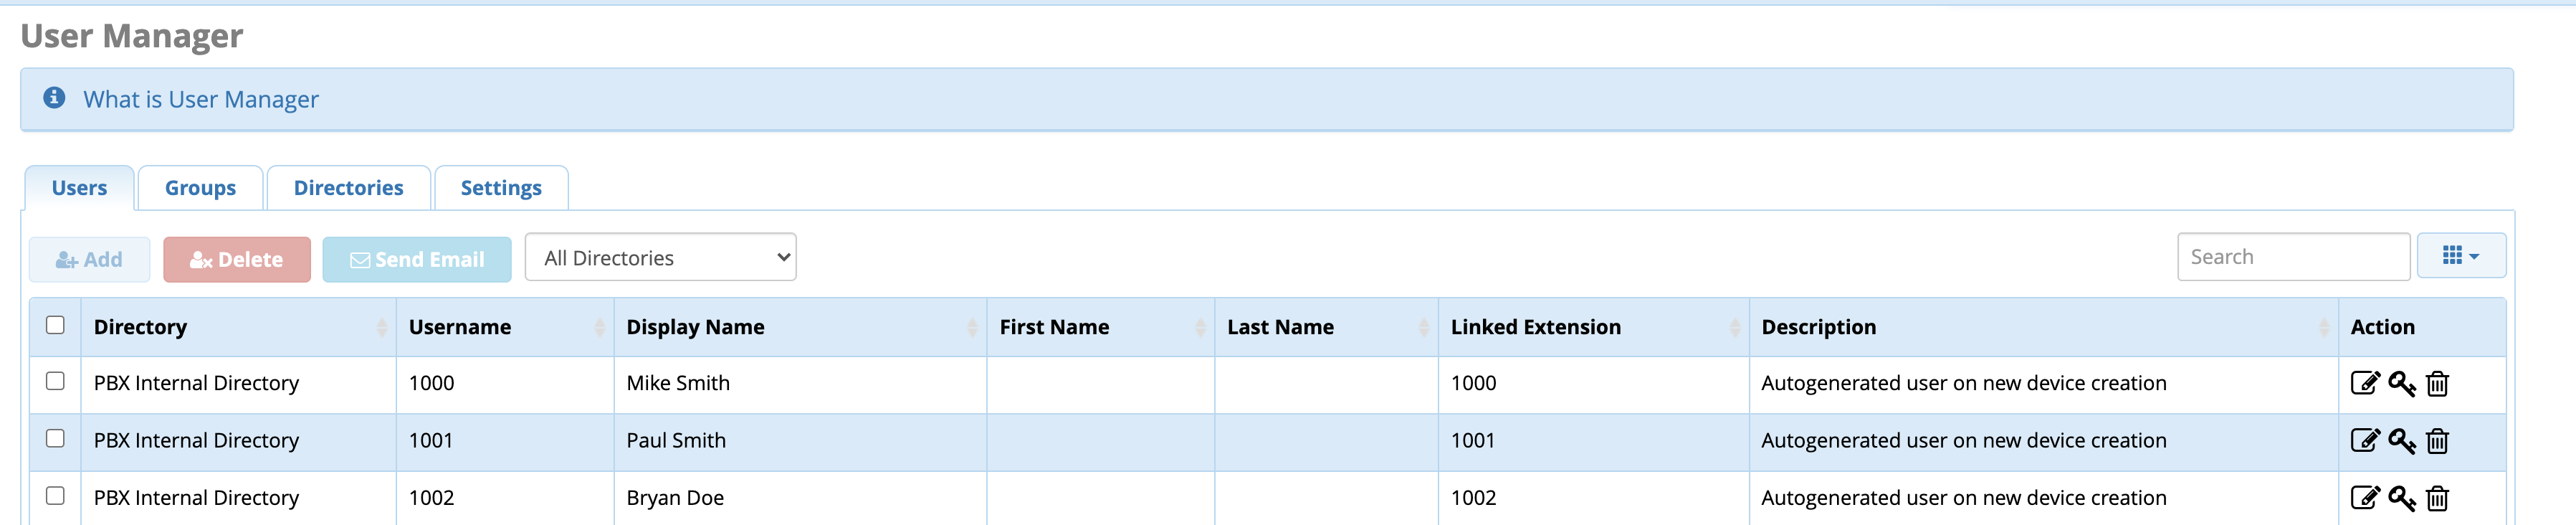
- Navigate to User Management module in FreePBX and either edit a user or group
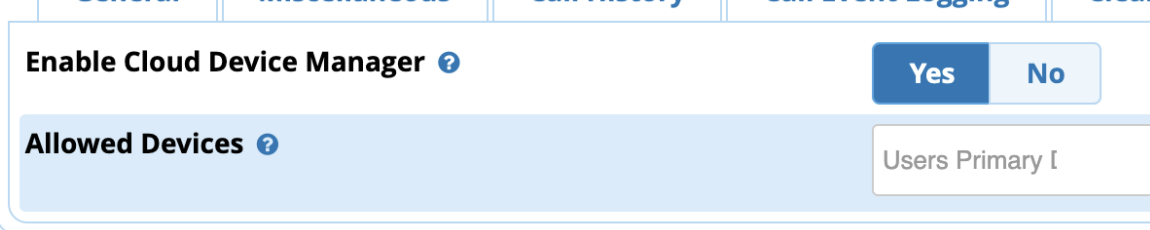
- Click on the UCP tab for the user or group and Click on the Cloud Device Manager sub tab
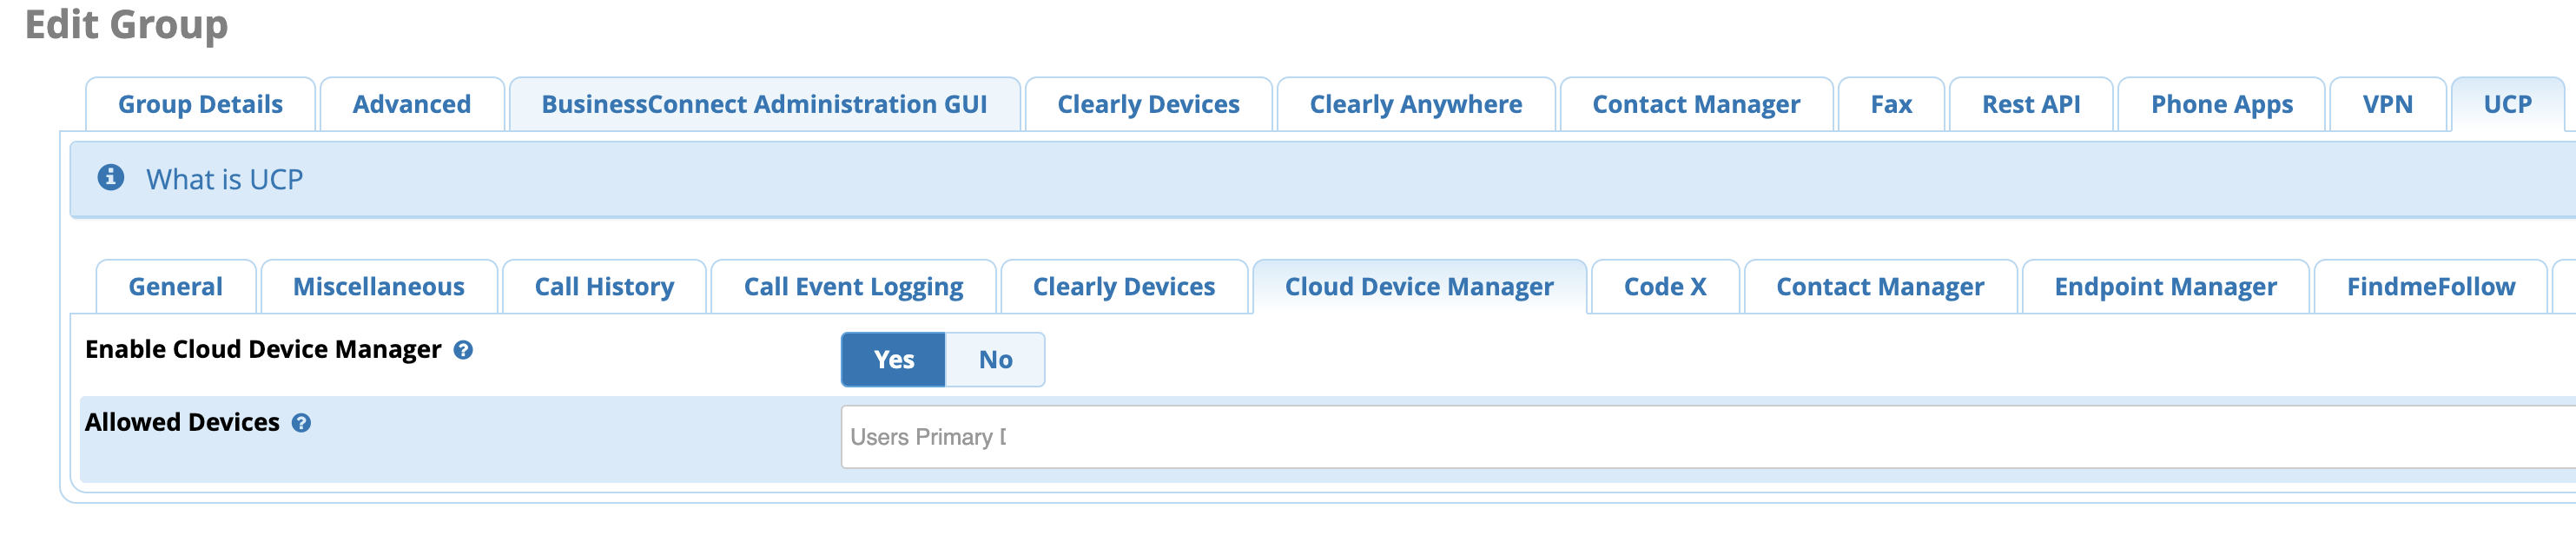
- From here you can enable permission for the user when logged into User Control Panel (UCP) to manage the buttons on their own devices. By default the permissions is set to yes and in the Allowed Devices it will be set to Users Primary Extensions which means they can only manage the buttons on their own devices.
- Login to UCP as a user and you can now add the Cloud Device Manager widget
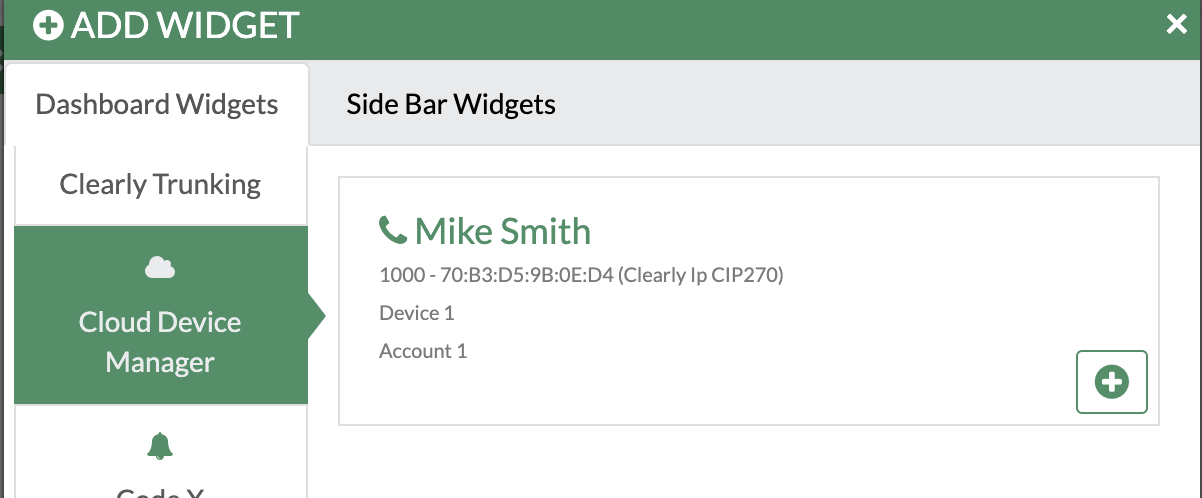
- From here you can now add or remove any buttons and press the Save button
- Any modifications done by a user to their own button lays can be seen from within the CDM Portal as outlined here.
 Uploading ....