Transcribe Each New Call Recording with ChatGPT and Send the Transcript via Email
NOTE:
- For being able to automatically (API) use ChatGPT's transcription capability, a project API Key is needed
- For generating that required ChatGPT project API Key, billing information is needed in your ChatGPT account as using this feature does generate charges per usage
For having ChatGPT auromatically transcribe each new recorded call in Clearly Cloud and have this transcript be immediately sent to a desired destination via email, create a new Zapier Zap as follows:
Trigger ("a new call has been recorded in Clearly Cloud")
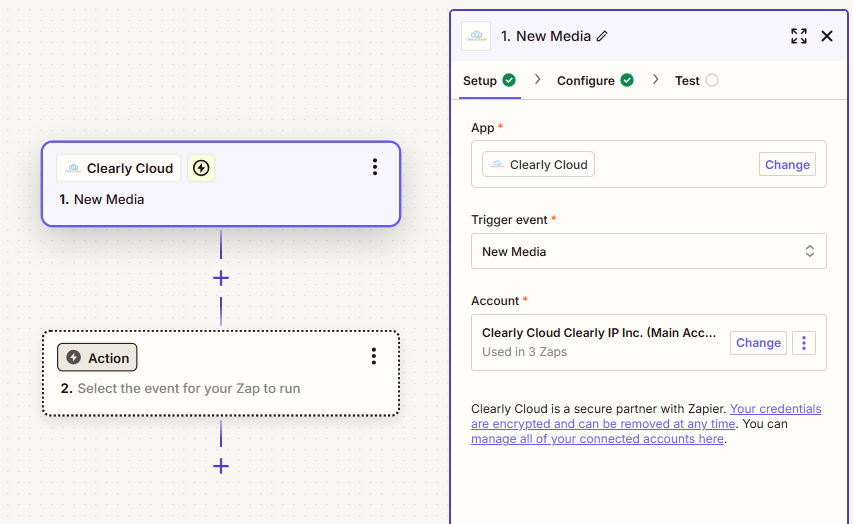
Setup
- App: Clearly Cloud
- Trigger event: New Media
- Account: your Clearly Cloud account (check here for previous steps needed in case the Clearly Cloud SPOKE Integrations have not been completed already)
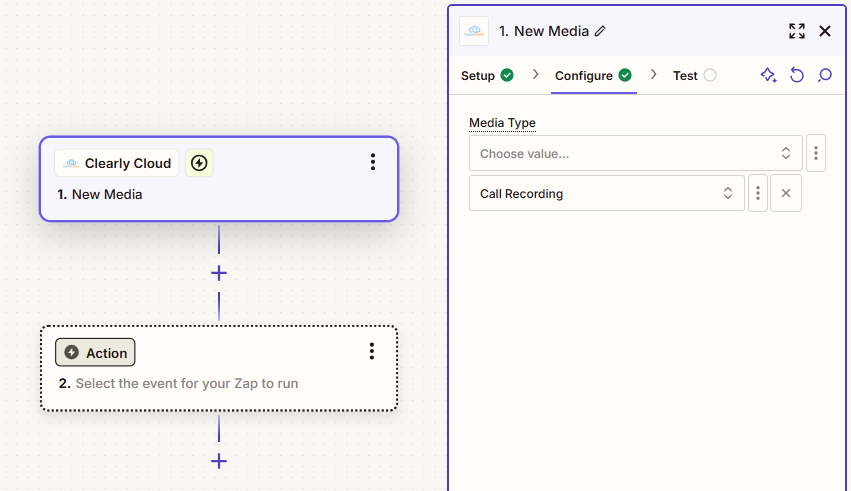
Configure- Media Type: Call Recording
Test- Just select one of the records that should be listed and then click on Test Trigger to test it
- and then click on Continue with selected record to proceed
Action #1 ("ChatGPT transcribes recorded call coming from Clearly Cloud")
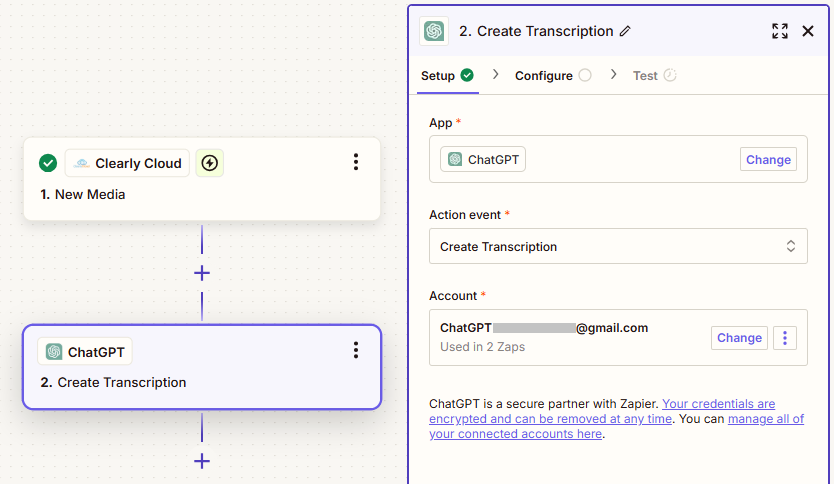
Setup
- App: ChatGPT
- Action event: Create Transcription
- Account: your ChatGPT account (again, please note that for being able to automatically (API) use ChatGPT's transcription capability, a Project API Key is needed ; for generating the ChatGPT project API Key, billing information is needed in your ChatGPT as using this feature does generate charges per usage)
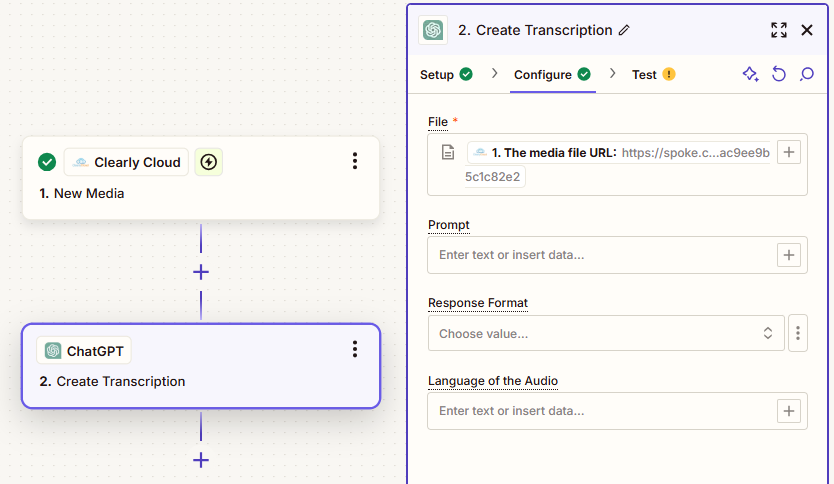
Configure- File: The media file URL
Test- Just click on Test step to test this ChatGPT Action
- and then click on the "plus" (+) sign right below the ChatGPT action in the Zap diagram to create a new Action (which will be the action to send the email with the transcript, in this example)
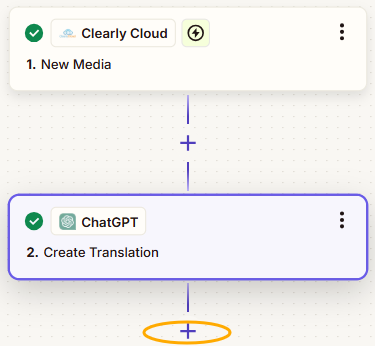
Action #2 ("Gmail sends out email containing the transcript coming from ChatGPT")
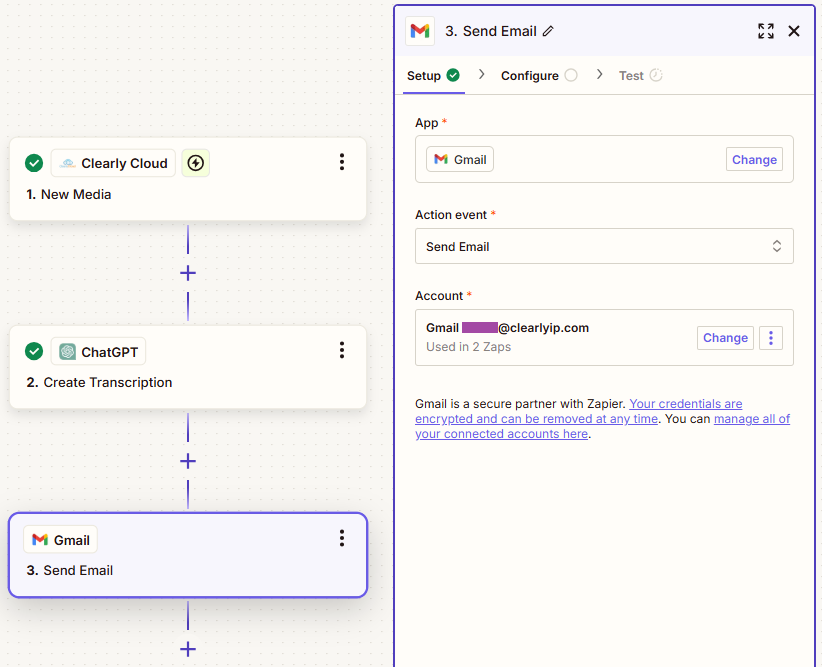
Setup
- App: Gmail (for this example - any other email provider supported by Zapier can be used here, the email account added here will be the one used for when sending out the email containing the transcript)
- Action event: Send Email
- Account: your Gmail account (again, any other email provider supported by Zapier can be used here, the email account added here will be the one used for when sending out the email containing the transcript)
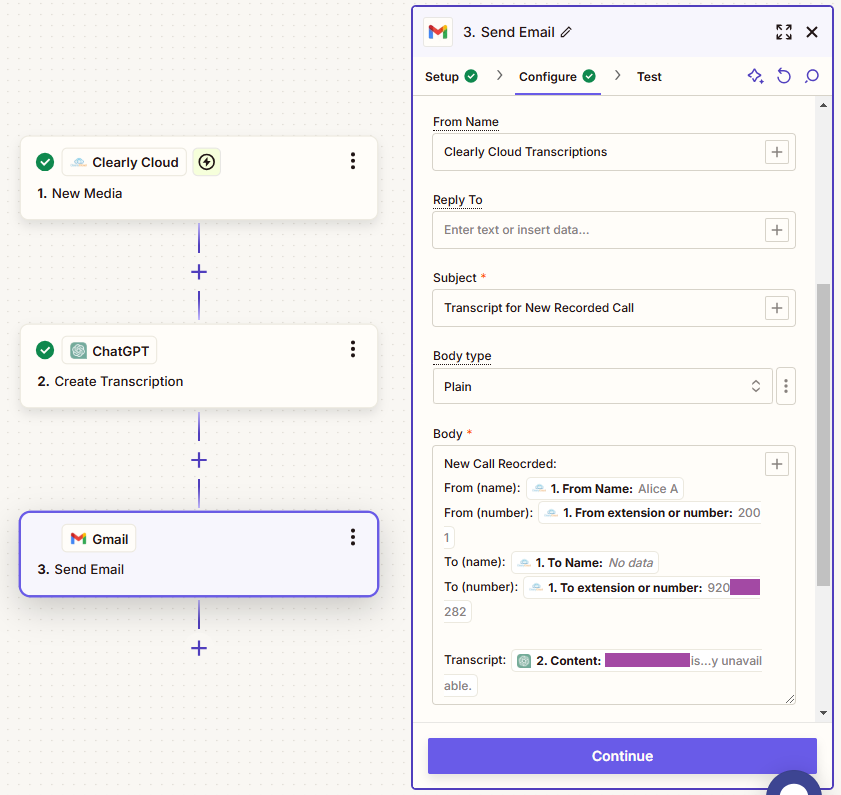
Configure- To: email address of where to send the email containing the transcript to
- Subject: subject of the email containing the transcript
- Body: body of the email containing the transcript (here you should add the Content parameter of the ChatGPT "Create Transcription" data source of the Zap flow, see screenshot below - Other information for identifying the call from which the transcript was generated is recommended to be added here as well, that infomration can be obtained from the Clearly IP "New Media" data source)
Test- Just click on Test step to test this Gmail (or any other supported email provider used) Action
- and then just click on Publish
Send Slack Message on New Call
- Let’s say you want Spoke to send you a Slack message when there’s a new call. To do this click the “Try It” button on the “Send Slack notifications for new calls in Clearly Cloud” template.

- You should see the Zap Editor, with the Clearly Cloud and Slack steps in the workflow diagram, each step already has the App & event and Trigger tabs preconfigured.

- The Account tab shows a warning icon because even though you already logged into Spoke, you still need to connect the Zap to a specific Clearly Cloud PBX. To select the location, click on the “Sign In” button on the “Account” tab. A popup window will appear, select the Clearly Cloud PBX location and click on “Authorize”

- Once connected, you should see the green check mark on the “Account” tab. Click the “Continue” button to switch to the “Trigger” tab.

- A Trigger is a set of conditions that you use to filter the call events coming from your Clearly Cloud PBX, when these conditions are met, Zapier passes the call data to the next step or app, in this case Slack and executes an “Action”. In this template the call type “Incoming Call” and call status “Ringing” is preselected so the Zap will be triggered when there’s a new incoming call that is ringing. Click the “Continue” button to switch to the “Test” tab

- The Test tab will connect to your Clearly Cloud PBX and pull any events/records that match the conditions entered on the “Trigger” tab. The idea is to use a matching record to see the call data that’s coming from Clearly Cloud and then use it on the next step. To pull the test records, click on the “Test trigger” button.

- If your Clearly Cloud PBX has events that match the conditions in the Trigger you should see the 3 most recent matches or records. Select any of the available records and then click on “Continue with selected records” to move on to the next step which is configuring Slack.

- So far, we used a template to create a Zap that receives call events from Clearly Cloud. These call events are filtered using a Trigger. Next step is to tell Zapier what to do with these call events, or what should be the “Action”. In this case, the Action is to have Zapier send the call events as a Slack channel message. The App & event tab should be already preconfigured to “Send Channel message”, click continue to open the “Account” tab

- In the “Account” tab you should connect Zapier to your Slack account, a process similar to steps 7 and 8 but specific to Slack’s own authentication procedure. Once you connect your Slack account you should see a green check next to the “Account” title. Click continue to move to the “Action” tab.

- The Action tab is already preconfigured with all the required fields, except the Slack channel. Select the Slack channel where you want to receive the notifications and click “Continue” to open the “Test” tab. You can come back later to this tab and tinker with the different options and message formatting options specific to the Slack integration in Zapier.

- You are almost there, click the “Test Step” button and you should see the notification in Slack. If you don’t like the message format or would like to add more fields you can click on the “Action” tab, modify it and when satisfied with the results click on “Publish”
- .


- Your Zap is now live, you should see a confirmation message and a link to go to your Zapier Home.

- On the left menu, click on the “Zaps” option to see your current Zaps and turn on/off any running Zaps. You should see the Zap we just created on top of the list with the “running” option set to “On”
