The following is a simple guide that we are providing to our customers as an example of how to setup a ATA that is capable of T38 Faxing to register to directly to a Clearly IP SIP Location or Sub Location for T38 faxing. Clearly IP Inc provides this as is and does not guarantee this setup will work for you and can not provide support for debugging such a setup.
Configuring Cisco ATA
Log into your Cisco ATA WebGUI and navigate to the Voice Line 1 option
Under the NAT and Network Settings set the following options
NAT Keep Alive Enabled - yes
Network Jitter Level - very high
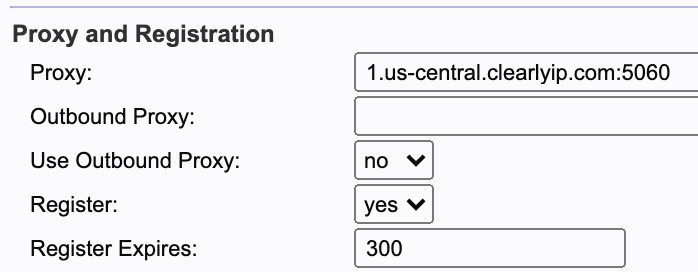
Under the Proxy and Registration Settings section set the following fields
Proxy - One of your Registration servers as outlined here such as 1.us-central.clearlyip.com and what port SIP is setup with on your PBX such as 5060.
Register Expires - 300
Under Subscriber Information
Display Name - Some name such as Fax Machine Number or something to i
User ID - SIP Username from your location as outlined here
Password - SIP Password from your location as outlined here
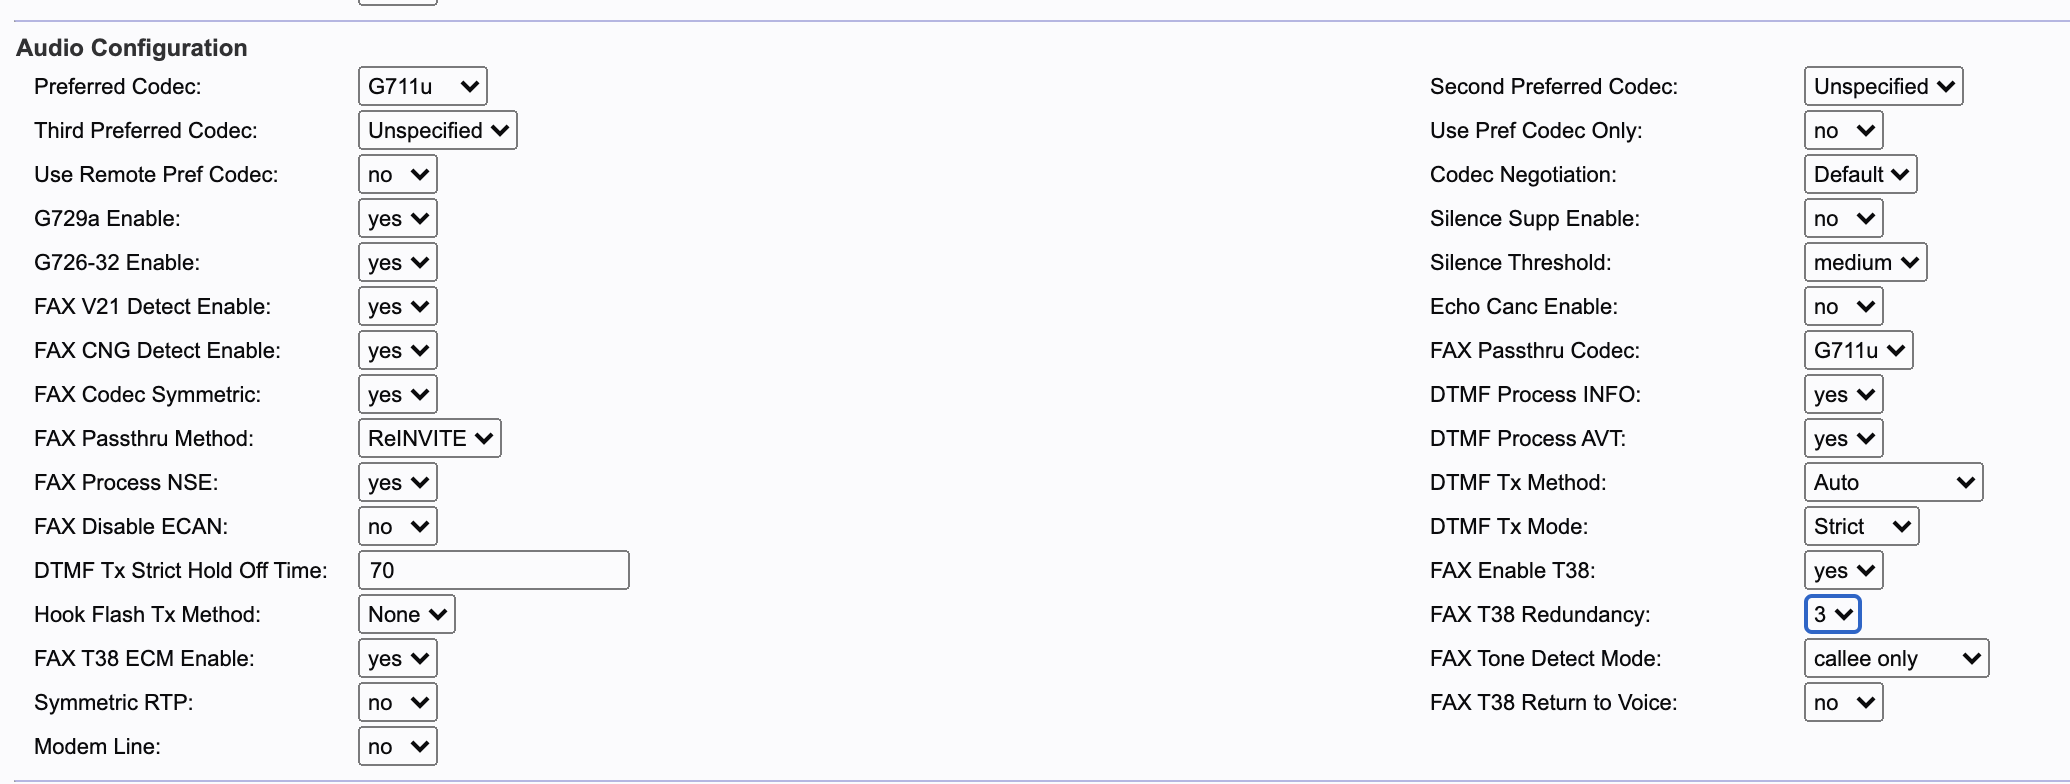
Under Audio Configuration
Fax Passthru Method - ReINVITE
Fax T38 ECM Enable - yes
Echo Canc Enable - no
Fax Enable T38 - yes
Fax T38 Redundancy - 3
Fax Tone Detect Mode - callee only
Fax T38 Return to Voice - no
Set the following Dial Plan to have the system automatically add *328 to all 10 and 11 digit numbers so we know the call is a Fax T38 call. Without the *329 the call will go out as a voice call and not T38
<:*329>xxxxxxxxxx|<:*329>1xxxxxxxxxx
Save your changes and you should be able to send and receive T38 faxes through your PBX now.
Set your Phone Number to send SIP Username instead of Number Dialed
Cisco ATAs need the SIP Username sent to the device on an inbound call and not the Phone Number that was called.
You will need to go edit the Phone Number record from the Trunking Portal
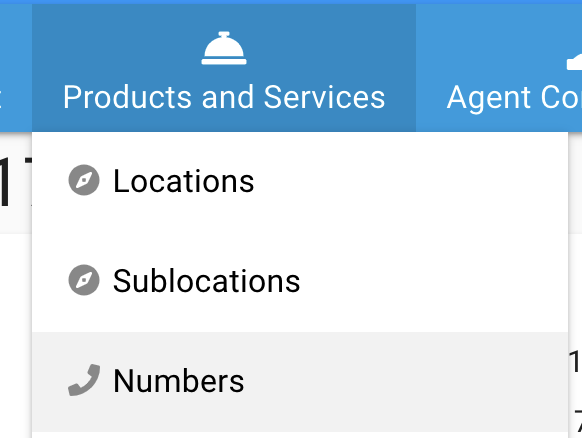
Navigate to Products and Services > Phone Numbers from the ClearlyIP Trunking Portal
Click on the Binoculars under the Action column for the Phone Number you want to route to this Cisco ATA.
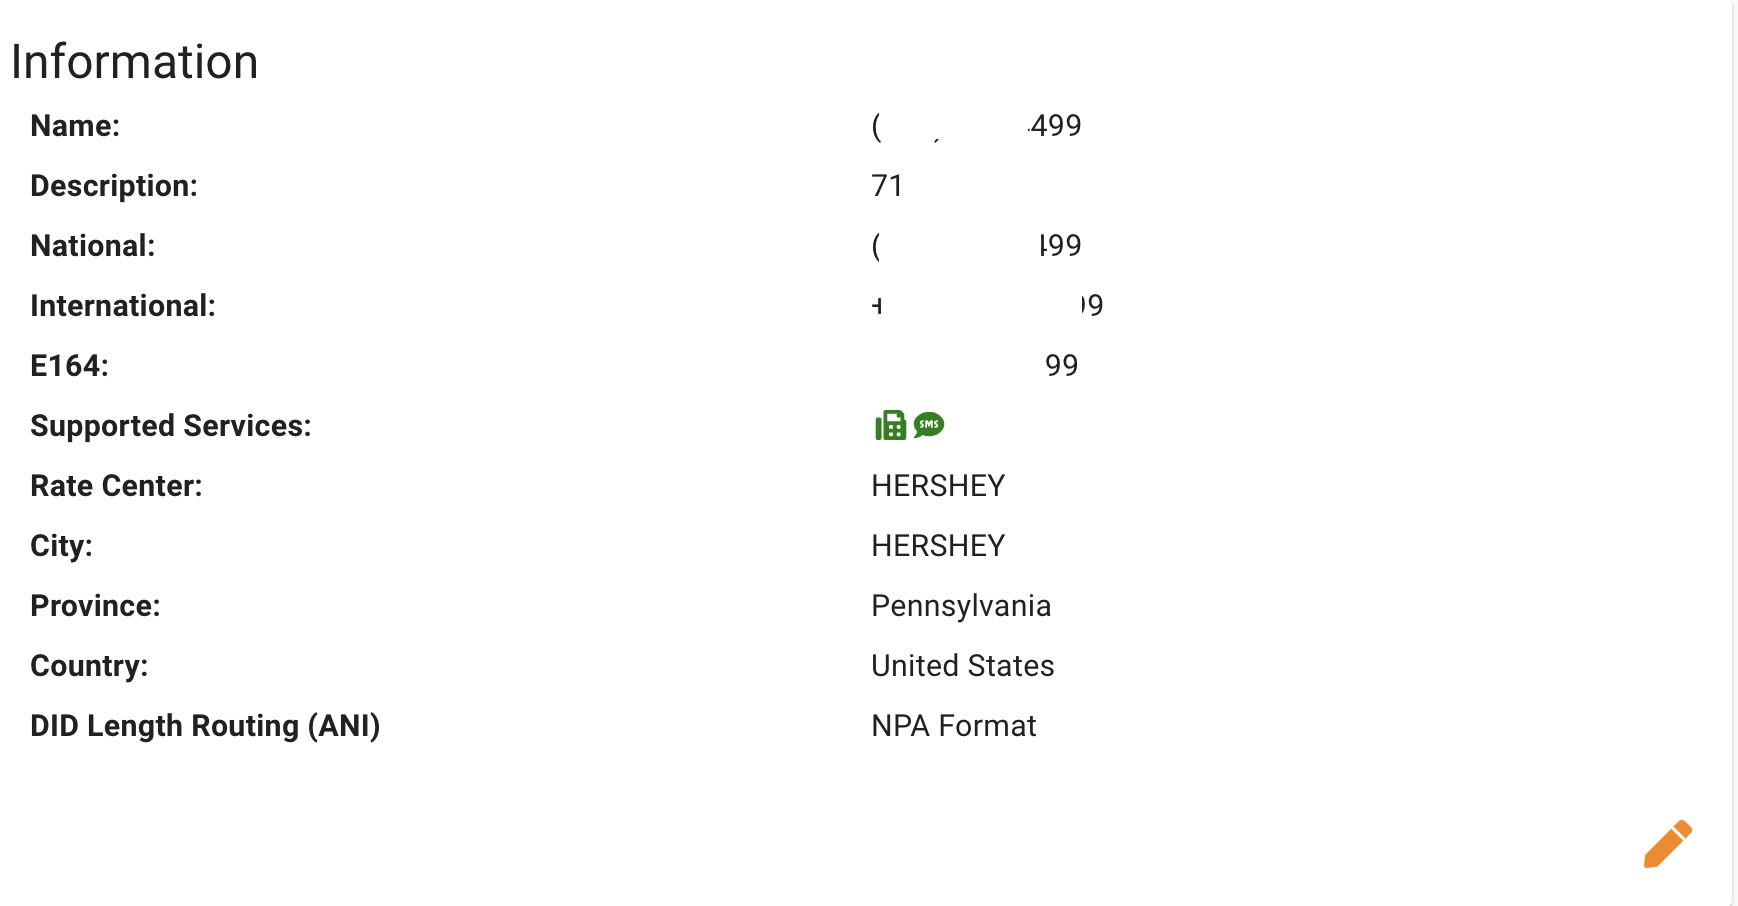
In the Information widget click on the Orange edit Pencil icon
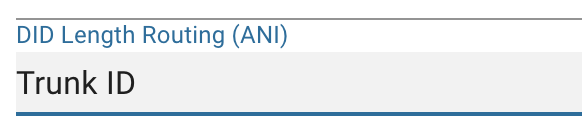
Under the DID Length Routing (ANI) pick Trunk ID option.
When calling this Phone Number it will send the call to the registered SIP device for this location with the SIP Username that is setup for the Location now instead of the Phone Number since the Cisco ATAs route based on SIP username for the port instead of phone numbers.
 Uploading ....