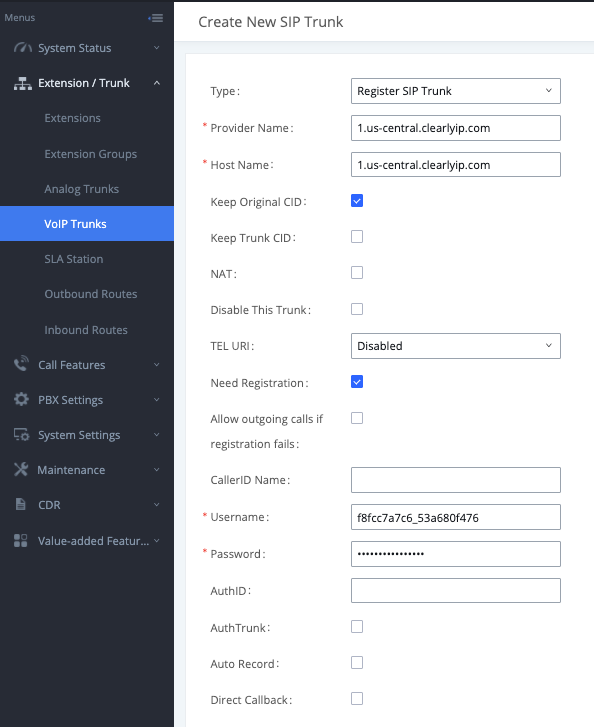
Type: set to "Register SIP Trunk"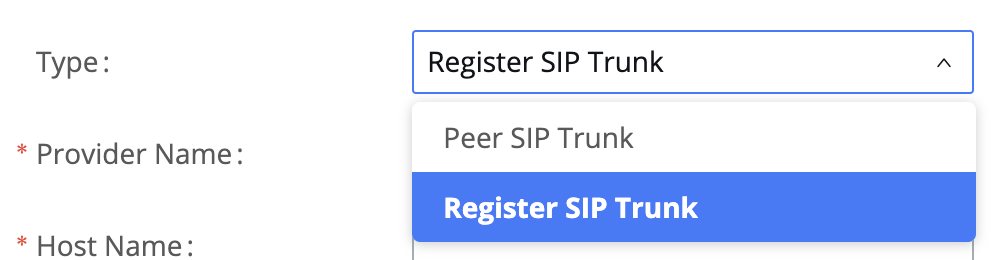
Provider Name: Configure a unique label to identify the trunk when listed in outbound rules and incoming rules. |enter a description we recommend you use the the Server FQDN address available when you are logged into the ClearlyIP Trunking Portal.|
Host Name: Enter the IP address or hostname of the VoIP provider's server. |enter the Server FQDN address from the SIP Trunking Portal example 1.us-central.clearlyip.com.|
Keep Original CID: Keep CID from the inbound call when dialing out even if option "Keep Trunk CID" is enabled. Please make sure the peer PBX at the other end supports matching user entry using the "username" field from the authentication line. | This is your choice. This allows a forwarded call to pass the callers ID, and not the trunk caller id. |
Keep Trunk CID: Always use trunk CID if specified even if extension has DOD number or CID configured. | This is your choice. This will override extension settings and only use the trunk caller id.|
NAT: Enable this setting if the UCM is using public IP and communicating with devices behind NAT.
Note 1: This setting will overwrite the Contact header of received messages, which may affect the ability to establish calls when behind NAT. Consider changing settings in PBX Settings->SIP Settings->NAT instead.
Note 2: If one is experiencing one-way audio issues, please check the NAT configuration and SIP/RTP ports in the firewall.
|NAT should only be checked if your UCM is behind a router. If you have a public IP, you typically do not need this option checked. If you have 1 way audio, or no audio, this needs to be checked.|
Disable This Trunk: Check this box to disable this trunk. |Leave Unchecked|
Tel URI If "Enabled" option is selected, TEL URI and Remove OBP from Route cannot be enabled at the same time. If the phone has an assigned PSTN telephone number, this field should be set to "User=Phone". A "User=Phone" parameter will then be attached to the Request-Line and "TO" header in the SIP request to indicate the E.164 number. If set to "Enable", "Tel:" will be used instead of "SIP:" in the SIP request. | This option should be Disabled |
Need Registration: Whether to register on the external server. |This should be checked.|
Allow outgoing calls if registration fails: Uncheck to block outgoing calls if registration fails. If "Need Registration" option is unchecked, this setting will be ignored. |This should be un-checked.|
CallerID Name: Configure the new name of the caller when the extension has no CallerID Name configured. |This can be left blank, or filled in with the information you would like.|
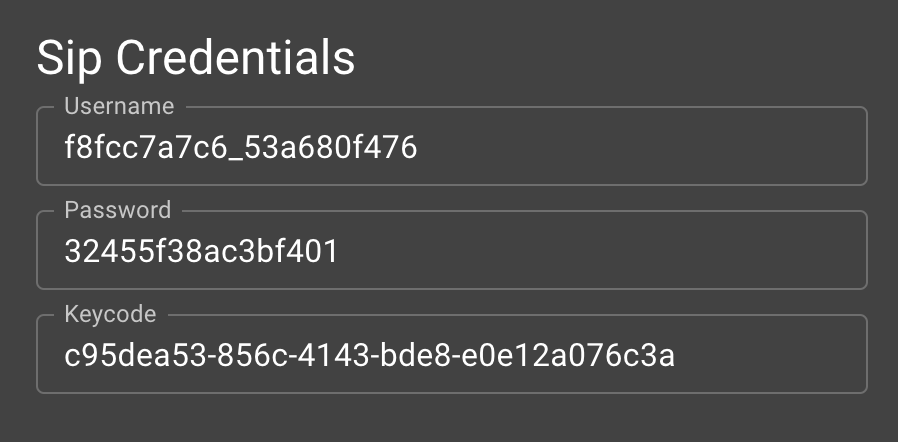
Username: | should be the SIP Username from the SIP Trunking Portal | (Example from above f8fcc7a7c6_53a680f476 - do not use - get your own)
Password: | should be the SIP Password from the SIP Trunking Portal | (Example from above 32455f38ac3bf401 - do not use - get your own)
AuthTrunk: If enabled, the UCM will send a 401 response to the incoming call to authenticate the trunk. |This should be un-checked|
Auto Record: If enabled, calls handled with this extension/trunk will automatically be recorded. |This is your choice.|
Direct Callback: Allows external numbers the option to get directed to the extension that last called them. |This is your choice.|
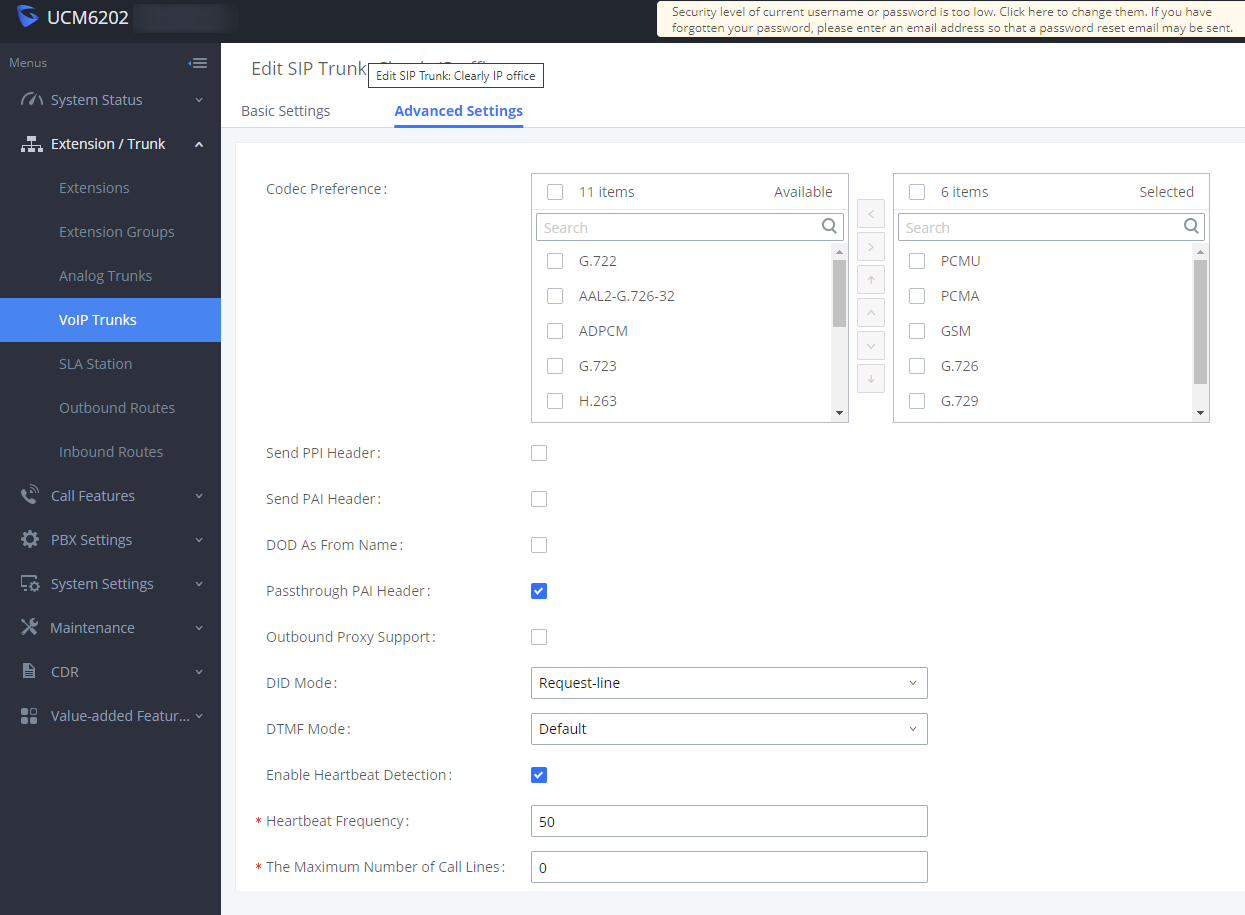
Under Advanced Settings
From Domain: Set this to the same as the Host Name
From User: Set this to the Primary DID
Click Save to enable the trunk.
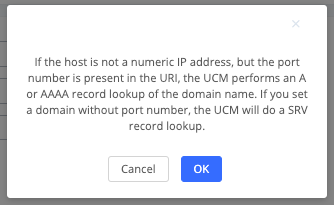
(NOTE: If you are prompted about the host is not a numeric IP address, just click OK.)
REPEAT THE ABOVE STEP TO ADD ADDITIONAL TRUNK REGISTRATIONS FOR EACH AVAILABLE CLEARLYIP REGISTRATION LOCATION AVAILABLE ON YOUR ACCOUNT On your voip trunk advanced settings, Enable Heartbeat Detection must be checked, set to 50 secs.
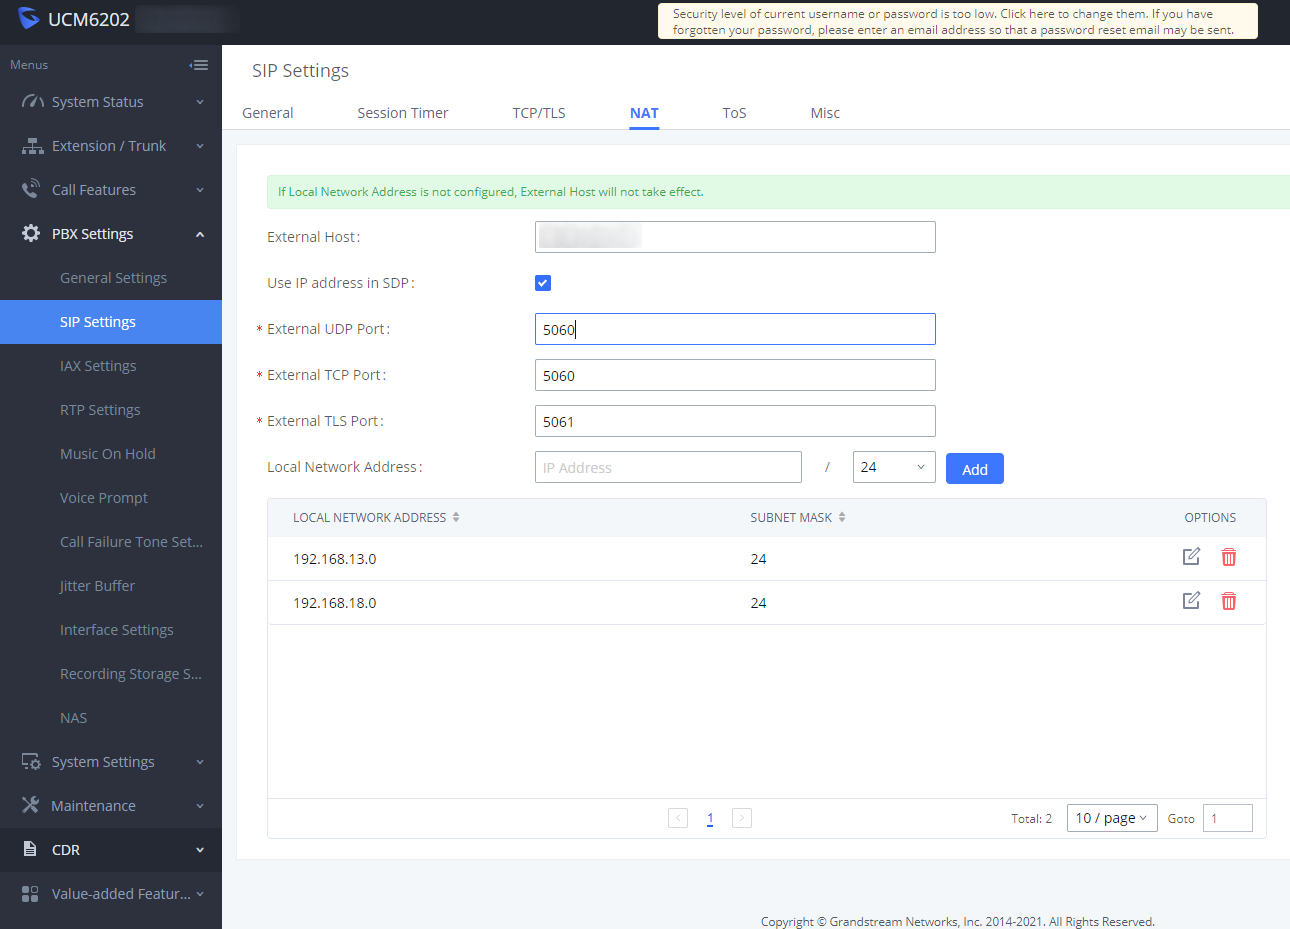
Under PBX settings/Sip Settings/NAT you need to add your static IP or DDNS name and check the Use IP address in SDP.
Also add your local network and any additional subnets. Without this you will get 1 way or no audio at all.
Configuring Your Outbound Routes
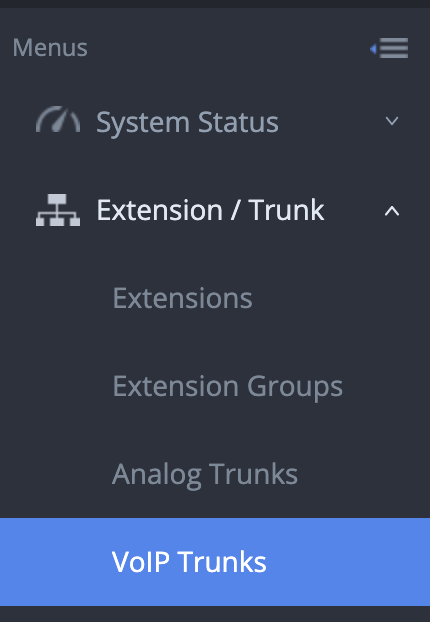
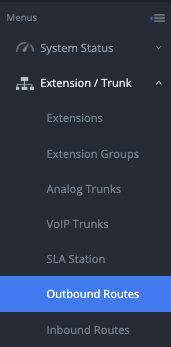
In the Left Navigation bar, click on "Extension / Trunk" then "Outbound Routes"
Click Add
Calling Rule Name: Configure the name of the Calling Rule. | Enter a description. We recommend "Clearly_IP_Outbound" |
Pattern:
ClearlyIP recommends using the following as your dial pattern.
- _1NXXNXXXXXX
_NXXNXXXXXX
_+1NXXNXXXXXX
_+NXXNXXXXXX
If you want to have more specific matches or different "Privilege Levels" (explained below) for different call types i.e. Local, Long Distance, International, etc. You can use the pattern matching syntaxes below.
Note: If you choose to use specific routes, the best practice is to create a dedicated route for emergency services.
All patterns are prefixed by "_" character, but please do not enter more than one "_" at the beginning. All patterns can add comments, such as "_pattern /* comment */". In patterns, some characters have special meanings:
[12345-9] ... Any digit in the brackets. In this example, 1,2,3,4,5,6,7,8,9 are allowed.
N ... Any digit from 2-9.
. ... Wildcard, matching one or more characters.
! ... Wildcard, matching zero or more characters immediately.
X ... Any digit from 0-9.
Z ... Any digit from 1-9.
- ... Hyphen is to connect characters and it will be ignored.
[ ] Contain special characters ([x], [n], [z]) represent letters x, n, z.
Common Pattern matches:
- _x. /* Universal Match */
- _011NXX. /* match International Calls */
- _911 /* Match for 911 */
- _933 /* Match for 933 ClearlyIP Emergency Address Verification */
- _988 /* The National Suicide Prevention Lifeline */
- _NXXXXXX /* Match 7-Digit Numbers, ClearlyIP Requires 10/11 digits you will need to add your local area code to the prefix) */
- _NXXNXXXXXX /* Match 10-Digit Numbers */
- _1NXXNXXXXXX /* Match 11-Digit Numbers */
- _9NXXNXXXXXX /* Match 10-Digit With 9 Prefix */
- _91NXXNXXXXXX /* Match 11-Digit With 9 Prefix */
- _18[04-8][04-8]NXXXXXX /* Match Toll Free Numbers */
Privilege Level: Set to desired Privilege level NOTE: Warning: Setting privilege level at "Disabled" will lead to this rule being usable only by a matched Source Caller ID.
Disable: Only the selected Extensions or Extension Groups are allowed to use this rule, when enabled Filter on Source Caller ID.
Internal: The lowest level required. All users are allowed to use this rule, Check this level might be risky for security purpose. |This is our recommendation|
Local: Users with Local level, National level or International level are allowed to use this rule.
National: Users with National level or International level are allowed to use this rule.
International: The highest level required. Only users with International level are allowed to use this rule.
Trunk: Select one of the trunks created above. |EXAMPLE 1.us-central.clearlyip.com |
Strip field: Specify the number of digits that will be stripped from the beginning of the dialed string before the call is placed via the selected trunk. For example, the users will dial 9 as the first digit of a long distance calls. However, 9 should not be sent out via analog lines and the PSTN line. In this case, one digit should be stripped before the call is placed. |This setting will depend on your Pattern settings.|
ClearlyIP Trunks can use either 10 or 11 digit numbers.
If you require a 9 to start your pattern, you will need to enter a "1" in the Strip field.
This will remove the first digit (the 9 in this case) and pass the remainder to the Prepend field before sending to the trunk.
Prepend Field: Specify the digits to be prepended before the call is placed via the trunk. Those digits will be prepended after the dialing number is stripped. |This will depend on your Pattern settings.|
ClearlyIP Trunks can use either 10 or 11 digit numbers.
If your pattern is _xxxxxxx for 7 digit numbers, you will need to add your area code to the prepend field.
This will add the area code to the 7 digits dialed and create a 10 digit number that Clearly Trunks can handle. For proper redundancy, you should click the "Add" button under Failover Trunk to add any additional Clearly IP trunks you setup above.
You will need to select a trunk, and enter a strip and prepend if you require. Time Condition Mode: Use Main Trunk or Failover Trunk: Use the Main Trunk and its settings during the configured time conditions. If the main trunk is unavailable, the Failover Trunk and its settings will be used instead.
Use Specific Trunks: Use specific trunks during the configured time conditions. The Strip and Prepend settings of the Main Trunk will be used. If a trunk is unavailable during its time condition, no failover trunks will be used.
|This should be left unchanged at "Use Main Trunk or Failover Trunk" This can be adjusted for Least Cost Routing if you are using multiple providers.|
Click Save
Configuring Your Inbound Routes
In the Left Navigation bar, click on "Extension / Trunk" then "Inbound Routes"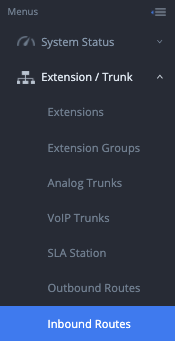
You can add an Inbound Route for each DID on your account or a Global route that will work for all DIDs. Below we explain how to setup a Global route.
Click Add
Trunks: select your primary trunk from above.
Pattern: set it to "_X." Note: This is the generic catchall pattern, you can also use a pattern like _5551237890 for a more specific match.
CallerID Pattern: enter "_X."
Default ModeDefault Destination select a default for the incoming call - route to an IVR, extension etc.
Click Save
Configure Emergency Calling On Your UCM
Using the left menu Navigate to "Call Features - Emergency Calls "
Click on Add
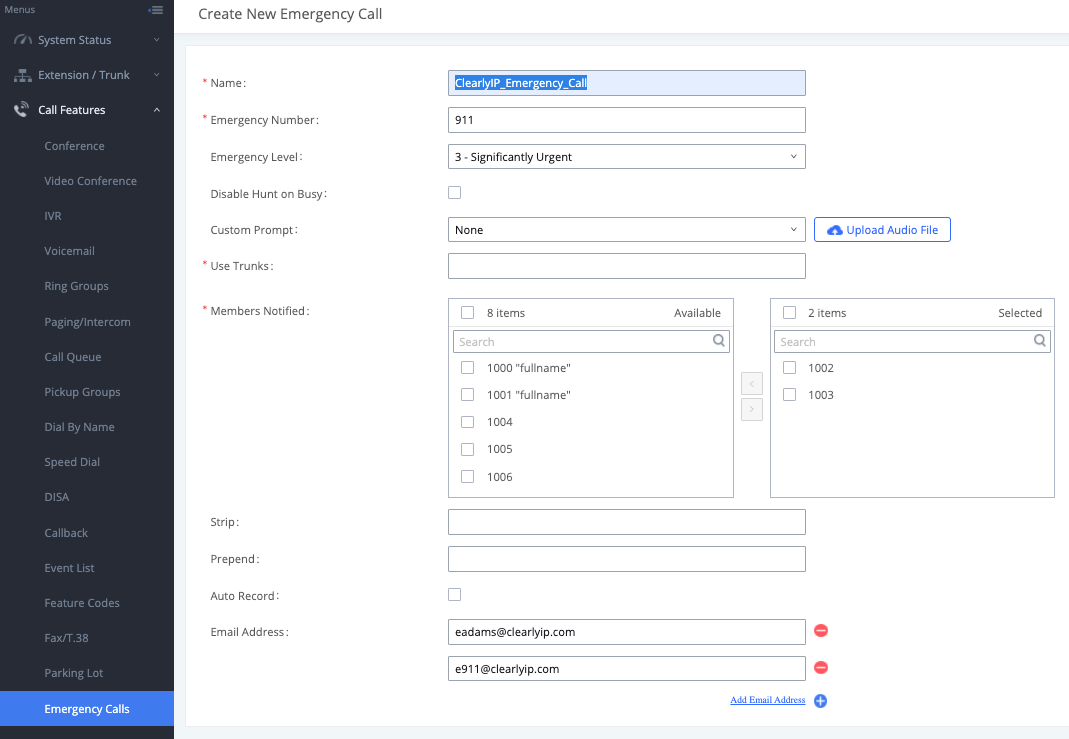
Name: Configure the name of the emergency call, e.g., "emergency911", "emergency211", etc. | We suggest ClearlyIP_Emergency_Call |
Emergency Number: Configure the emergency service number, e.g., "911", "211", etc. |For US Dialing use 911 - NOTE to setup a test to our e911 location service, add an additional option of 933 |
Emergency Level: Select the emergency level of the number. Level "3" means the most urgent. |Set to Level 3|
Disable Hunt on Busy: If this option is not enabled, when the lines of trunks which the coming emergency call routes by are completely occupied, the line-grabbing function will automatically cut off a line from all busy lines so that the coming emergency call can seize it for dialing out. This option is not enabled by default.
Custom Prompt: This option sets a custom prompt to be used as an announcement to the person receiving an emergency call. The file can be uploaded from the page "Custom Prompt". Click "Upload Audio File" to add additional record.
Use Trunks: Select the trunks for the emergency call. Select one trunk at least, and select five trunks at most. |Select all of your ClearlyIP Trunks|
Members Notified: Select the members who will be notified when an emergency call is dialed. |Select the extensions which will receive a Voice Notification of the Emergency Call |
Strip: Specify the number of digits that will be stripped from the beginning of the dialed number before the call is placed via the selected trunk.
Prepend: Specify the digits to be prepended before the call is placed via the trunk. Those digits will be prepended after the dialing number is stripped.
Auto Record: If enabled, the calls using this extension or trunk will be automatically recorded.
Email Address: Enter Email addresses for notifications of Emergency Calls |Enter Email Addresses that will receive an email notifying them of the emergency call |
Click on Save
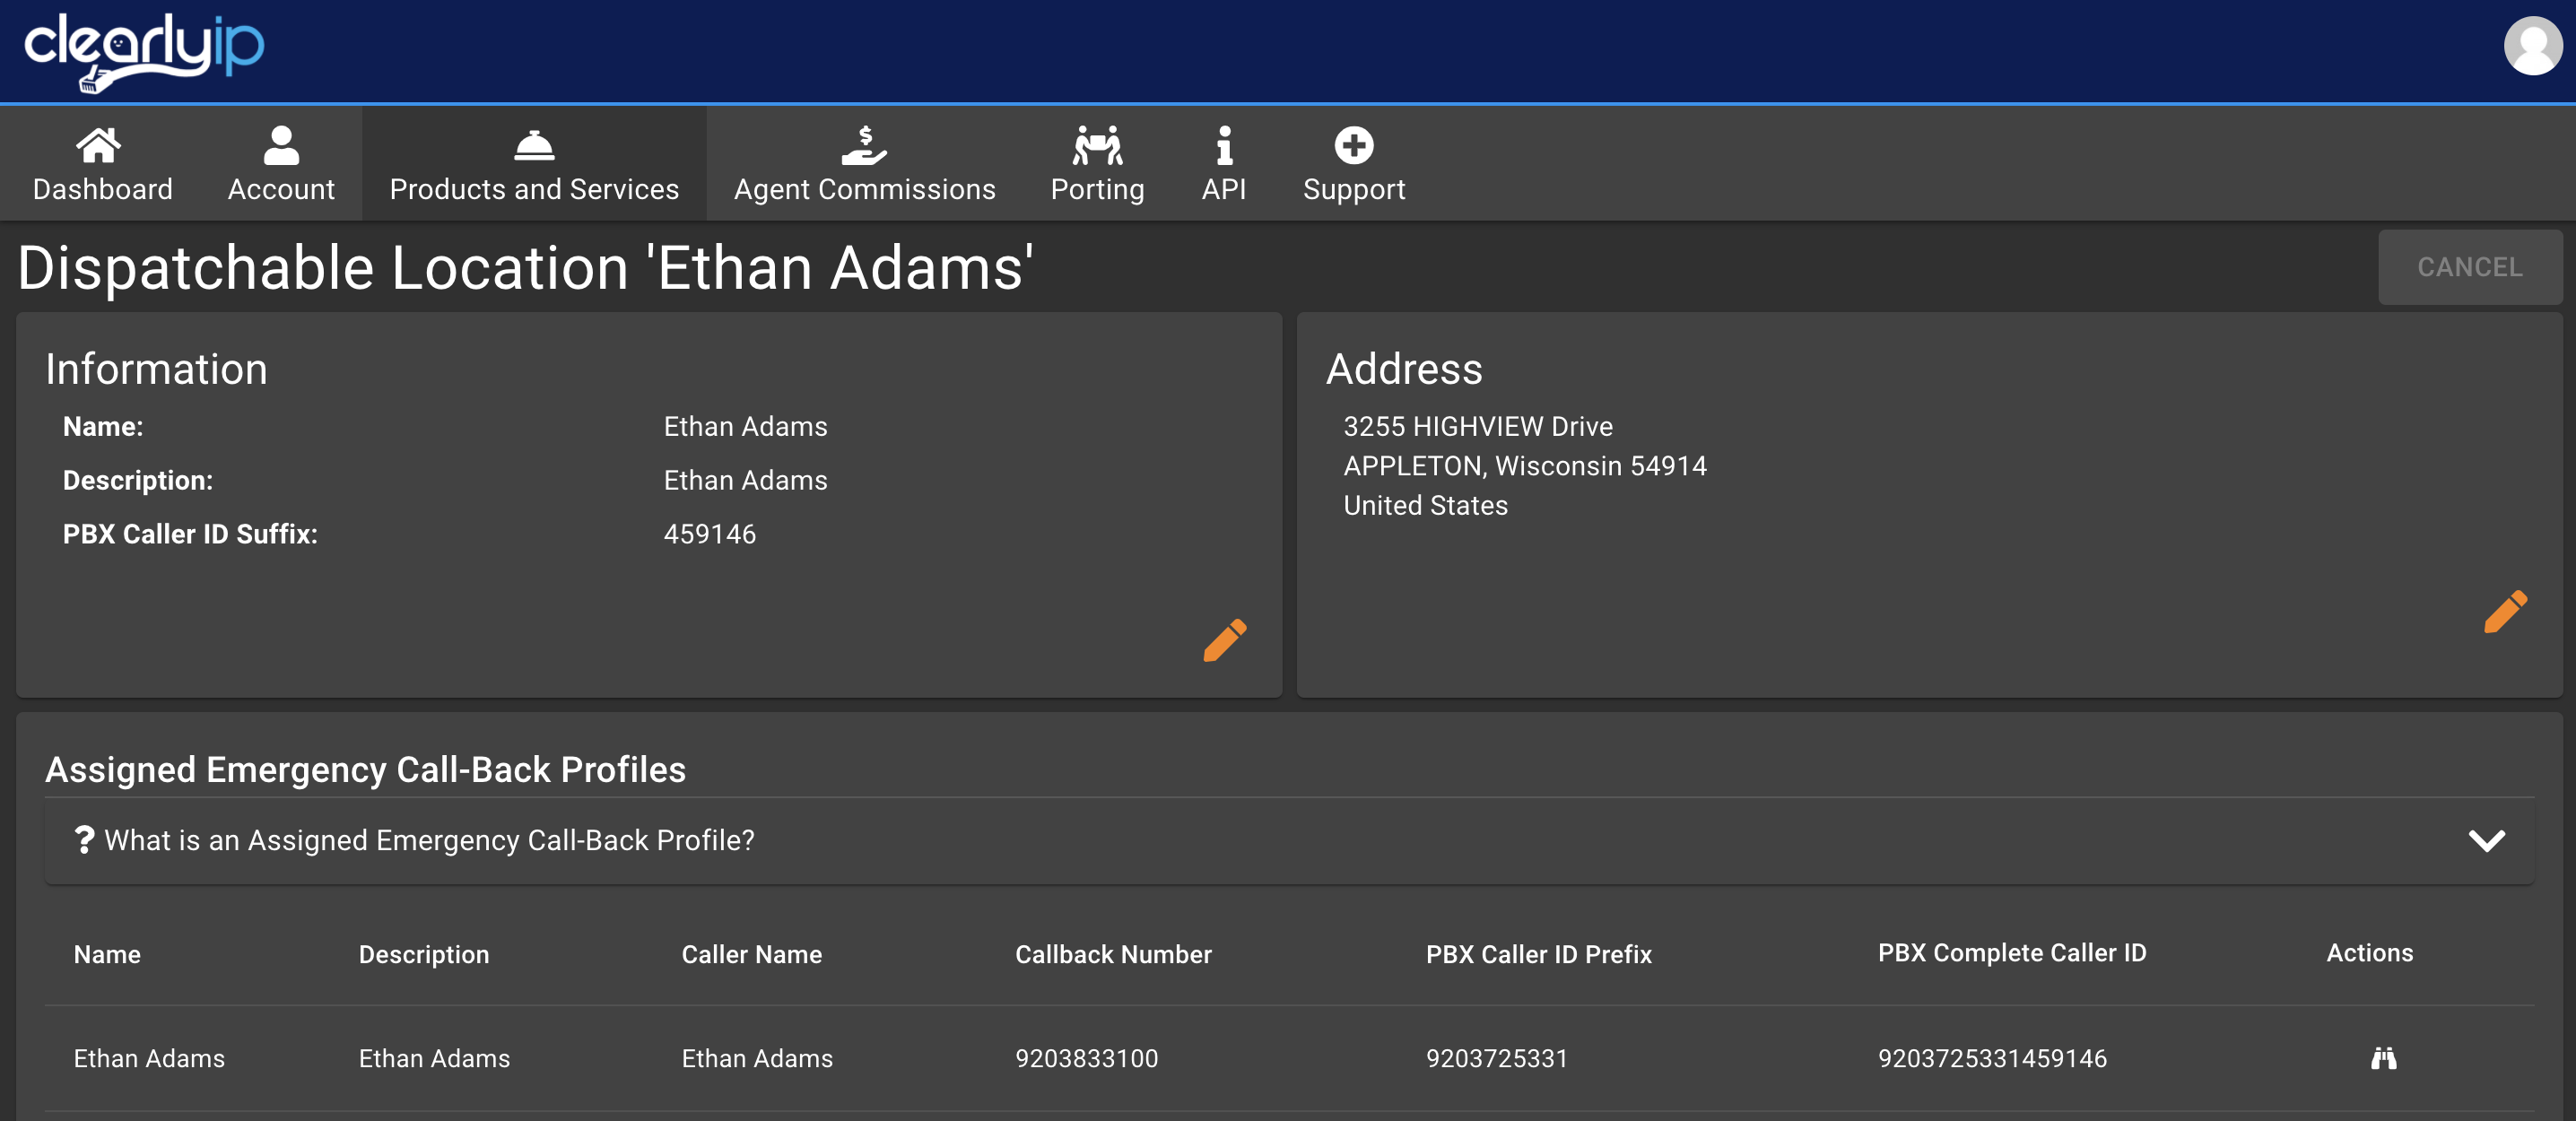
Map ClearlyIP Emergency Dispatchable Locations to an Extension
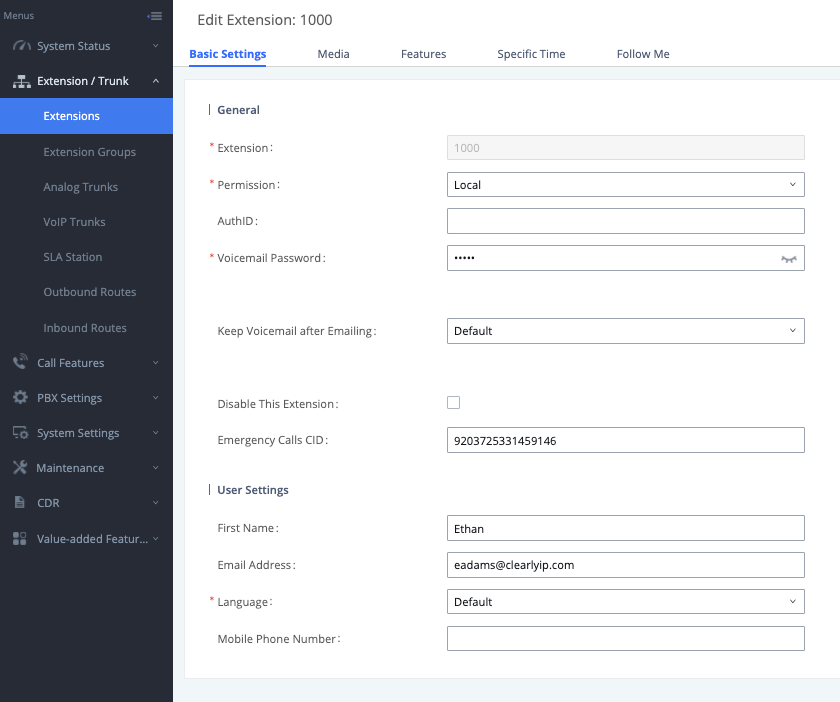
You will need to find the configuration information for your dispatchable location that you configured during the intial setup of your services with ClearlyIP. You can find the 16 digit Emergency Caller ID listed for the specific Extension you are adding a dispatchable location to on your UCM. Multiple Extensions can share the same dispatchable location caller ID if they are at the same location.
Once you have your "PBX Complete Caller ID" enter that in the "Emergency Calls CID:" field for each extension.
In this example, When this extension calls 911, ClearlyIP will transmit the Dispatchable Location associated with "Ethan Smith" We make it easy and economical to purchase additional dispatchable locations
Emergency Call Back Profiles and Dispatchable Locations Explained
Dispatchable Location: Is a unique Physical Address. When calling 911 we send the Emergency Call Back Profile and the Emergency Dispatchable Location to the PSAP. You can have a single Call Back Profile as defined below and 5 Dispatchable Locations for example and each Location would be a different identifier or address such as "Northeast Corner" or "Suite 5" or "2nd Floor West Wing"; but all part of the same main address/building with the same Call Back Number that is in the Call Back Profile below. A single Emergency Dispatchable Location is included with each Trunking Location that has Subscription Call Paths you create with us Free of Charge and you can buy additional Emergency Dispatchable Location.
LEARN MORE
It is your responsibility to verify that your 911 configuration is working as intended by dialing 933, or the appropriate process for emergency address verification in your area!
This is a very simplistic configuration. Once configured, you should be able to dial out and receive a call. Once that has been confirmed, changes can be made to be more restrictive.
If you have recommendations or suggestions, please, please post a comment below.
 Uploading ....