Overview
The following guide should work for all Grandstream Gateways and ATAs such as - HT7XX Models
- HT8XX Models
Information gathering
You will need to retrieve the following information from Clearly IP Trunking portal for the location you want to connect the device to. - SIP Credentials
- Username - SIP Username
- Password - SIP Password
Review this wiki on how to get the above information here Retrieve the IP Address
Power up the ATA on your local network - Connect a Analog port to the first FXS port and dial *** to enter the IVR system
- Press 02 to hear the assigned IP address on the device.
Configuration
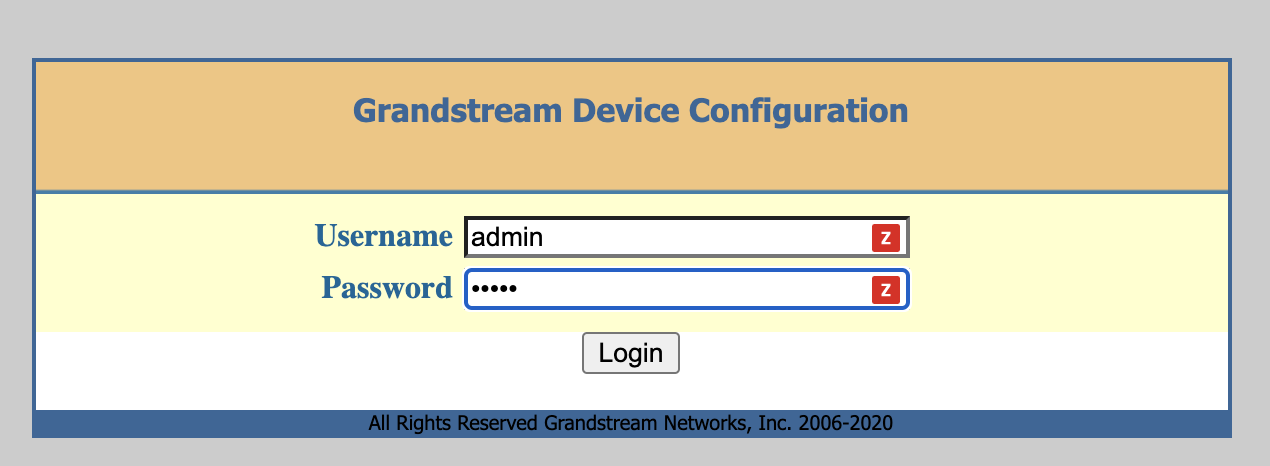
Navigate through your web browser to the IP address of the device on the same network where the ATA is connected. - Log into the Grandstream web GUI. Default password of "admin"

Click on the FXS Ports tab at the top Enter the following information for Port 1
 - SIP User ID - Is the Caller ID Number you want to go out when using this port.
- Authenticate ID - Is the SIP Username for your Location as defined above in the Information Gathering section
- Password - Is the SIP Password for your Location as defined above in the Information Gathering section
- Profile ID - Choose Profile 1 which we will setup next.
- Hunting Group - Set to Active
- Request URI Routing ID - Here you put which DID you want matched for inbound calls to this port.
Enter the following information for port each additional port. We are going to set this up where ports 2-X use the Auth Username and Password from port 1 as a hunt group for making outbound calls.
- SIP User ID - Leave Blank
- Authenticate ID - Leave Blank
- Password - Leave Blank
- Profile ID - Choose Profile 1 which we will setup next.
- Hunting Group - Set to1 as we want it to tie to Port 1 as a hunt group for outbound calling
- Request URI Routing ID - Here you put which DID you want matched for inbound calls to this port.
Press the APPLY button at the bottom Now click on the Profile 1 Tab at the top
 Since the Grandstream device can only register to a single server at a time we are going to use our SRV records below that way it can auto fallover to different Clearly IP SIP Trunking servers.
 - Profile Active - Make sure is set to YES
- Primary SIP Server - For US Customers set to us.clearlyip.com and for CA Customers set to ca.clearlyip.com

Set SIP Transport to be TCP so SRV records work properly for failover
 We now need to setup some SRV defaults below in the Profile 1 Tab
- DNS Mode - SRV
- DNS SRV use Registered IP - Yes
- DNS SRV Failover Mode - Saved one until DNS TTL
- Failback Timer - 5
- Register Before DNS SRV Failover - Yes
 Press the APPLY button at the bottom
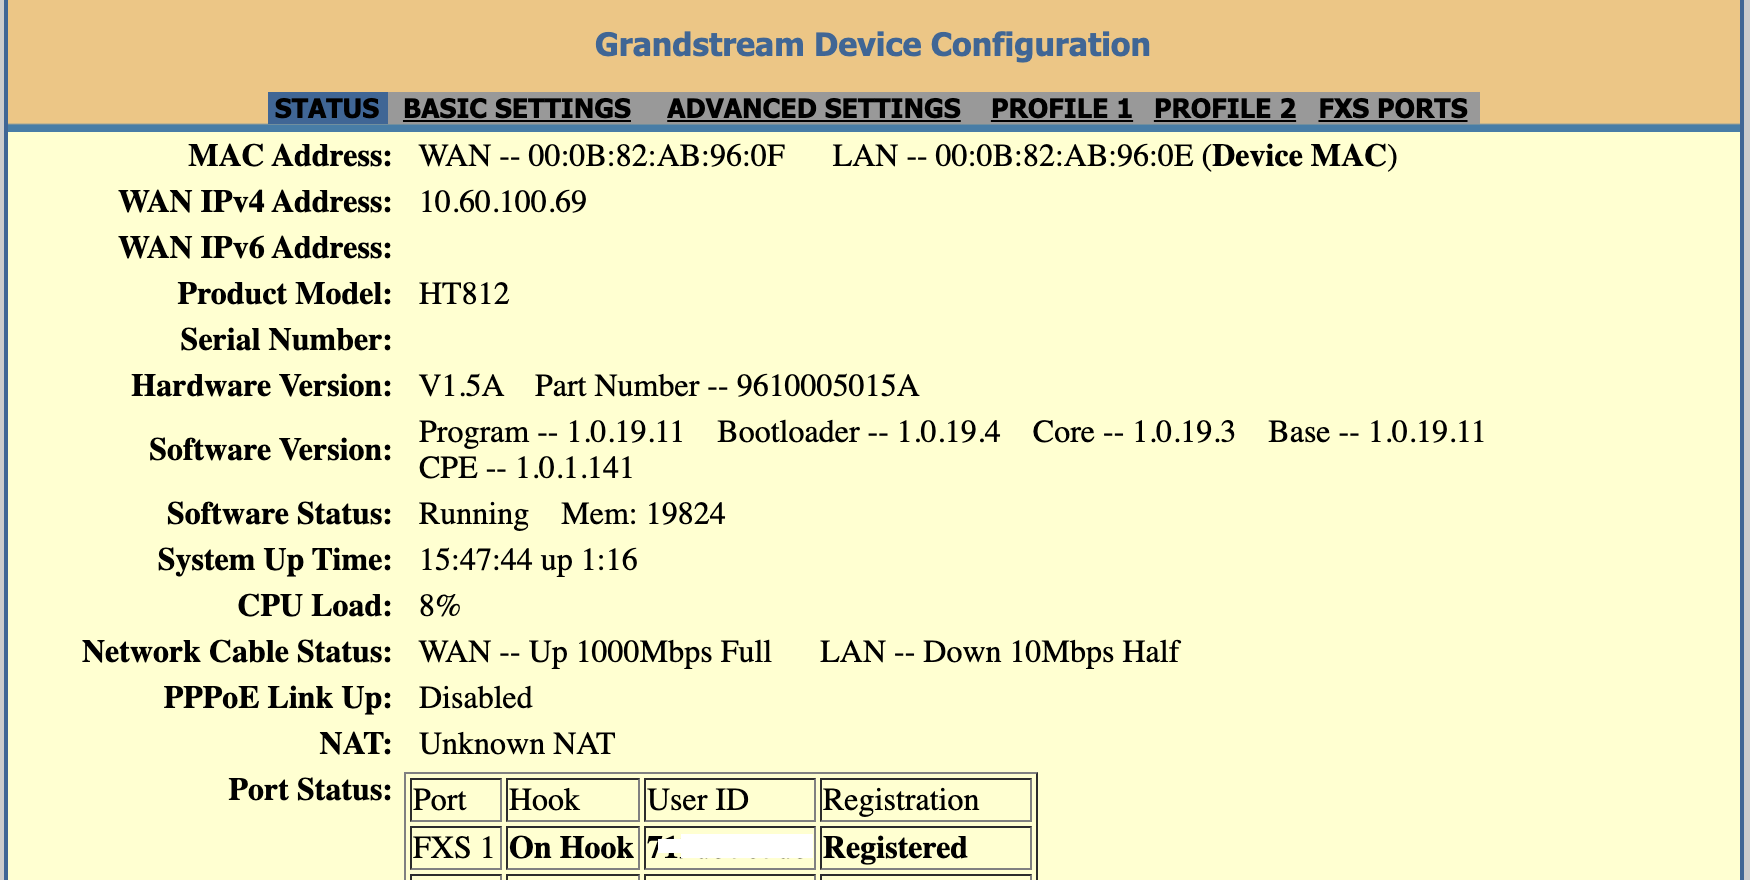
You can now click on STATUS page and your port 1 should show registered.
It is your responsibility to verify that your 911 configuration is working as intended by dialing 933, or the appropriate process for emergency address verification in your area!