Configuring ClearlyIP SIP Trunks on FusionPBX
Trunk Configuration
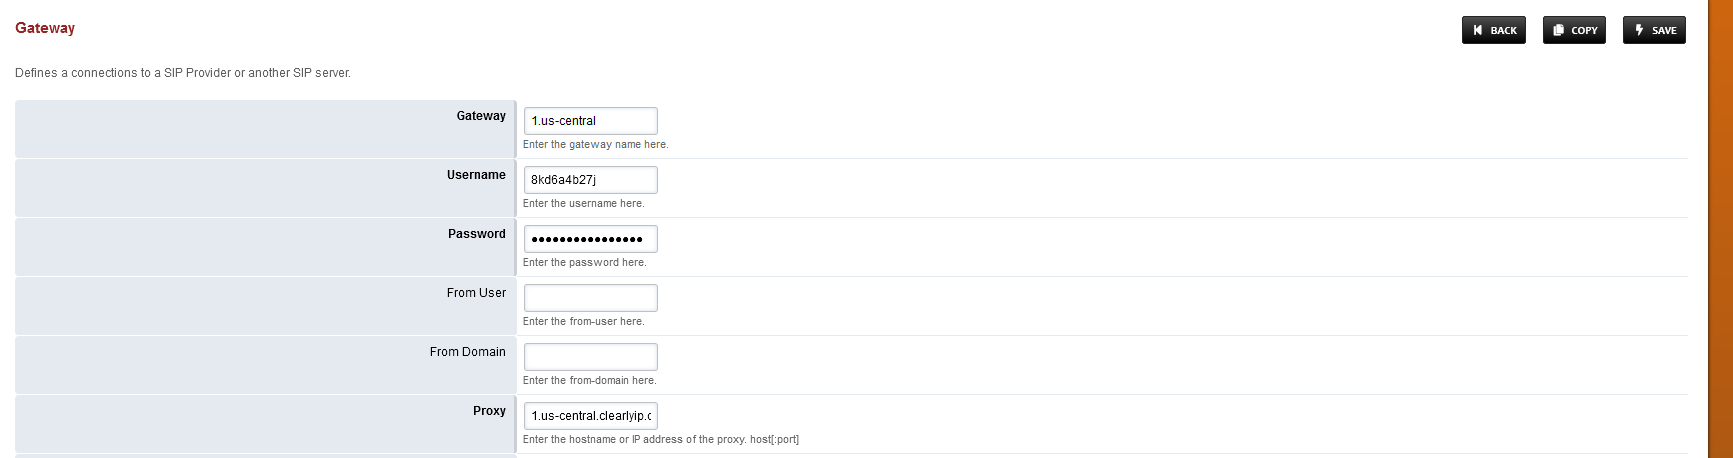
- Navigate to Accounts --> Gateways
- Select "+Add"
- Set your "Gateway" choose a name (1.us-central)
- Enter Username (per Trunk store)
- Enter Password (per Trunk Store)
- Enter Proxy IP address or Host (per Trunk Store)
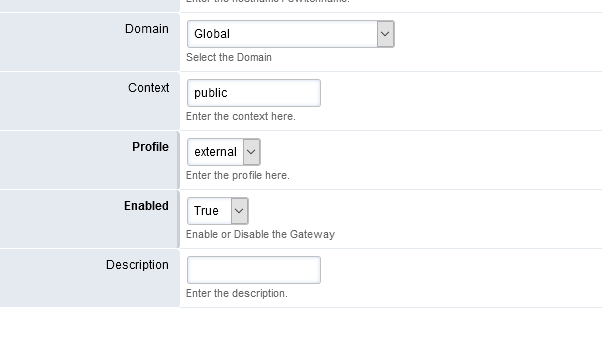
- Click “Advanced” and set Domain to “Global”
- Click Save
- Repeat for all Trunks 1.us-east, 2.us-central and 2.us-east
![]()
![]()
Outbound Routes
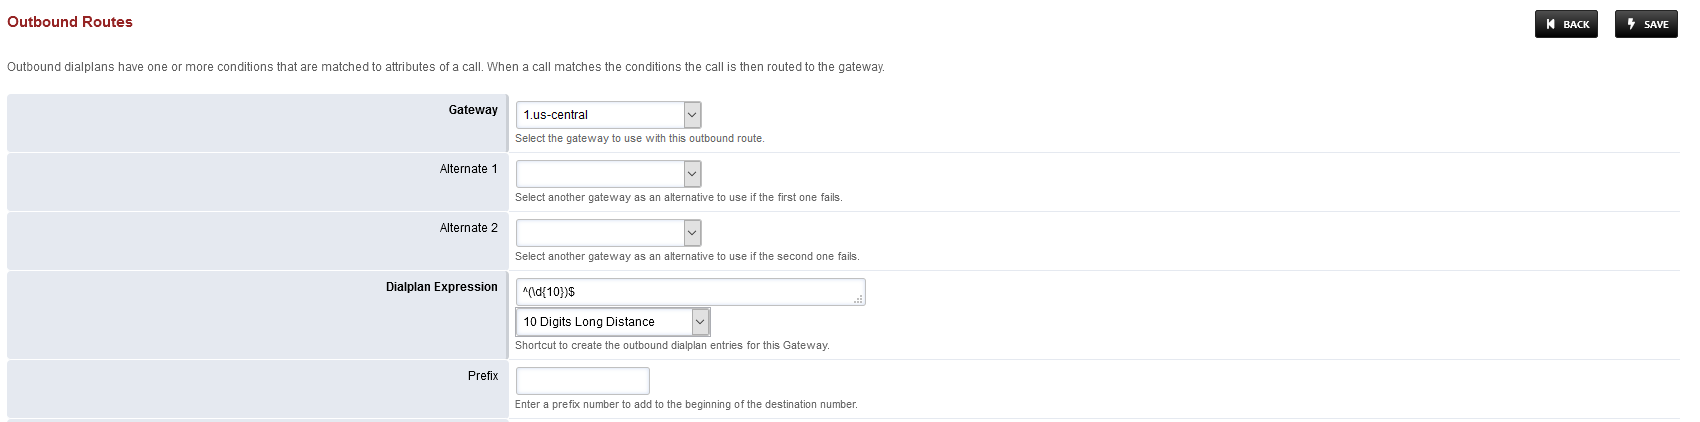
- Navigate to "Dialplan"
- Select "Outbound Routes
- Select "Gateway", from the drop down menu.
- Select "Diaplan expression" i.e 10 Digits Long Distance, Long Distance, International, Emergecny or Toll Free.
- Click Save
![]()
- Repeat for each SIP Trunk location, 1.us-central,1.us-east, 2.us-central and 2.us-east
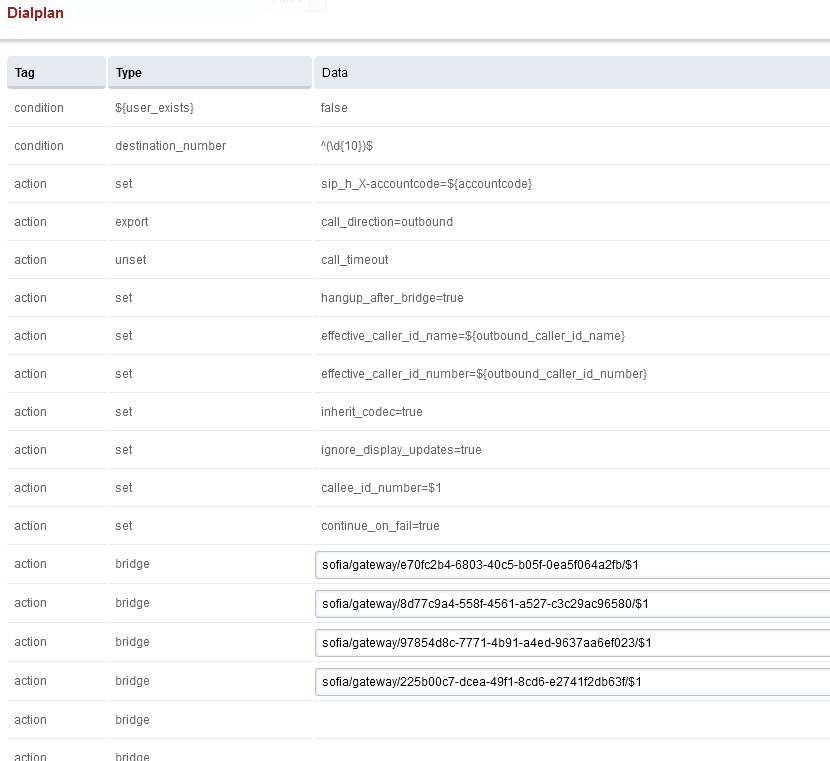
- Edit each of the outbound Routes created and copy and paste the Sofia/Gateway Rule on a notepad
![]()

They will be different for each Trunk
- Copy the 4 Outbound Routes Rules and add new Action/Bridge in 1 Outbound Route.
![]()
- Click Save
- Create new Outbound routes for Long Distance, International, Emergency or Toll Free and add the 4 SIP Trunk Rules as above Outbound Route for 10 Digit Long Distance.
- Click Save
It is your responsibility to verify that your 911 configuration is working as intended by dialing 933, or the appropriate process for emergency address verification in your area!
 Uploading ....