Overview
You can confirm your trunks are registered from either the PBX or from the ClearlyIP Trunking Dashboard.
Confirming Registration from ClearlyIP Dashboard
- In a web browser navigate to trunking.clearlyip.com
If you are not already, Login via link in the top Right
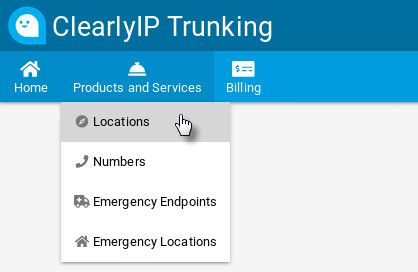
- Navigate to Products and Services, Select Locations
- Click the View Icon under actions for the location you want.
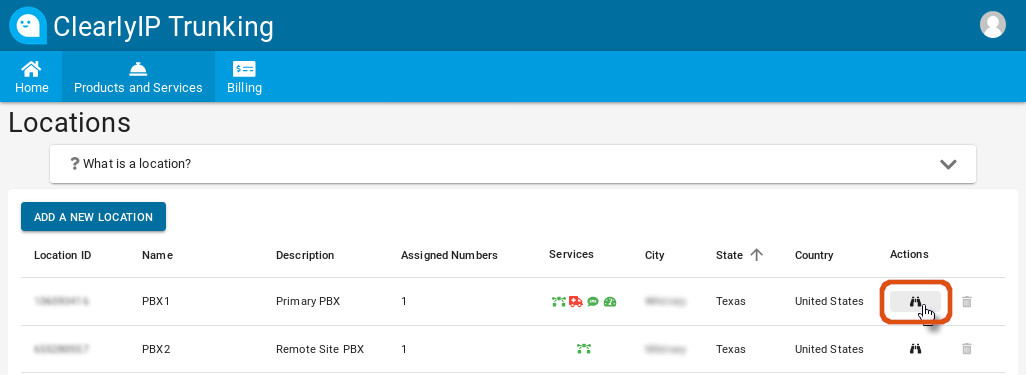
- Scroll Down to the "Registrations", the IP's listed in the "IP Address" column are the IP's your PBX is registering from.
Note: If this shows anything except your PBX's External IP, then you likely have a NAT issue that needs to be Addressed.
If the Registration shows expired then you likely have a firewall or other network issue preventing your PBX from communicating with our Trunk servers.

Confirming Registration From You FreePBX©'s Admin GUI
- Login to the Admin GUI of your FreePBX©


- Navigate to Reports --> Asterisk Info
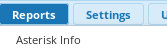
- Select "Registries" from the right hand menu
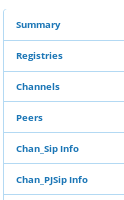
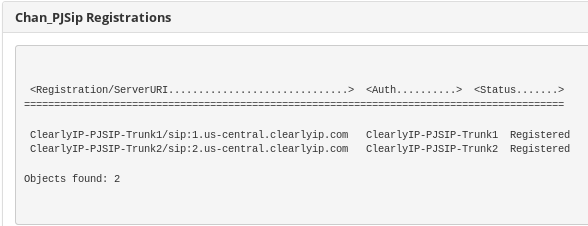
- Scroll down to "Chan_PJSip Registrations"
Note: You should see two registrations to 1.xxxxxx.clearlyip.com and 2.xxxxxx.clearlyip.com with the status Registered
Confirming Registration From Your FreePBX©'s Linux CLI
- Login to the your PBX's root user (or user with sudo permissions), via Console or SSH
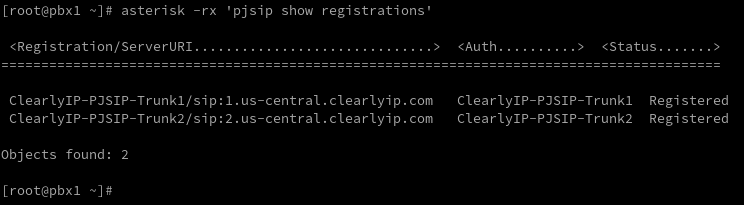
- Run the command: asterisk -rx 'pjsip show registrations'
You should see an output similar to above, with two Trunks showing Registered
 Uploading ....