SIP Trunk Setup
As of Version 20 Update 5, the SMB license does not support the ability to use a Generic VoIP Provider.
We recommend using our SRV record below when setting up 3CX as you can only register a single server with the same username so the only way to have redundancy is to use SRV records as outlined below.
- For US Customers use the SRV of us.clearlyip.com
- For CA Customers use the SRV of ca.clearlyip.com
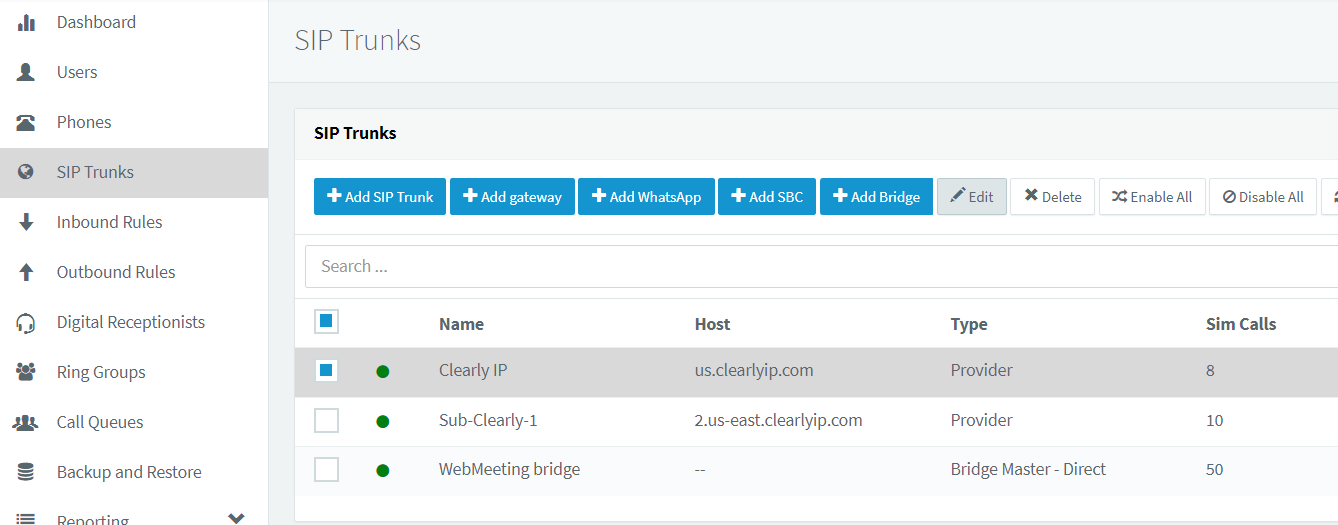
- In 3CX go to the SIP Trunk menu and create a new SIP Trunk with the Add SIP Trunk button

- Fill in the following fields in the SIP Trunk
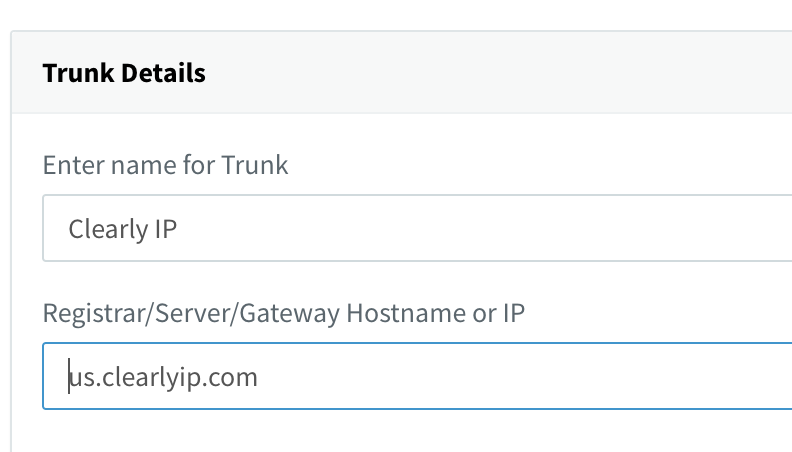
- General Tab
- Enter Name for Trunk - Clearly IP
- Registrar/Server/Gateway Hostname or IP - Here you will put in the SRV record from above of us.clearlyip.com or ca.clearlyip.com
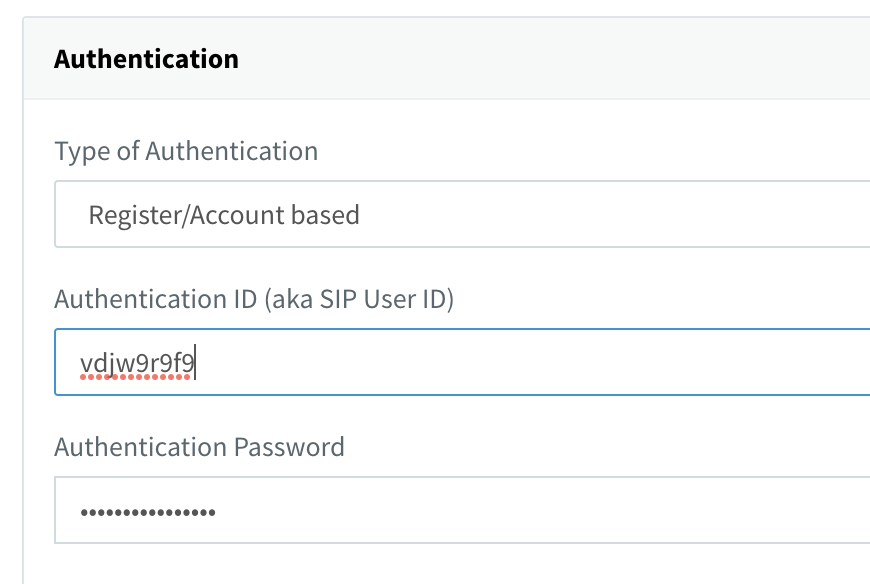
- Type of Authentication - Register/Account based
- Authentication ID (aka SIP User ID) - The SIP username from your trunking portal with Clearly IP as shown here.
![]() Authentication Password - The SIP Password from your trunking portal with Clearly IP as shown here.
Authentication Password - The SIP Password from your trunking portal with Clearly IP as shown here.
- DIDs Tab
- Add each of your DIDs by clicking the "Add Single DID" button.
- Note: If you will be using the DIDs for SMS messaging they need to be in e164 (+1NXXNXXXXXX) format.
- Caller ID Tab
- Set a default Caller ID if desired by filling in the "Configure Outbound Caller ID" field.
- Options Tab
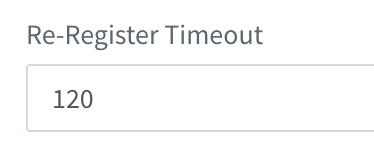
- Re-Register Timeout - Set to 120 seconds
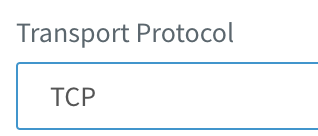
- Transport Protocol - Set to TCP
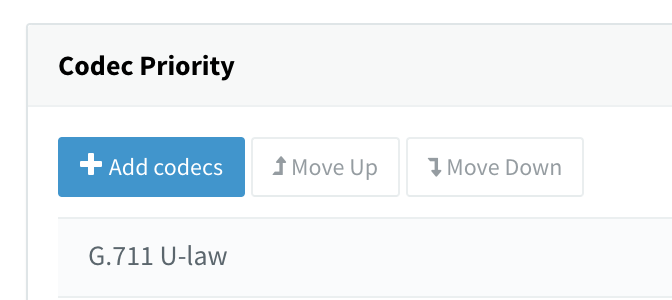
- Codec Priority- G.711 U-law as the first entry.
- Click OK to save changes.
Outbound Routing Setup
Your trunk is now created. You will need to setup an Outbound Rule to utilize the service for outbound calling. For a very simplistic setup, follow the steps below:
- Click on "Outbound Rules" on the left Menu
- Click on "Add"
- Provide a descriptive Rule Name in the "Rule Name" field
- In the "Calls to Numbers with a length of" field, enter 10
- For "Route 1", select the trunk name you created above
- Leave "Strip Digits" at 0
- Add "1" into the "Prepend" field (without the quotes)
- Click "OK" to save.
This will allow any 10 digit number dialed to add a 1 to it (ClearlyIP trunking expects an 11 digit number), and be routed out the trunk created above.
You can add additional rules such as:
- 911
- Numbers with a length of "3"
- No strip digits
- No prepend digits
- 7 digit local numbers
- Numbers with a length of "7"
- No strip digits
- Prepend digits of "1" and your area code, ie: "1920"
- 11 digit numbers (if someone dials a 1 first)
- Numbers with a length of "11"
- No strip digits
- No prepend digits
It is your responsibility to verify that your 911 configuration is working as intended by dialing 933, or the appropriate process for emergency address verification in your area!
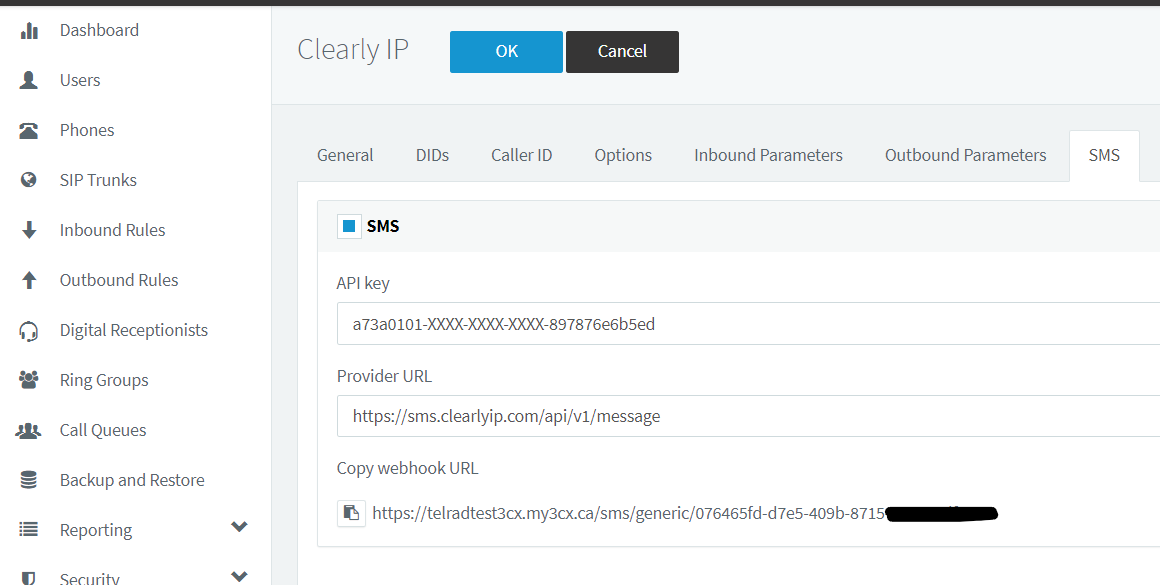
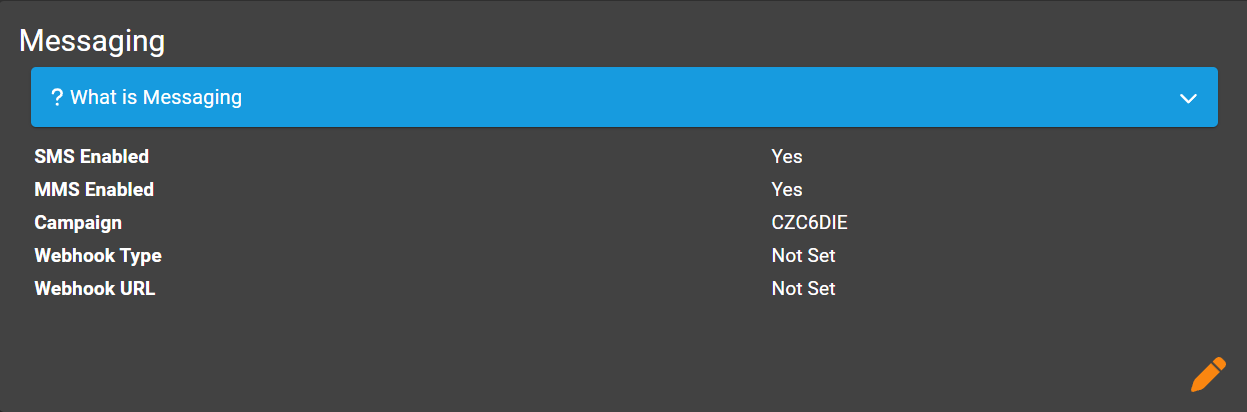
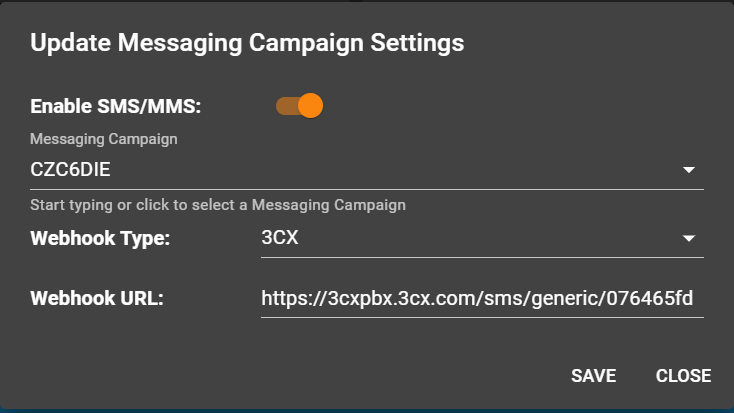
SMS Setup
 Uploading ....