Clearly IP phones come with a stock of 4 ring tones.
You can upload up to 5 Custom Ring Tones
You can change the default ring tone from within the Clearly Devices module on your PBX
You can also change the ring tone from within certain modules in your PBX such as Ring Groups, Queues, Inbound Routes and Extension to Extension (Internal) calls.
Changing Default Ring Tone
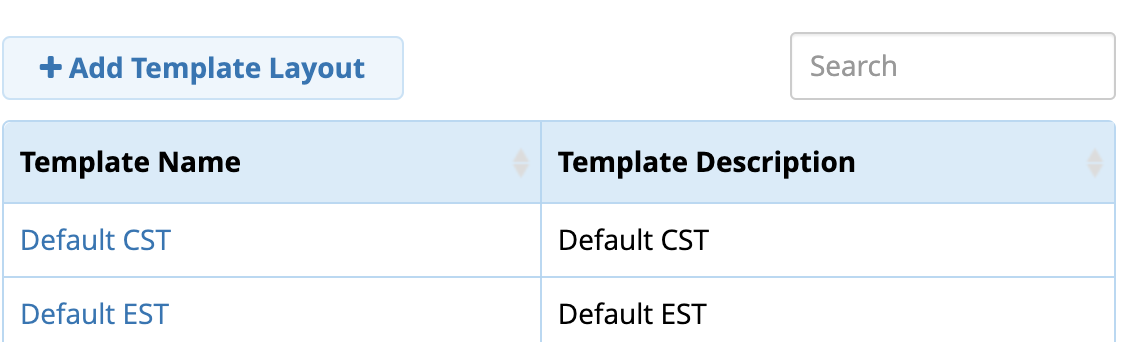
From within the Clearly Devices module on your PBX navigate to the template you want to change the default ring tone on
Click on the Phone Settings tab from within the template.
Scroll down to the Ringtone option and pick from the drop down of Ring 0-8
Custom Ring Tones
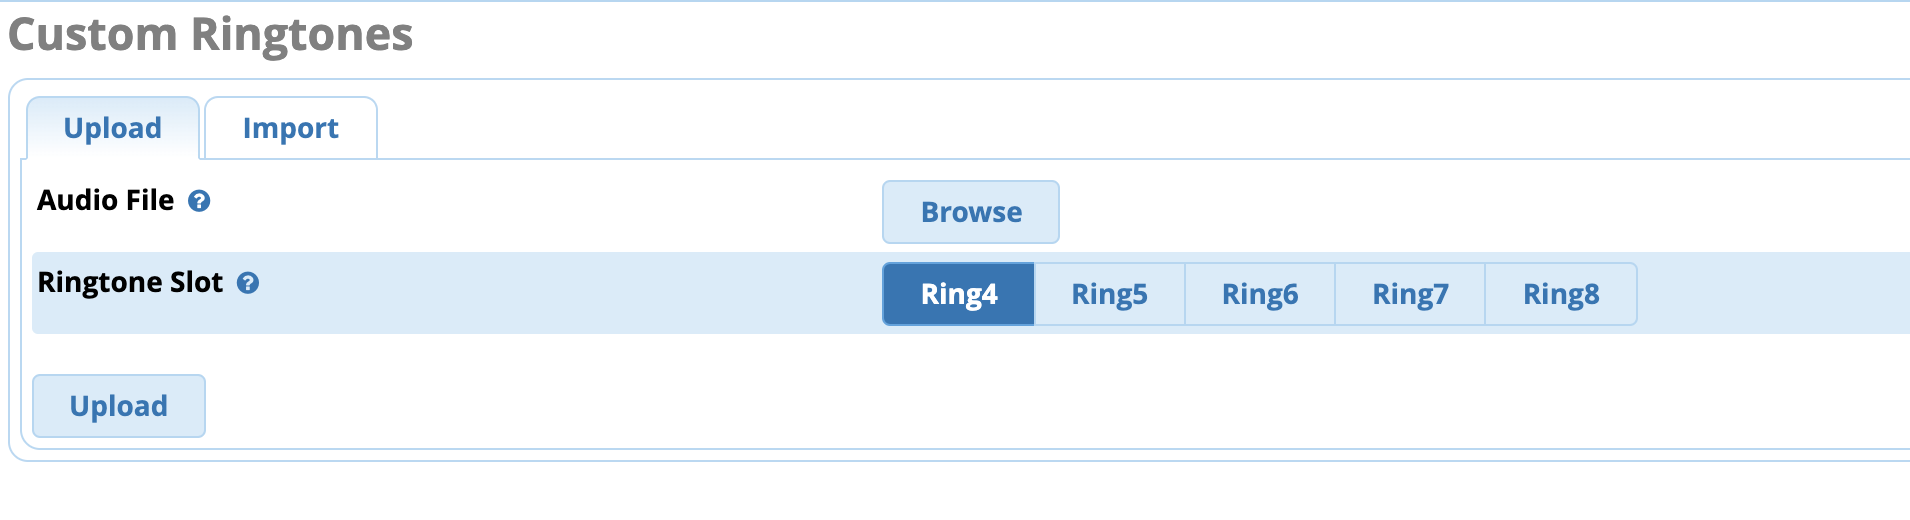
Navigate Clearly Devices module. On the main page click on "Custom Ring Tones" button
From here you can upload ring tones for slots 4 through 8.
Click Browser and upload your MP3 or Wav file and press the Upload button. The custom ring tone will be uploaded to the Slot you have highlighted.
Changing Ring Tones from within FreePBX
Ring Groups
Navigate to the ring group you want to change the ring on
Locate the the Alert Info field
Select Custom
Set the value to ringX where X is the ring tone you want. i.e. ring1, ring6, etc.
Queues
Navigate to the ring group you want to change the ring on
Locate the the Alert Info field
Select Custom
Set the value to ringX where X is the ring tone you want. i.e. ring1, ring6, etc.
Inbound Routes
Navigate to the ring group you want to change the ring on
Locate the the Alert Info field
Select Custom
Set the value to ringX where X is the ring tone you want. i.e. ring1, ring6, etc.
Extension to Extension Calls
This would fall back to the default ringtone, see the Changing Default Ring Tone section above.
 Uploading ....