E911 App


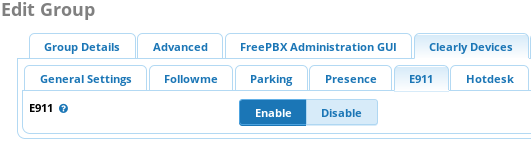
This feature is only exposed if you are also using Clearly IP Trunking as 911 Locations are part of the Clearly Trunking feature set.

Setup Permissions

Define Permissions Within ClearlyIP Trunking Module

  1. Navigate to Connectivity --> Clearly Trunking
    01_Trunking

  2. Select the Emergency Listing Tab
  3. Select the Emergency Device Mappings Tab.
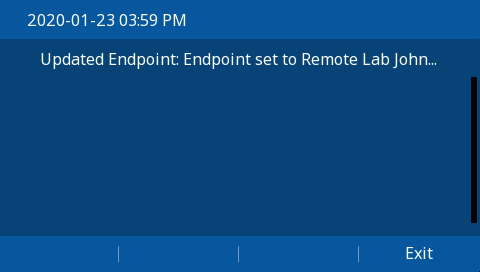
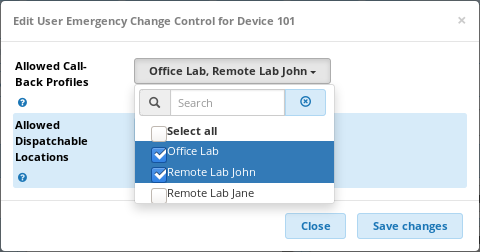
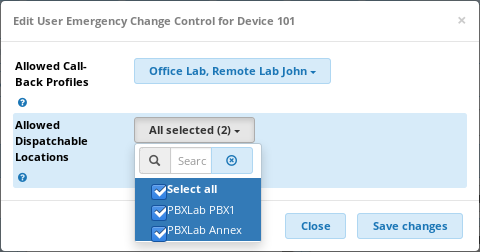
    1. From here you can Define the Call-Back Profile and Dispatchable Location that are set on each Extension.
      07_TrunkingEmergMapping
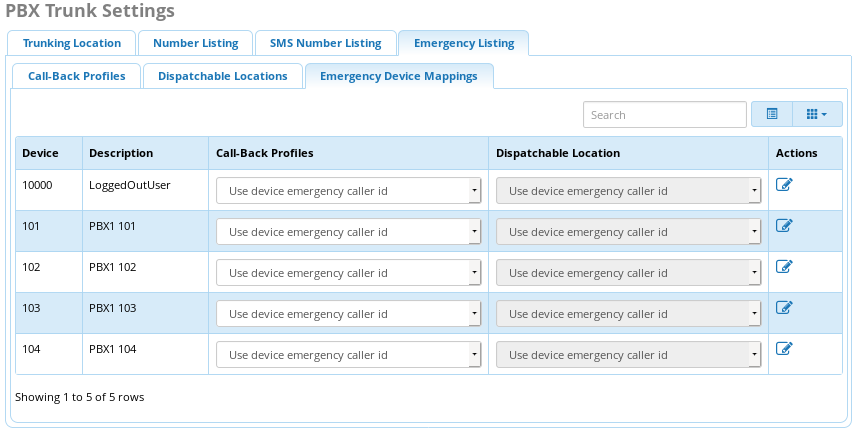
    2. By selecting the Edit Icon for an extension you define which Call-Back Profiles and Dispatchable Locations a user is allowed to choose from the ClearlyIP e911 phone app.
      Note: Typical use case would be a Mobile User who floats between offices logging in and out of the same extension via HotDesking.
      09_TrunkingEmergMappingPermissionsCBAllowed
      10_TrunkingEmergMappingPermissionsLocAllowed 

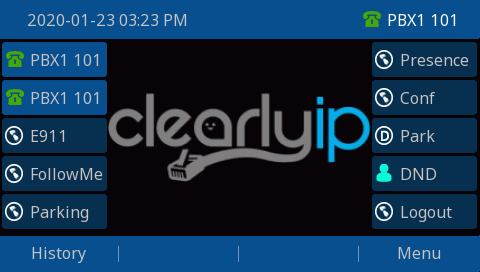
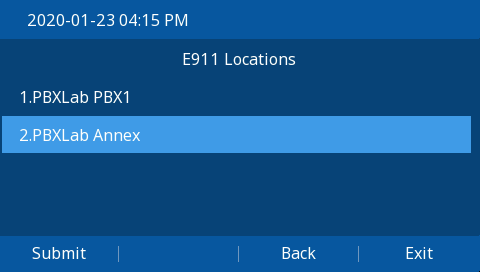
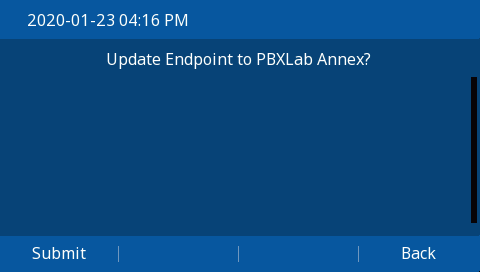
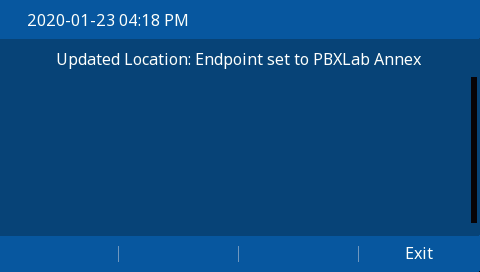
Allow Users Access to e911 Phone App in User Management

  1. Navigate to Admin --> User Management
    01_e911-UserMan
  2. Select the Users or Groups tab
    Note: Typically it's best to set permissions at the Group Level, but ultimately depends on your organization and if the setting will be a one off exception or should apply to a group of users.
    02_e911-UserManGroups
  3. Select Edit Icon for the User/Group you wish to grant access to the e911 Phone App
  4. Select the Clearly Devices tab.
  5.  Select the E911 tab, and make sure Enable is selected.
    03_e911-UserManGroupEdit
  6. Select Submit & Apply to save your changes
    00_Submit 01_Apply

Using the Application

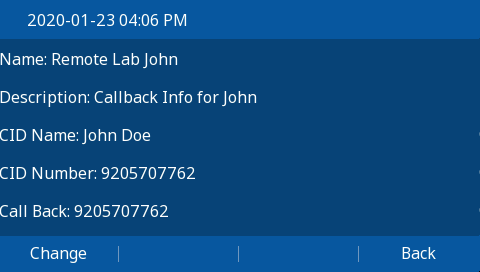
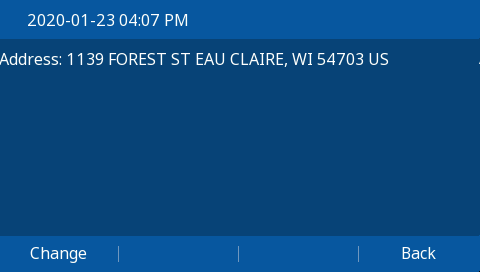
Viewing Call-Back Profile and Dispatchable Location details

  1. Press the E911 SoftKey
    00_e911-Home

  2. This will show your Extension's Current E911 Information
    01_e911-Info

  3. Scroll Down Down_25 to the Call-Back Profile or Dispatchable Location you want to view, and Press the Details button
    01_e911-InfoEp-Details 01_e911-InfoLoc-Details

Changing Call-Back Profile

  1. Press the E911 SoftKey
    00_e911-Home

  2. This will show your Extension's Current E911 Information
    01_e911-Info

  3. If your Administrator has enabled your extension to have multiple Call-Back Profiles you will have a Change button on the main information page.
  4. Scroll Down Down_25 to the Current Call-Back Profile, and Press the Change button
  5. Scroll Down Down_25 to the Call-Back Profile you want to enable and Press the Submit button
    01_e911-InfoEP-Change

  6. Press Submit Again to confirm your change.
    03_e911-InfoEP-ChangeConfirm

  7. You should then see a screen Confirming your change was made.
    04_e911-InfoEP-ChangeConfirmed

  8. Press Exit

Changing Dispatchable Location

  1. Press the E911 SoftKey
    00_e911-Home

  2. This will show your Extension's Current E911 Information
    01_e911-Info

  3. If your Administrator has enabled your extension to have multiple Dispatchable Locations you will have a Change button on the main information page.
  4. Scroll Down Down_25 to the Current Dispatchable Location, and Press the Change button
  5. Scroll Down Down_25 to the Dispatchable Location you want to enable and Press the Submit button
    05_e911-InfoLoc-Change

  6. Press Submit Again to confirm your change.
    06_e911-InfoLoc-ChangeConfirm

  7. You should then see a screen Confirming your change was made.
    07_e911-InfoLoc-ChangeConfirmed

  8. Press Exit


     RSS of this page