| | | |
 Uploading .... Uploading ....REQUIRES Clearly Devices module 14.0.12 or newer.
Overview- Clearly IP phones support a XML style Directory files that the phone can import to populate the Directory Application. In the module we expose 2 different ways to setup a Directory List. Once you have created a Directory button it will display the 2 Directory List options as outlined below.
- Auto Sync of User Contacts - Auto created Contact Directory for each user based on what contacts the user has permissions to from the FreePBX Contact manager
- Custom XML Directory File - Create a custom XML config of your own Directory List that you upload to the server that the phone will pickup.
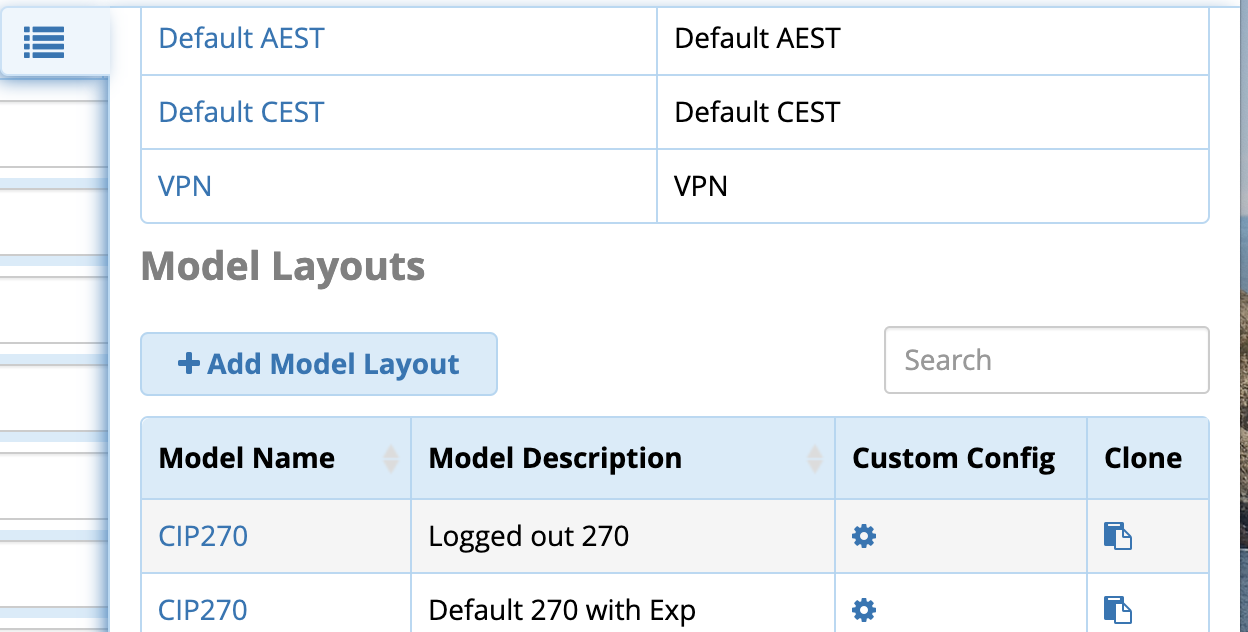
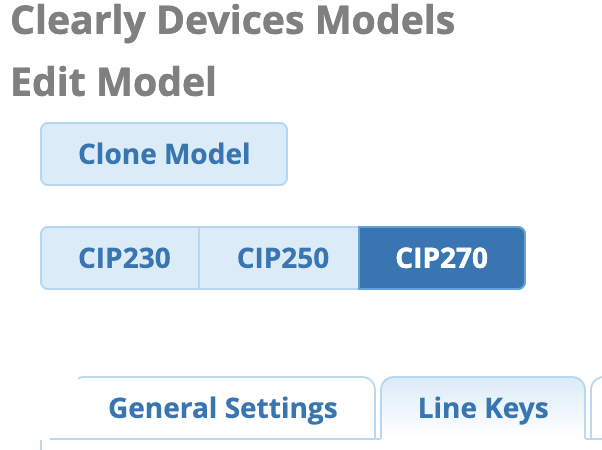
Setup Directory Button- Navigate to the Models Layout section of Clearly Devices module on your PBX and pick which layout you want to add a Directory button for.
- Click on Line Keys at the top
- Setup a Line Key to be a Directory button

- Submit your changes, it will re-write all the configs to all the phones using this model layout.
- Now that we have the Directory button created we need to include 1 or more Directory List as outlined below.
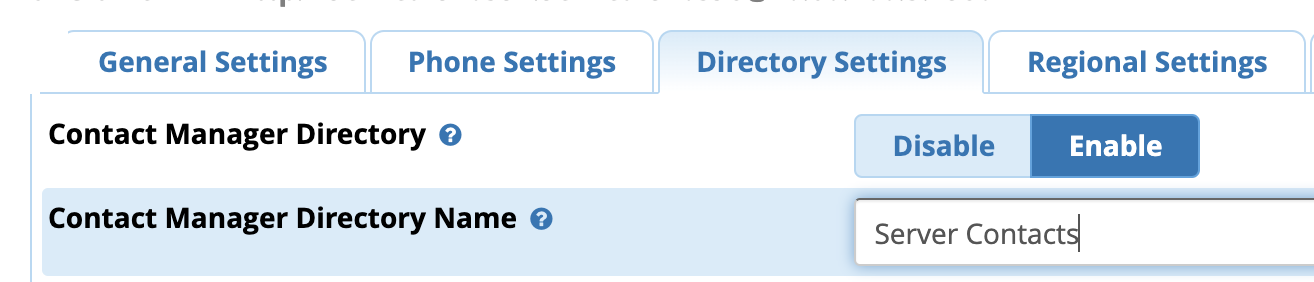
Setup Auto Sync of User Contracts
Setup Custom XML Directory File- Create a file called something like phonebook.xml with the following content. Below is a sample XML directory that you would have to populate on your PBX. Once populated you just need to point the phone on where to retrieve the file from and every time it reboots or is told to check for config updates it will pull down the latest XML Directory file. It also will look every 300 minutes for an updated directory xml automatically.
- <?xml version="1.0" encoding="UTF-8"?>
- <PhoneDirectory>
- <DirectoryEntry>
- <Name> John Doe</Name>
- <Telephone>101</Telephone>
- </DirectoryEntry>
- <DirectoryEntry>
- <Name> Mike Smith</Name>
- <Telephone>120</Telephone>
- <Telephone>121</Telephone>
- <Telephone>122</Telephone>
- </DirectoryEntry>
- <DirectoryEntry>
- <Name> Jenny Smith</Name>
- <Telephone>130</Telephone>
- </DirectoryEntry>
- </PhoneDirectory>
- Save the file on a server in the same directory that you have your config files saved in. If you are using FreePBX this would be the /tftpboot/ which is where all the config files and firmware for your phones are save already.
|
|
|
| | | |
|