Below are the steps on how to connect Clearly IP phones using the Clearly Devices module to your own custom OpenVPN server that could be hosted on your PBX or a different server.
Overview
You first need to make sure you have a OpenVPN server setup and if its not on the same box as your PBX that it can route traffic between your VPN server and your PBX.
You will need to generate .ovpn files with the mac address of the device as the name. Example if your MAC address of the phone is 70b3d59b0626 the Open VPN file name would be 0b3d59b0626.ovpn
The .ovpn file will need to be stored in a directory that the phone can reach to grab the certs using a HTTP or HTTPS url.
Link a User permissions in User Management to the URL where the client cert can be download
Go to the User Manager module
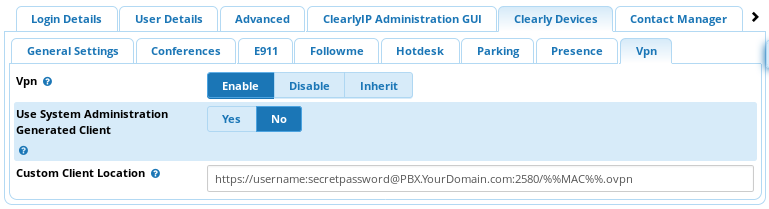
Edit either a user or group, then go to Clearly Devices tab then VPN tab.
Set "VPN" = Enable
Set "Use System Administration Generated Client" = No
The "Custom Client Location" Needs to be the URL where the phone can find it's OpenVPN config and Certs, in the form of an ovpn file. You can use the __mac__ variable to insert the mapped phone's mac (in lower case) to the url. Note: If you place your OpenVPN configs in the /tftpboot/ directory or a subdirectory within it you can use the same path as you use for provisioning the phones. That has the added benefit of also using whatever authentication is already configured for provisioning to have those configs password protected.
Submit those settings Note: Submitting these settings will not rebuild the configs and push the changes to the phone.
Create Template in Clearly Devices using VPN IP
We now need to go create a template in Clearly Devices that has the template use the VPN IP address of the PBX. The VPN IP address of your PBX is going to be the x.x.x.1 of the Server Range that you defined in System Admin VPN Setup. By default the range is 10.8.0.0 unless you changed it so the IP Address to reach the PBX across the VPN would be 10.8.0.1
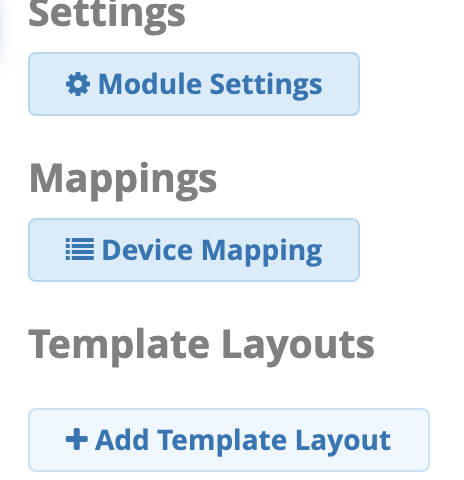
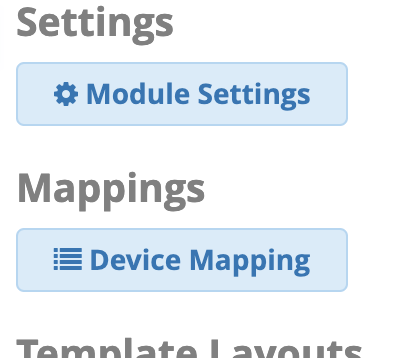
Navigate the the Clearly Devices module and create a new Template Layout from the right menu
Setup the Template like you have for your other Template. The only difference will be the changes below
Set the Primary Host which is the Asterisk server to be the VPN IP address
We recommend you not move phone provisioning to use the VPN but instead allow access to the phone provisioning port through your firewall to the PBX. The reason is a lot of things in phone provisioning happen after the local network on the phone is brought up but before the VPN is full established so if you try and use the VPN for phone provisioning you may encounter problems so we recommend not trying to use the VPN for this.
Phone App URL put in the IP address of the VPN Server
Submit your changes
Tell a Device to use VPN and VPN Template
Lastly we just need to tell Clearly Devices module what specific devices we want to use the VPN. Earlier we setup VPN cert for a user but since a user can have more than 1 device and some devices may need VPN whiles others for the same user do not we need to edit Device Mappings for a specific MAC address now and enable that device to use the VPN cert from the user.
Navigate to Clearly Devices and on the right menu click on Device Mappings
Click on the Edit icon for the device you want to enable VPN for.
Check the box for VPN.
Press the Submit button it will rebuild the config for the phone and if the phone is registered to the PBX it will push an updated config to the phone. If the phone is not registered you will now need to have it pull down an updated config which will cause it to reboot to change the networking to OpenVPN.
 Uploading ....