Below are the steps you need to follow if you want to install ComXchange on your own hardware or Virtual Machine. Please note you will need to place a order with ClearlyIP for a Software license of ComXchange and receive your Site ID and License Key from us to complete the ComXchange activation process.
Install Base Linux ISO
- ComXchange is installed on top of ClearlyIP's sponsored TangoPBX Distro ISO. The most recent and recommended version is here (https://repo.tangopbx.org/repository/isos/TangoPBX-22.04.5_1.0.0-RC24.iso)
- If installing to hardware, write the ISO to installation media such as a USB drive. If using a VM, mount the ISO as a boot device. Follow whatever methods you need to in order to create bootable install media using the TangoPBX ISO and then boot from this media on the target system.
- Note if the server has two nics they should both be plugged in when installing Tango PBX so the OS recognizes and creates configurations for them
- Boot the system from ISO installer
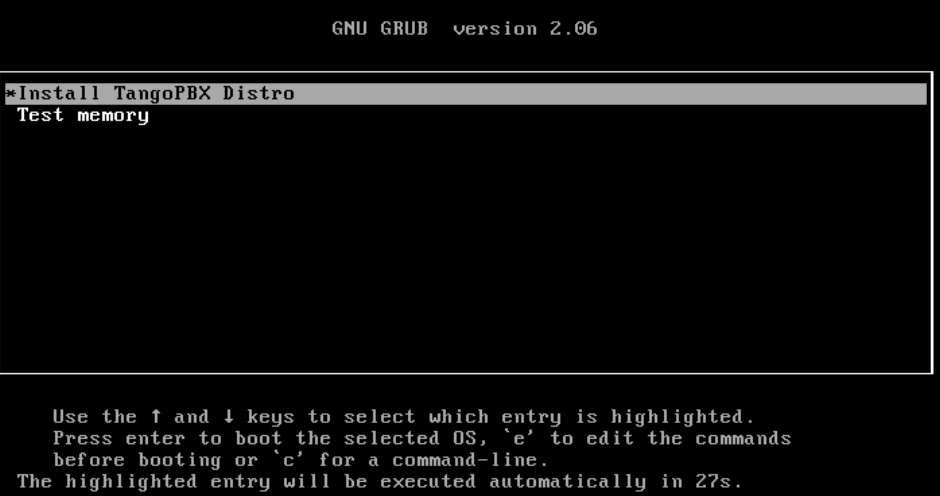
- The first screen to be displayed is the GRUB install menu
- Select the option to “Install TangoPBX Distro” or let the counter timeout.
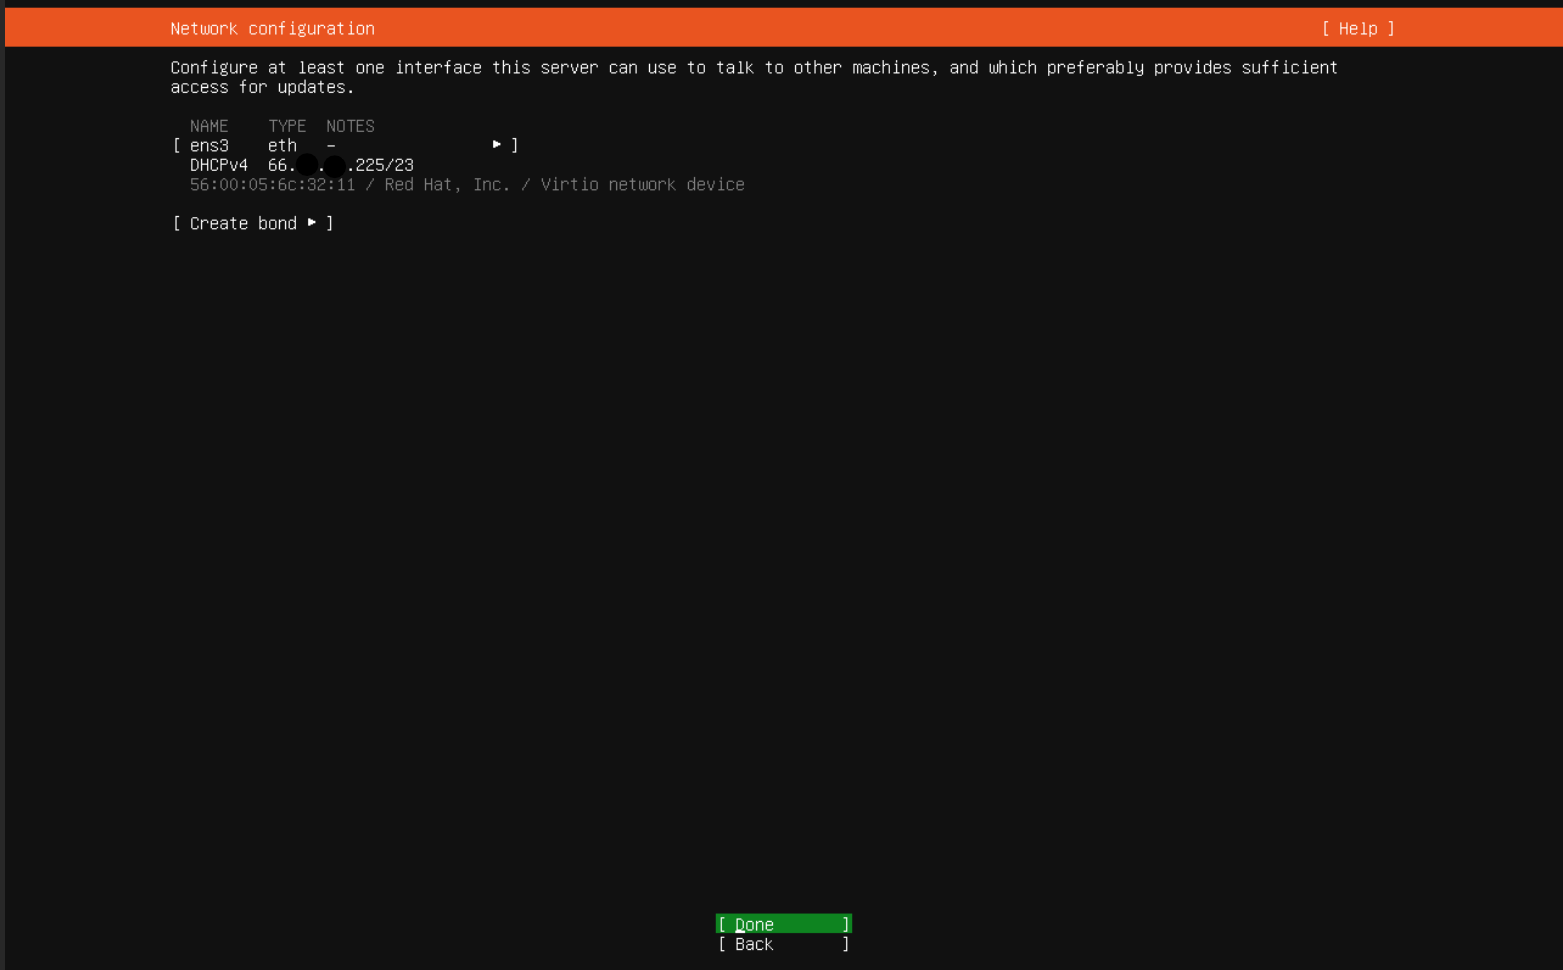
- At this point in the process there may be a delay with nothing being echoed to the console, but eventually the installer proceeds until it comes to a stop on the network configuration screen:
- Older ISOs required that the DHCP IP be setup manually, but with a current version, you only need to confirm that DHCP successfully acquired an IP. Obviously if your network environment needs a more complex setup, it needs to be done here.
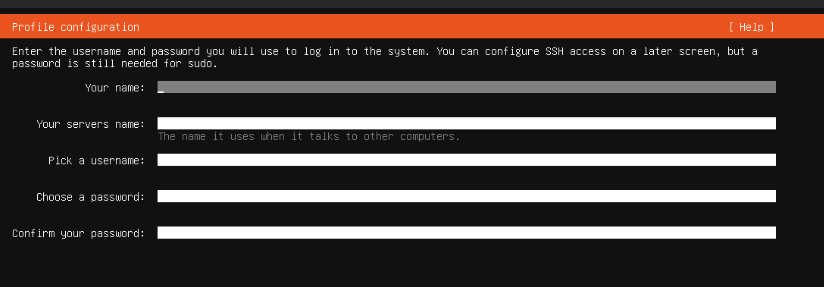
- With the network configured, the install process proceeds to the Profile Configuration:
- Here you will set a hostname and create a username and password for ssh access when the install has finished. Proceeding from this step will present you with one final confirmation. Make sure you document what Username and Password you create for SSH access as you will need to SSH to the box to finish the ComXchange install in a bit.
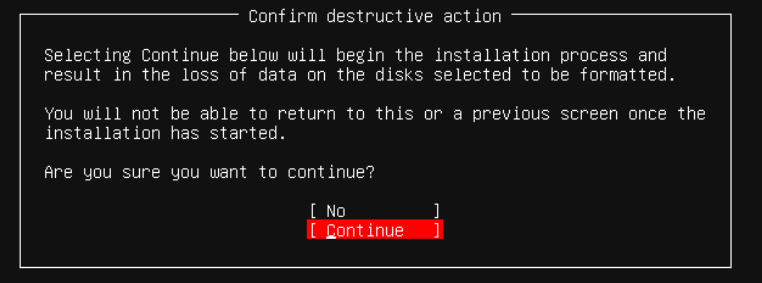
- The installer makes you confirm that you wish to destructively write to disk and configure the system with a new OS and TangoPBX. If there’s nothing on the disk you need to save, choose Continue.
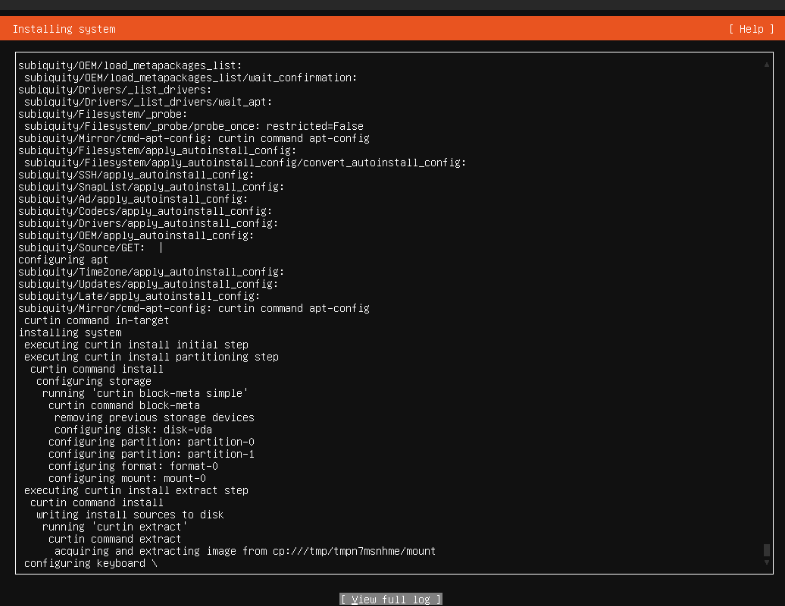
- The install script proceeds with the various steps echoed to the console. The install may appear to stall at times, but you can see more log activity by selecting “View Full Log”:
- When the install finishes, you are prompted to reboot the system. At this point you want to unmount the ISO install media, and reboot.
Install ComXchange
Enable root user via SSH
Update Linux packages
- Lets make sure all Linux packages are updated with the following commands
- apt update
apt install wget
Download the script to convert install ComXchange
- Download the Install Script for ComXchange with the following commands, copy/paste each one at a time:
- cd /usr/src
- wget https://nexus.clearlyip.com/repository/comxchange-files/comxinstaller.sh.gz
- gunzip comxinstaller.sh.gz
- chmod +x comxinstaller.sh
Run the installer
- ./comxinstaller.sh
- update all packages currently on the server
- apt-get update && apt-get upgrade
- After the install completes lets do a final reboot
- reboot
Prepare your ComXchange Software License
- Login to our portal at https://trunking.clearlyip.com
- Click on ComXchange Properties, then View Properties
- Click on the
 icon to view the property ID you wish to use
- Scroll down to the Property Items section and find the software controller and click on the
 icon to edit the license

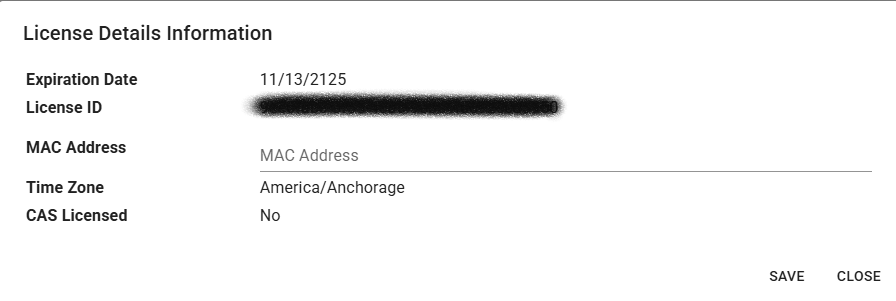
- Enter your Primary MAC address of the system in the MAC Address field and click Save.
- Pick which Time Zone the ComXchange system will be setup as. Please note the Time Zone set here is part of the License meaning the same time zone must also match on the ComXchange system.
- If the Time Zone is already shown here, make note of the Time Zone, as you will need that for activation of the License on your ComXchange system. If the defined Time Zone is not correct, please open a support ticket to have it changed as you can not edit the Time Zone of a licensed system at this time.
Setup ComXchange GUI Login and License the System
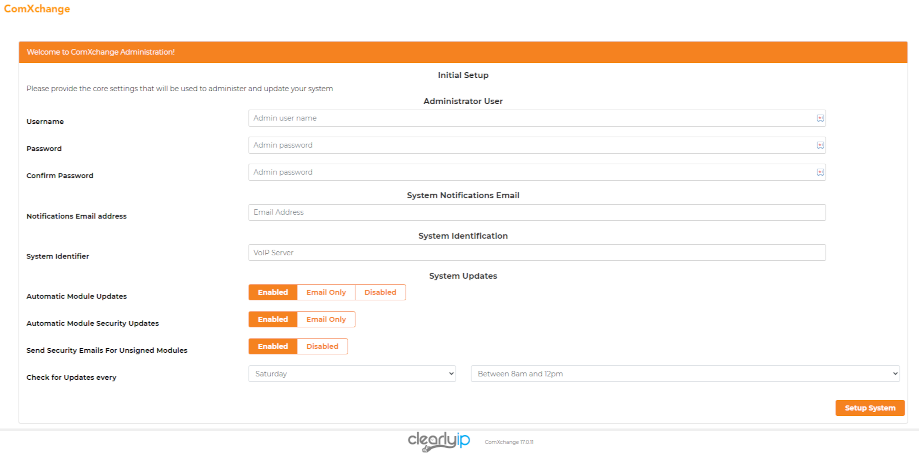
- Navigate to the IP address of your ComXchange system from your web browser and run through the Setup Screen.
- Set the username you want to use for GUI admin login.
- Set the password you want to use for GUI admin login.
- Notification Email Address - What email address do you want update notices sent to.
- System Identifier - Unique identifier used for when emails are sent out to identify the system. We recommend setting this to the Site ID that we provided you.
- Login to the PBX using the user/pass set above.
- Select Language and click Submit
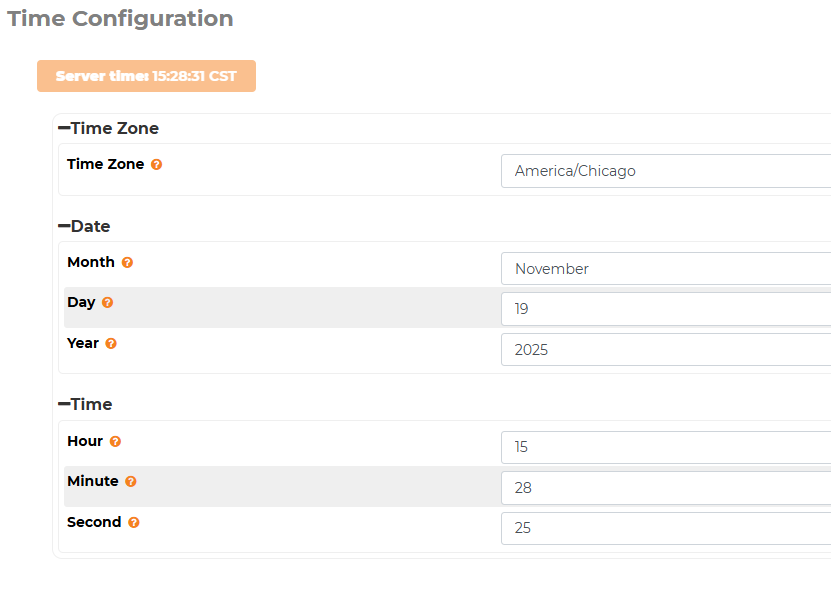
- Go to Admin->System Settings->Time and select the time zone that matches the CX License.
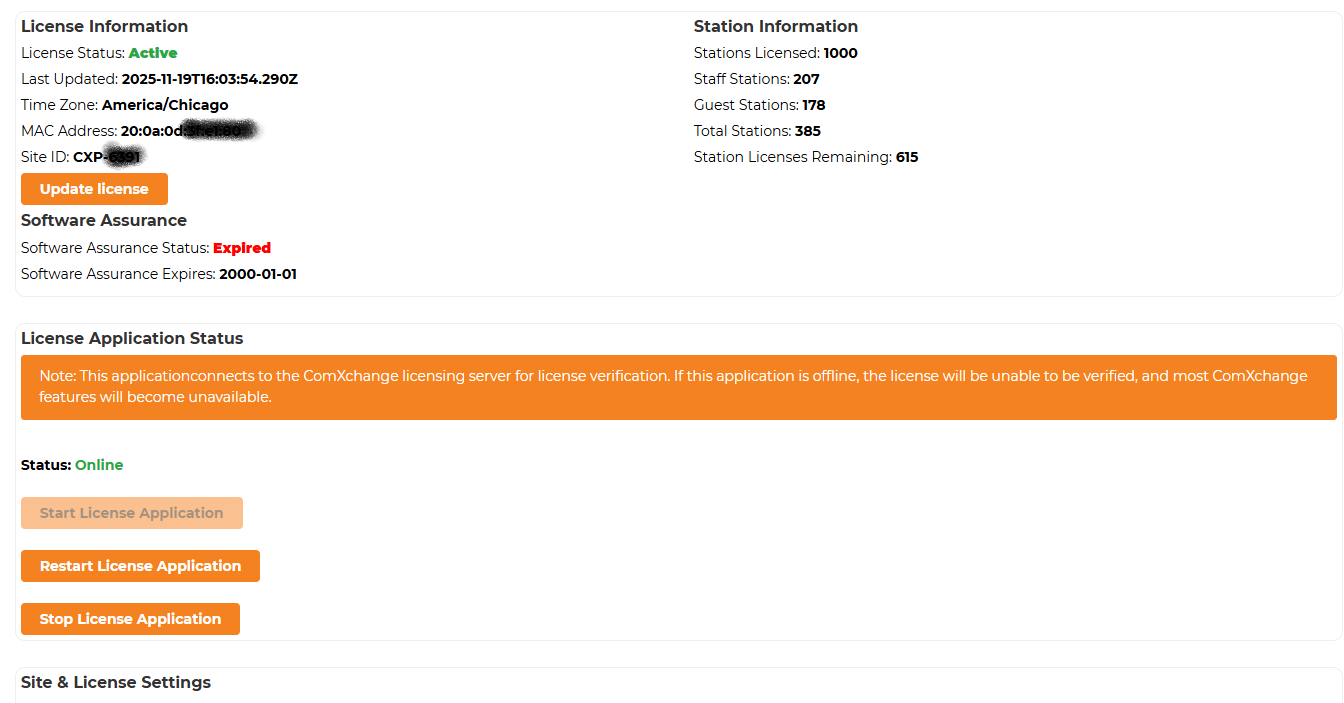
- Go set the License ID and Site ID from Admin > License. Both the License ID and Site ID are provided to you by ClearlyIP when you place your order. The Site ID is a CXP-XXXX number
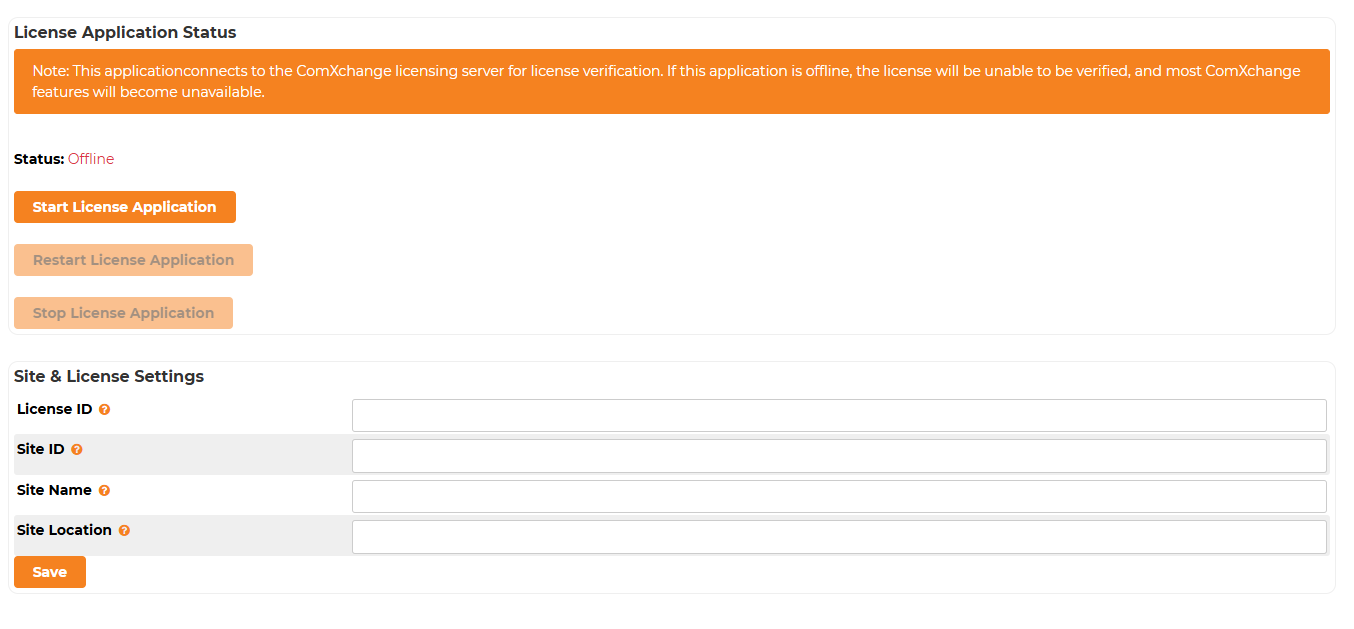
- Press the Save button when done.
- If you did everything right, the license page should refresh and show Active.
- Set your Language to English (ComXchange) in Advnaced Configuration > Sound Languges > Fly-out Menu - Settings
- Your PBX is now licensed and ready for you to start configuring.
- If you run into any issues on your install or license activation please reach out to support and we will be happy to assist you.
 Uploading ....