FreePBX® Appliance Setup Guide
Determine the IP address of the PBX by plugging in a monitor and keyboard. We setup all appliances to have DHCP enabled by default on LAN Port 1 (eth0) of your appliance. The default root password is set to “clearly”. Type “ifconfig” from the command line console to determine what the current IP address of your PBX is, if it is not shown to you when you login like below. 
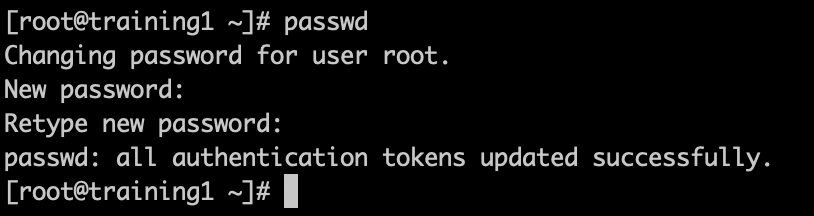
Change the password to something more secure by typing “passwd” in the Linux CLI and typing in a new password and confirming the password by typing it in again.

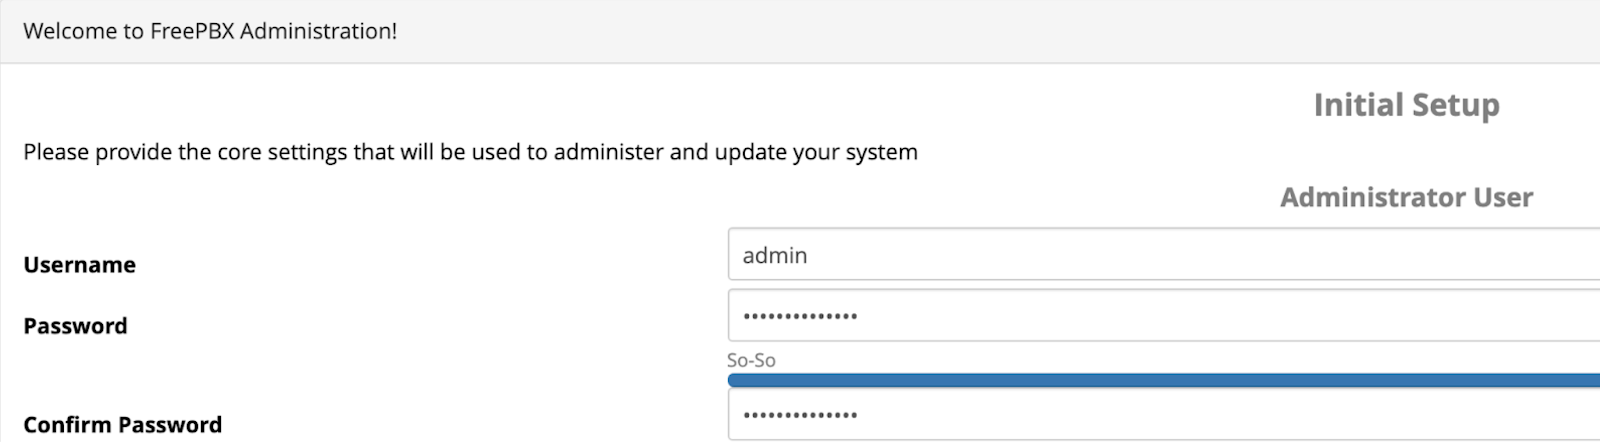
We can now login to FreePBX Web GUI using the IP address we found in step 1 to create an admin user. Type the IP address of your FreePBX system into a web browser on the same network as your FreePBX system (e.g. http://192.168.1.1 replacing 192.168.1.1 with your IP address). Create a username and password for logging into FreePBX Admin GUI.
You can change your network information and set an IP address by following FreePBX Wiki here.
https://wiki.freepbx.org/display/FPG/System+Admin+-+Network+Settings
FreePBX is a Registered Trademark of Sangoma Technologies
 Uploading ....