Factory Reset
IMPORTANT NOTE: You should always factory your device before you first auto provision. The device may have settings which are not compatible with our service, we assume the devices are in the factory configuration.
- Log in to phone's web administration
- Click "Settings" from top navigation menu
- Click "Upgrade" from left navigation menu
- Click "Reset to Factory Setting" button
- Click "OK" to confirm
From the phone
- Press the Menu key
- Use the directional keys to select Advanced
- Select Reset Config and press Ok
- Select Reset to Factory Settings and press Reset
- If prompted "Reset to factory setting? Select OK
Initial Setup
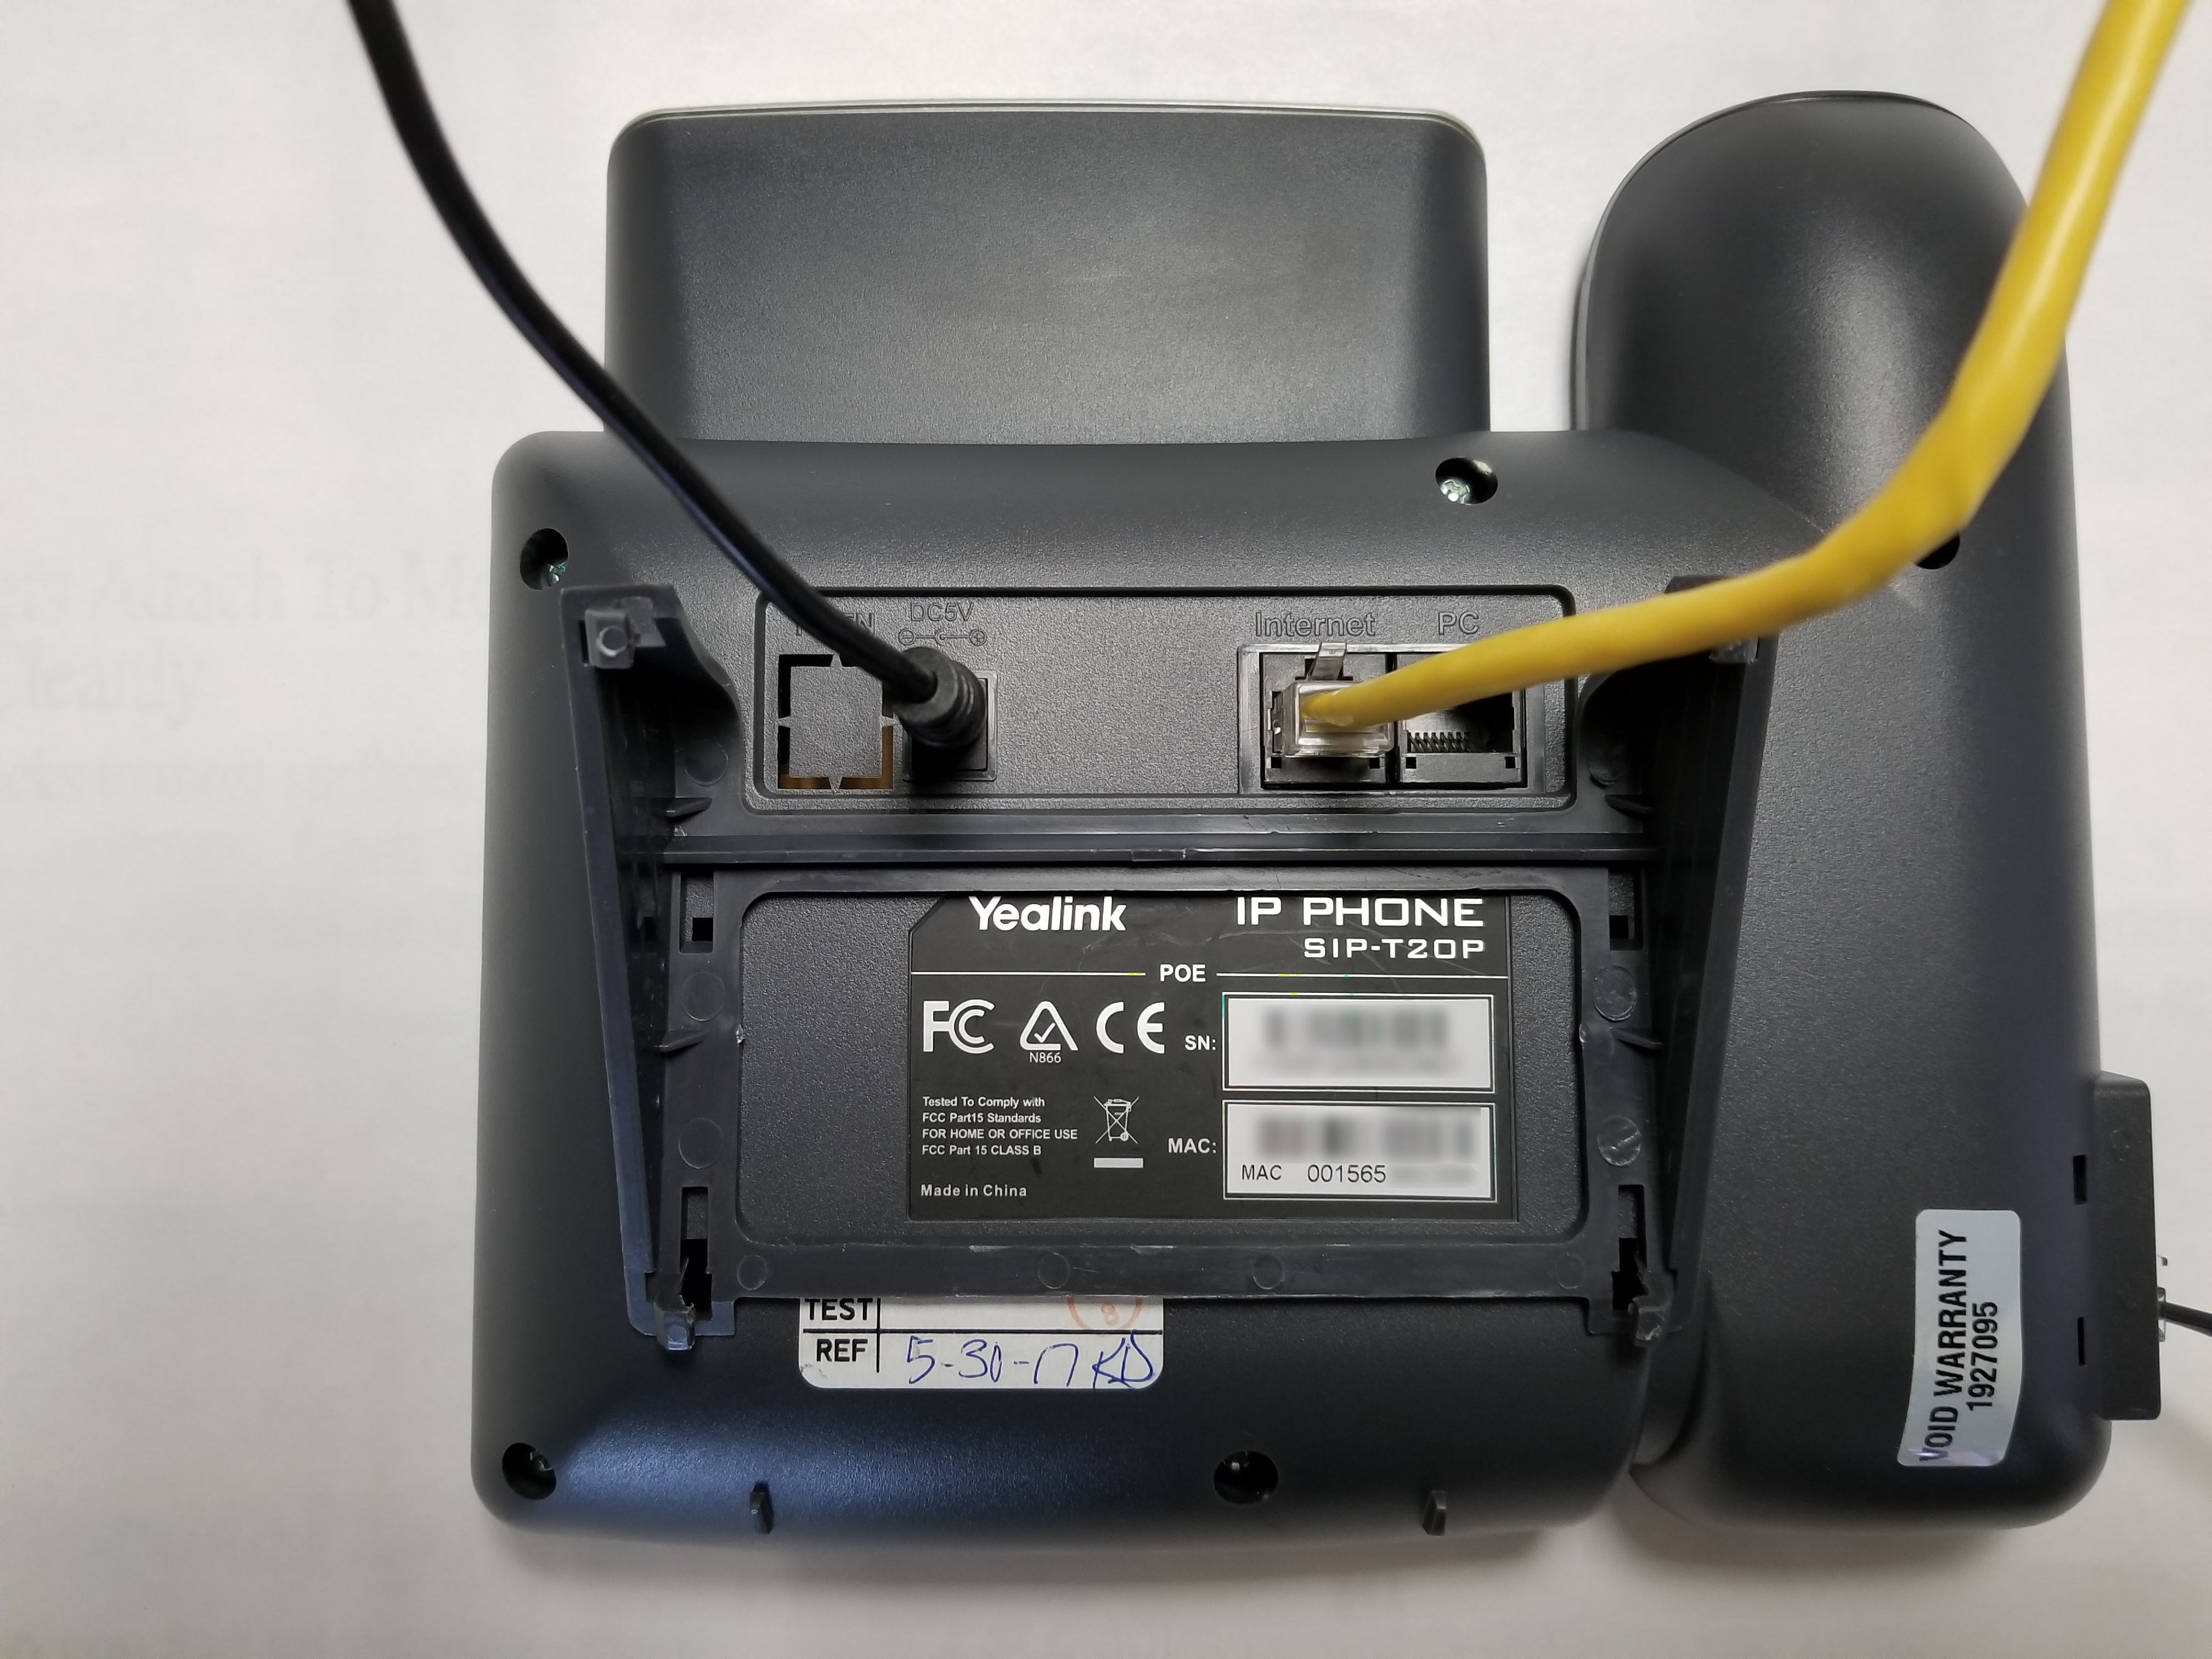
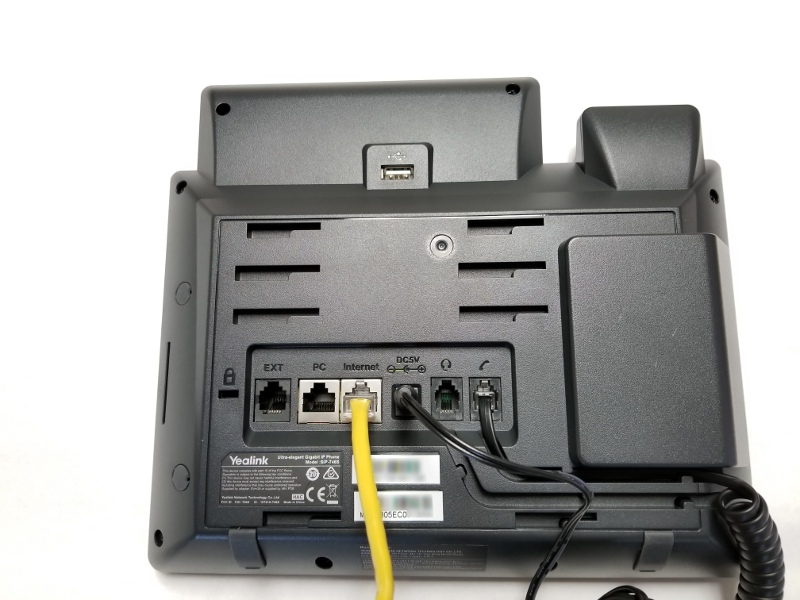
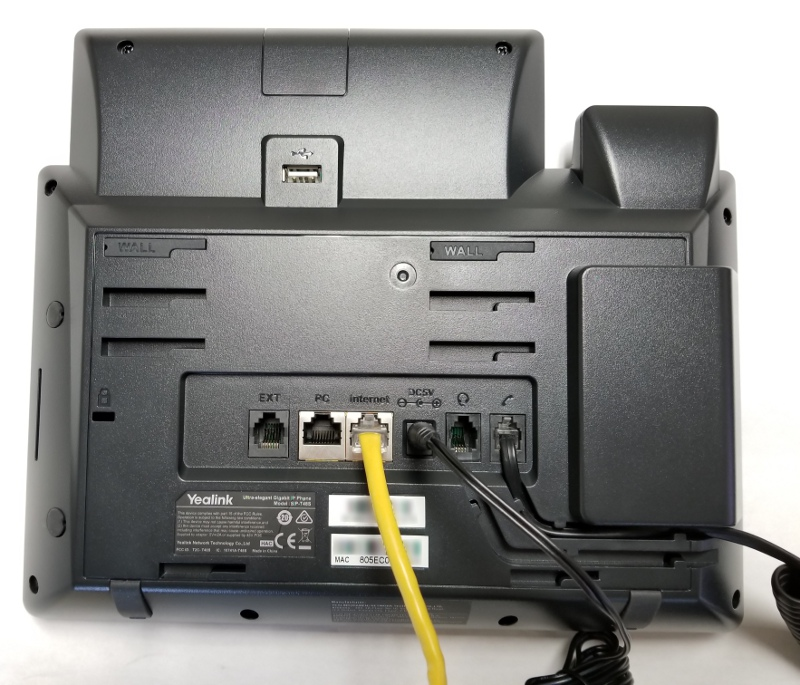
- Plug the Network/LAN/Ethernet cable into the Internet port of the phone and wait several moments for the device to acquire an IP Address. Note the handset is plugged into the lower jack (see images below).
Get the device's IP Address
- Press menu soft key on phone to access menu settings
- Press Ok to select Status
- Make note of the IP Address.
Logging in to phone's web administration page
- Enter the IP Address from above into your web browser, ex: http://192.168.1.xxx
- The default admin login is: admin and the password is: password
- For the W52P the default login: admin and password: admin
- For the T31P the default login is admin and password is admin
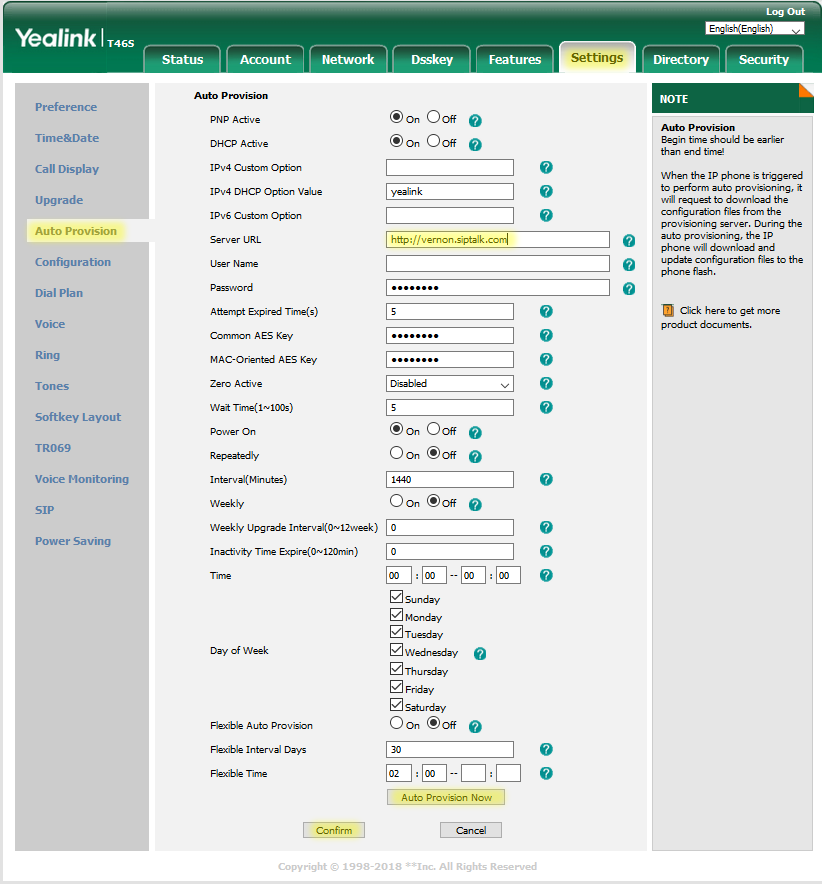
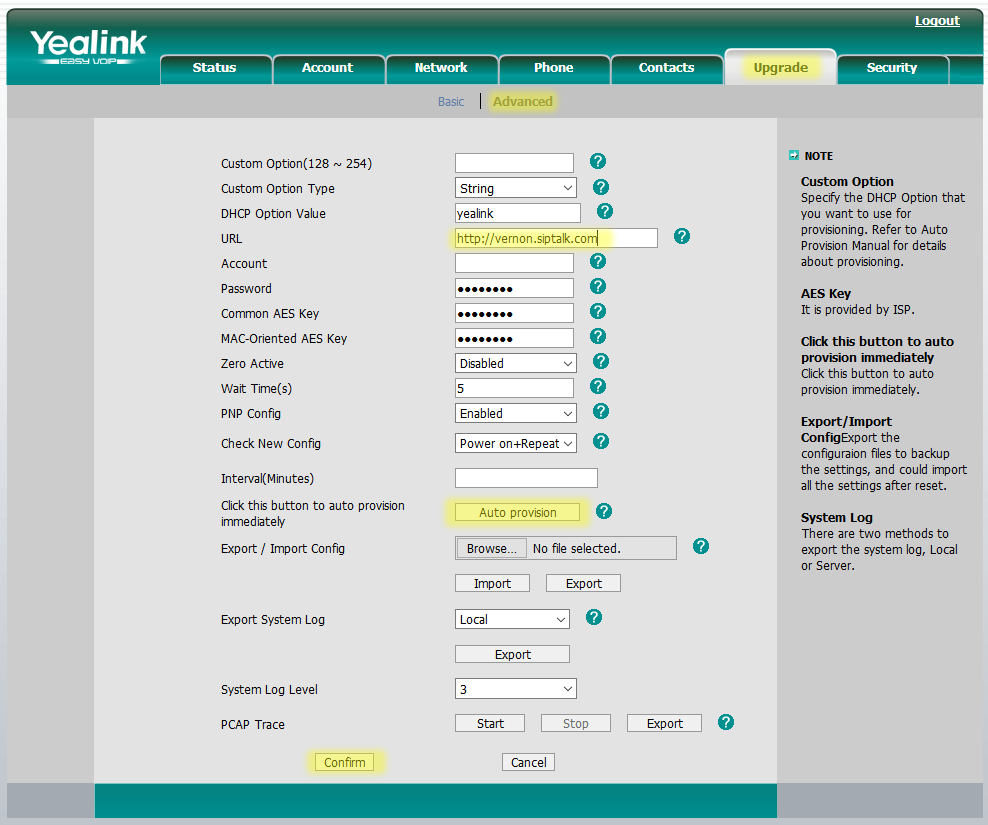
Configuring for Auto Provisioning
IMPORTANT NOTE: You should always factory your device before you first auto provision. The device may have settings which are not compatible with our service, we assume the devices are in the factory configuration (see images below).
Phones with firmware >= 73
- Log in to phone's web administration
- Click "Settings" from the top navigation menu
- Click "Auto Provision" from the left navigation menu
- In the "Server URL" field enter: http://vernon.siptalk.com
- Click "Confirm" button to save changes
- Click the "Auto Provision Now" button
Provisioning Settings (firmware >= 73)
Phones with firmware < 73
- Log in to phone's web administration
- Click "Upgrade" from the top navigation menu
- Click "Advanced" from the sub menu
- In the "URL" field enter: http://vernon.siptalk.com
- Click "Confirm" button to save changes
- Click the "Auto Provision" button
Provisioning Settings Tab (firmware < 73)
Images of devices showing various models
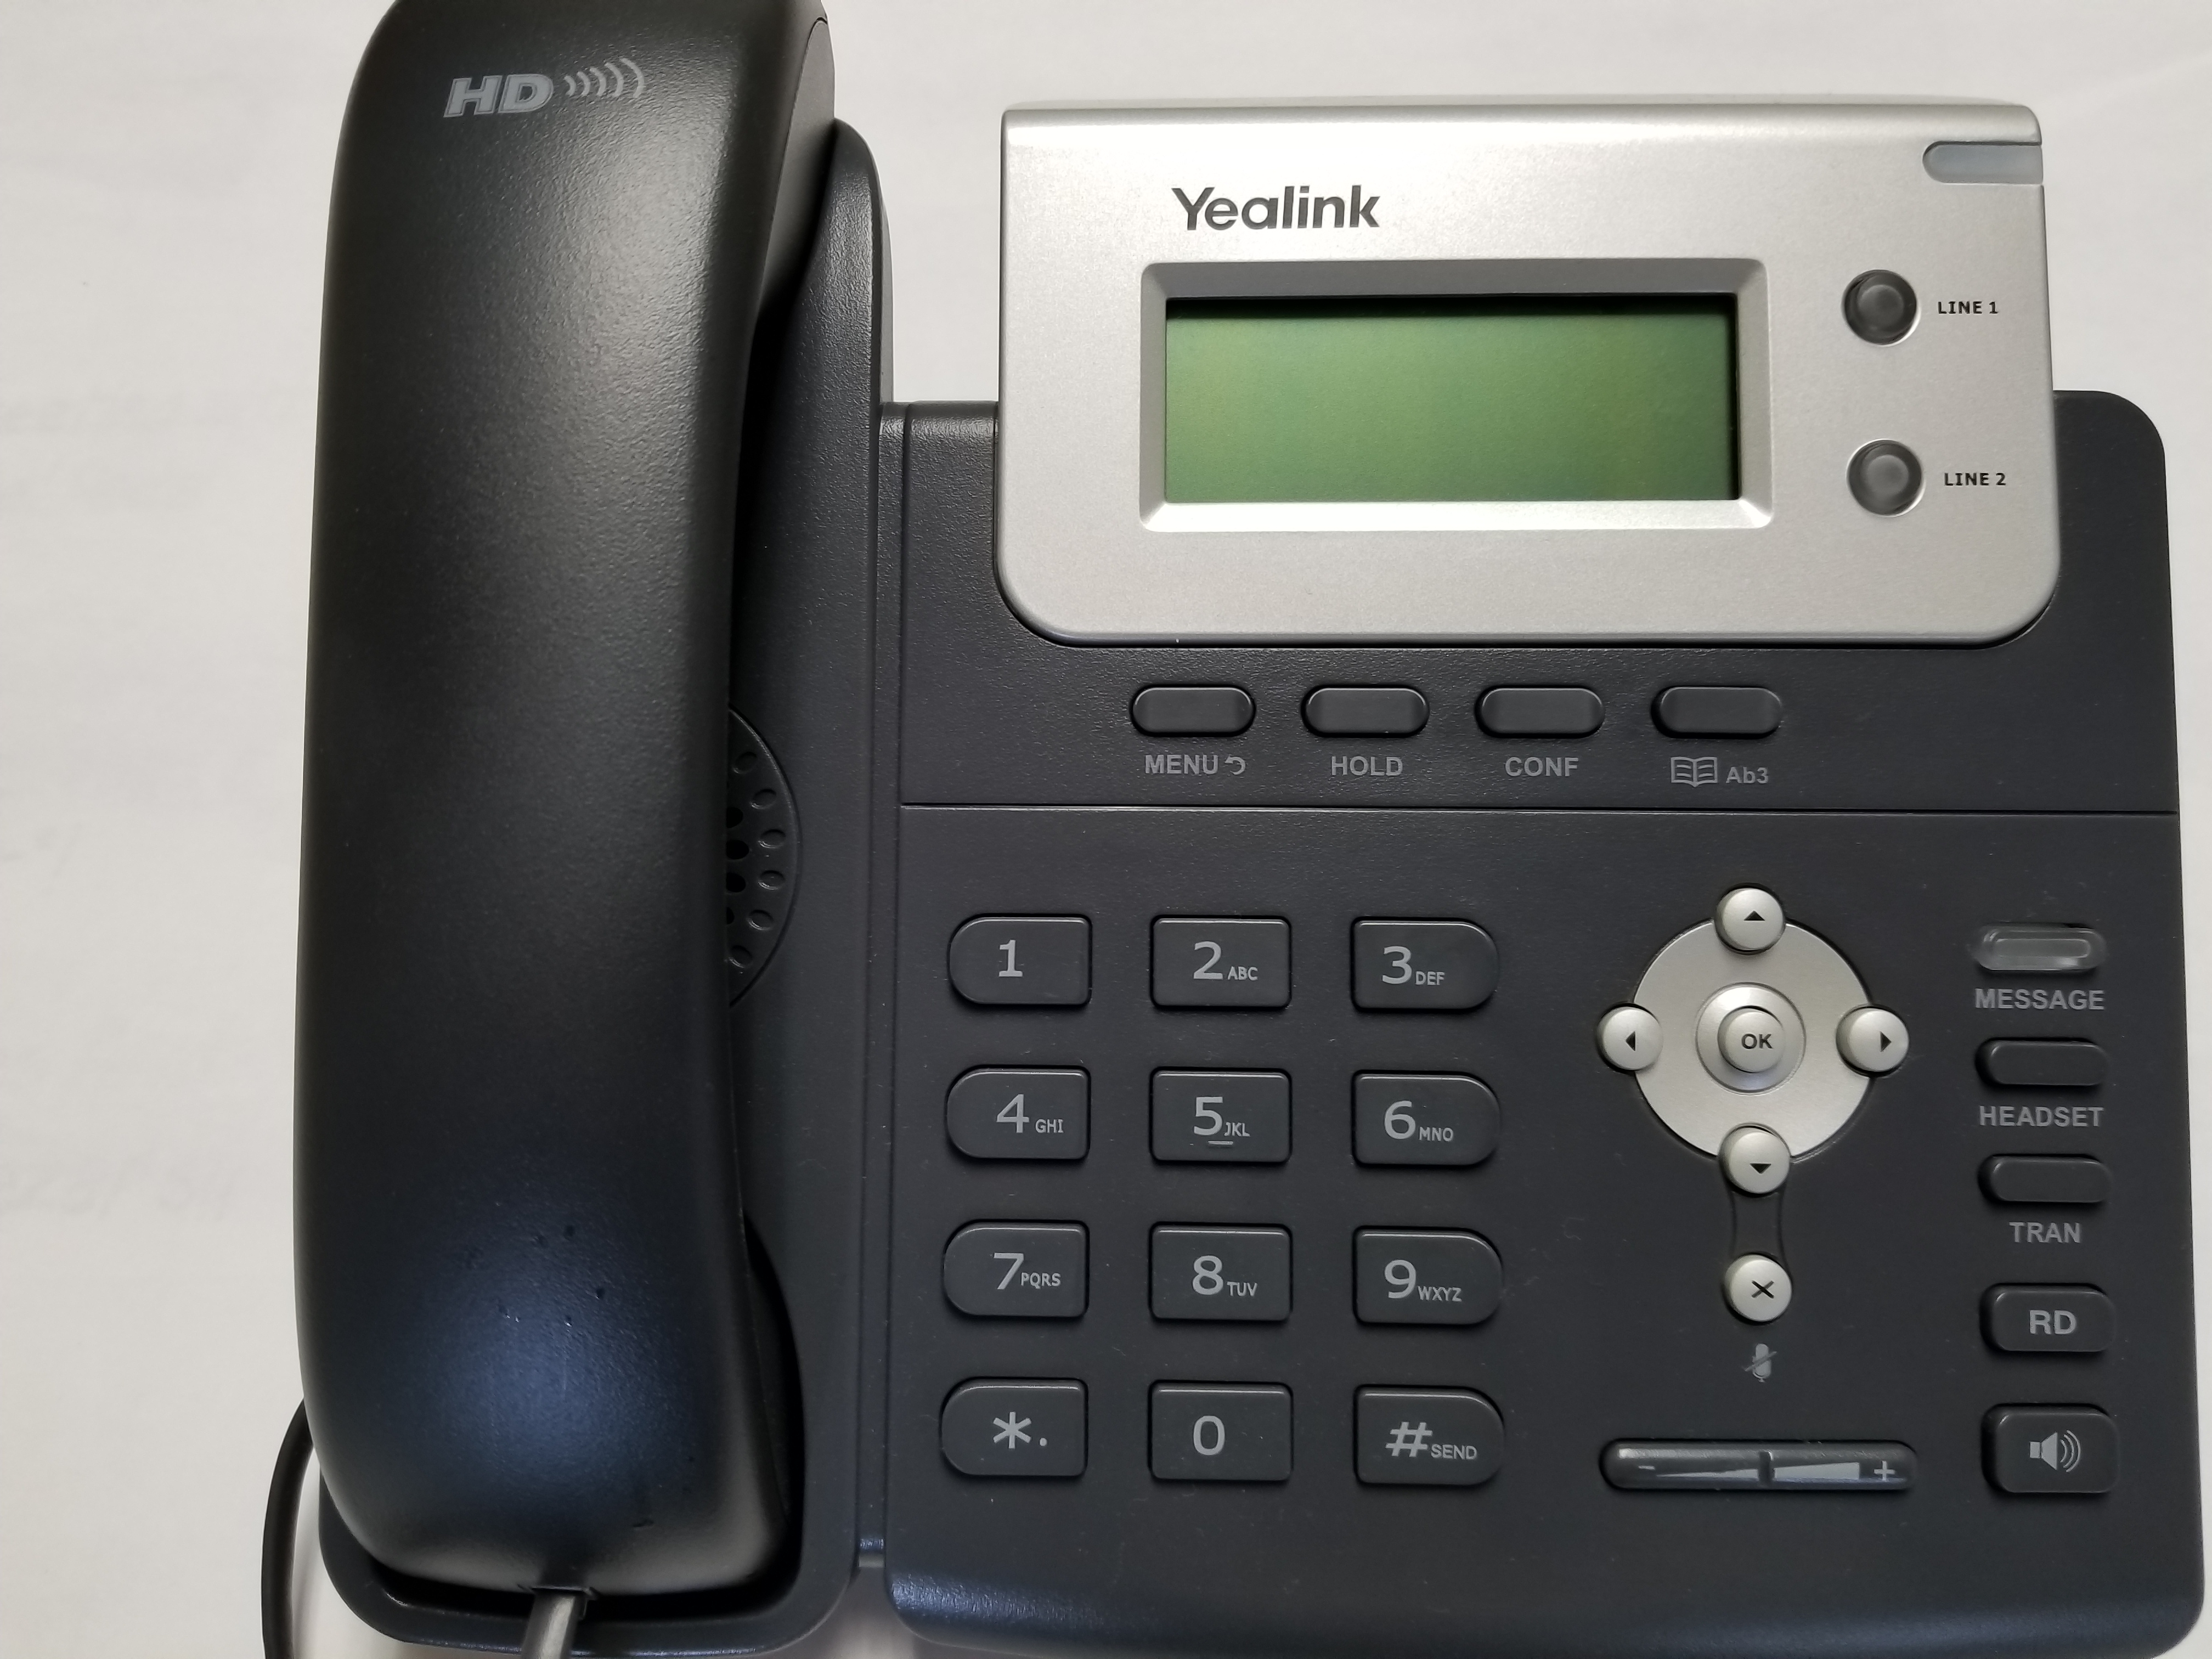
SIP T20P (Front View)
SIP T20P (Rear View)
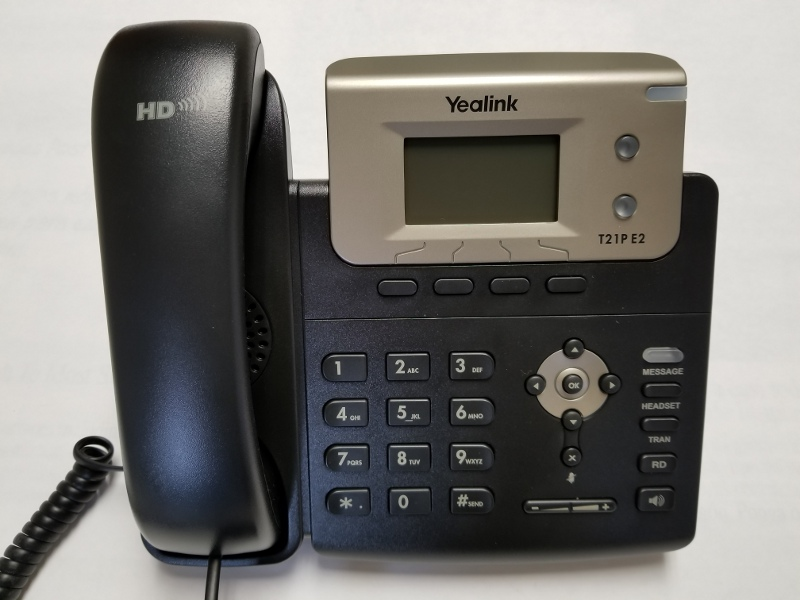
SIP T21P (Front View)
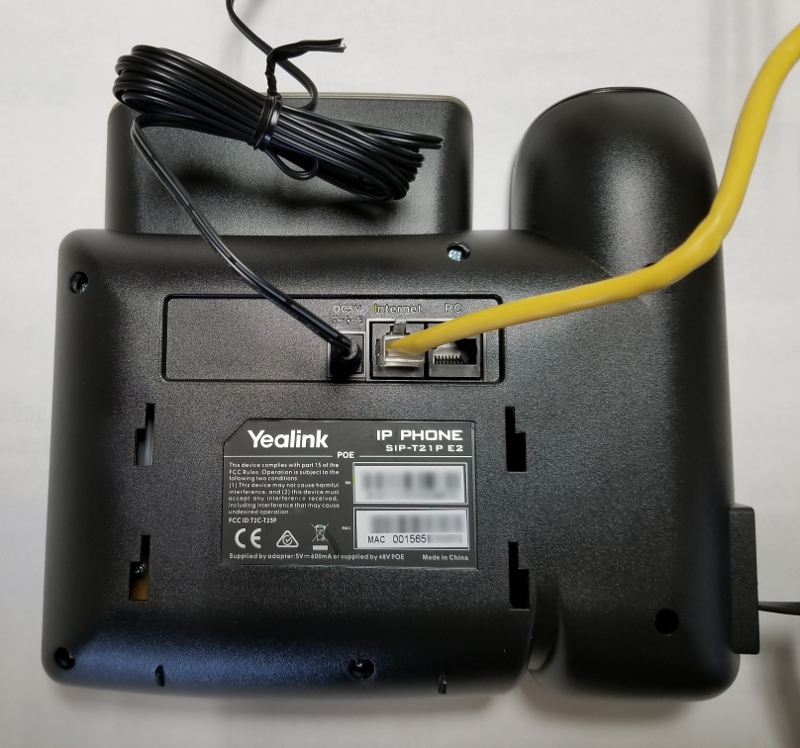
SIP T21P (Rear View)
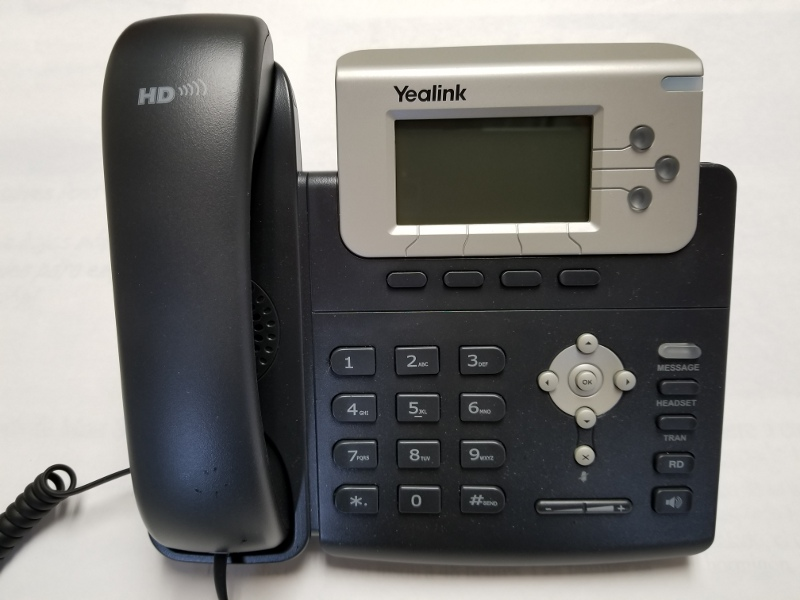
SIP T22P (Front View)
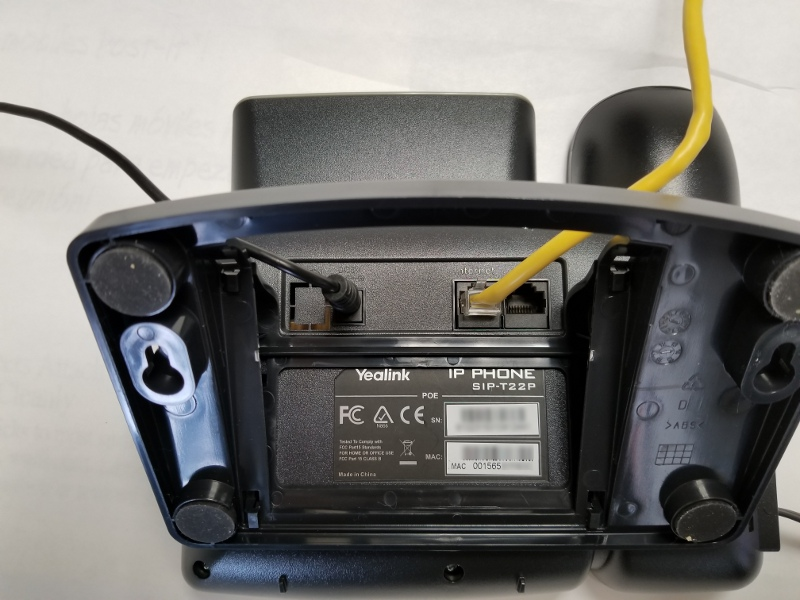
SIP T22P (Rear View)
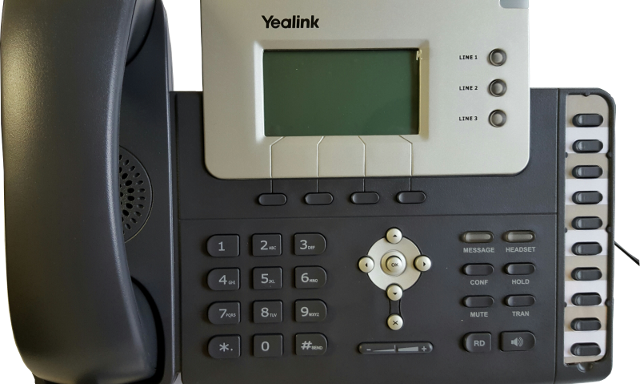
SIP-T26P (Front View)
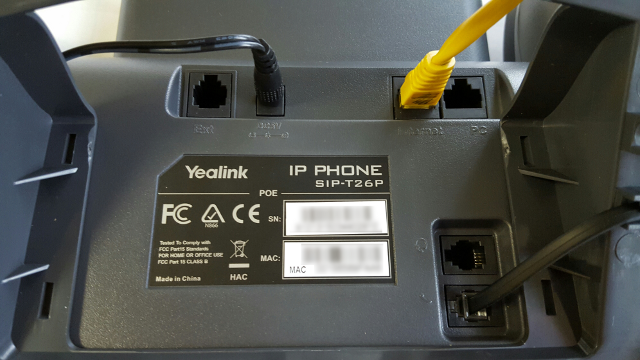
SIP-T26P (Rear View)
SIP-T26P (Power Adapter)
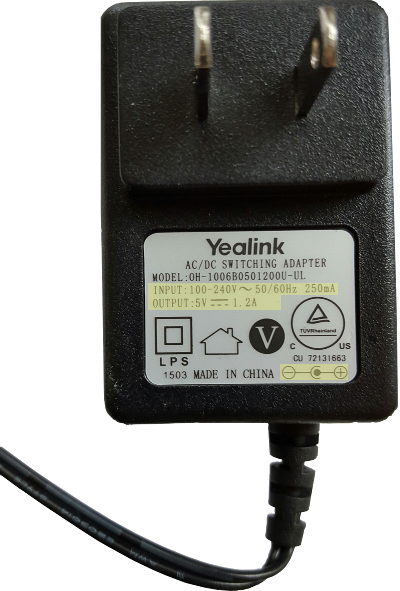
Input: 100-240V AC, 250mA, Output: 5V DC 1.2A, Center pin positive
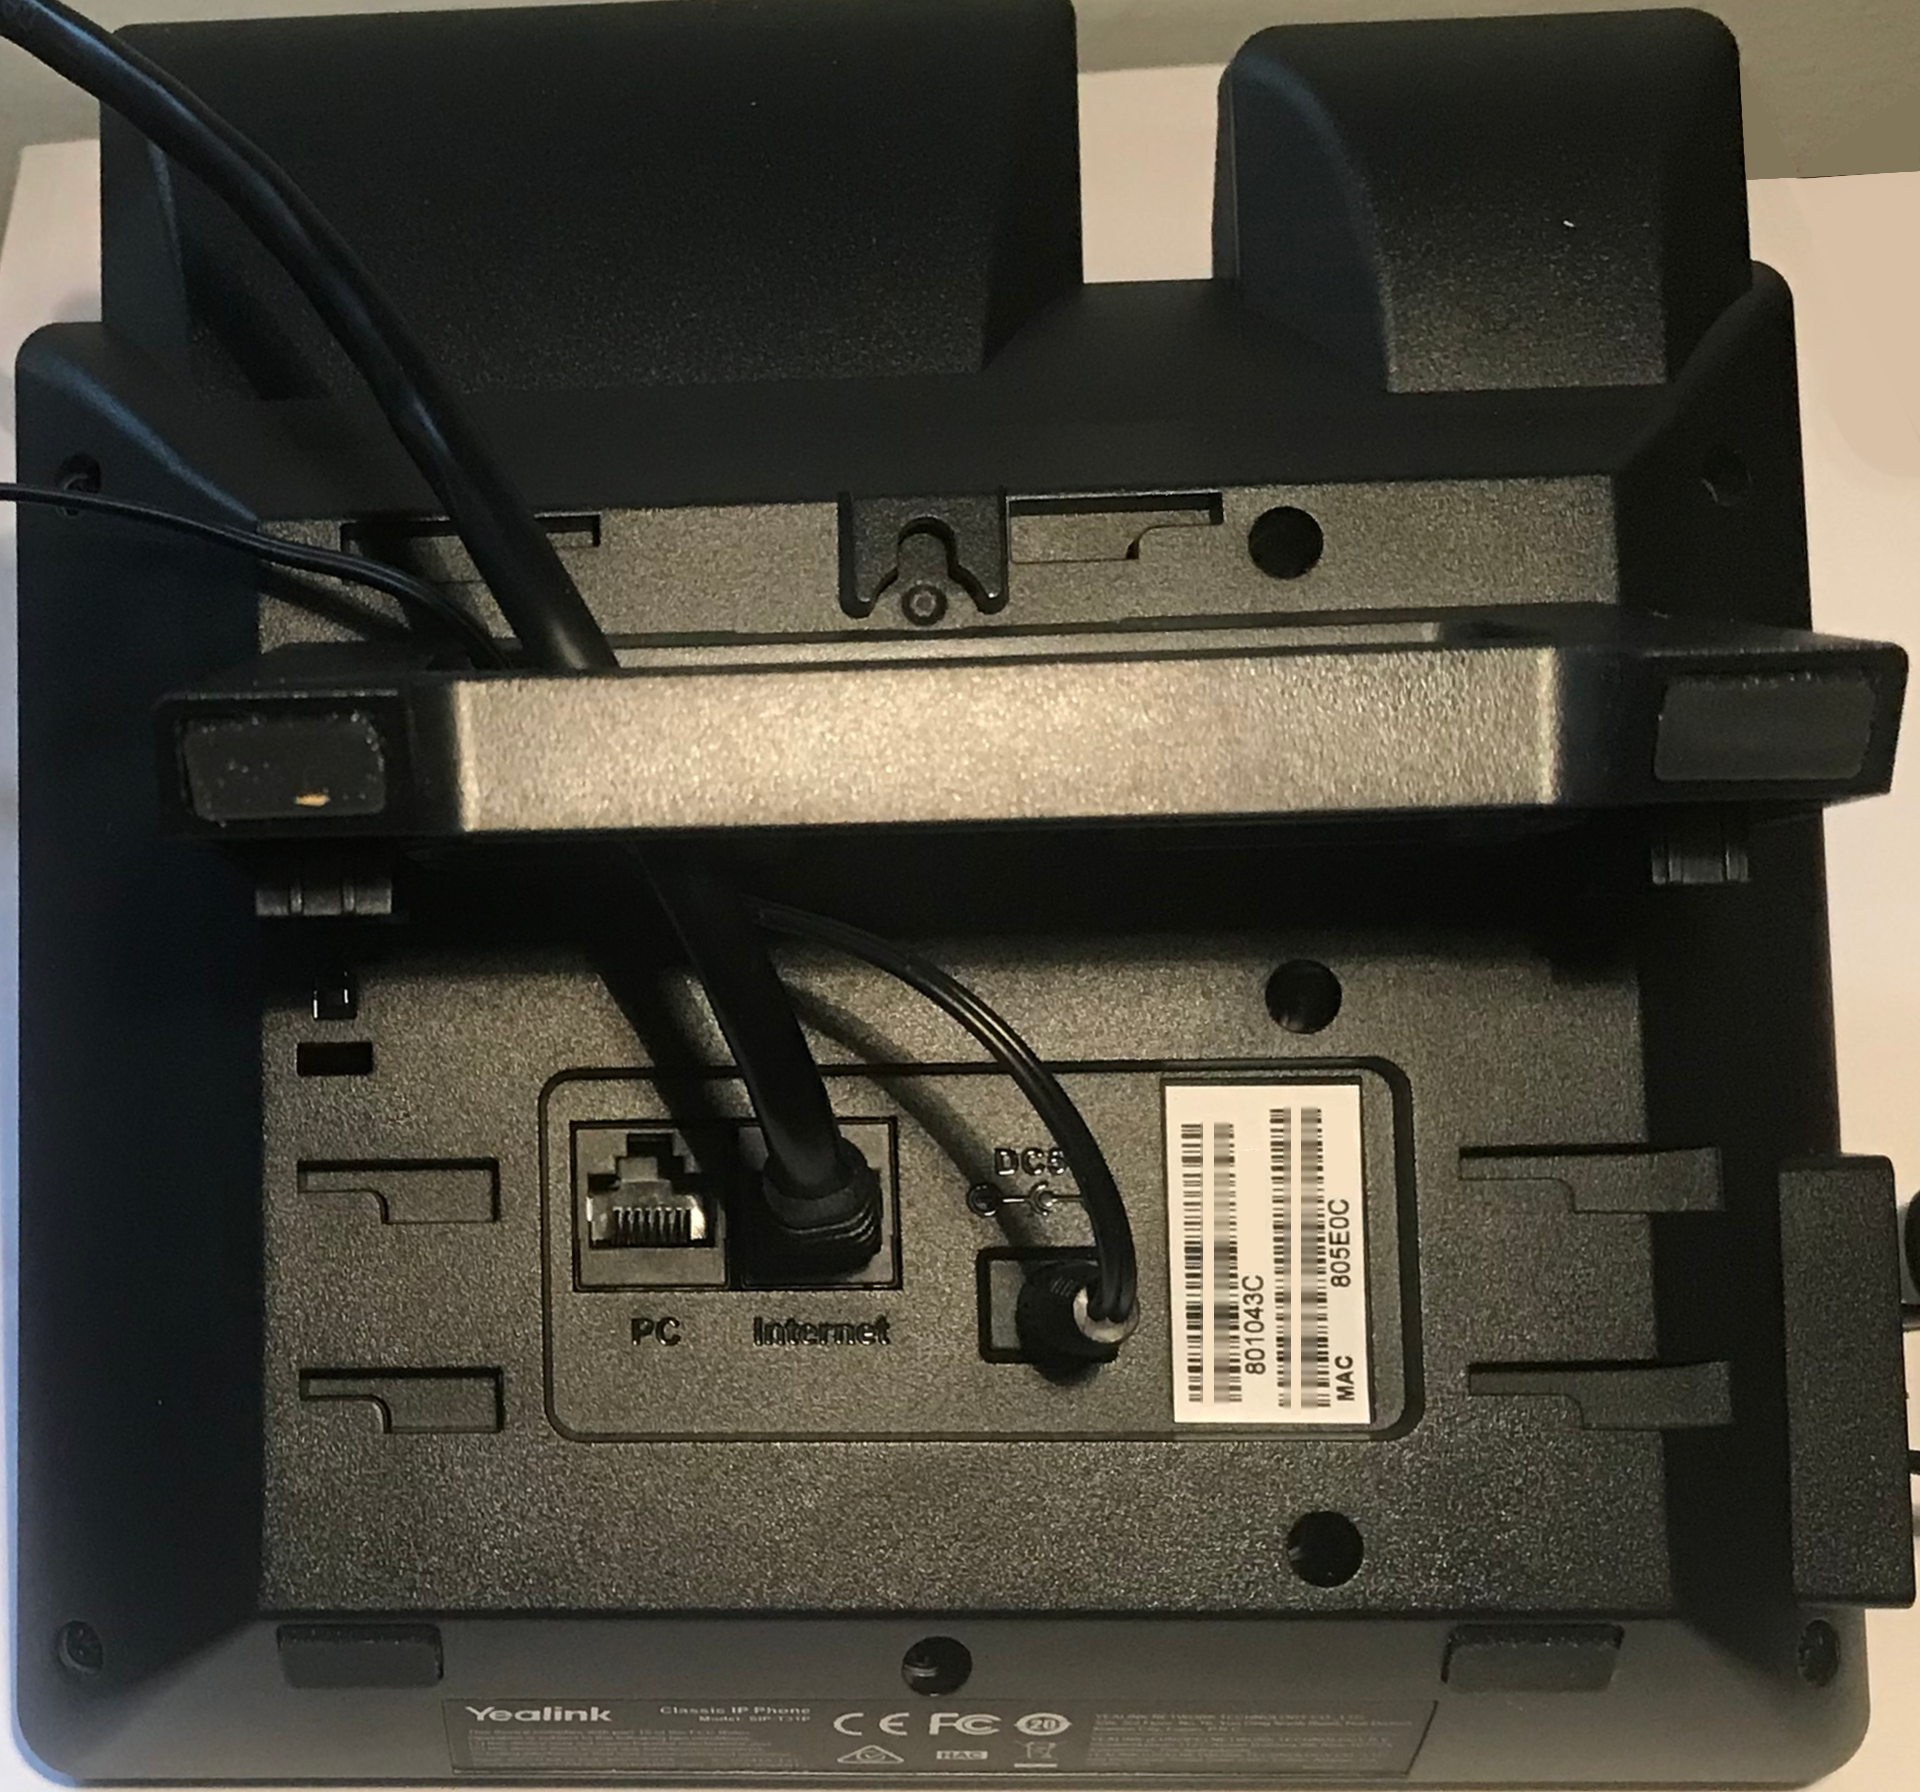
SIP-T31P(Front View)
SIP-T31P(Rear View)
SIP-T31P(Power Supply)
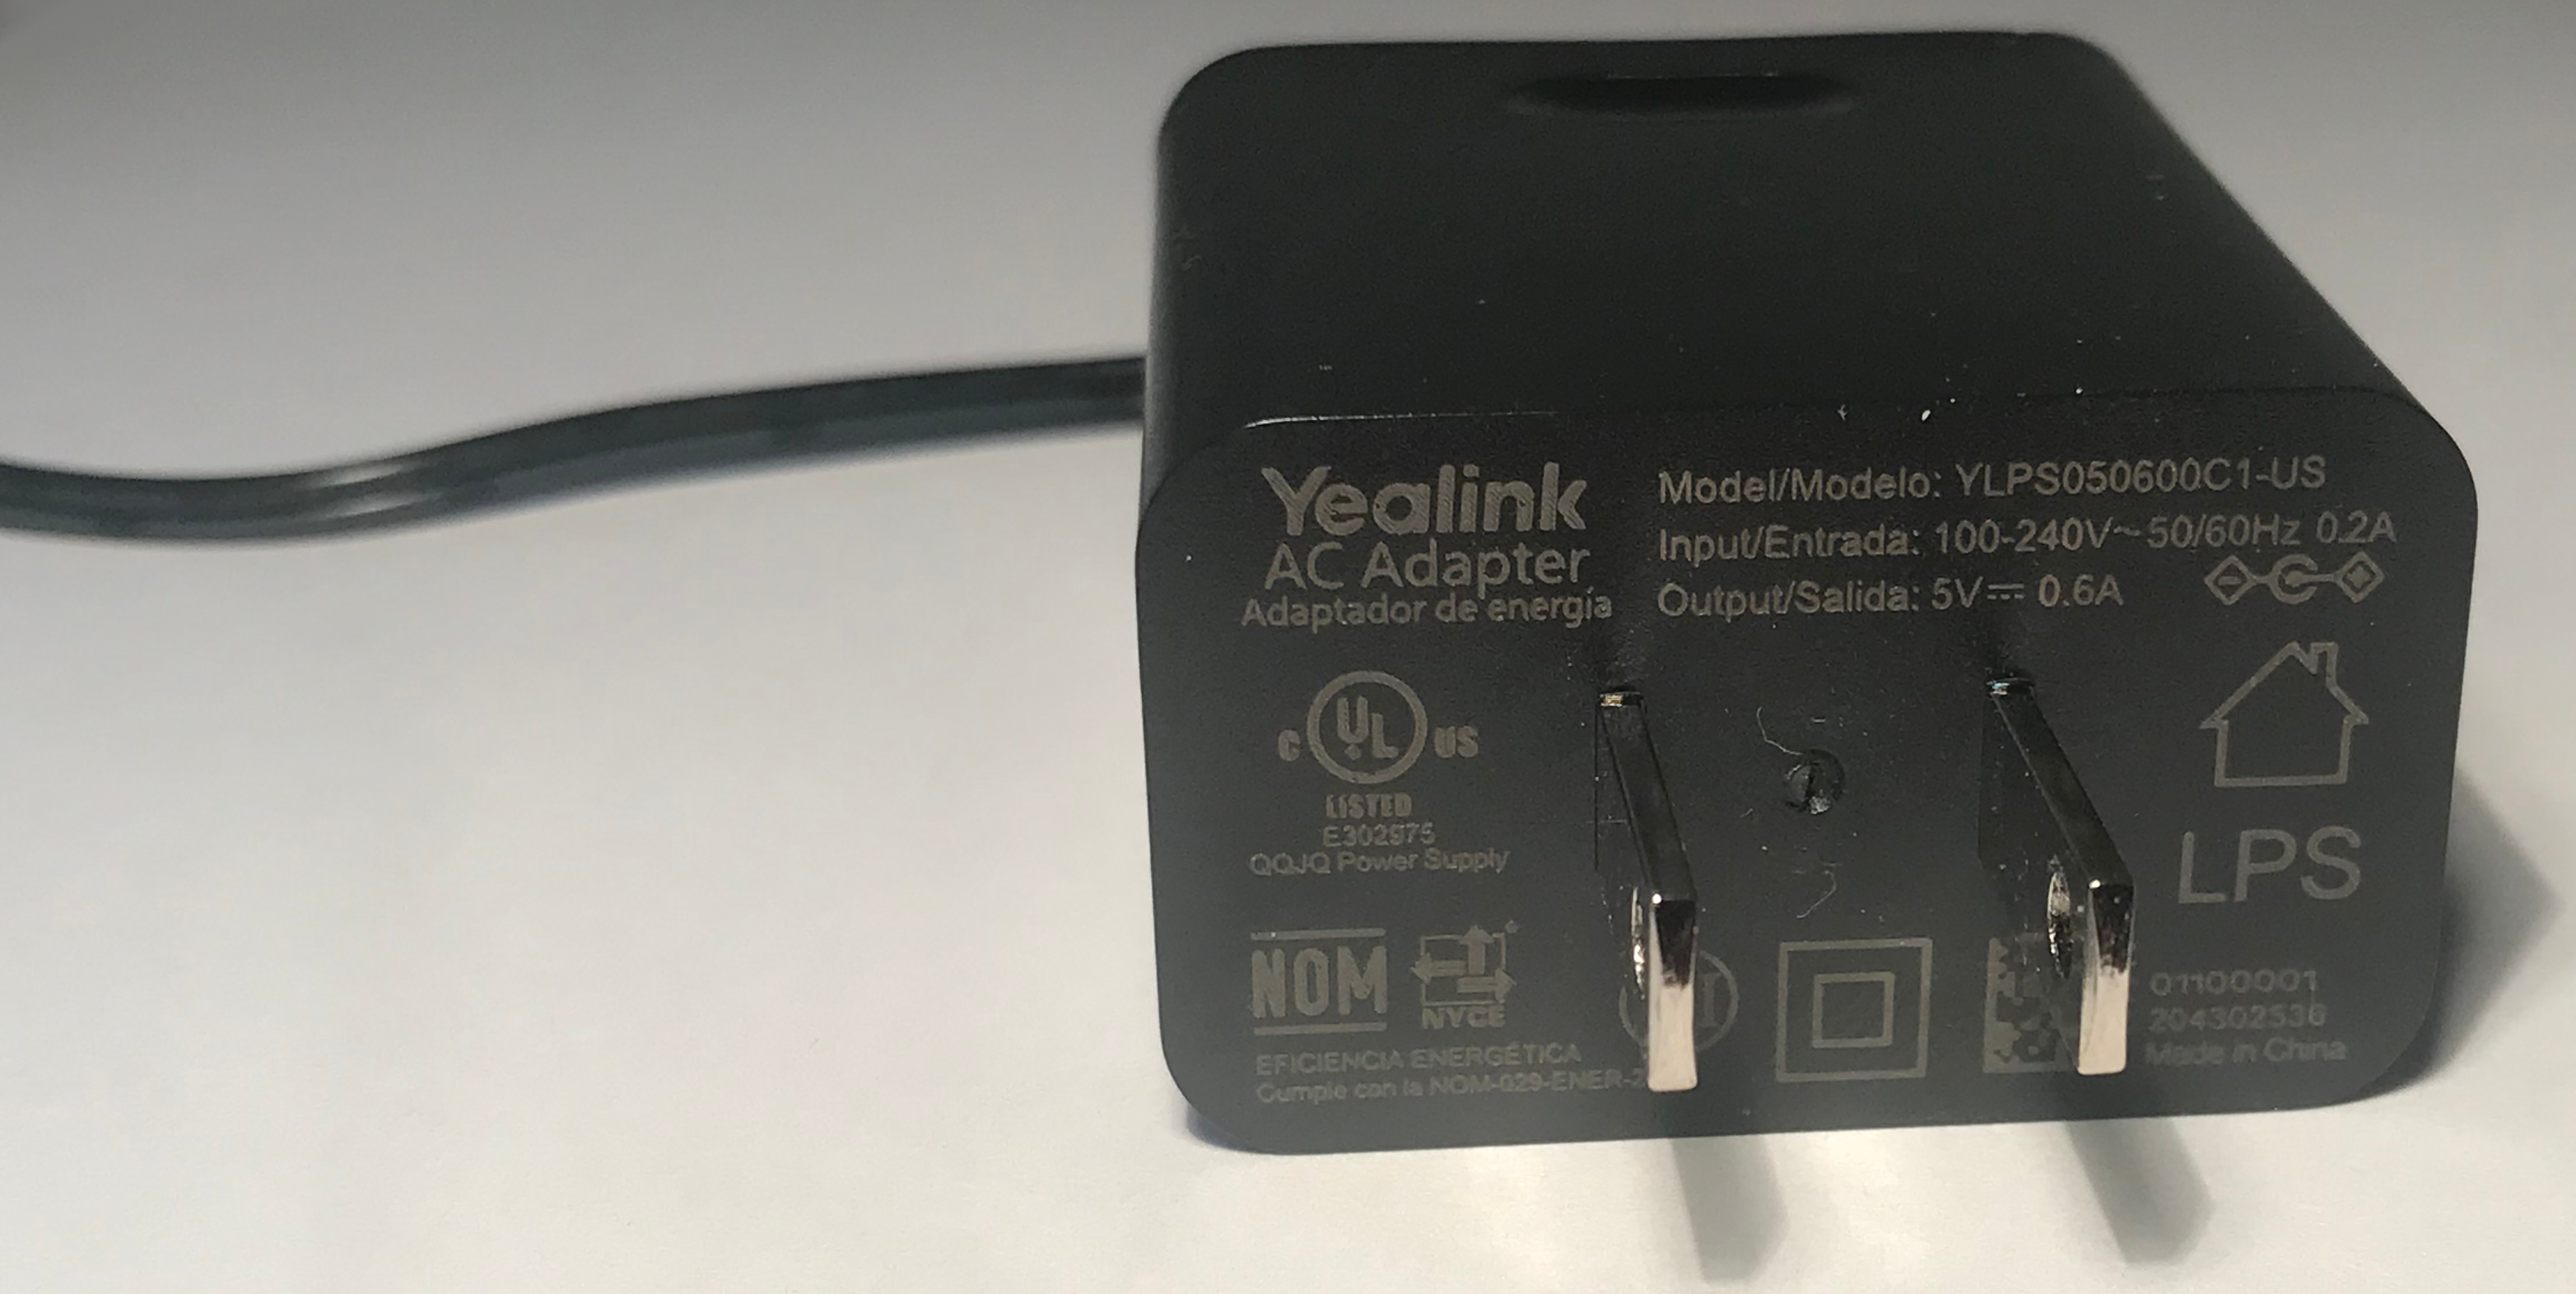
Input: 100-240V AC, Output: 5V DC 0.6A, Center pin positive
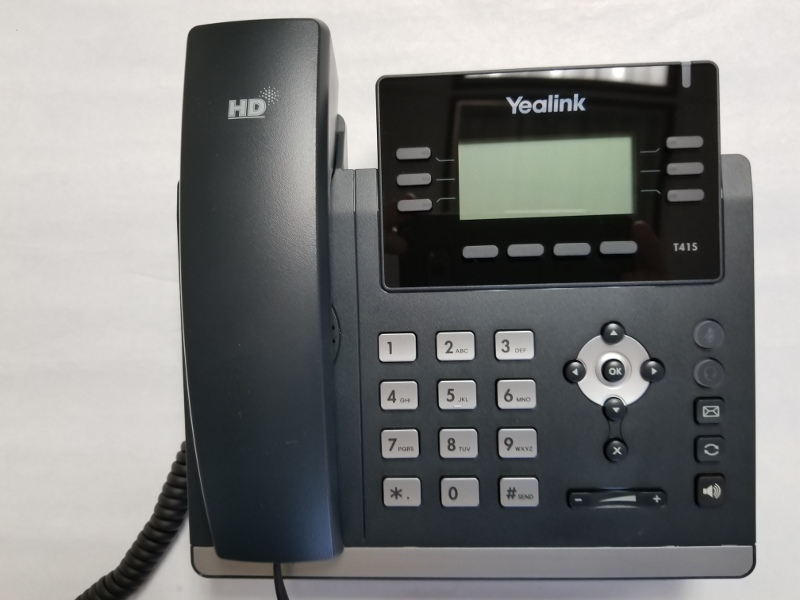
SIP-T41S(Front View)
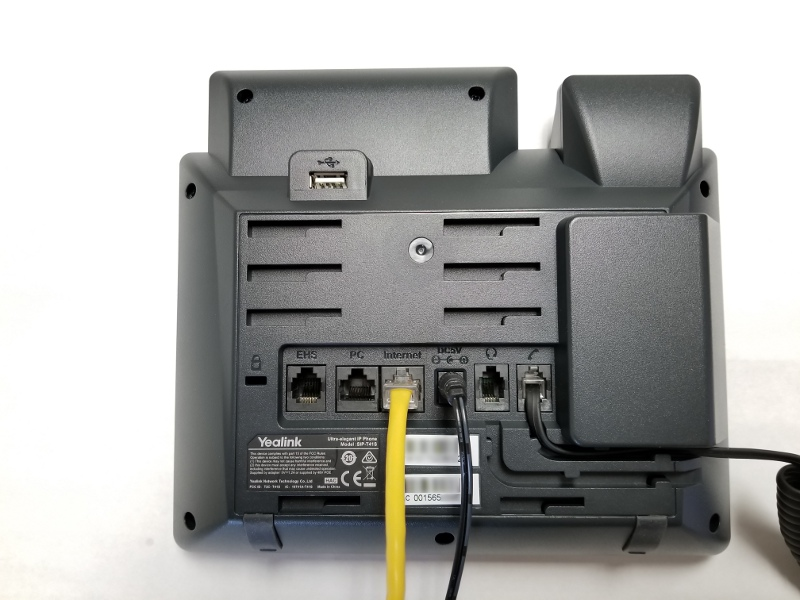
SIP-T41S(Rear View)
SIP-T46(Front View)
SIP-T46(Rear View)
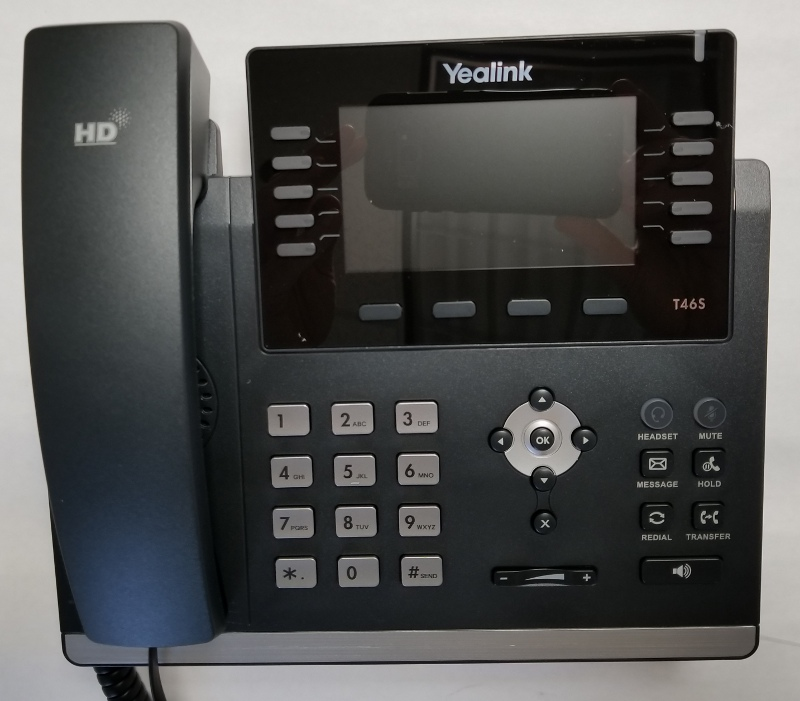
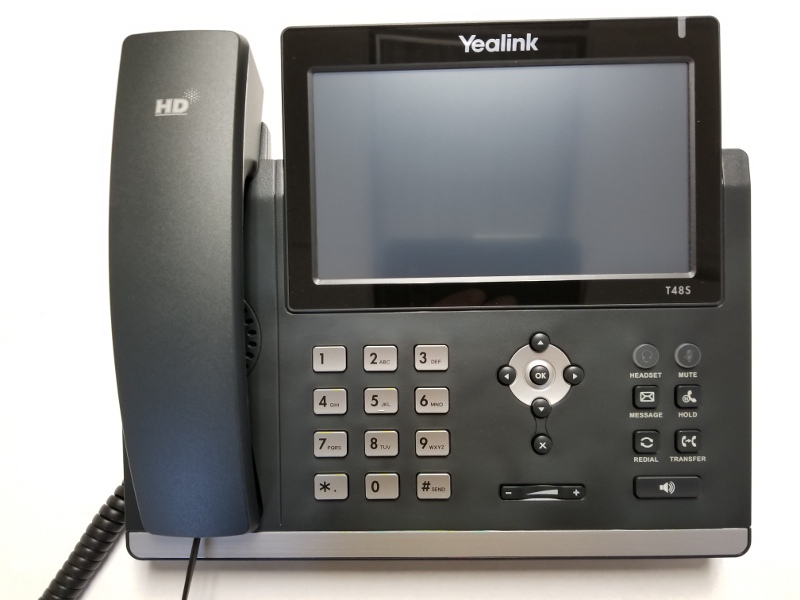
SIP-T48S(Front View)
SIP-T48S(Rear View)
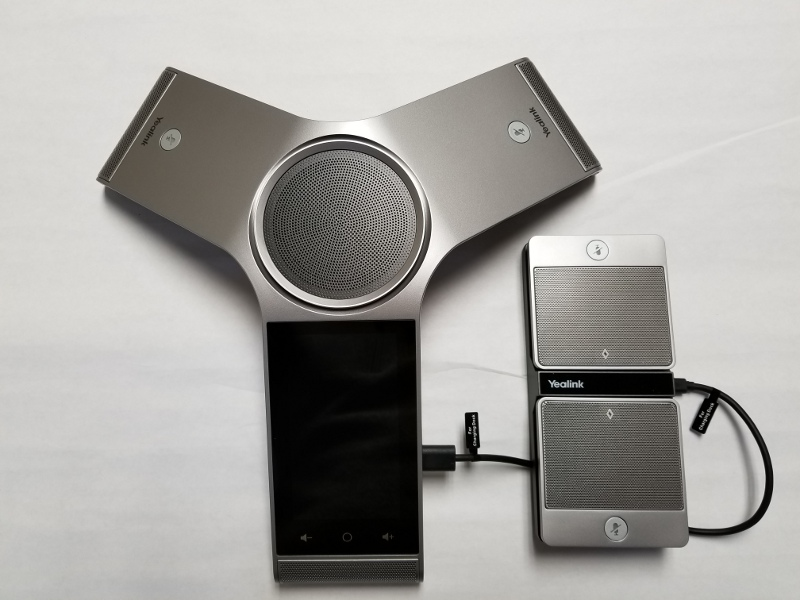
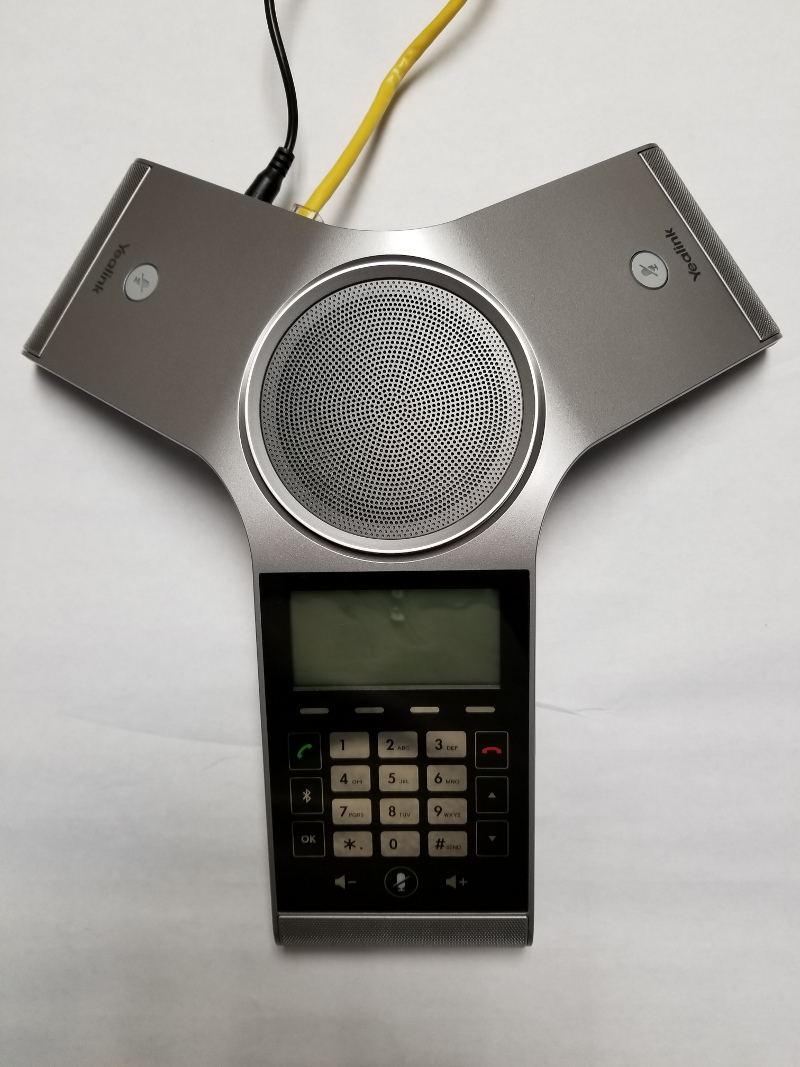
CP960 (Front View)
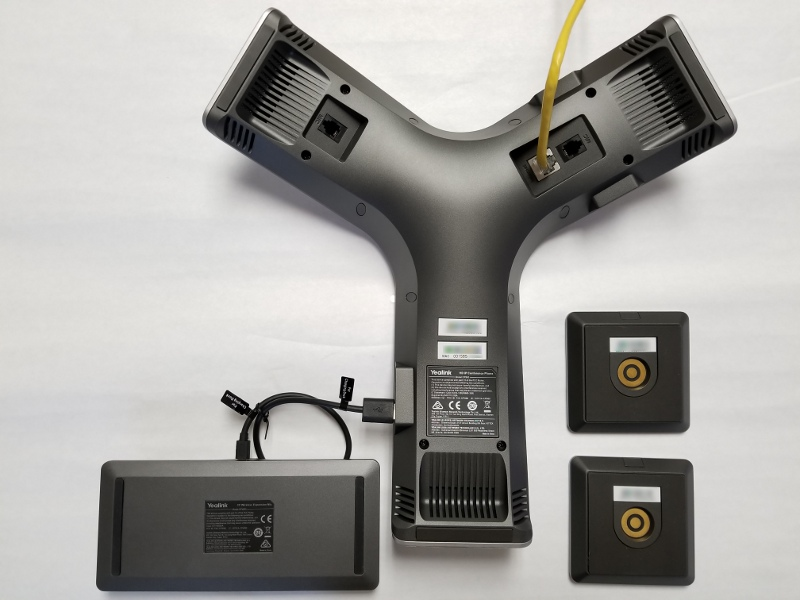
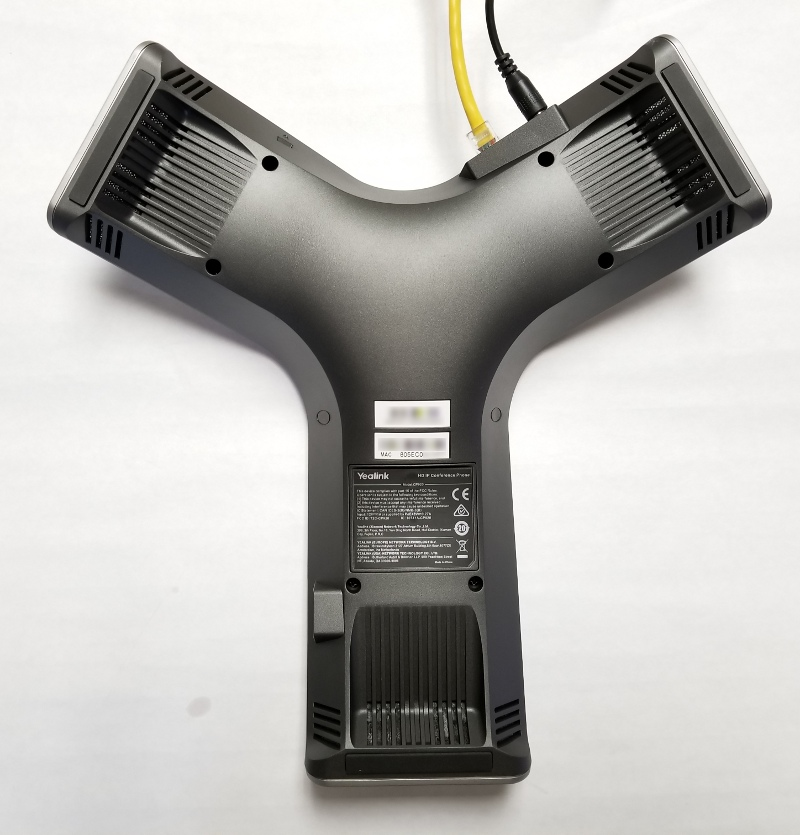
CP960 (Rear View)
CP960 (POE)
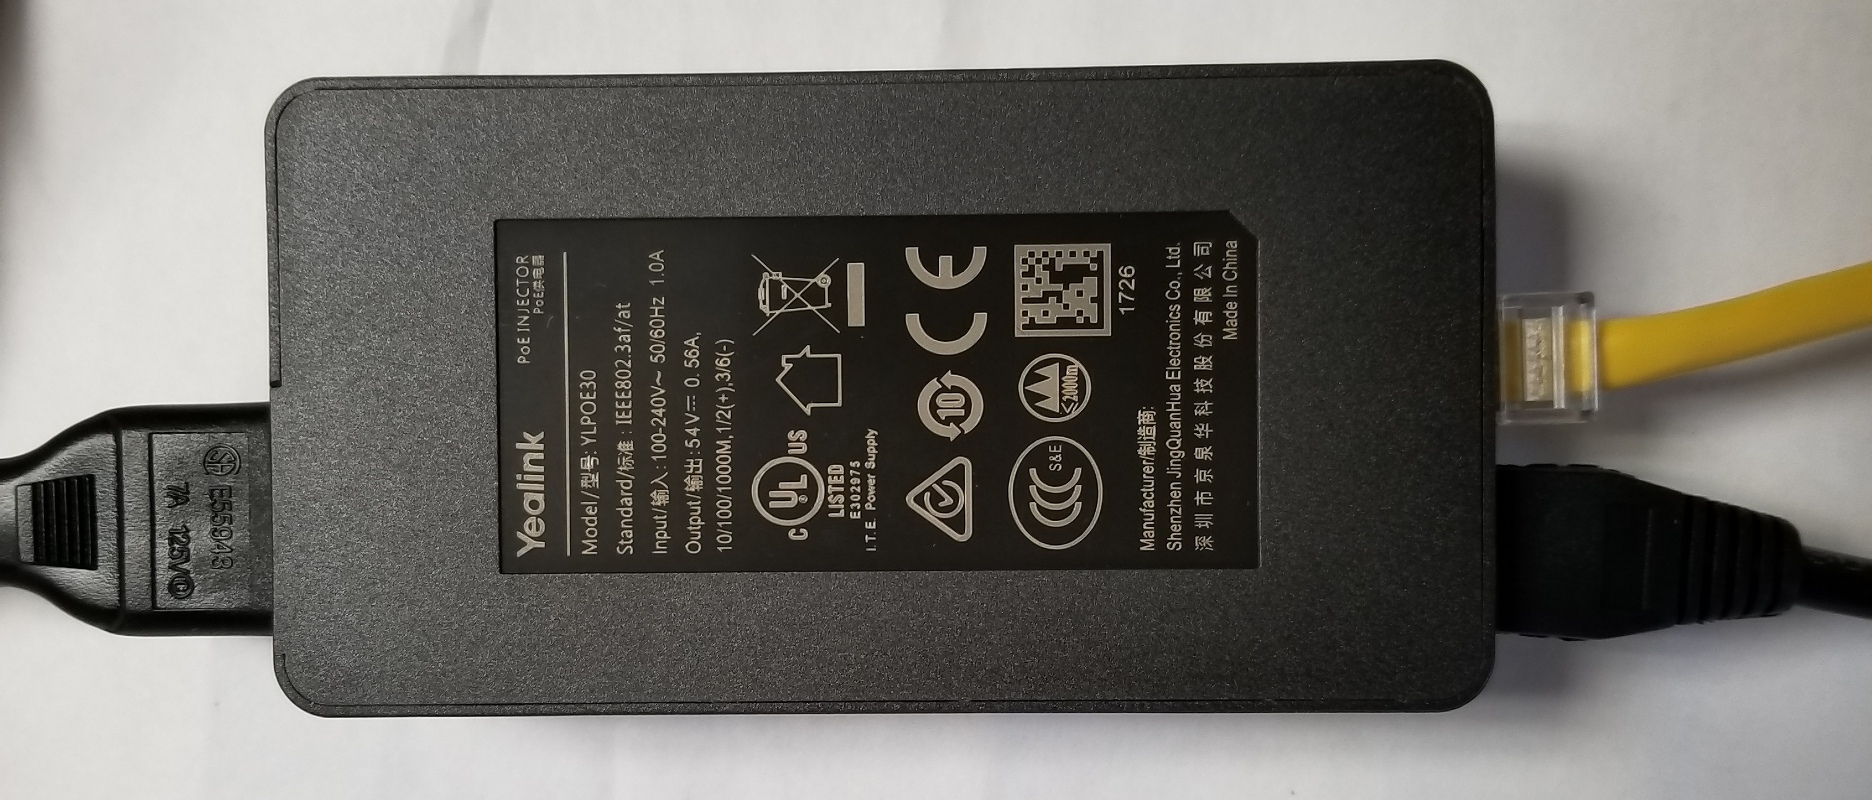
Input: 100-240V AC, Output: 5.4V DC 0.56A
CP920 (Front View)
CP920 (Rear View)
 Uploading ....