Newer GrandStream ATAs
Factory Reset
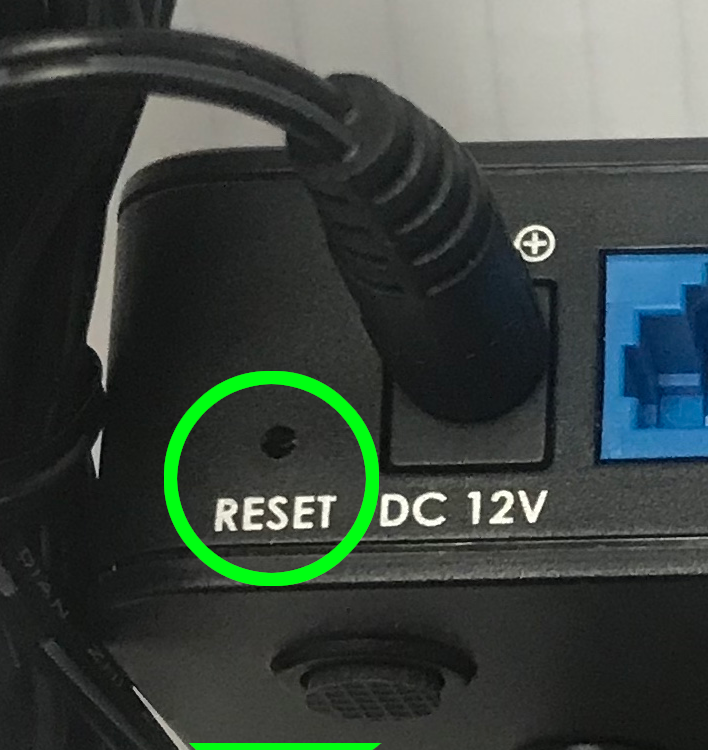
Press the factory reset button for 7 seconds to reset factory defaults.
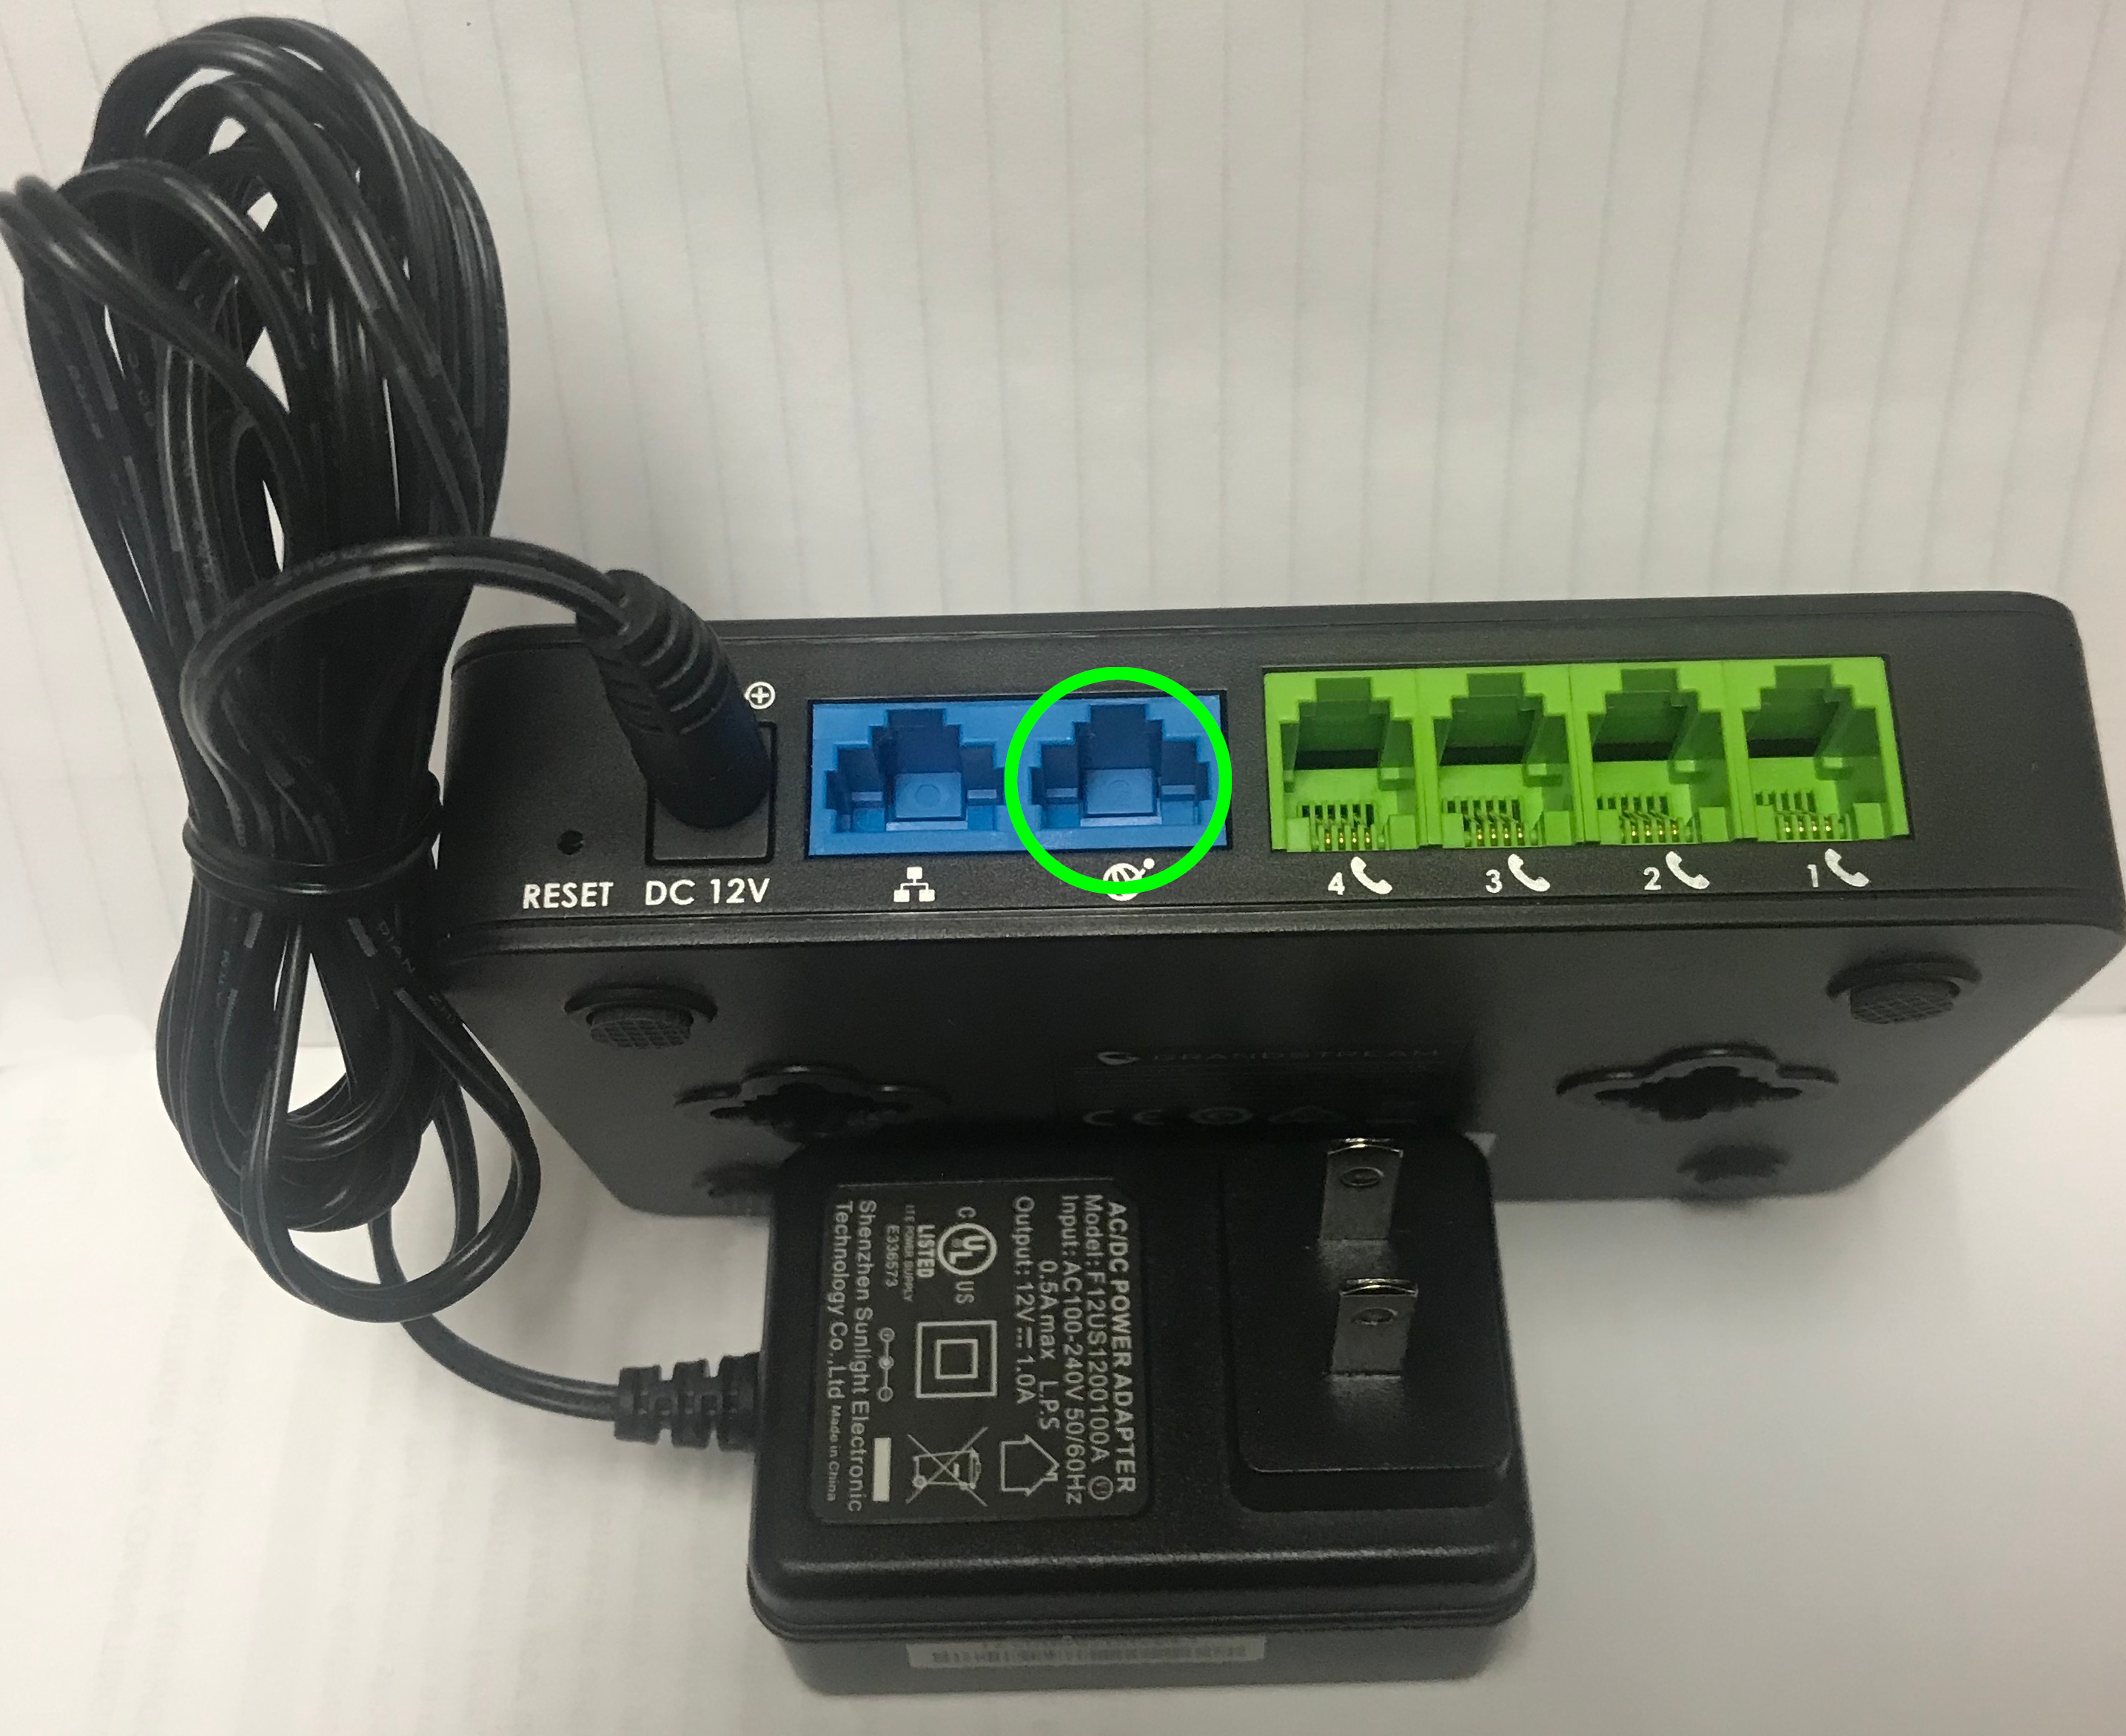
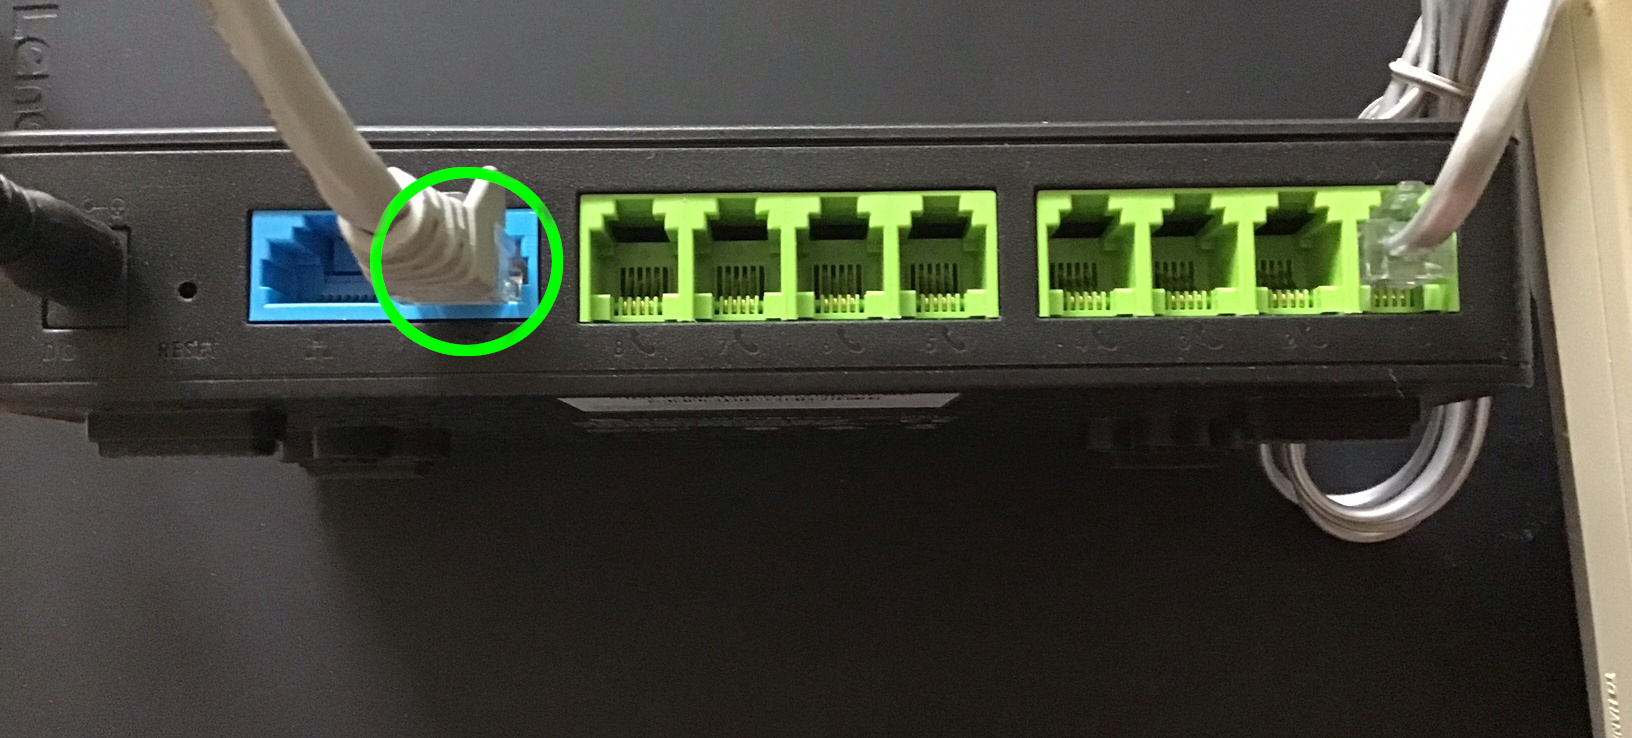
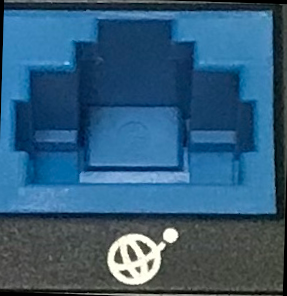
- Plug the Network/LAN/Ethernet cable into the WAN port of the GrandStream (green circle) and wait several moments for the device to acquire an IP Address
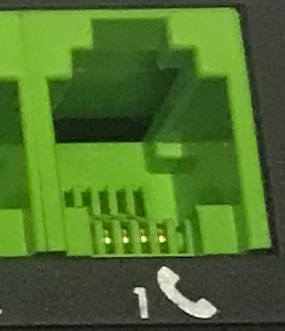
- Plug a telephone (simple handset) into port 1
- Press *** (press the star key three times) to access the IVR menu and wait until you hear “Enter the menu option “.
- Press ** (press the star key two more times) and the current IP address will be announced.
- Enter IP Address in a browser from a computer on the same IP address range (Network)
- Default password is admin
- Change the settings in the table below under Advanced Settings :: Firmware Upgrade and Provisioning
- Click on Update, then click on Apply.
- Click Reboot.
| Set Allow DHCP Option 66: | NO |
| Set Upgrade Via: | HTTP |
| Set Config Server Path: | vernon.siptalk.com |
| Set Config File Prefix: | grandstream/auto.cfg?mac= |
Configuration File Types Allowed
| All
|
Download and Process All Available Config Files
| Yes
|
Older GrandStream ATAs and Gateways

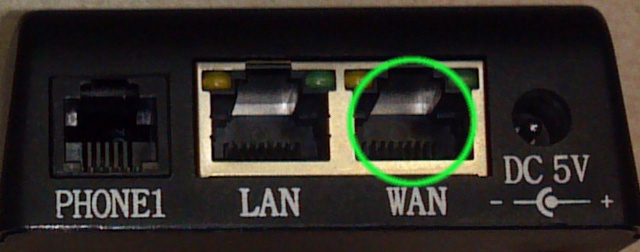
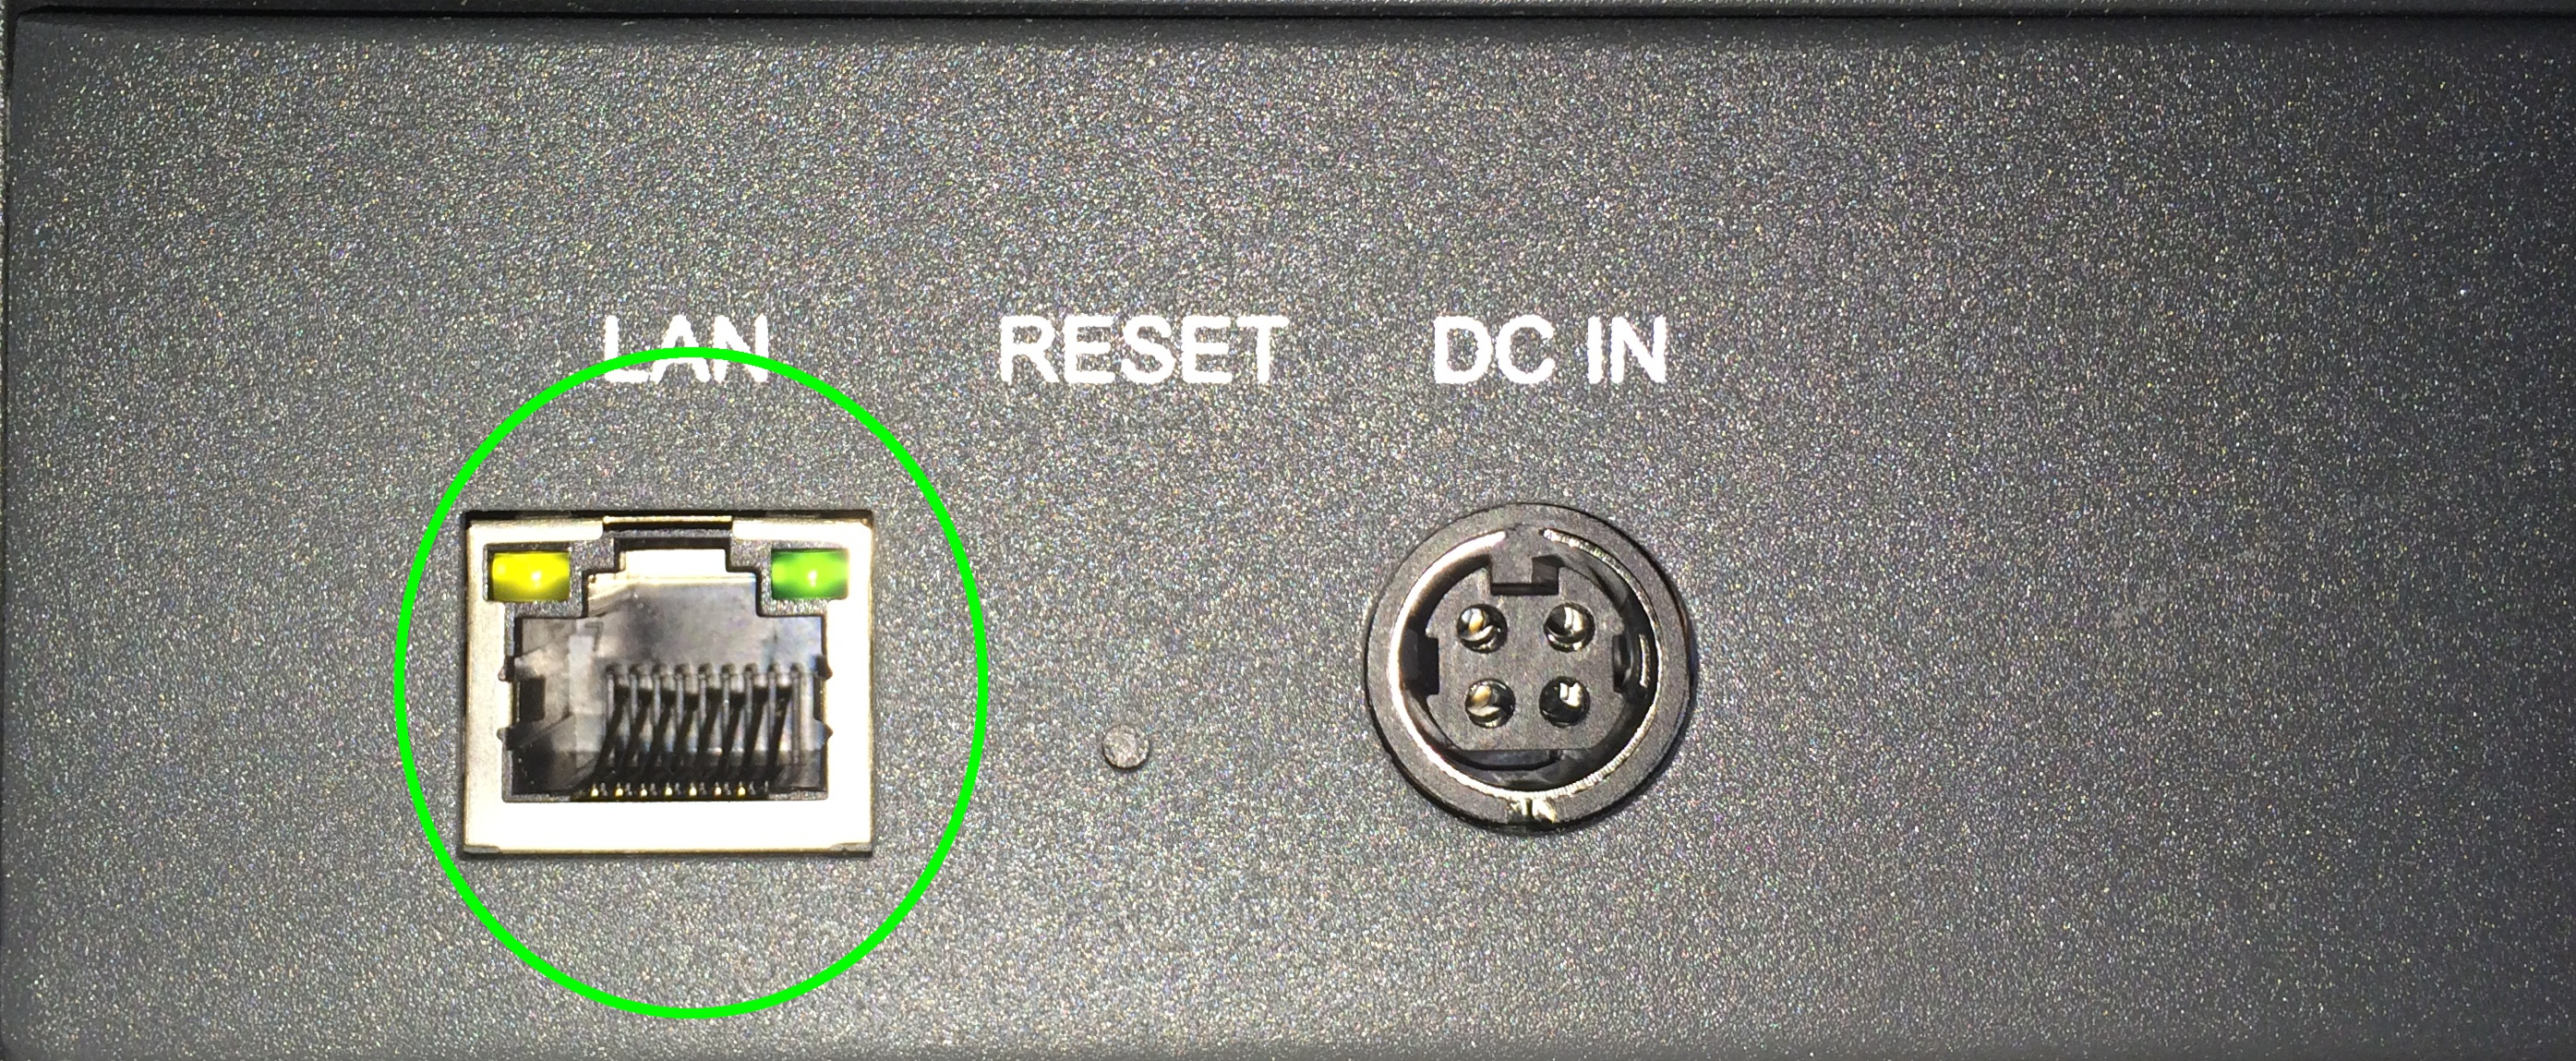
- Plug the Network/LAN/Ethernet cable into the WAN port of the GrandStream (green circle) and wait several moments for the device to acquire an IP Address
- Plug a telephone (simple handset) into FXS port 1
- Lift up receiver and dial ***
- Enter 12 to hear WAN Port access status
- If disabled, Enter 9 and power cycle device, otherwise
- Dial two more asterisks ** to get IP address
- Enter IP Address in a browser from a computer on the same IP address range (Network)
- Default password is admin
- Change settings noted in the table below under Advanced Settings
- Click on Update, then click on reboot
| Make sure Option 66 is set to | NO |
| Set Upgrade Via: | HTTP |
| In the Config Server Path: | vernon.siptalk.com |
| In the Config File Prefix: | grandstream/auto.cfg?mac= |