Device Provisioning - Clearly IP Phones
Provisioning Instructions for Clearly IP Phones
![]()
![]()
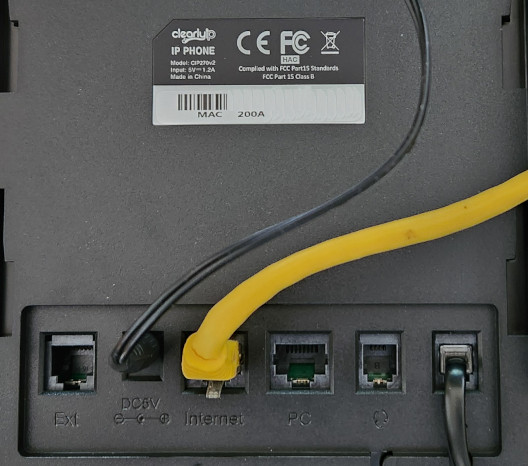
- Plug the Network/LAN/Ethernet cable into the Internet port on the back of the IP Phone and wait several moments for the device to acquire an IP Address.
- Press the Menu softkey on the phone to access the settings
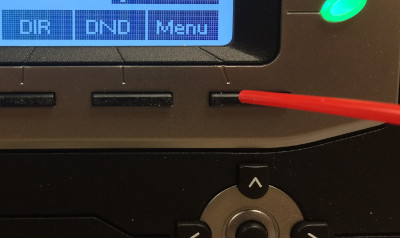
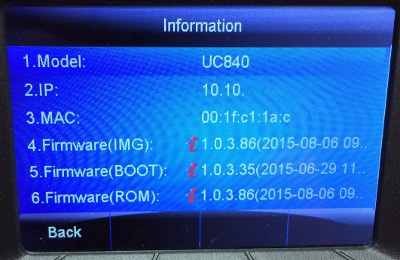
To get IP Address of phone
- Select "Status" and Press Enter
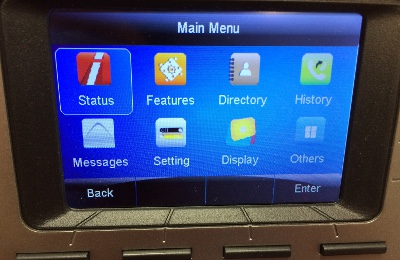
- Select "Information" and Press Enter
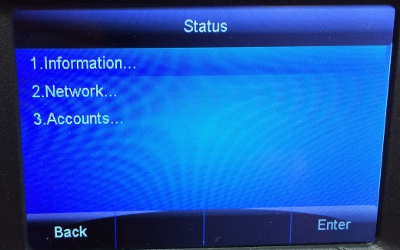
- This screen will display the IP Address of the phone
To Perform factory reset
- Enter IP Address in a browser from a computer on the same IP address range (Network). Ex: http://1.2.3.4
- The default administrator login
login: admin
password: admin - Click "Management" tab from the top menu
- Click "Upgrade" tab from the left menu
- Click "Reset To Factory" button
To Configure for Auto Provisioning
- Follow steps 1 to 3 above to login in to the administration page on the device
- Click "Auto Provision" tab from the left menu
- Set the following fields
- "PnP Active" to "No"
- "Upgrade Mode" to "HTTPS"
- "Config Server Path" to "https://vernons.siptalk.com/cip/auto.cfg?mac="
- "To Override Server" to "No"
- Click "SaveSet" button to save settings
- Click "Autoprovision Now" button to begin auto provisioning. The device will request configuration from our provisioning server. You will notice the device power cycle a couple times when the configuration is loaded.