Clearly CloudPBX
Quick Search
Navigate Pages
Loading....
Recently Changed
Loading....
Tags
No tags found.
Home
/
Clearly CloudPBX
/
APIs
/
Pulling CDRs into Zoho Analytics
Uploading ....
Pulling CDRs into Zoho Analytics
Setup Zoho Analytics with Clearly Cloud
Login to Zoho Analytics
Choose your Workspace
Choose Data Sources in the left hand menu
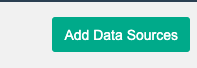
Choose Add Data Sources in the top right corner
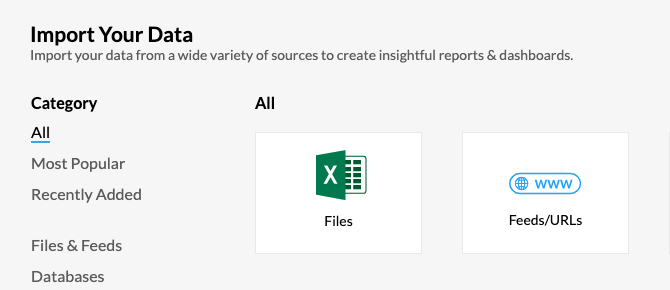
Choose Feeds/URLs
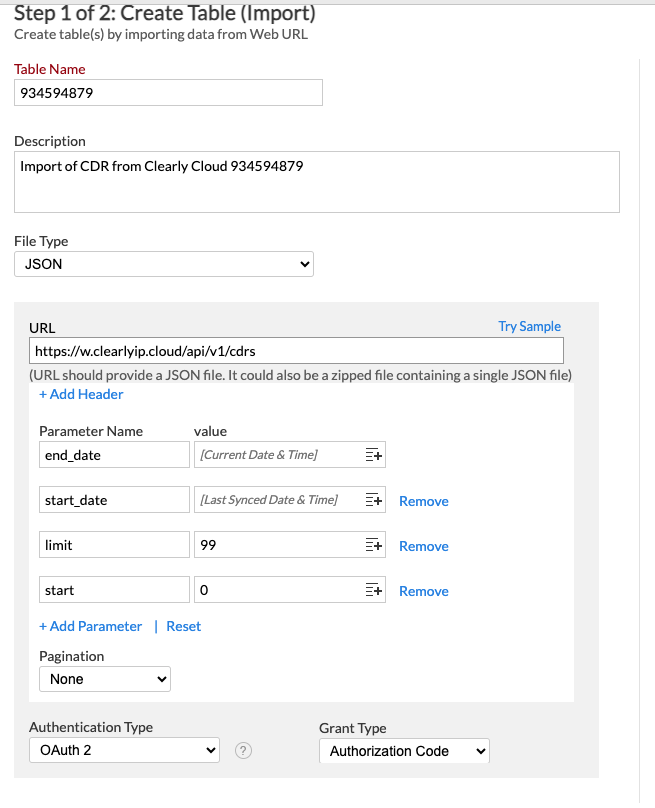
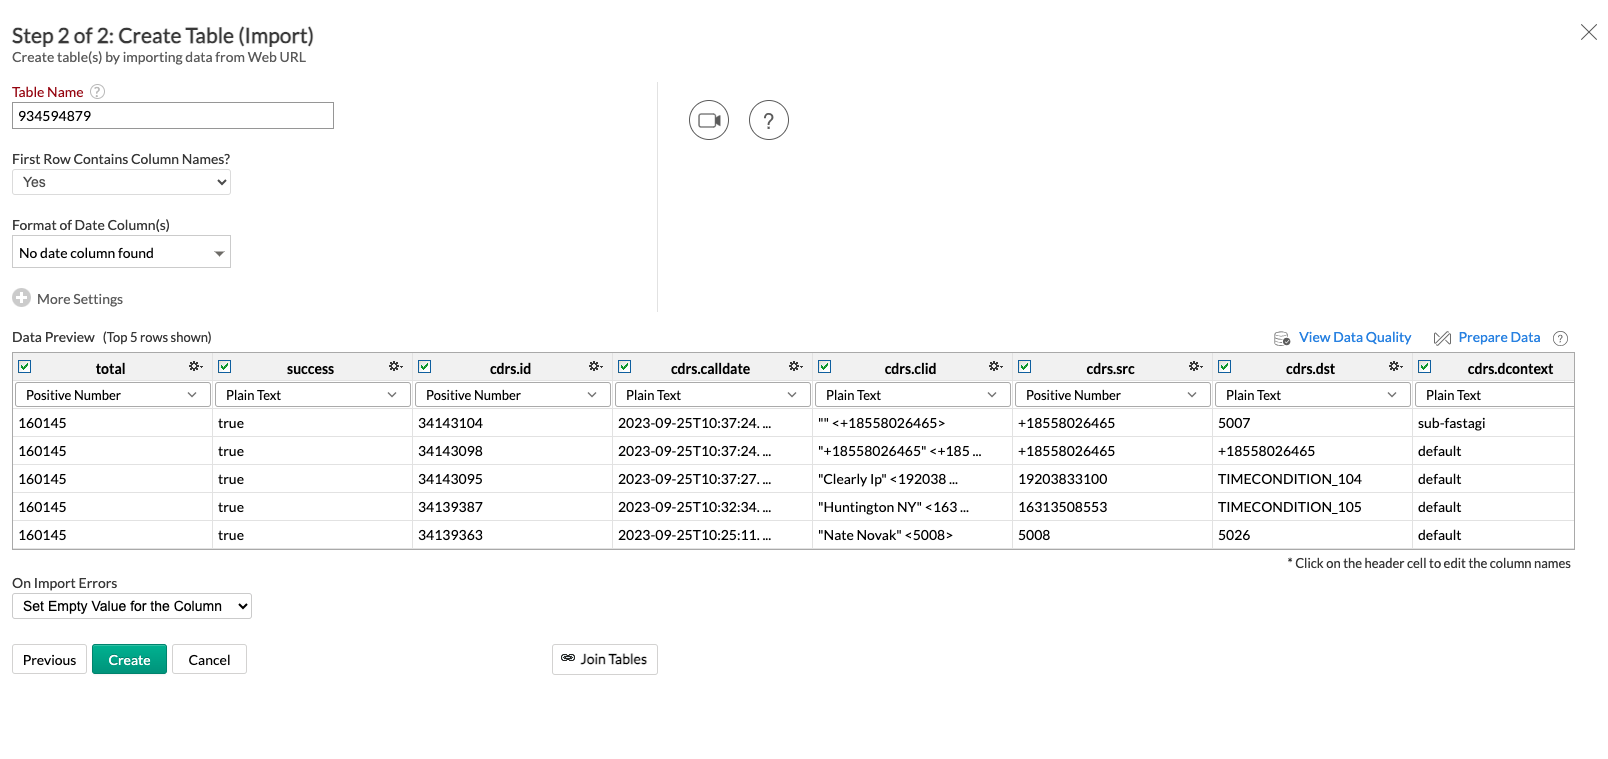
This brings you to a page asking for some information, fill it out like the example below:
Table Name: [enter whatever you would like], we are going to use the Location ID from Clearly Cloud for our example of
934594879
Description: [enter whatever you would like]
File Type: JSON
URL:
https://w.clearlyip.cloud/api/
v1/cdrs
(Replace w.clearlyip.cloud with the URL if you are on a different main domain)
Parameters
Method: Get
end_date: Current Date & Time
start_date: Last Synced Date & Time
limit: 999
start: 0
Authentication Type: OAuth2
Grant Type: Authorization Code
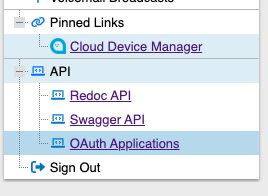
At this point, open a new tab and login to w.clearlyip.cloud as the client and go to the menu Option API >
OAuth Applications
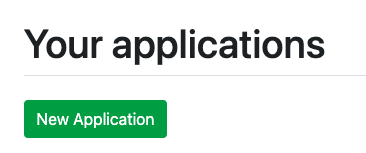
Click New Application
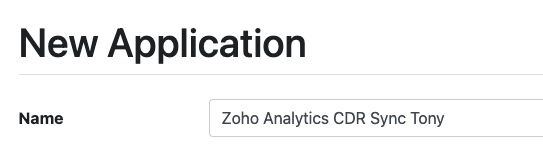
Type in a Name for the application (eg. Zoho Analytics CDR Sync)
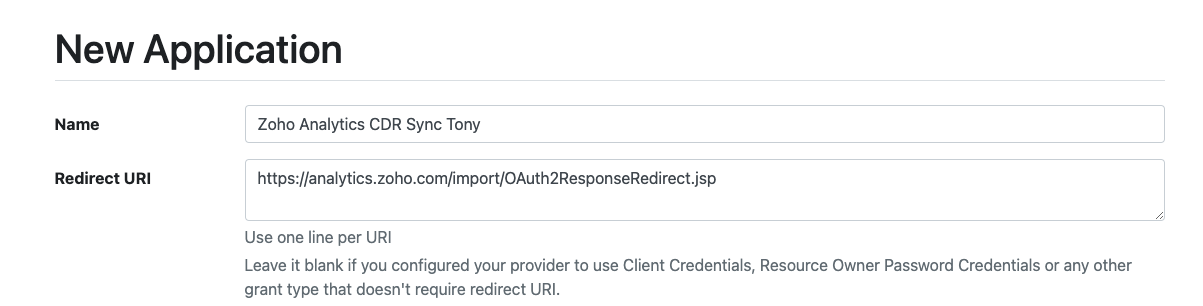
Get the Callback URL from Zoho A
nalytics
and enter it into the spot for Redirect URI
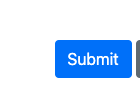
Click Submit
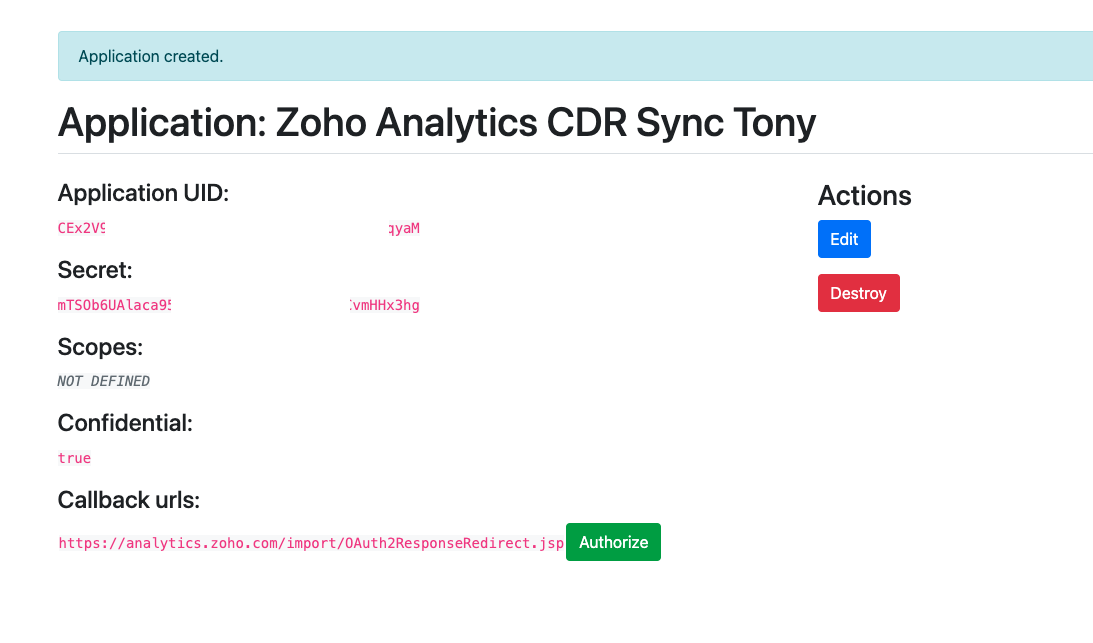
You will now see confirmation page in Clearly Cloud. Do not close this page as we will need info from here to provide back to Zoho Analytics
Continue back in Zoho Analytics
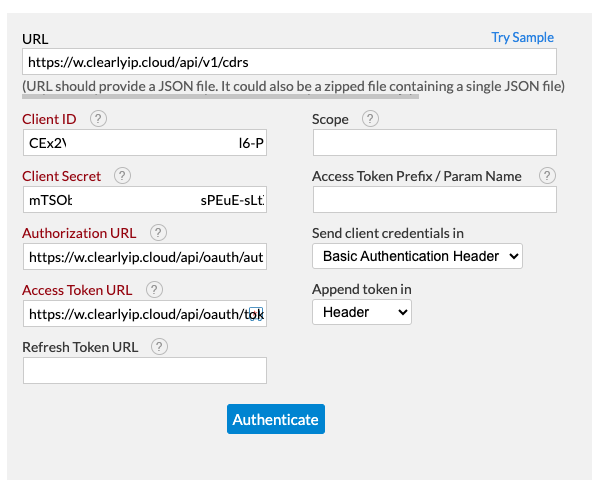
Client ID: [this comes from Clearly Cloud - Application UID]
Client Secret: [this comes from Clearly Cloud - Secret]
Authorization URL:
https://w.clearlyip.cloud/api/
oauth/authorize
Access Token URL:
https://w.clearlyip.cloud/api/
oauth/token
Send client credentials in: Basic Authentication Header
Click the Authenticate button
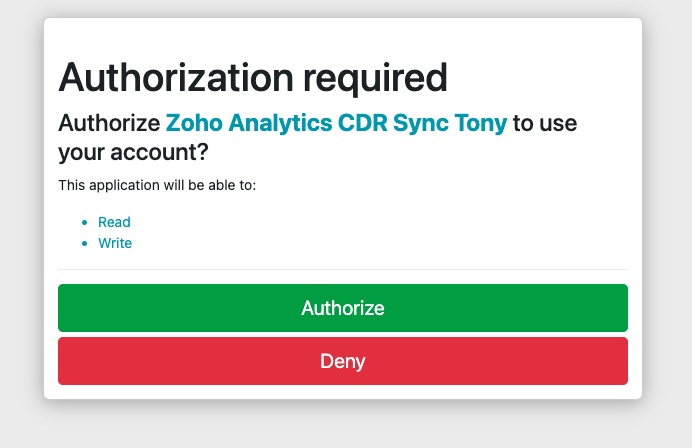
A popup will open that you need to press the "Authorize" button on.
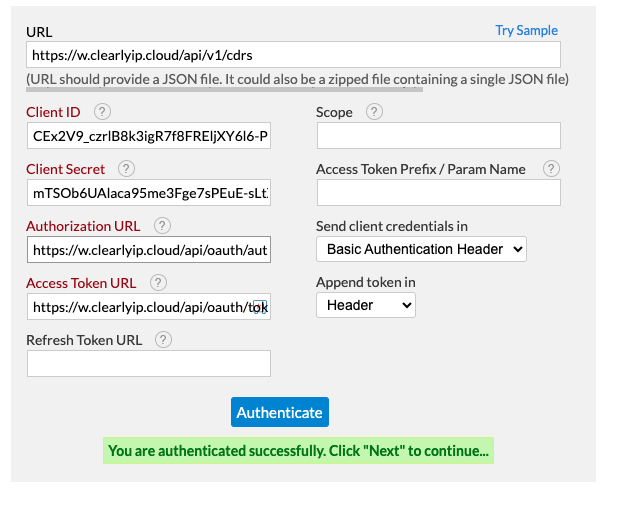
After successful Authentication, Click Next
Press "Create" on Step 2 as shown below.
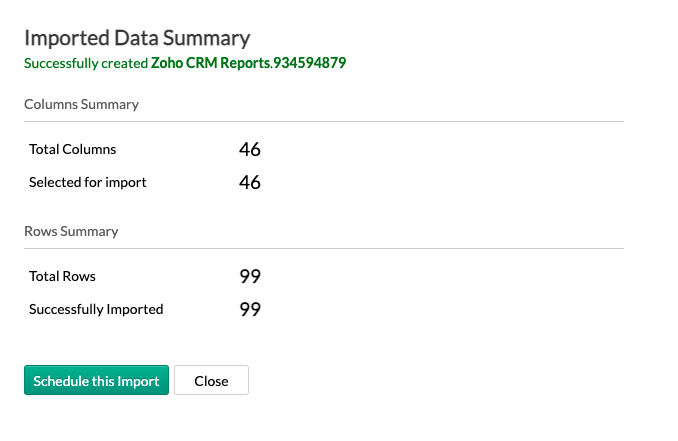
It will now import some records
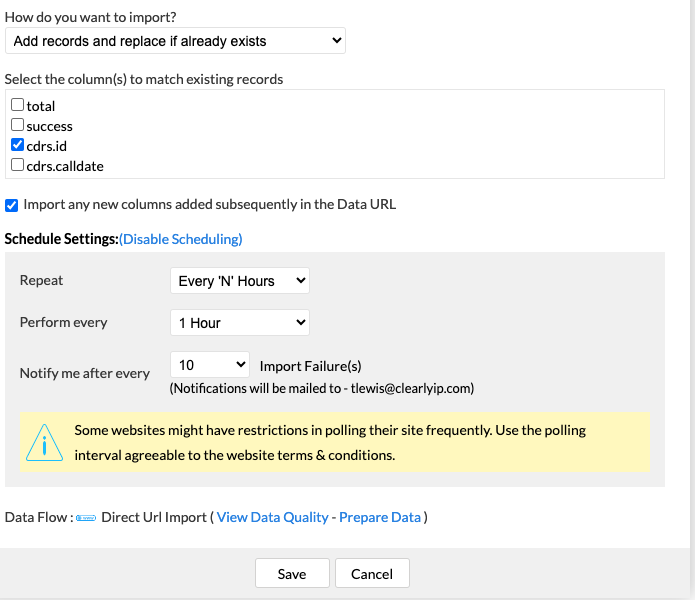
Choose the following for
How do you want to import? Add records and replace if already exists
Select the columns to match existing records:
cdr.id
Set schedule to have it auto pull CDRs every hour
Check the box next to Import any new columns added subsequently in the Data URL
Click Save
Attachments (18)
RSS of this page
 Home /
Clearly CloudPBX /
APIs
/
Home /
Clearly CloudPBX /
APIs
/ Uploading ....