Uploading ....
This article provides guidance for filling out the form to add a trunk profile from the reseller provisioning portal.
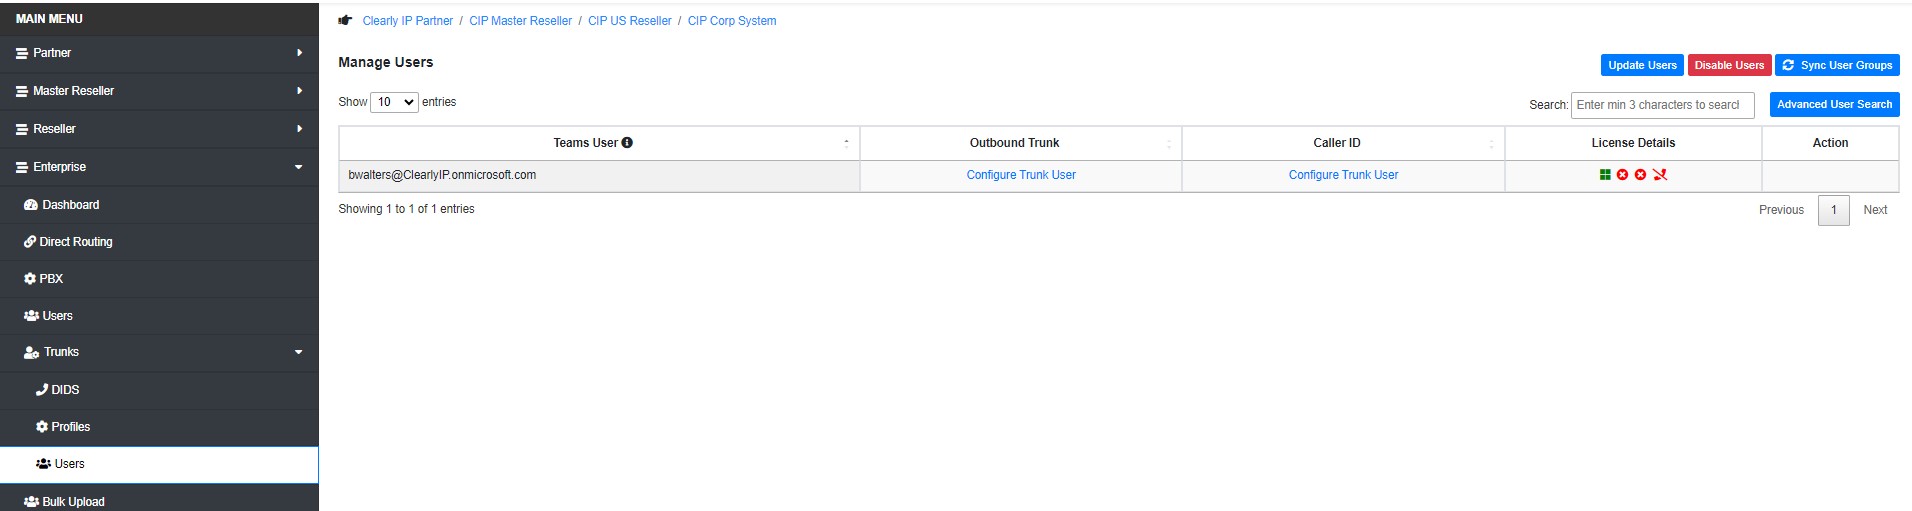
From the Enterprise Dashboard, Navigate to “Trunk" then "Profiles” and click "Add Trunk Profile" in the upper right corner.


Available Voice Routes: Select one of your already-configured voice routes from the dropdown menu.
Trunk Type: SIP Registraton
Description: What part of the business will this trunk service? Example: “Customer Service Trunk,” or “Downtown Office.”
Outbound Transport type: UDP
DNS Lookup type: Host
Outbound Proxy and Port: Example: 283893818.clearlyip.me. Until we get SRV working properly, use a CNAME to create a host.
Emergency Outbound Proxy and Port: Enter if configured on the trunk side. This is optional.
P-Asserted-Identity(PAI): User's TEAM DID
Codecs: G-711 A-Law, G-711 U-Lway
Topology Hiding: Yes
CallerID/Name Policy: Teams Policy
Domain: Example: 283893818.clearlyip.me. CNAME create for this account.
SIP User ID: This may be the same as the “Auth User” above, but some providers differentiate between SIP user names and SIP user IDs. This field will automatically populate to be "(Auth User)@(Domain)" as you fill in the rest of the form. Review for accuracy before submitting.
Auth User: Example: b443ff5e16, Get this from the Clearly IP trunking portal.
Auth Password: SIP Password, Get this from the Clearly IP trunking portal.
When complete click “Add Trunk Profile” and review its status on the "SIP Trunk Profiles" page