Overview
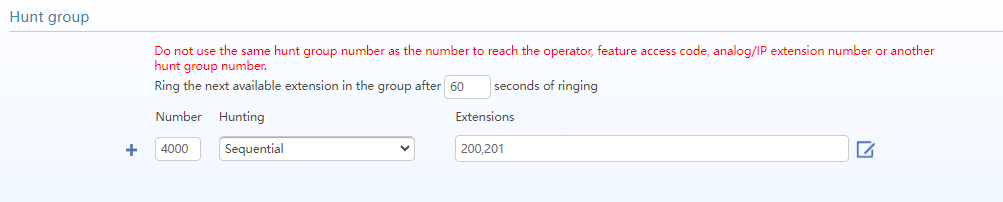
Hunt groups are used by traditional analog or Key system phone systems. The idea with a hunt group is if a analog line is in use and someone calls that number we want to have it roll over or hunt to a different analog line so that we can send the call to your legacy PBX still.
Setup Hunt Group
Routing a DID to a Hunt Group
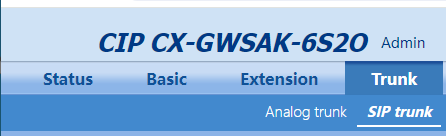
- From the Menu click on Trunk > SIP Trunk
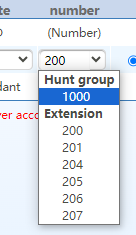
- Locate the DID you want to route to a Hunt Group and click on the field for that DID under the column DID Number. In my example below I would click on the 200 as right now that DID is routing to internal extension 200 that is FXS port 2.
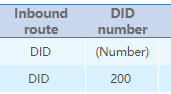
- Pick from the Hunt Group option which Hunt Group that you created you want to route to instead of the current extension/FXS port it is routing to.
 Uploading ....

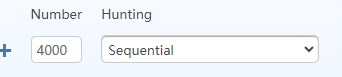
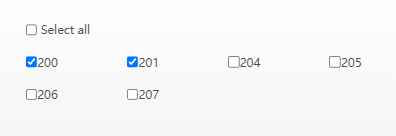
 to pick which internal extensions which map to our FXS ports we want to add to this group to try and ring and press Save.